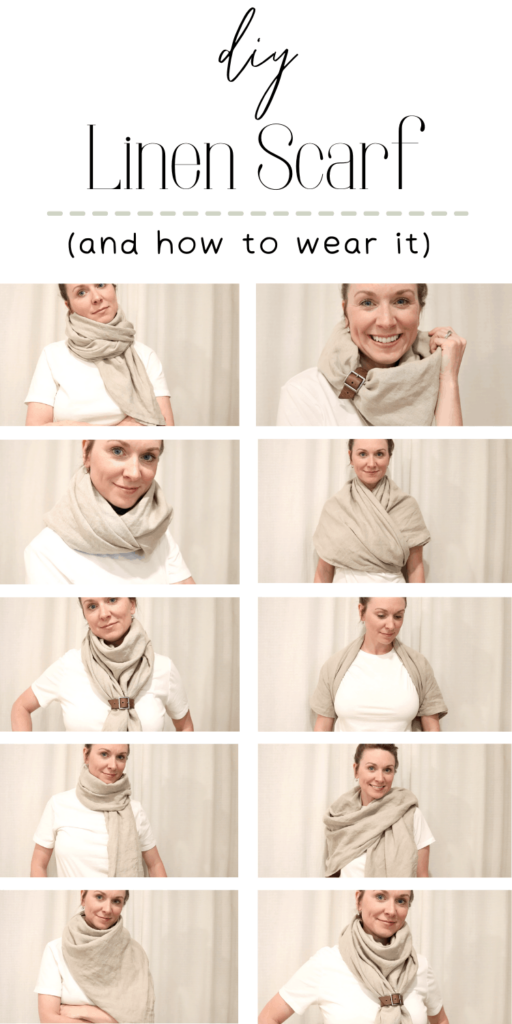
How To Make A Shawl
Learn how to make a shawl with this simple step-by-step sewing tutorial. At the end, I’ll show you different ways to style and wrap the shawl for different looks and occasions
Linen fabric offers great breathability, durability and is comfortable to wear during any season. This oversized shawl will quickly become a staple piece in your wardrobe-even if you’re more of a clothing minimalist like myself.
Aright, grab your supplies and let’s get sewing!

Some of these links are affiliate links. You can read my full disclosure HERE.
Sewing Project Difficulty Level

The difficulty rating for this shawl is 1 out of 5 spools. Five being the most difficult.
Sewing Skill Level
In order to successfully complete this DIY fabric shawl, you’ll need to know:
- How to sew a straight line.
- How to backstitch at the end of your lines of stitching.
- Cut a square piece of fabric with scissors or a rotary cutter.
- Press a seam with an iron.
How Do You Make a Shawl?
All fabric shawls are constructed differently depending on the material they are made out of.
If they are made of a single layer of fabric, as this one is, then the edges are finished with a simple seam and stitched into place.
Alternatively, they can also be made from two separate pieces of fabric, stitched RST (right sides together) leaving and opening to turn the shawl RSO (right side out) before being stitched.
You can also make a fringed shawl from wool fabric. This however can get expensive depending on the quality of the wool fabric you choose to buy.
How Long Will It Take?
- 1 hour (roughly)
Once your fabric is washed, I would say that start to finish this shawl will take you under an hour to construct.
Beginner-friendly project
The short answer is yes. If you can sew a straight seam and backstitch, you can make this fabric shawl.
Shawl Fabric
This particular shawl is made from a 100% linen fabric. The fabric I used for this tutorial actually use to be a tablecloth that I purchased from Target.
It’s a great way to get a huge piece of linen fabric for around $20. Sadly, Target no longer sells this particular one. It was Threshold brand.
Where to buy affordable linen
I have checked a couple different options for inexpensive 100% linen fabric. Below is a list of a couple options I have found.
Keep in mind this project is 55″ by 55″ so you will need a wide piece of fabric which is why a tablecloth or shower curtain works well. Standard fabric width is only 42″.
- Tan linen
- White linen
Why Make A Shawl
- Shawls are great accessories
- Use in place of a jacket
- Different ways to style a shawl depending on the look you want
- Easy to customize to your needs and the look you are trying to achieve
- Dress up or down depending on the occasion
- This homemade shawl is a very beginner-friendly sewing project. So if you are looking to get started with making your own clothing and accessories, this is a really easy and project to start with.
- Shawls are a great accessory to have in your wardrobe all year round. Making an oversized fabric shawl from linen is light enough for the summer, but large enough to keep you warm in the winter.
- A shawl wrap would make a great gift-especially for those who love to accessorize.
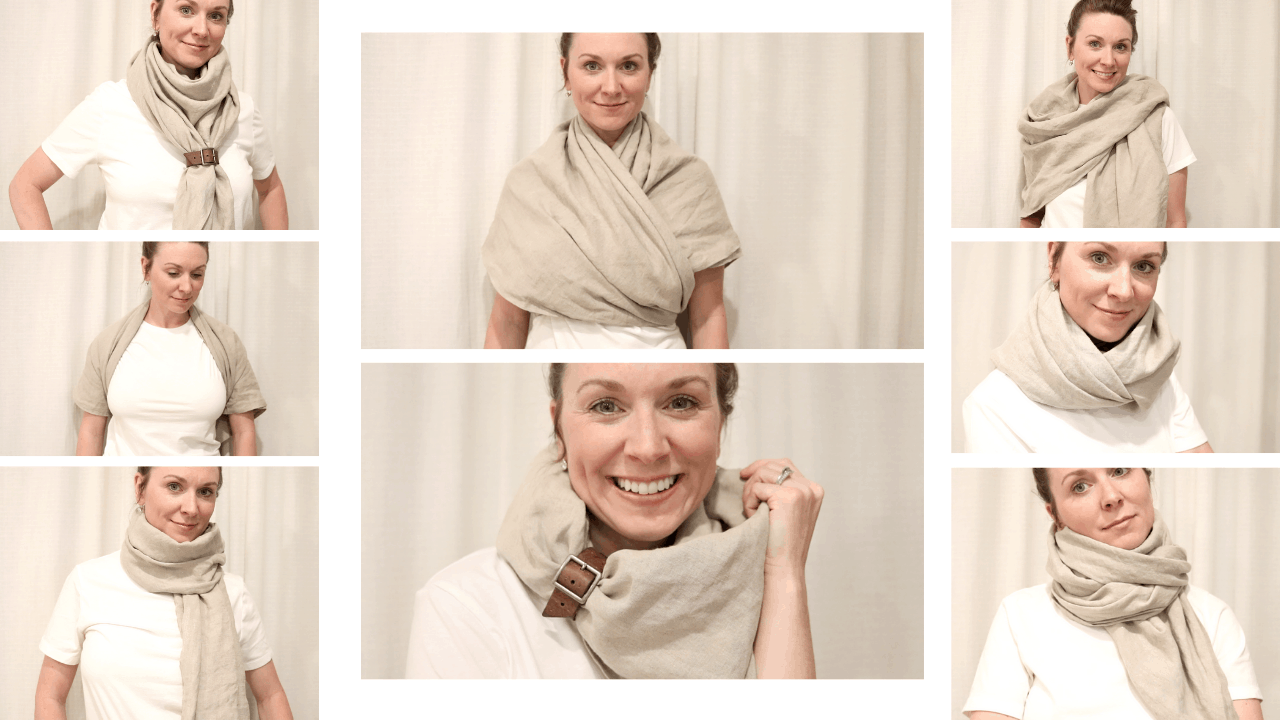
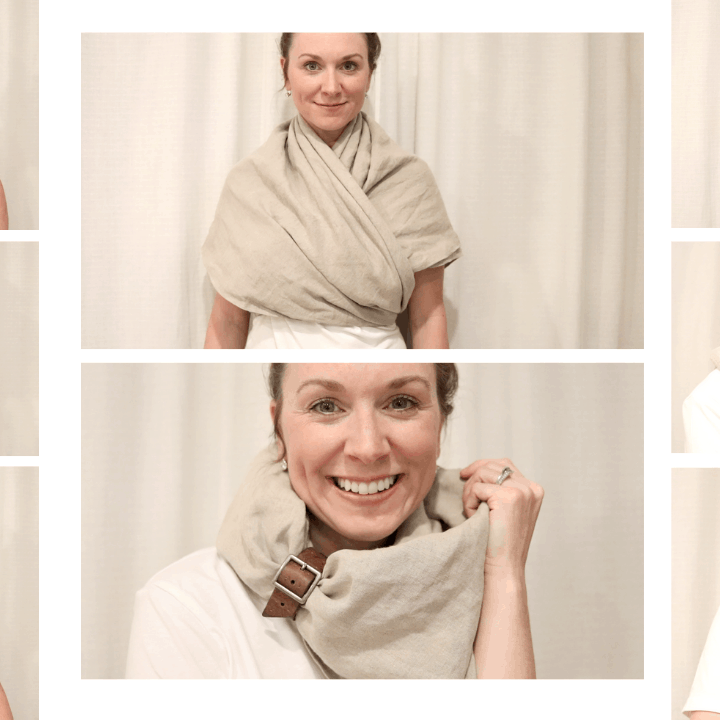
- You can wear a shawl in so many different ways. You can dress them up or down depending on the occasion or event. I have included ways to style and how to wear a shawl at the end of the video.
Finished dimensions of shawl
- The finished DIY shawl will be roughly 54″ x 54″ square.
How To Sew A Shawl-Supplies
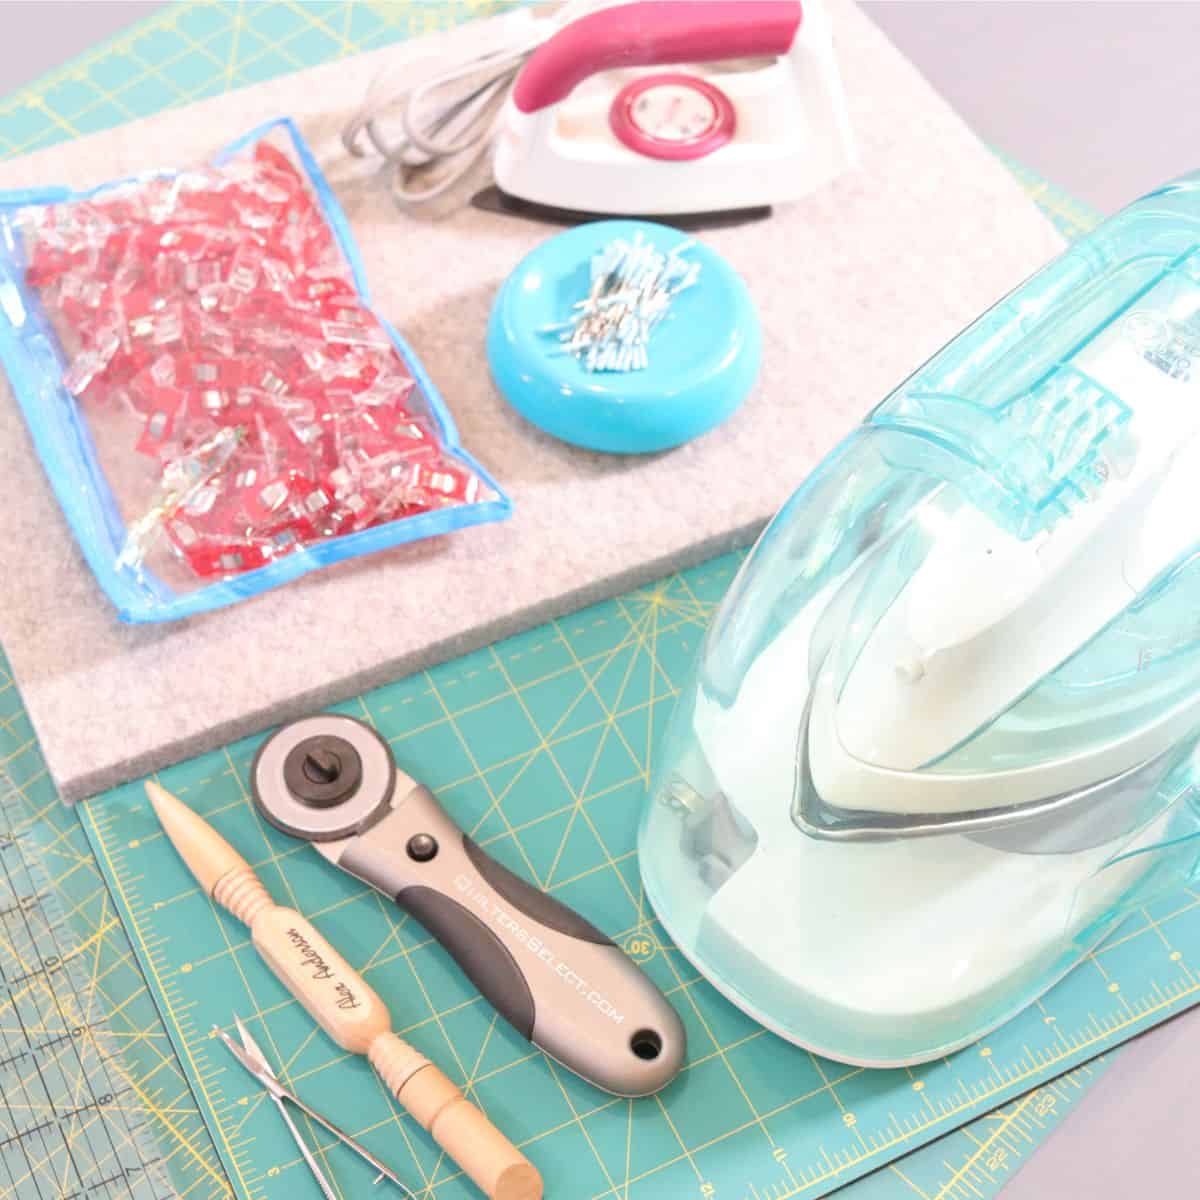
Supplies
OPTIONAL SUPPLIES
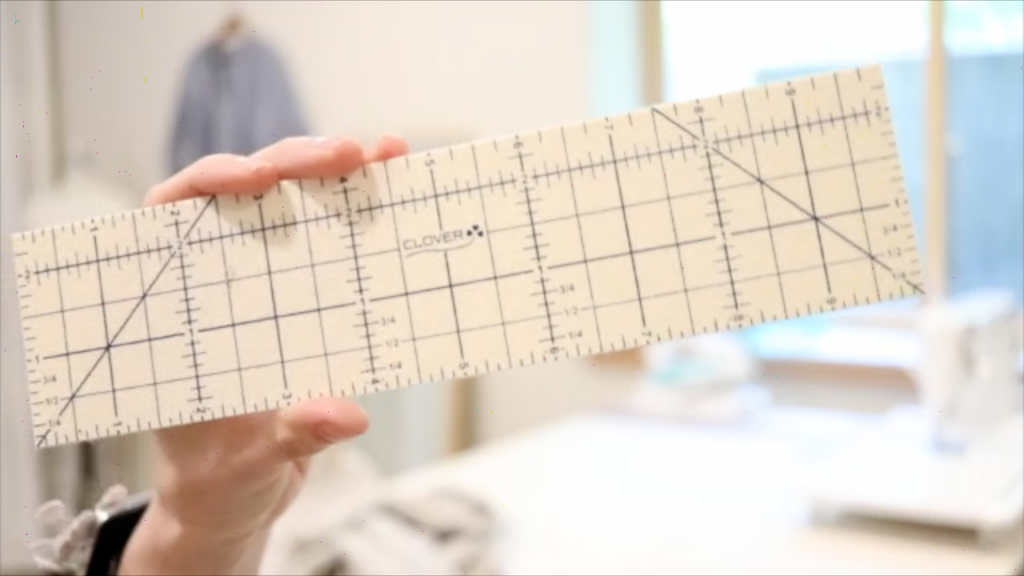
- Hot press ruler-this helps keep your seams even throughout your project
- Magnetic seam guide– These are handy tools for everyone (in my opinion), but especially for beginners who may find it challenging to keep certain seam allowances when sewing.
How To Make A Shawl Video
Be sure and watch the whole video tutorial for how to make a shawl if you are a more visual learner.
Bonus footage at the end of the video for ways to style and wear your new homemade shawl.
How To Make A Shawl
Wash and dry fabric
- Start by washing and drying your fabric. Linen is a natural fiber and can shrink quite a lot when washed and dried. You want this to happen before you cut your fabric to keep it from
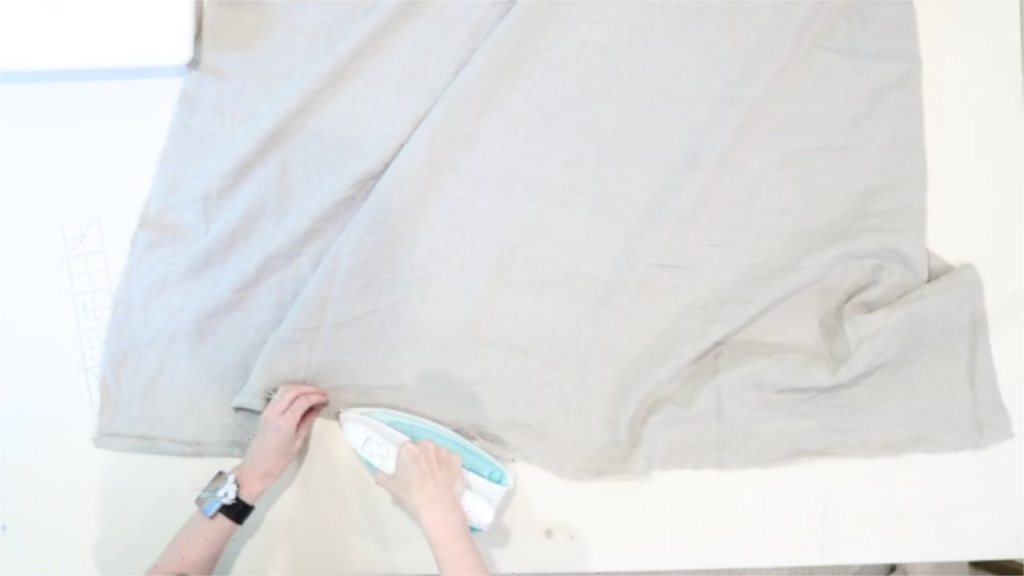
Iron fabric
- Press your fabric. For this step, I prefer to press my fabric with no steam. Again, this will just keep your fabric from stretching. All fabric has the potential to stretch when steam is applied.
Cut fabric
- Using a pair of scissors or a rotary cutter, measure and cut your fabric 55″ by 55″ square.
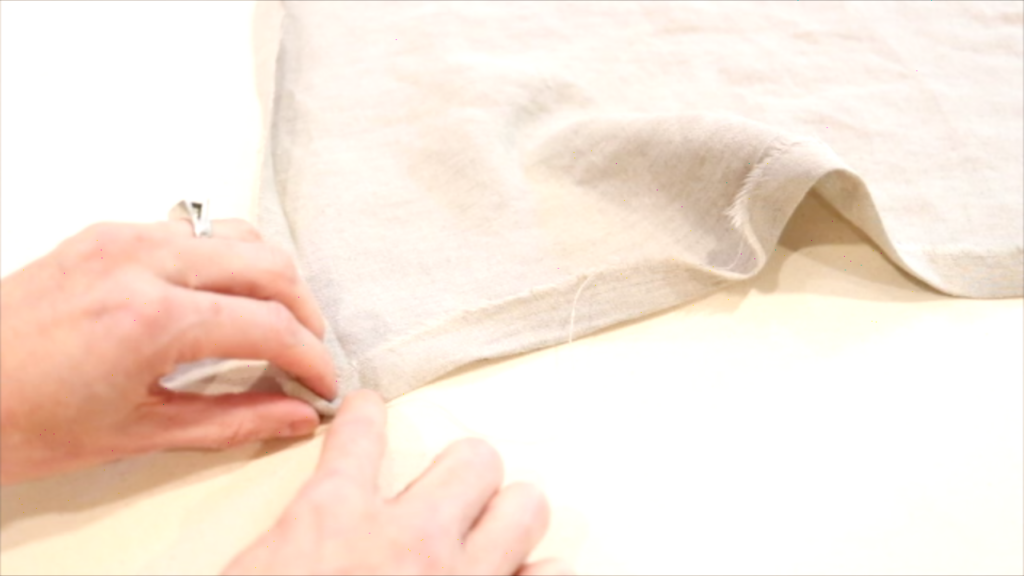
Fold and Press Edges
- Once you have your fabric pressed and cut, it’s time to fold our edges over 1/4″ and press. This is creating our seam allowance along the four sides of our fabric shawl.
- If you aren’t comfortable with gauging the 1/4″ seam, use a hot press ruler. I use one of these often and they can really help keep your seams accurate. You can find the one I use HERE. This is an optional tool and not at all necessary to be able to complete this project.
Fold and Press
- Once you have your seam allowance pressed at 1/4″, fold the edge over again by 1/2″ and press. Doing this will encase that raw edge on your seam and leave your fabric shawl with crisp clean edges.
Pin
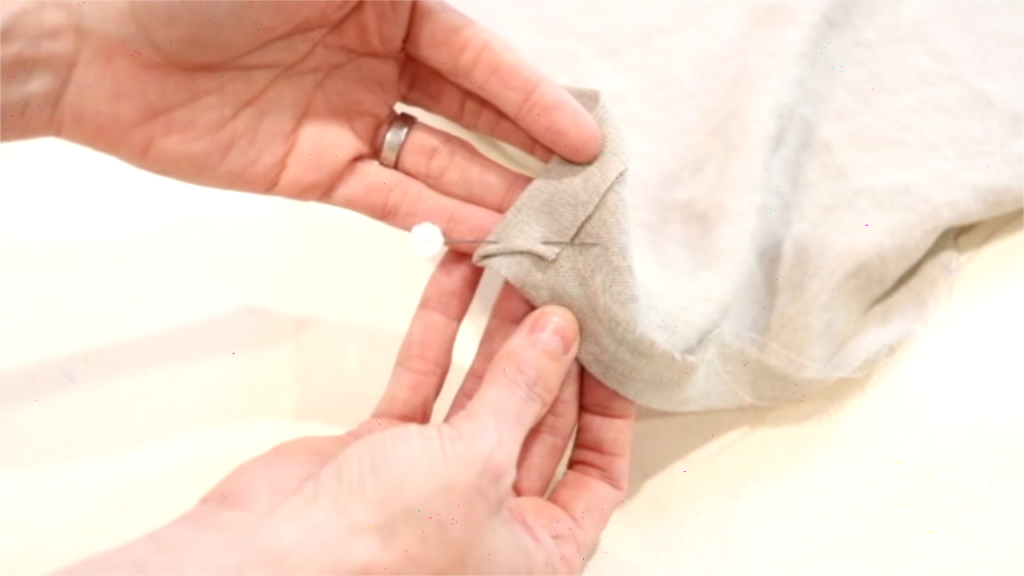
- Now we are almost ready to sew our shawl. But first, let’s prepare the four corners. This will help when it comes time to sew. We will fold them, then pin them in place to keep them from shifting while we sew.
NOTE: You do not have to pin the corners before you begin sewing. However, I found that it helped keep the fabric from becoming un-even on the sides and made for a better-looking end result.
- Starting on one side of your shawl, fold the corner in at a 45-degree angle to meet the pressed seam of the opposite side of the shawl.

- Then, take the opposite side seam and fold it up to meet the original seam you began folding. This will create a nice mitered corner.
- If you have any trouble with this step, I recommend watching it on the video. I made sure I filmed a close-up shot of the fabric folding to hopefully make it easier to see and understand.
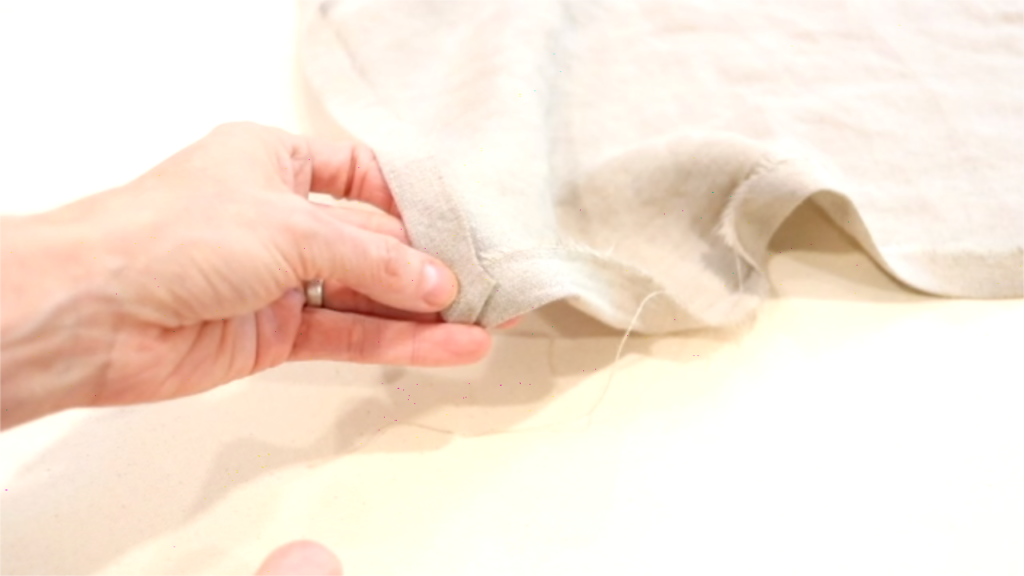
- Once you fold down each corner to create a mitered corner, pin or clip in place.
- Repeat these steps for the remaining 3 sides.
Sew
SEAM ALLOWANCE– 1/4 inch
- Using a 1/4″ seam allowance, sew around all 4 sides of your fabric shawl. Backstitch at the beginning and the end of your lines of stitching.
OPTIONAL STEP
- Repeat the 1/4″ seam allowance a second time to create (2) 1/4″ seams to really reinforce the stitching. This will likely be a shawl you wear all year round so make it durable. Again, this step is optional. I did this on my shawl but it definitely isn’t necessary.

Step 8- Trim Threads
- Trim any long threads you can see.
- You can give your shawl a final press if you’d like.
I hope you enjoyed this simple tutorial.
Inspiration
I found inspiration for this sewing project from Son De Flor.
So if you aren’t interested in sewing one of these fabric shawls yourself, you can purchase one on their website in many different colors.
Washing
Absolutely! This shawl is made from 100% linen fabric so it’s easily washable in a home washing machine.
I recommend washing your shawl with a mild detergent on cool to warm water. Hot water has a tendency to shrink linen fabric quite a bit.
Drying
You have a couple different options when it comes to drying your shawl post wash.
- Place in the dryer on low heat. This will prevent your shawl from shrinking with excessive heat
- Line dry outside (weather permitting).
- Fold your shawl and place it on top of your dryer while drying other items. The warmth of the dryer will slowly dry your shawl. If using this method, it will take longer to dry. So don’t leave your shawl there for days as if it’s damp still, it may begin to smell mildewy.
Shop
- Beginner sewing machine
- Linen fabric 55″ x 55″
- Thread
- Scissors
- Iron
- Optional: hot press seam gauge
- Optional: magnetic seam guide
My Favorite Sewing Essentials
A comprehensive post on my favorite sewing essentials.
Photo Credit: Homemade On Our Homestead
How To Make A Shawl
A great layering shawl for any occasion. Beginner-friendly sewing project that is lightweight and easy to customize colors, prints and more! I even show you fun ways to style it!
Materials
- 55 inch by 55 inch piece of fabric or larger (linen, quilting cotton or a re-purposed lightweight fabric work well)
- coordinating thread (you can also use contrasting thread to create a whole new look)
Tools
- Sewing machine
- Scissors or rotary cutter
- Ruler or tape measure
- Sewing pins or clips
- Iron
Instructions
- Wash and dry you fabric (this step is optional).
- Iron fabric if you washed it to remove all the wrinkles and make cutting easier.
- Cut your piece of fabric 55 inches by 55 inches square.
- Fold and press the edges of your shawl fabric. You will fold all four edges over 1/4 inch and press flat. You can use a heat pressing tool if you'd like.
- Now fold that edge you just pressed over 1/2 inche and press again. This is hiding that raw edge of your fabric.
- Fold and pin all four corners. To do this, fold one corner side in at a 45 degree angle. Match the opposite side by folding in 45 degrees (see video tutorial if this sounds confusing).
- Pin or clip the corner in place. This will keep it from shifting while sewing.
- Using a 1/4 inch seam allowance, sew carefully around all 4 sides of your shawl. Backstitch at the beginning and end of your lines of stitching to reinforce the seams.
- Trim threads.
- Give your shawl another quick press.
- Wear and enjoy!
Notes
Seam allowance for this sewing project is 1/4"
Be sure and check out the end of the video tutorial where I share ideas for styling.
Have you made your own shawl before? How did you style it? Let me know in the comments below.
More Sewing Posts
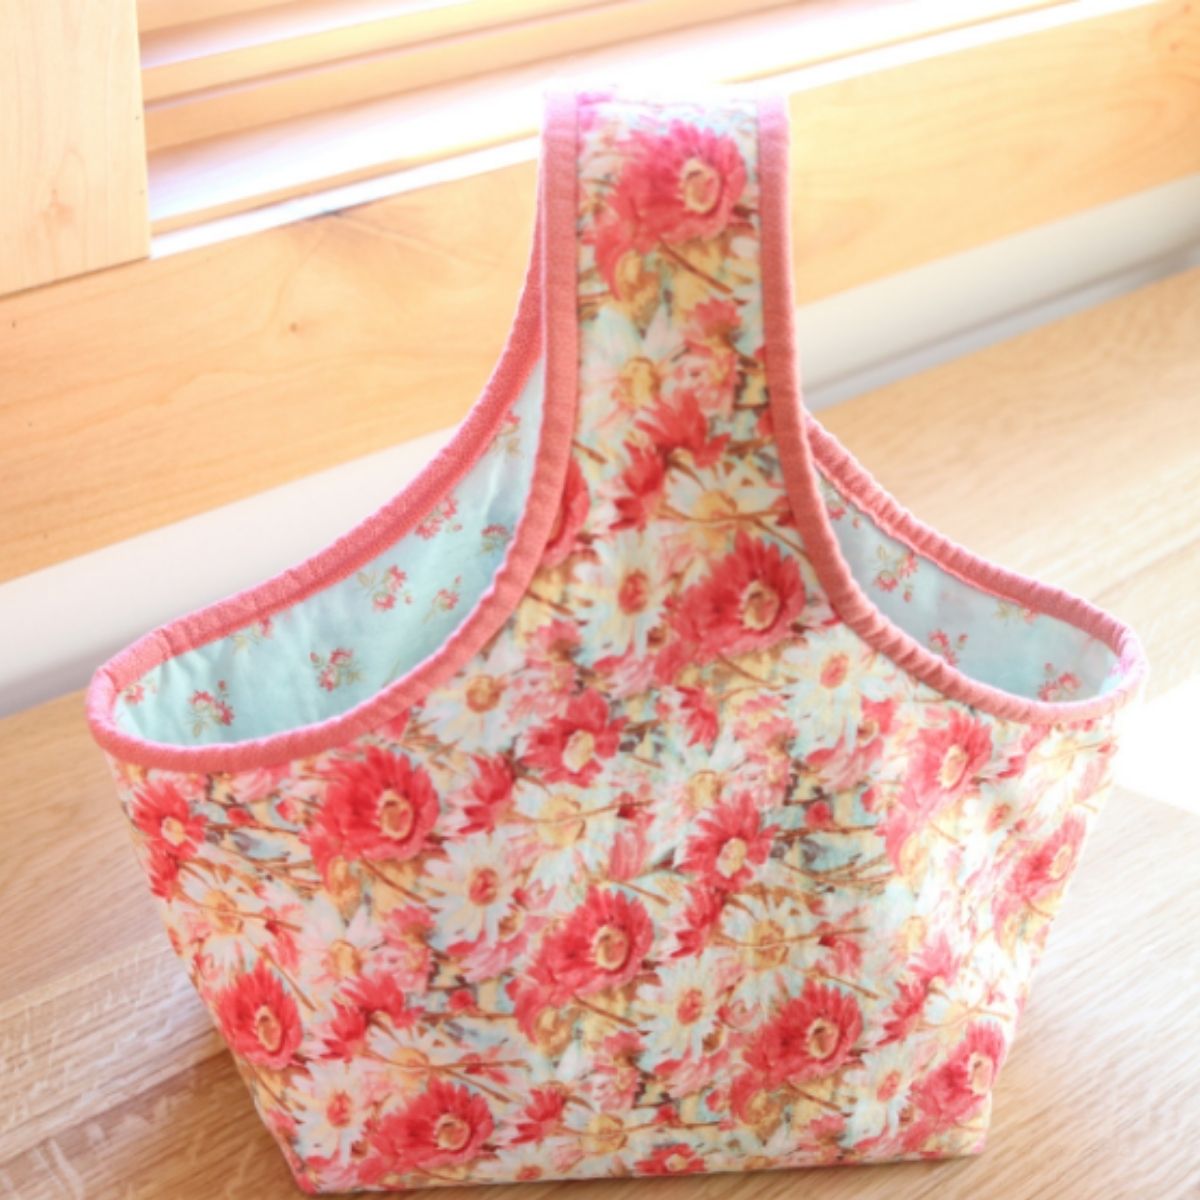
Fabric Basket Sewing Pattern

How To Make A Bandana
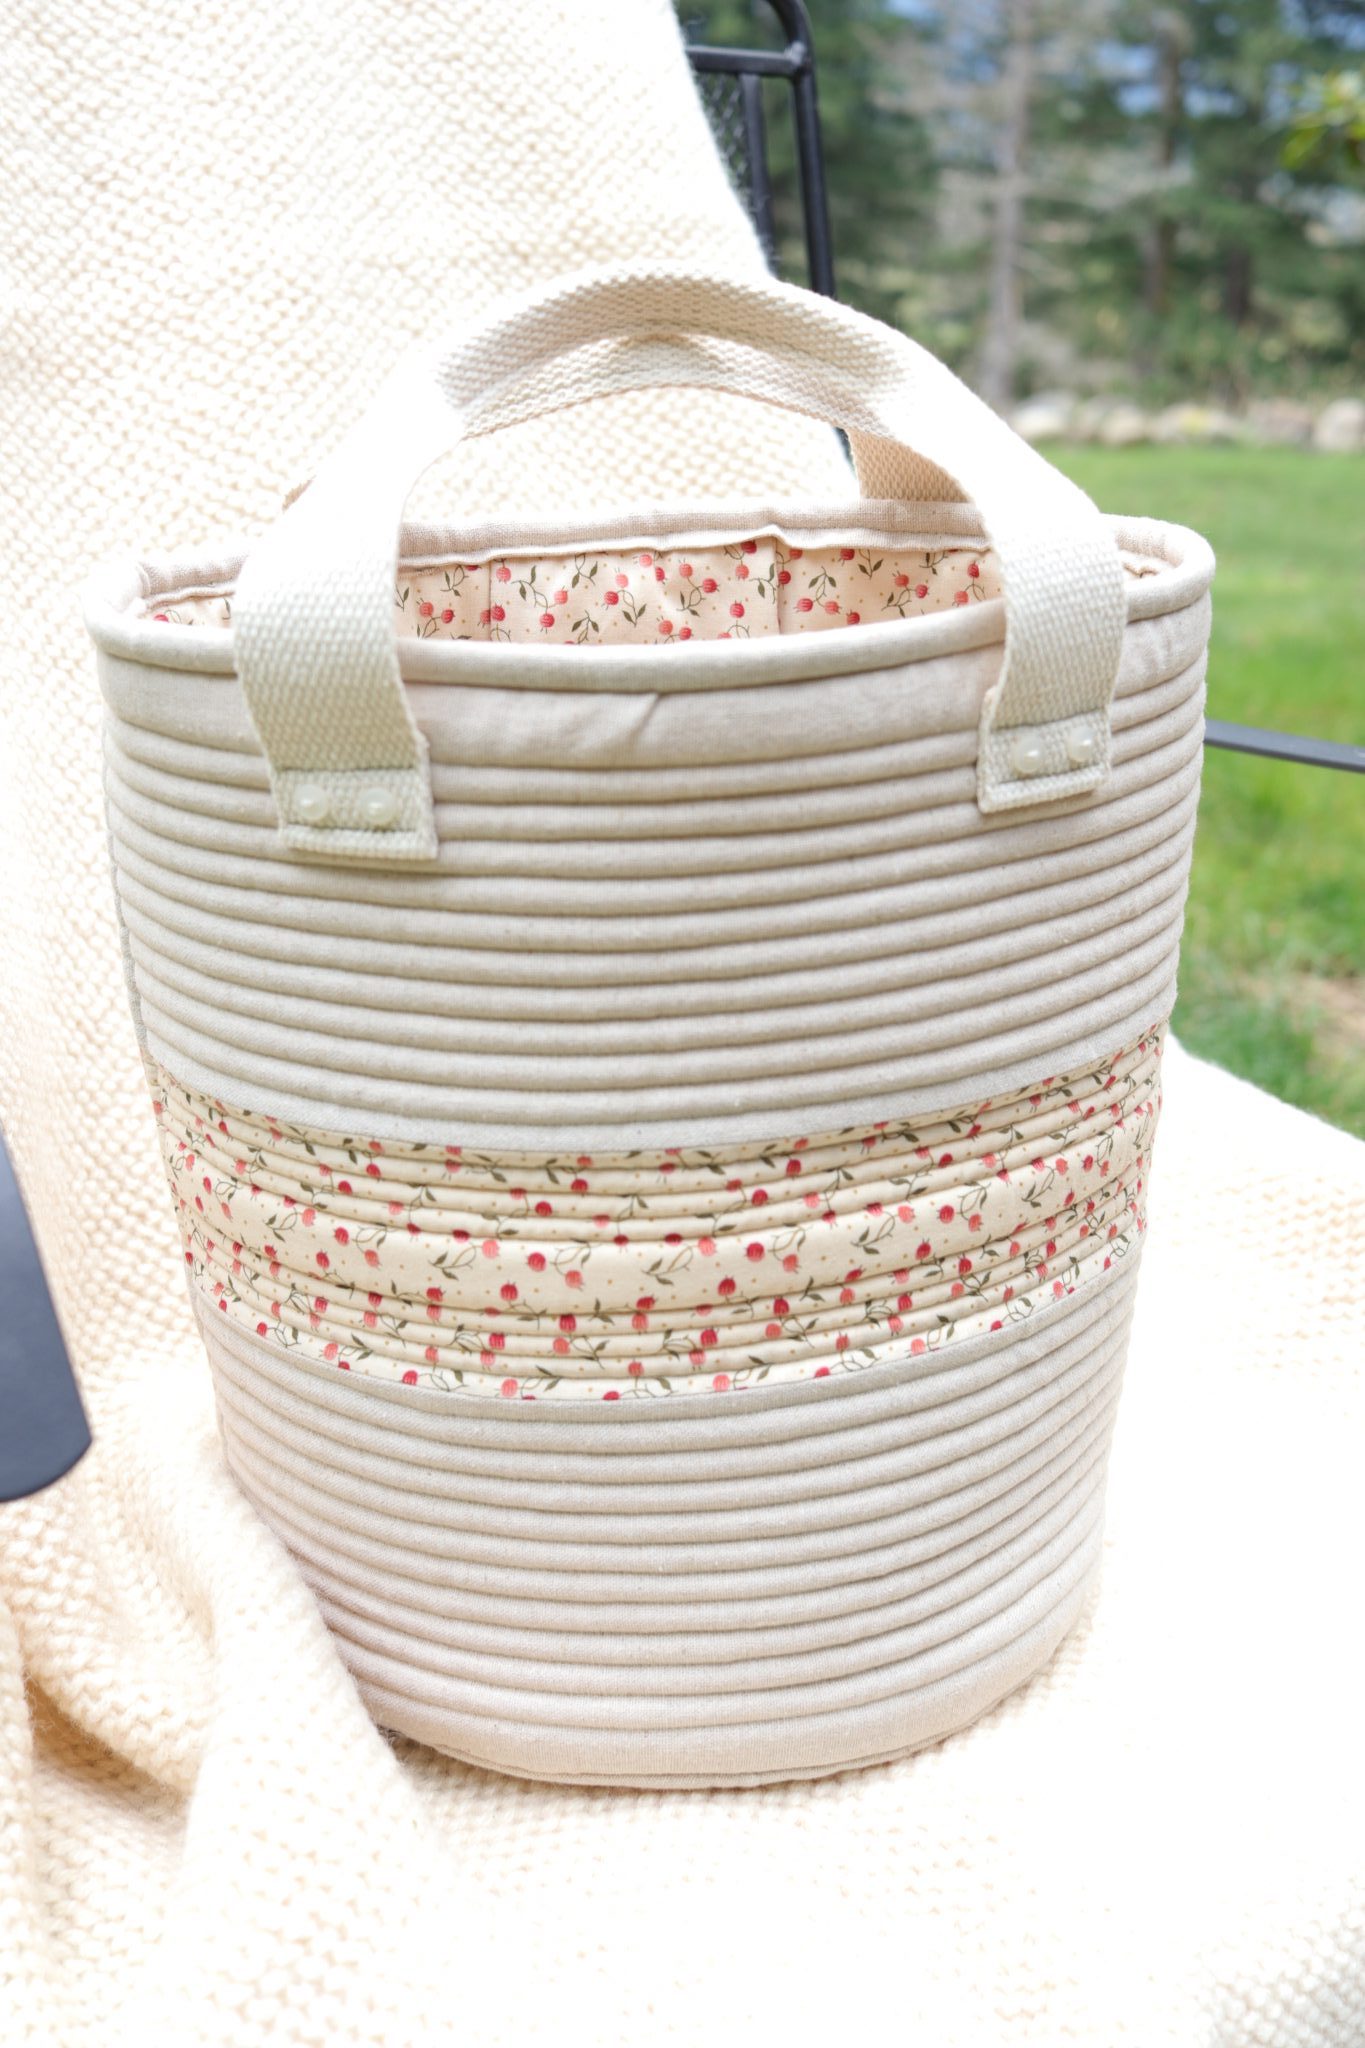
How To Make A Bucket Bag
Feel free to hop over to YouTube and check out some of the other sewing tutorials I’ve done.