
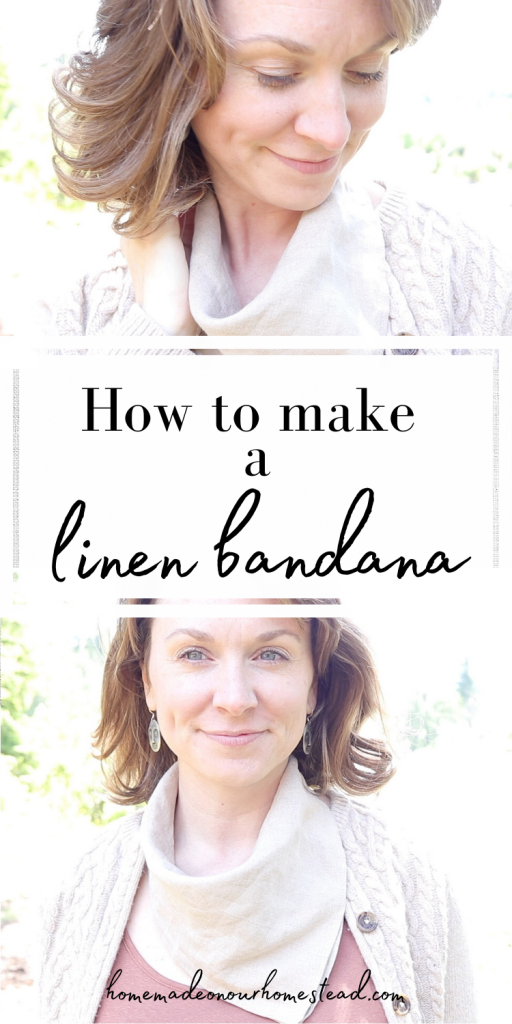
How To Make A Bandana
Learn how to make a bandana with this simple sewing tutorial.
Making a bandana is a very beginner-friendly sewing project. So if you are newer to the world of sewing, you’ve picked a great project.
Does anyone else love and adore (everything) linen as much as I do?
I feel like linen is one of those fabrics that just go with everything. Literally everything!
It’s a gorgeous fabric that just drapes beautifully. You can dress it up, dress it down. Style it any way you like and it looks (and feels) amazing.

But there’s a twist to this sewing project.
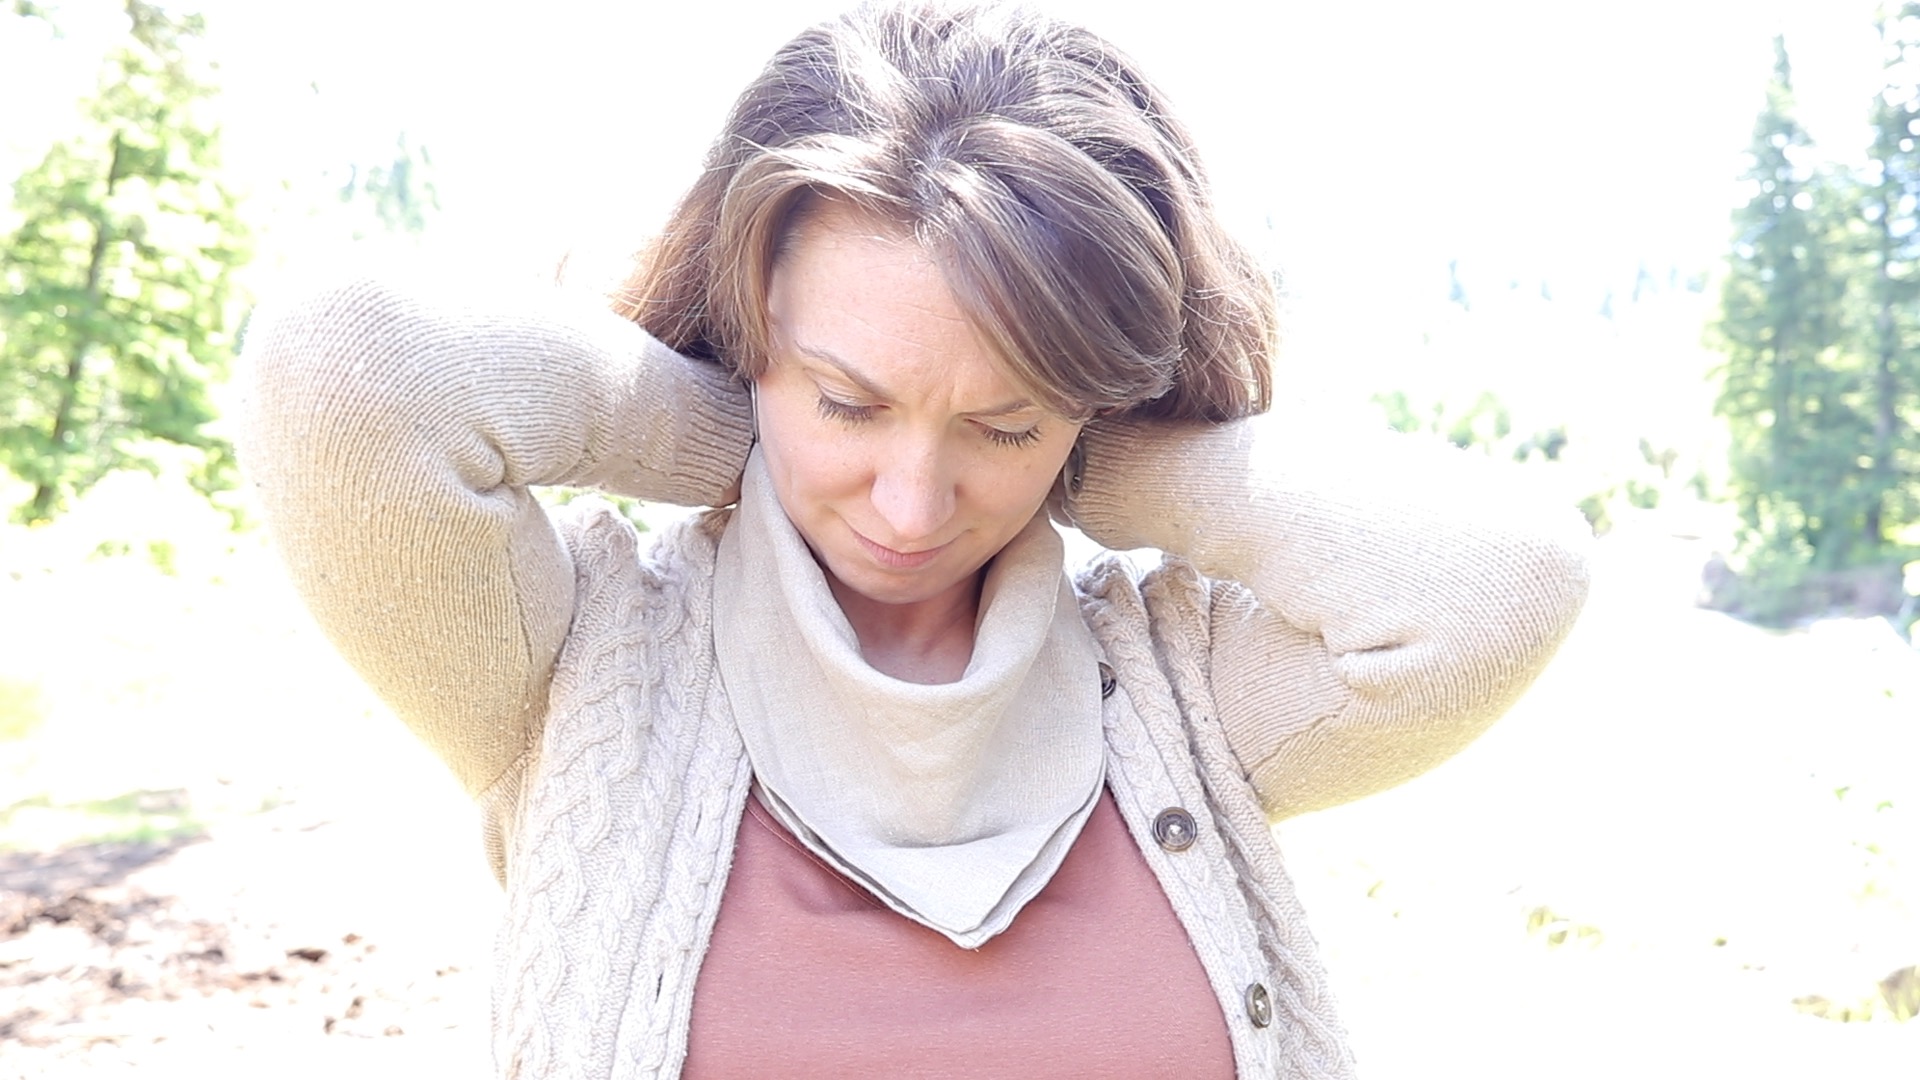
Curious? I made this bandana to have a snap closure instead of the typical bandana that is tied. Brilliant (and easy).
Some of these links are affiliate links. You can read my full disclosure HERE.
How To Make A Bandana Video
I have quite a few sewing videos on my YouTube channel that are all beginner friendly sewing tutorials.
Is sewing a bandana a beginner friendly sewing project?
Yes, it absolutely is.
For this project, you’ll need some very basic pressing and sewing skills. Sewing a straight seam and backstitching are involved.
So if you are just learning how to sew and want to make your own clothes and accessories, this is a great beginner-friendly project.
Where can I buy affordable fabric?
When it comes to finding affordable fabric for sewing projects there are so many resources out there.
- repurpose old clothing for small sewing projects
- thrift store always have fabric remnants really cheap
- repurpose old curtains, shower curtains and tablecloths
For this project I used linen. So I’ve linked a really good couple resources below.
Buying linen fabric online
But now you at least know where you can get quality linen fabric at a great price. Be cautious when buying linen fabric online. The item you think maybe linen may only contain a percentage of linen. This fabric source is 100% linen. This is what I use to sew all my linen DIYs.
Fabric Suggestions
- linen
- lightweight woven
- cotton
- quilting cotton
Think of all the options when you consider re-purposing old clothing! Husband old dress shirt perhaps?
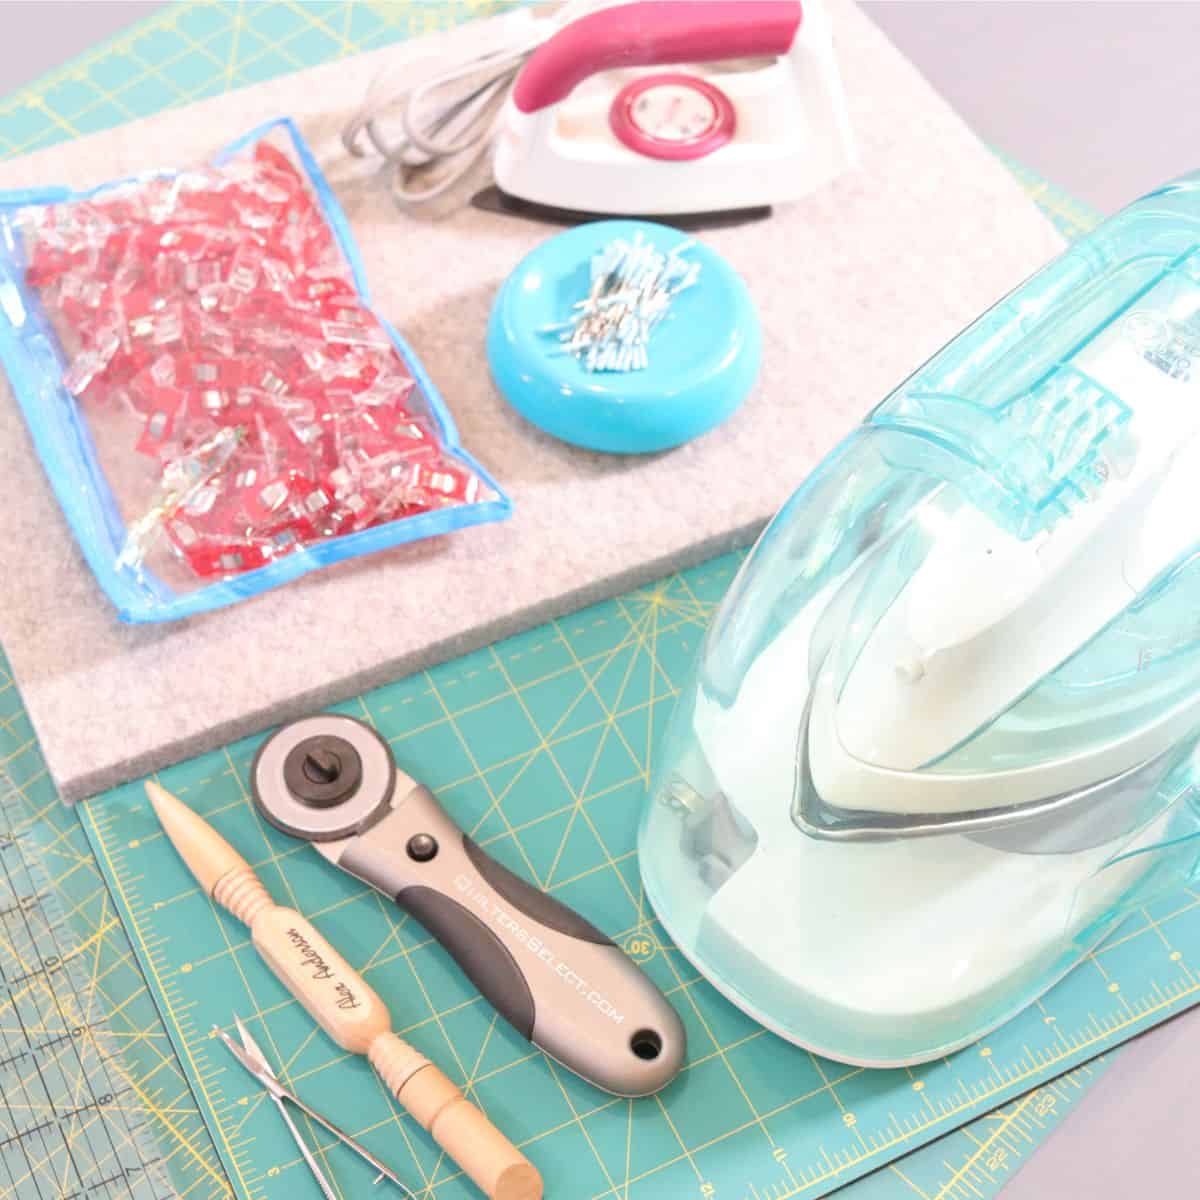
Supplies
Sewing Supplies
Sewing tools

Fabric Cutting dimensions- 2 sizes
- REGULAR SIZE: cut (2) pieces of linen fabric 15 inches by 15 inches
- MEDIUM/LARGE: cut (2) 18 inches by 18 inches

Seam allowance
For this sewing project I used a 1/4 inch seam allowance.
How to Make A Bandana
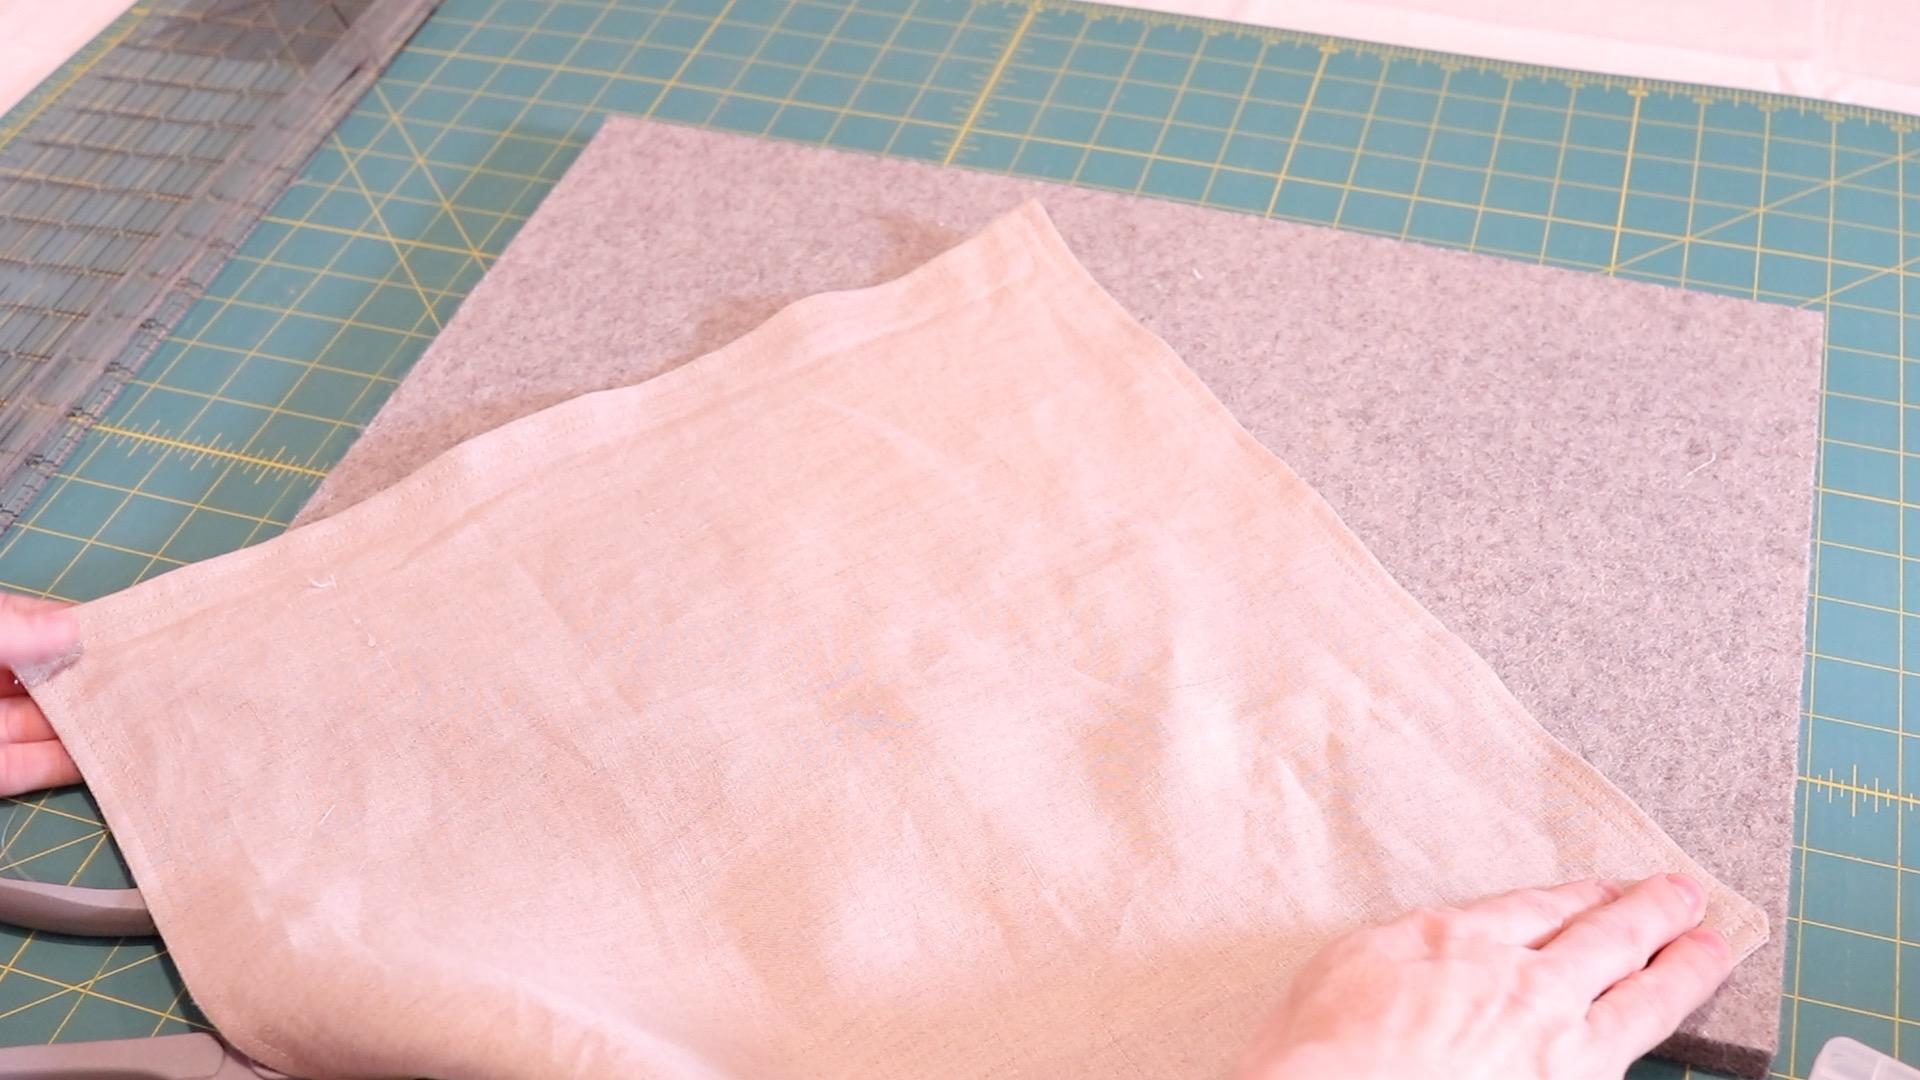
Once you have your pieces cut to the dimensions you want, it’s time to sew.
When sewing most projects, I prefer to use a thread that blends in (coordinating). This is a personal preference so you could definitely use a thread that contrasts so you see it. It’s up to you.
- Thread your machine and bobbin with the thread color of your choice.
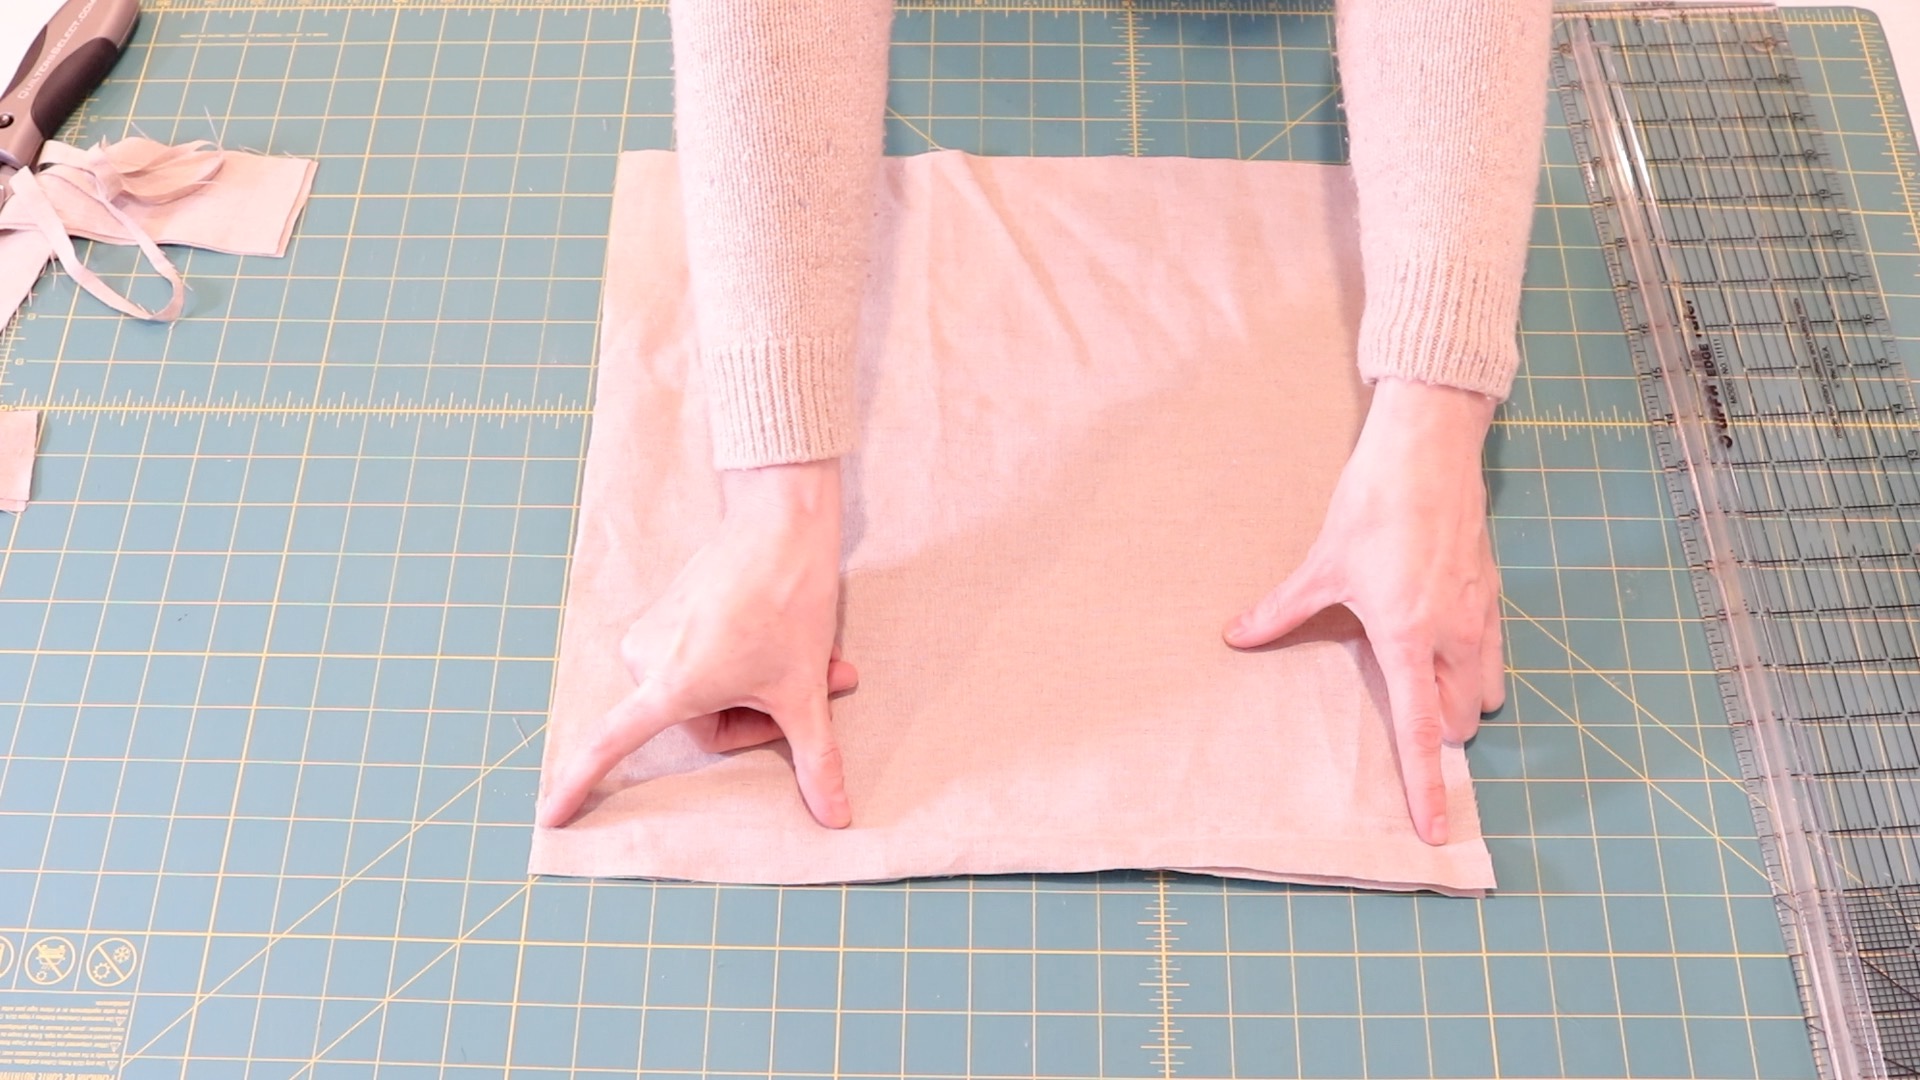
- You can use pins or clover sewing clips to keep your pieces held in place, but since this is a small-scale project I just opted to sew it without pinning or clipping.

- Using a 1/4 inch sewing foot or just a 1/4 inch seam allowance, sew around the entire edge of your bandana leaving a 3 to 4 inch opening to turn your bandana right sides out. This will hide the raw edges and make your bandana look nice and finished.
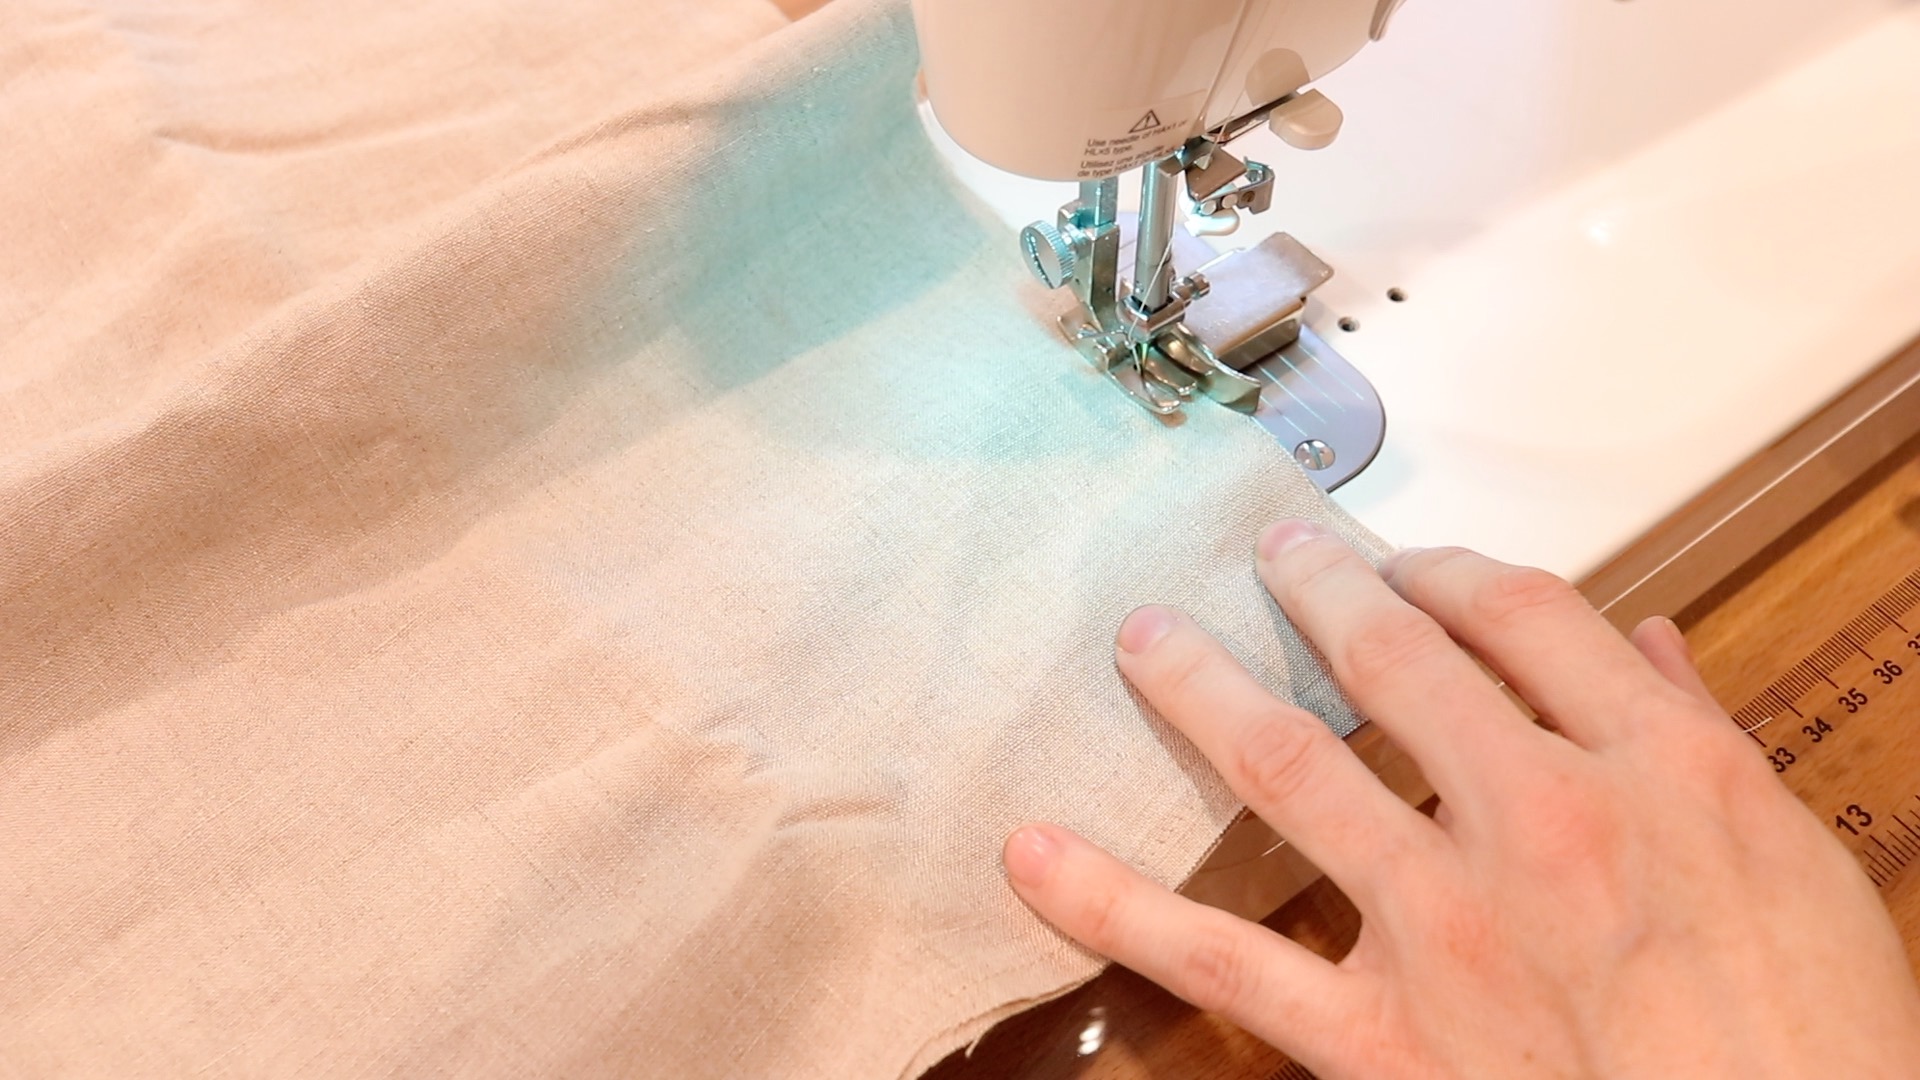
- Don’t forget to backstitch at the beginning and the end of your lines of stitching.
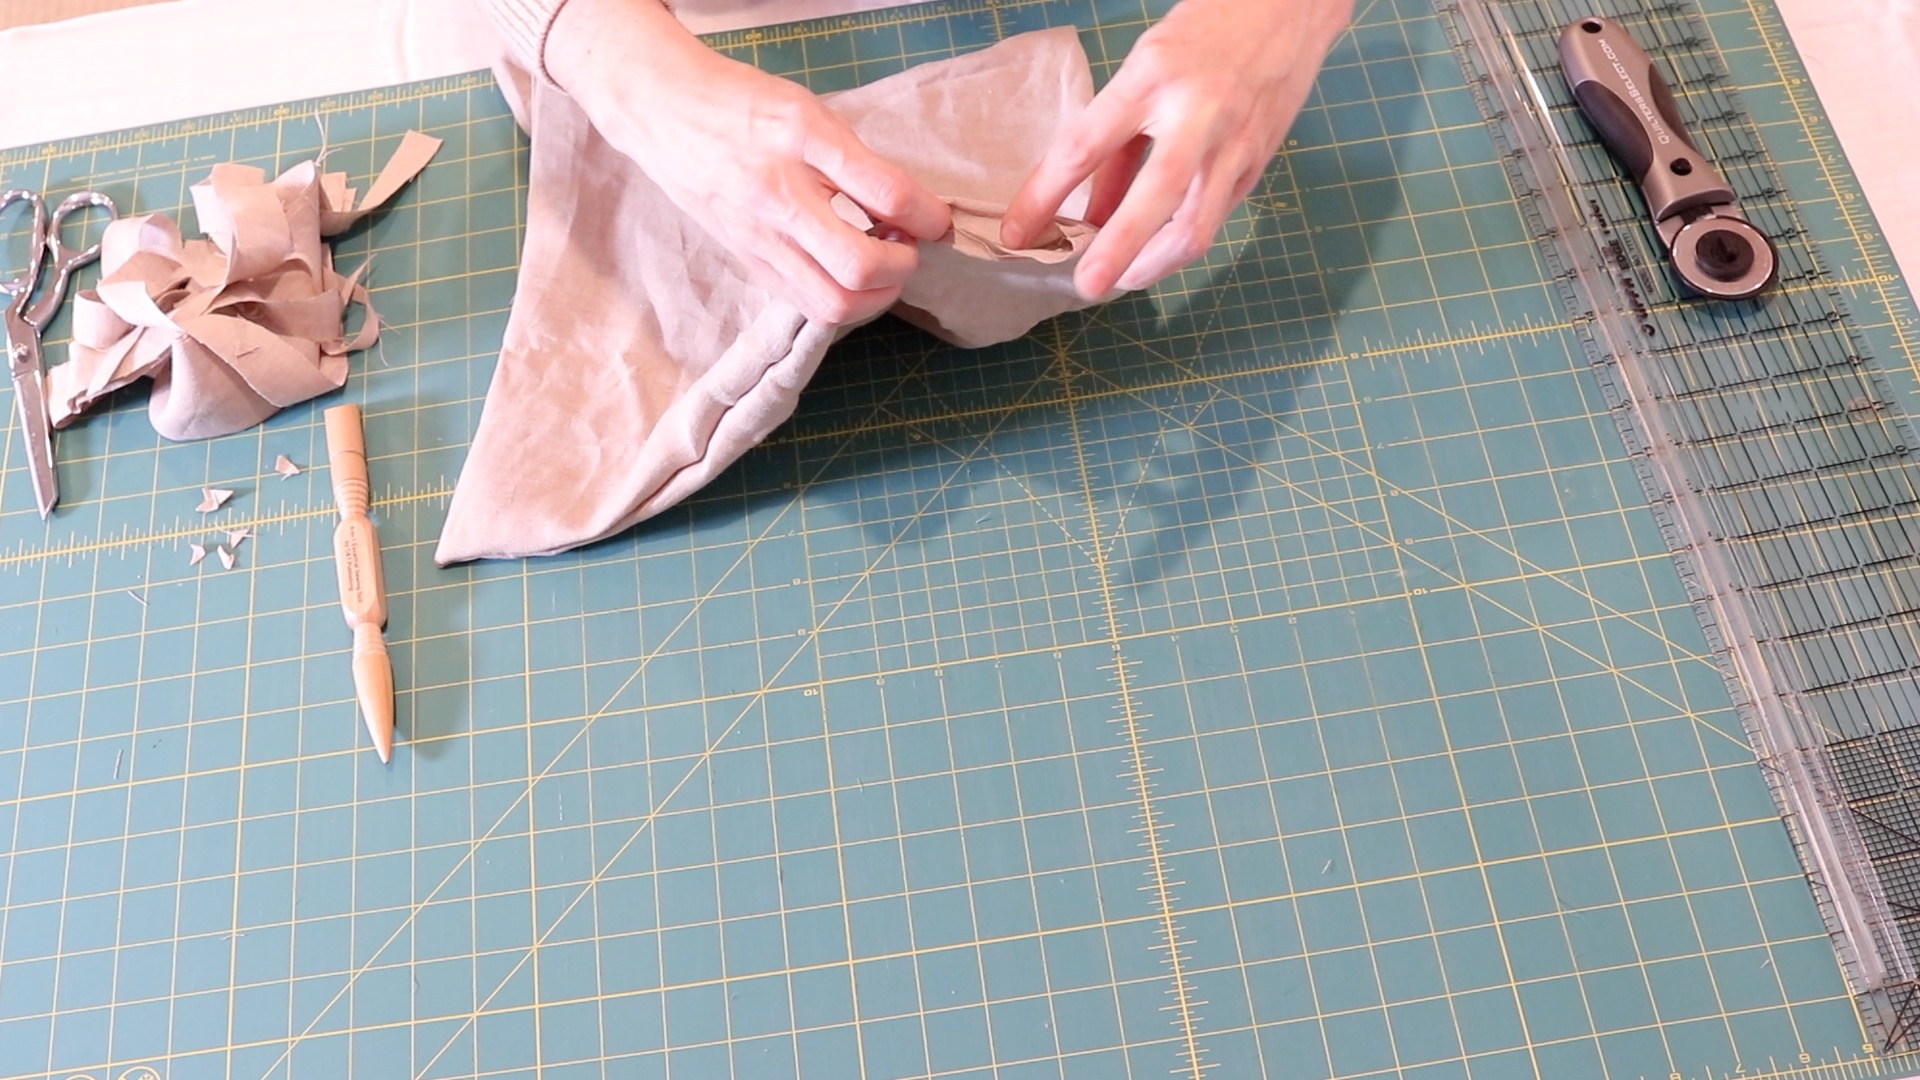
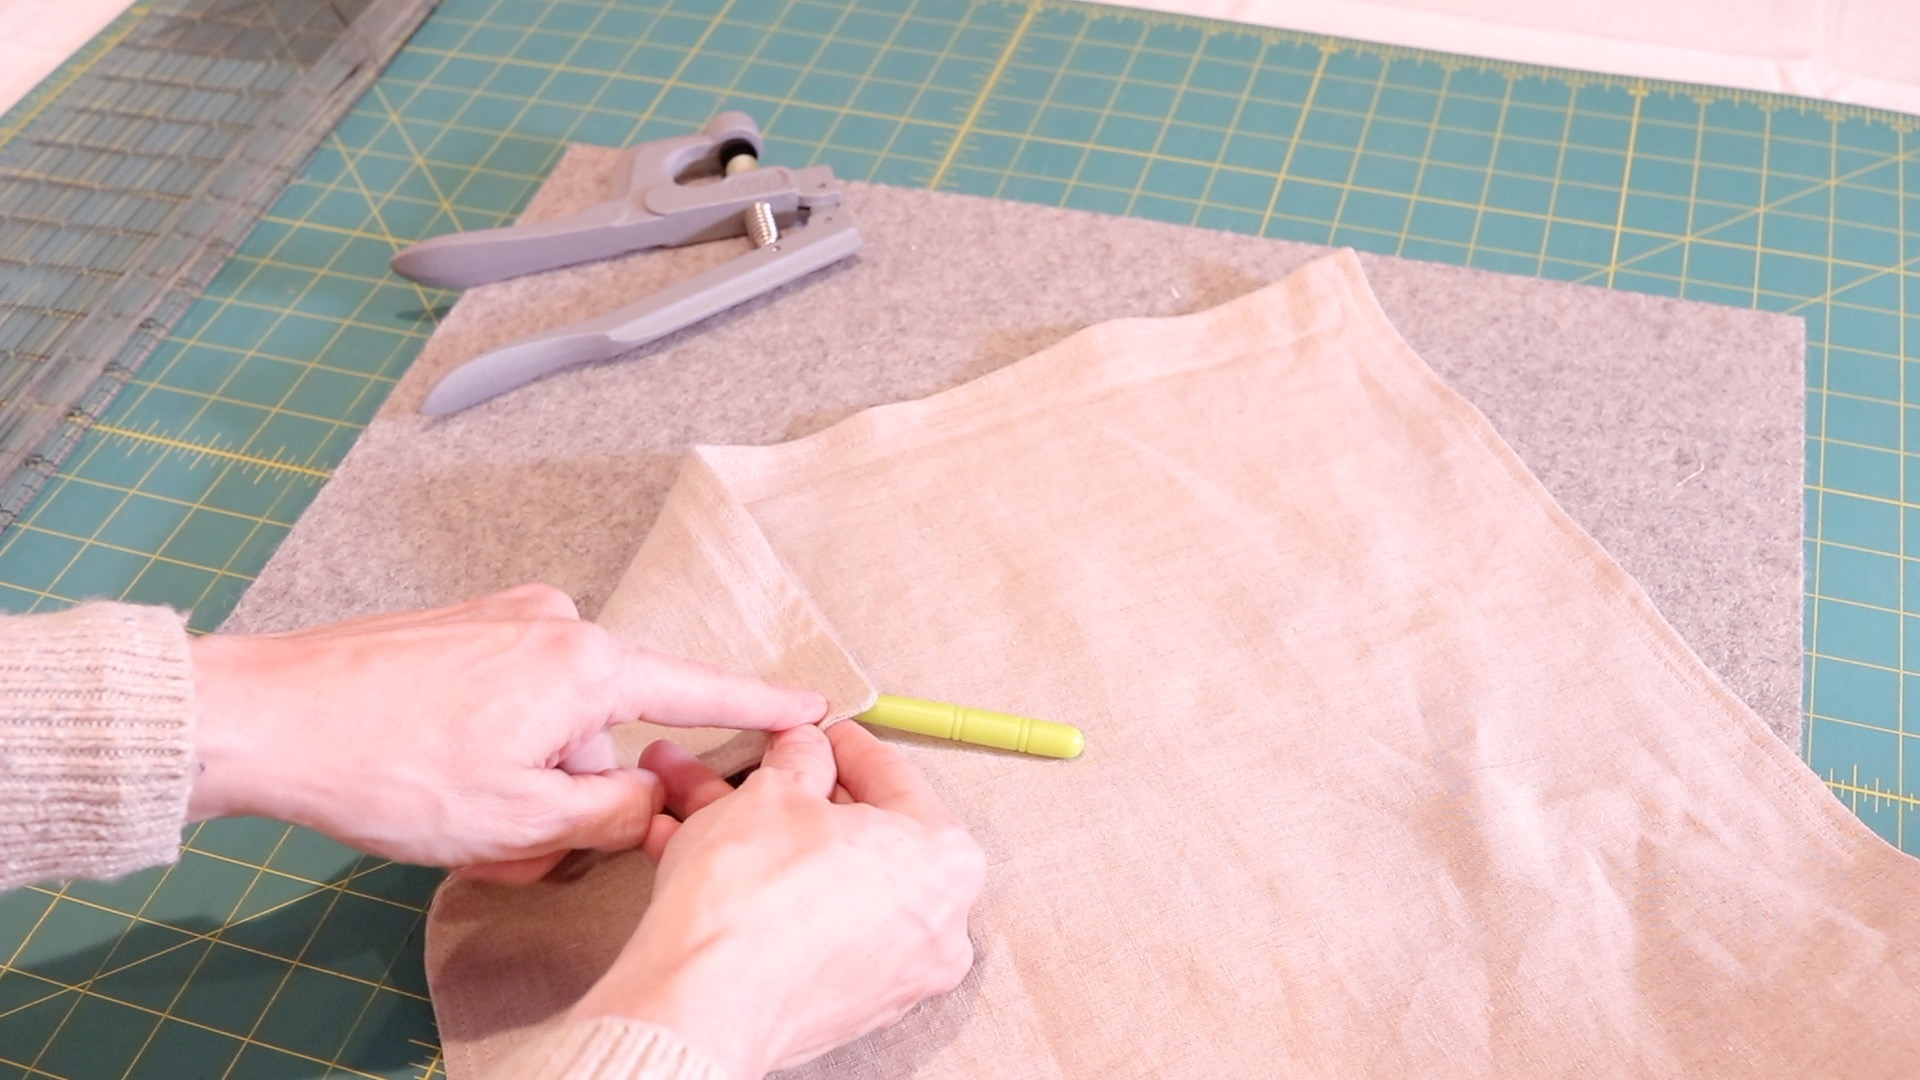
- Once you have sewn all the way around and left your 3 to 4 inch opening to turn, head back to the ironing board with your turning tool and a pair of scissors.
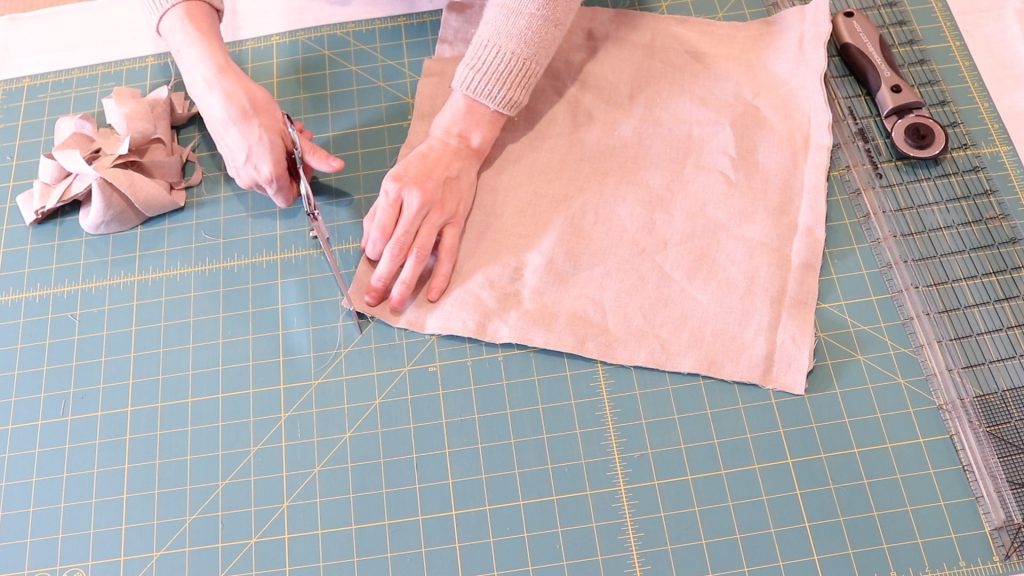
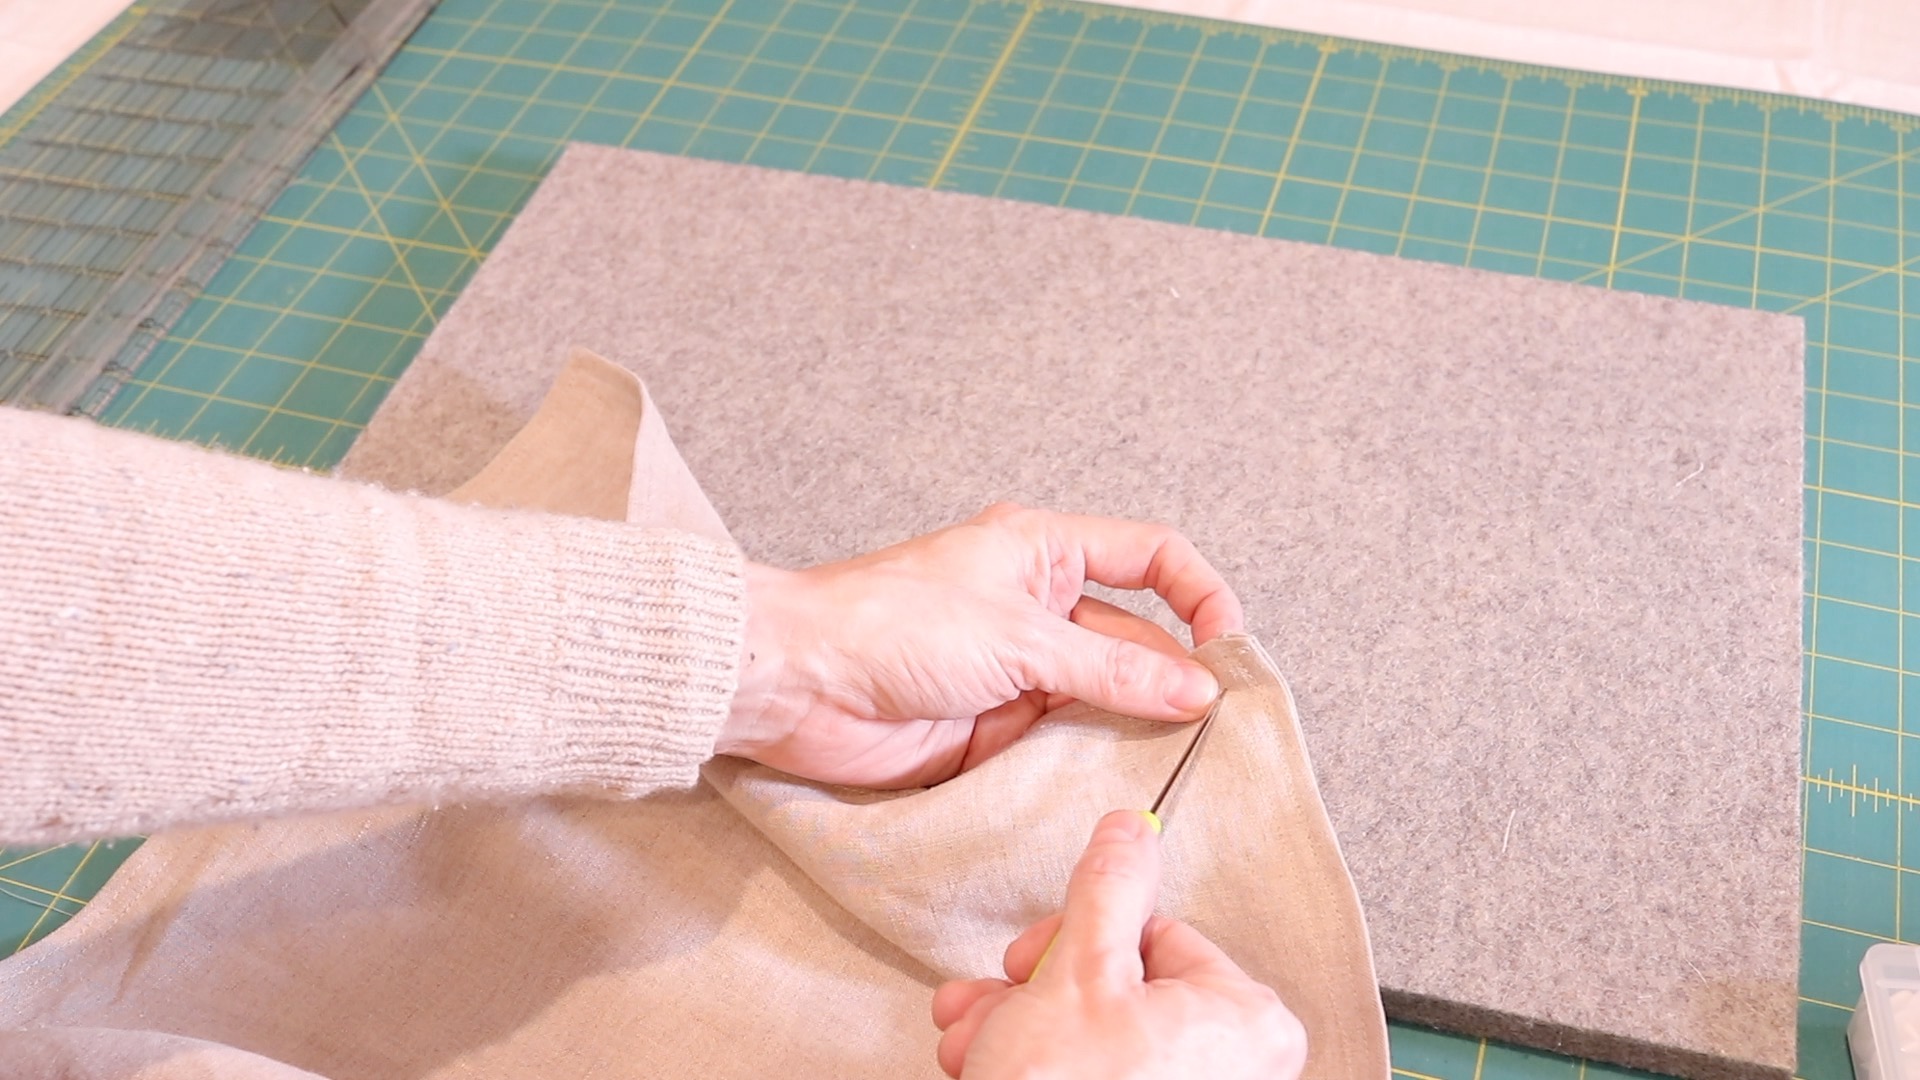
- Before we turn the bandana RSO (right sides out), take a pair of scissors and carefully clip the corners of the bandana. Be sure NOT to clip through the lines of stitching. By trimming off the corners, your bandana will have much cleaner and sharper looking corners because you are removing the bulk from that area.
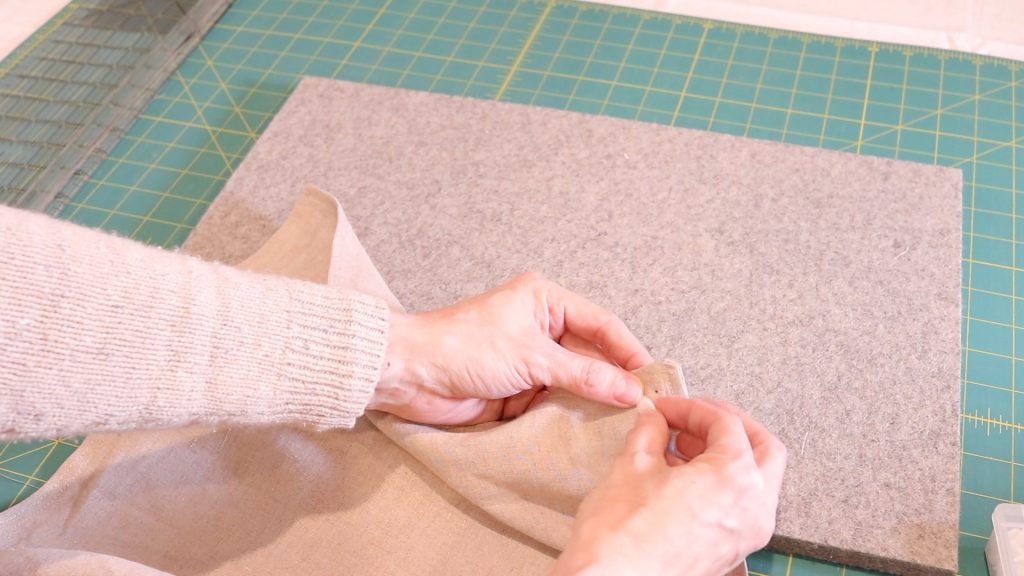
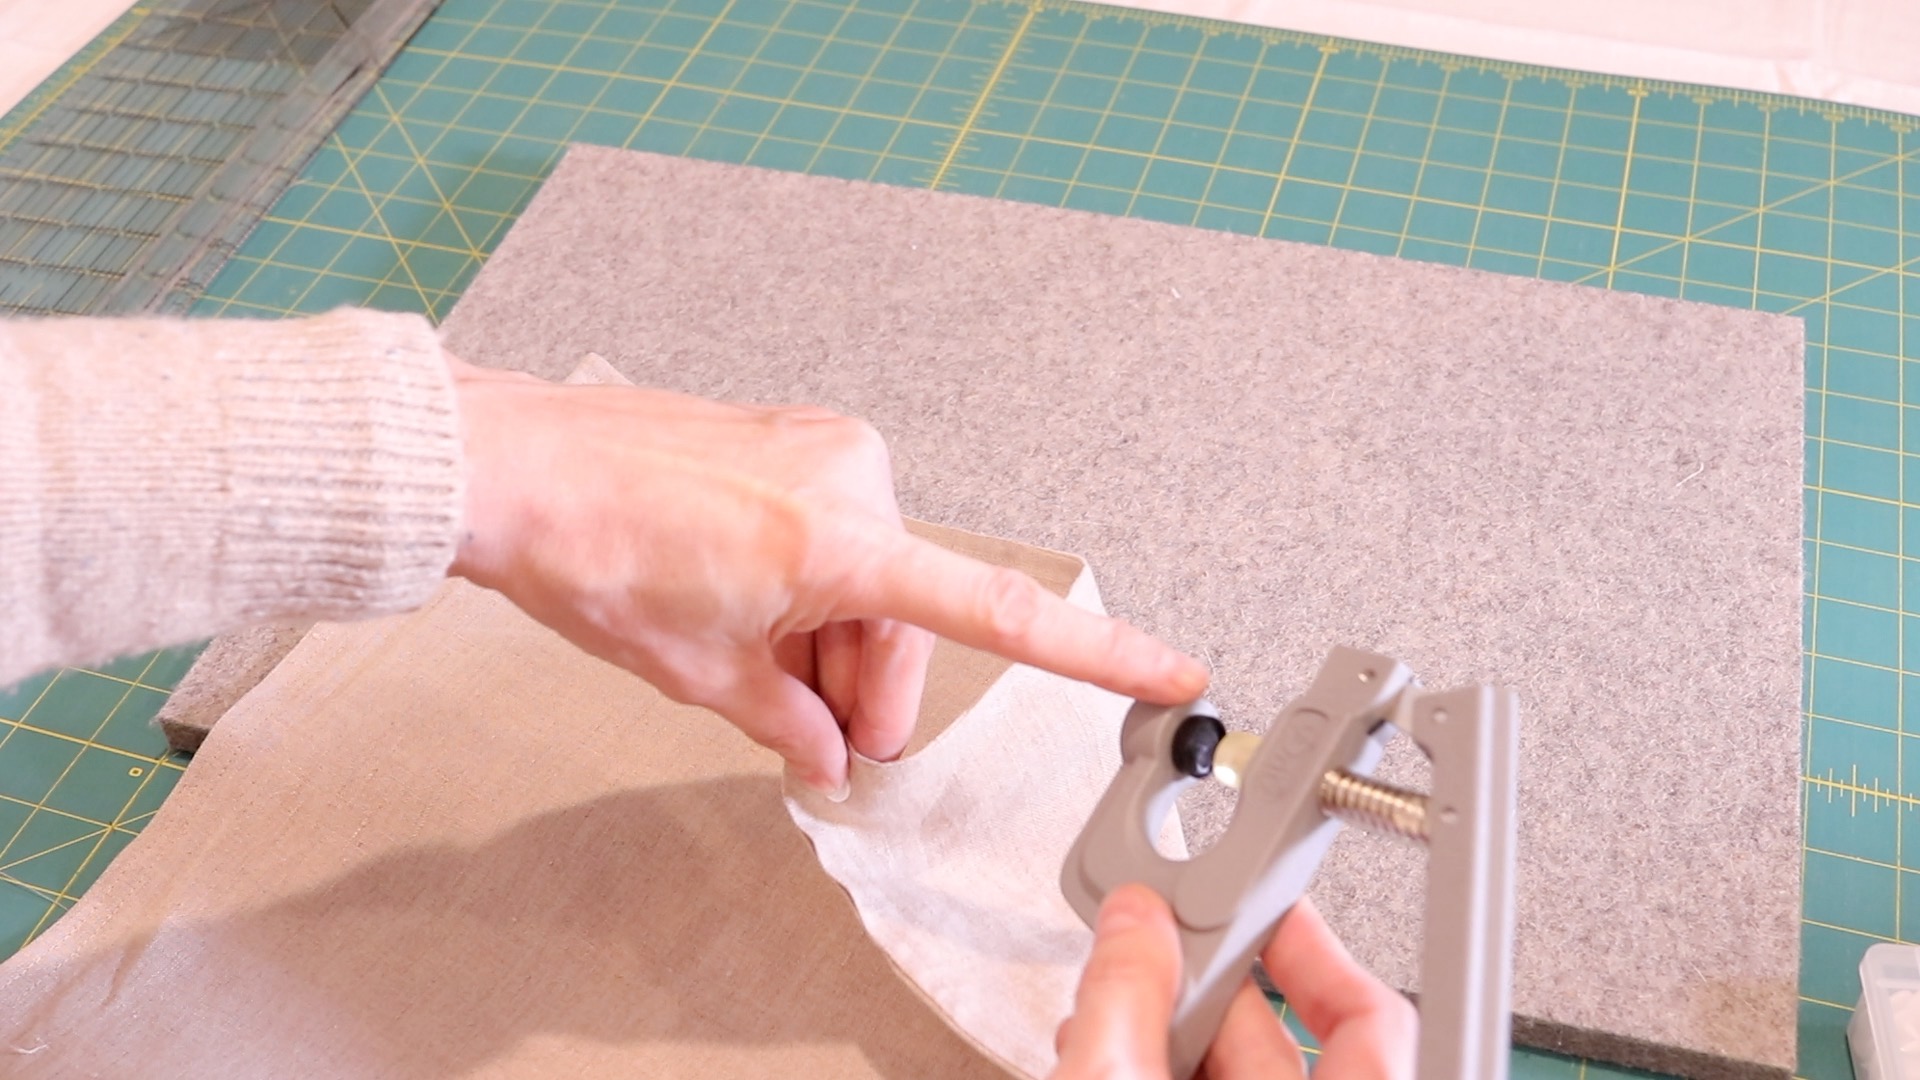
- After clipping all (4) corners, it’s time to turn.
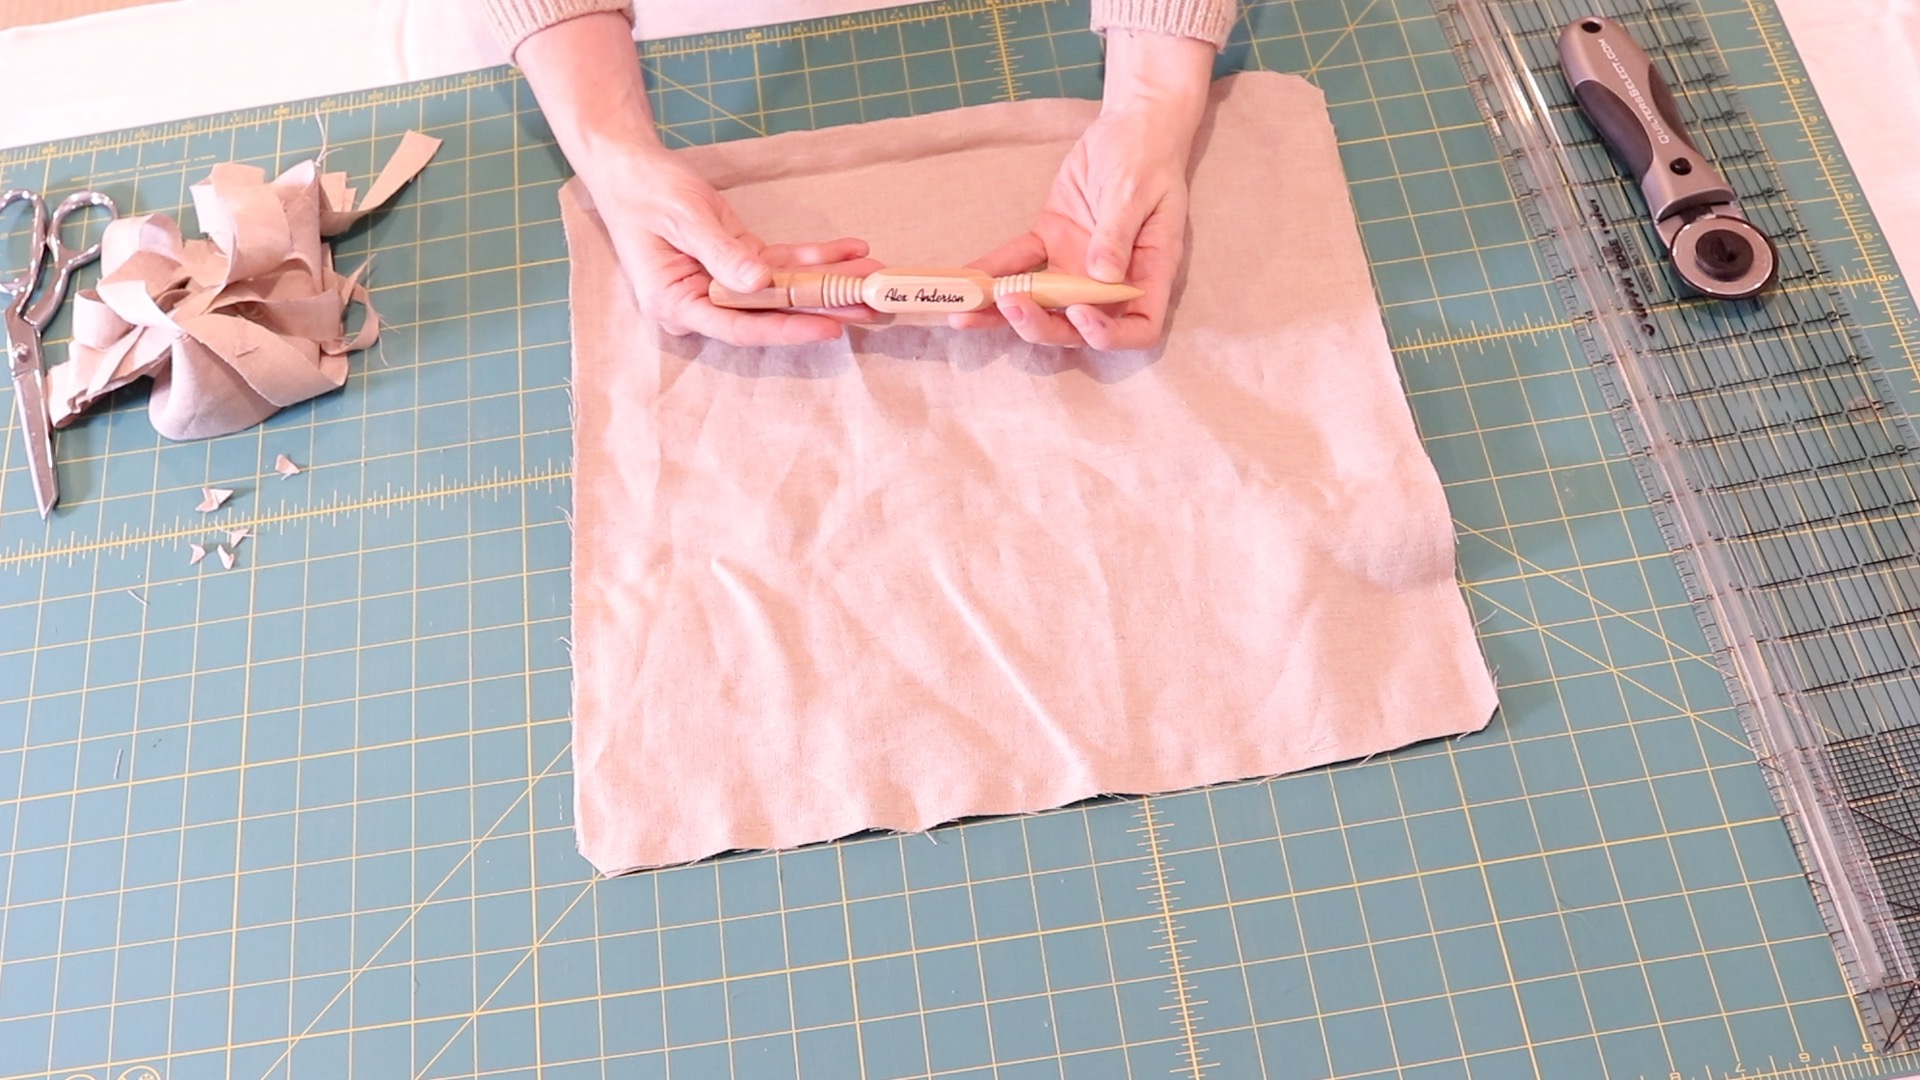
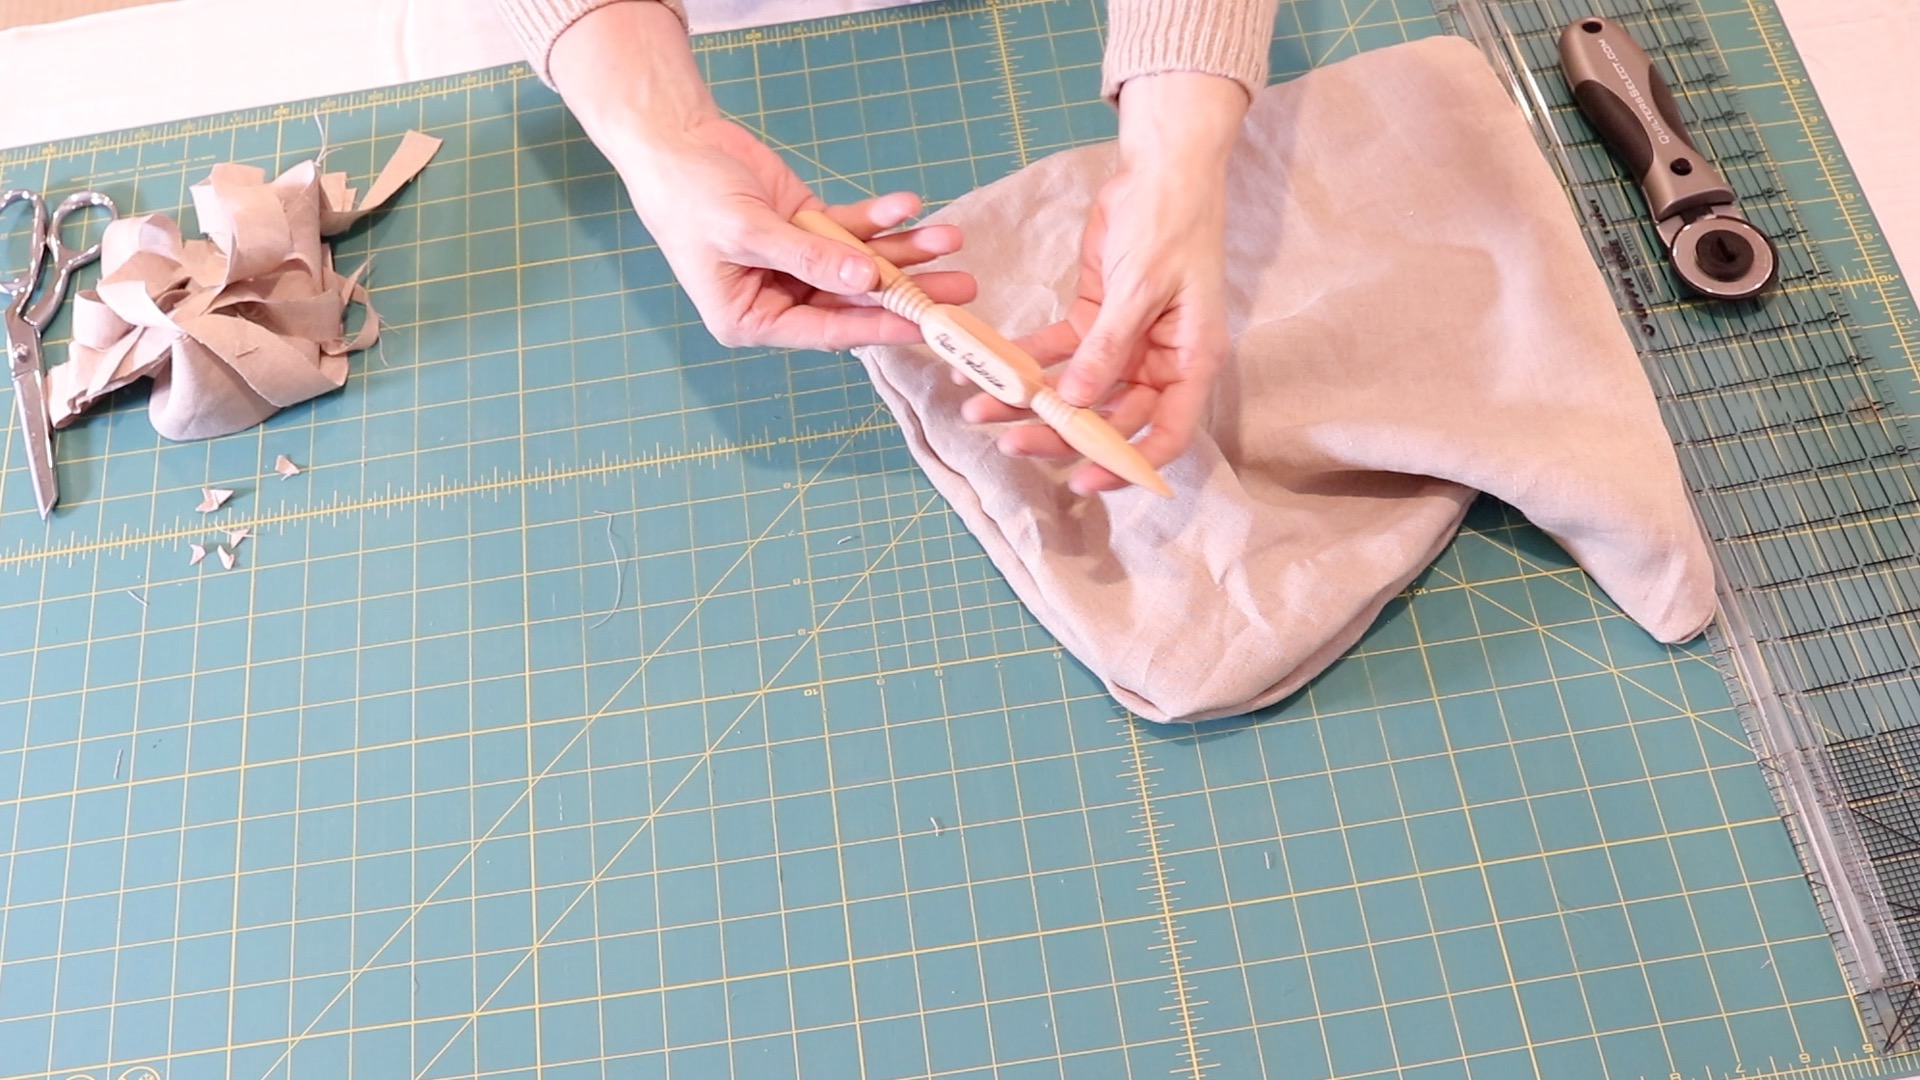
- Using a turning tool of your choice, turn your bandana RSO and then use your tool (this is the one I use and prefer), to push the corners of your bandana out. Be careful not to push out too forcefully as it could push right through the woven linen material.
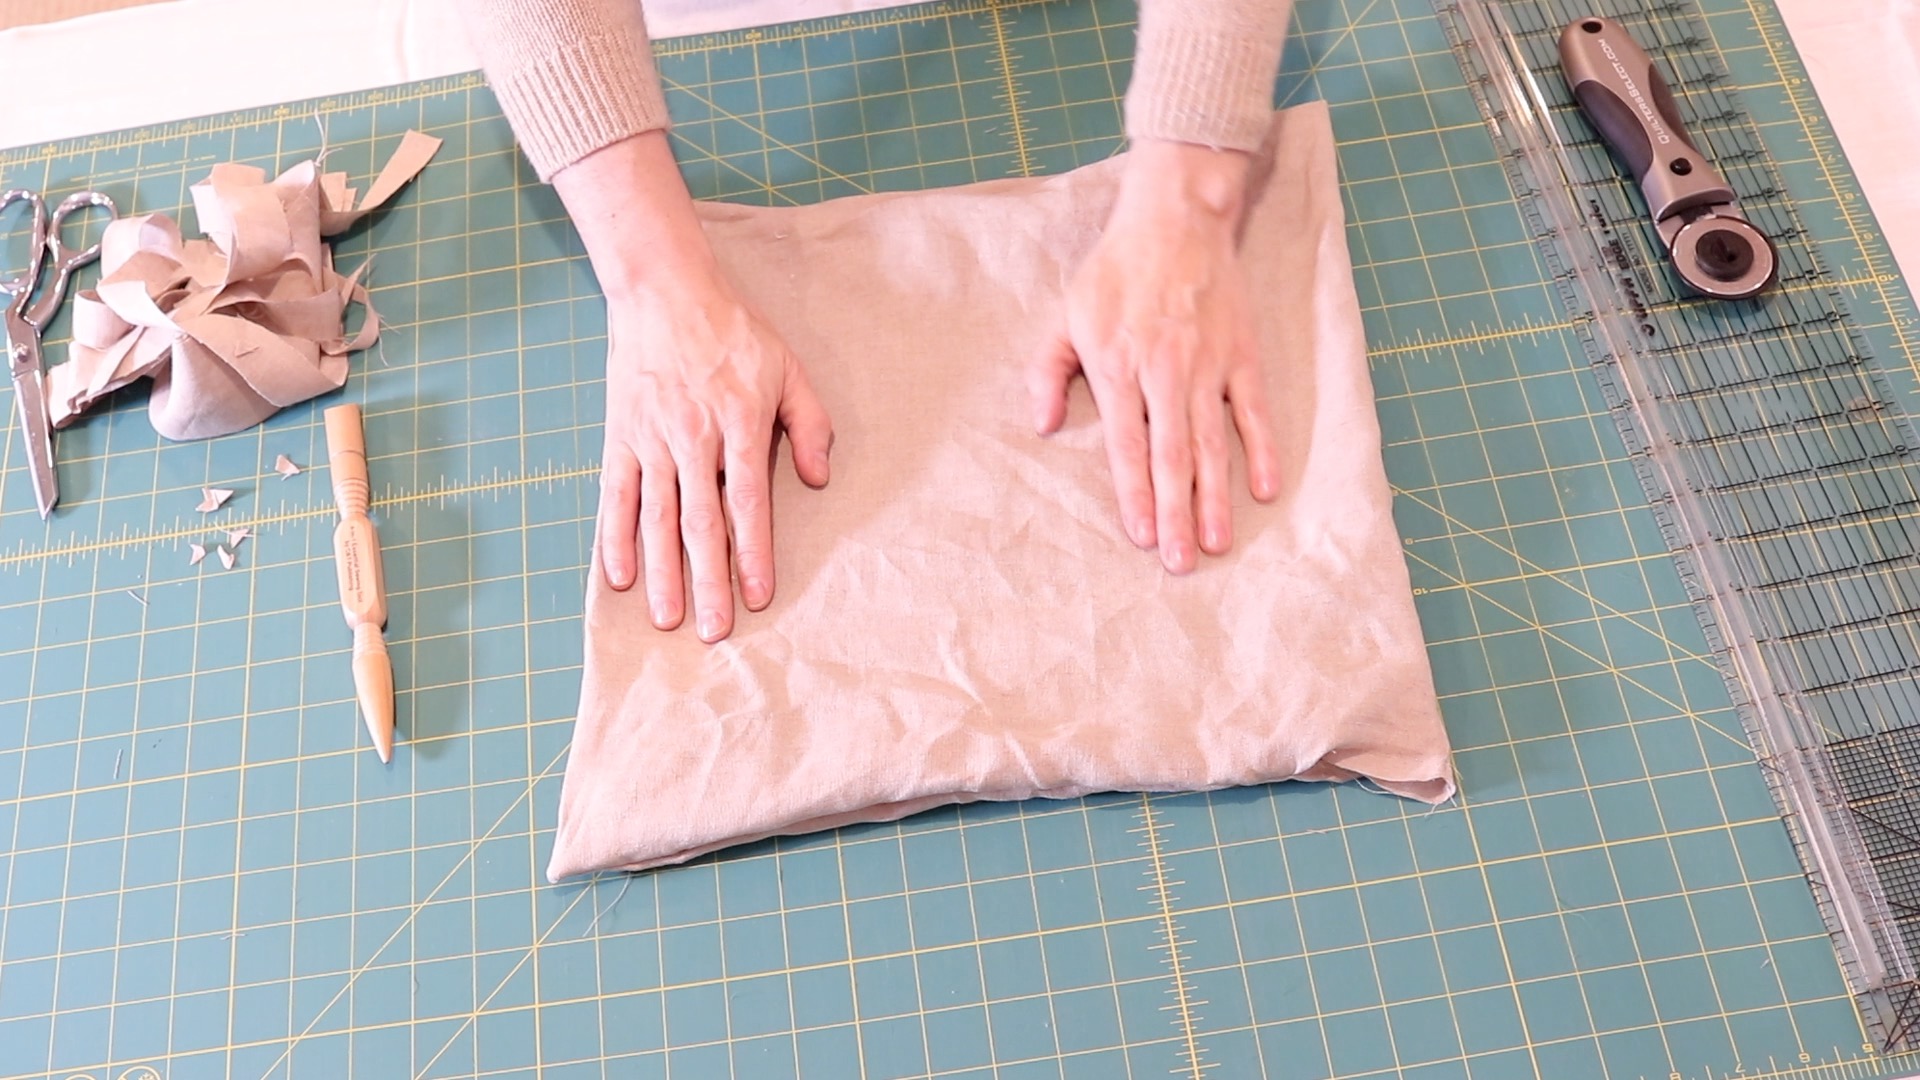
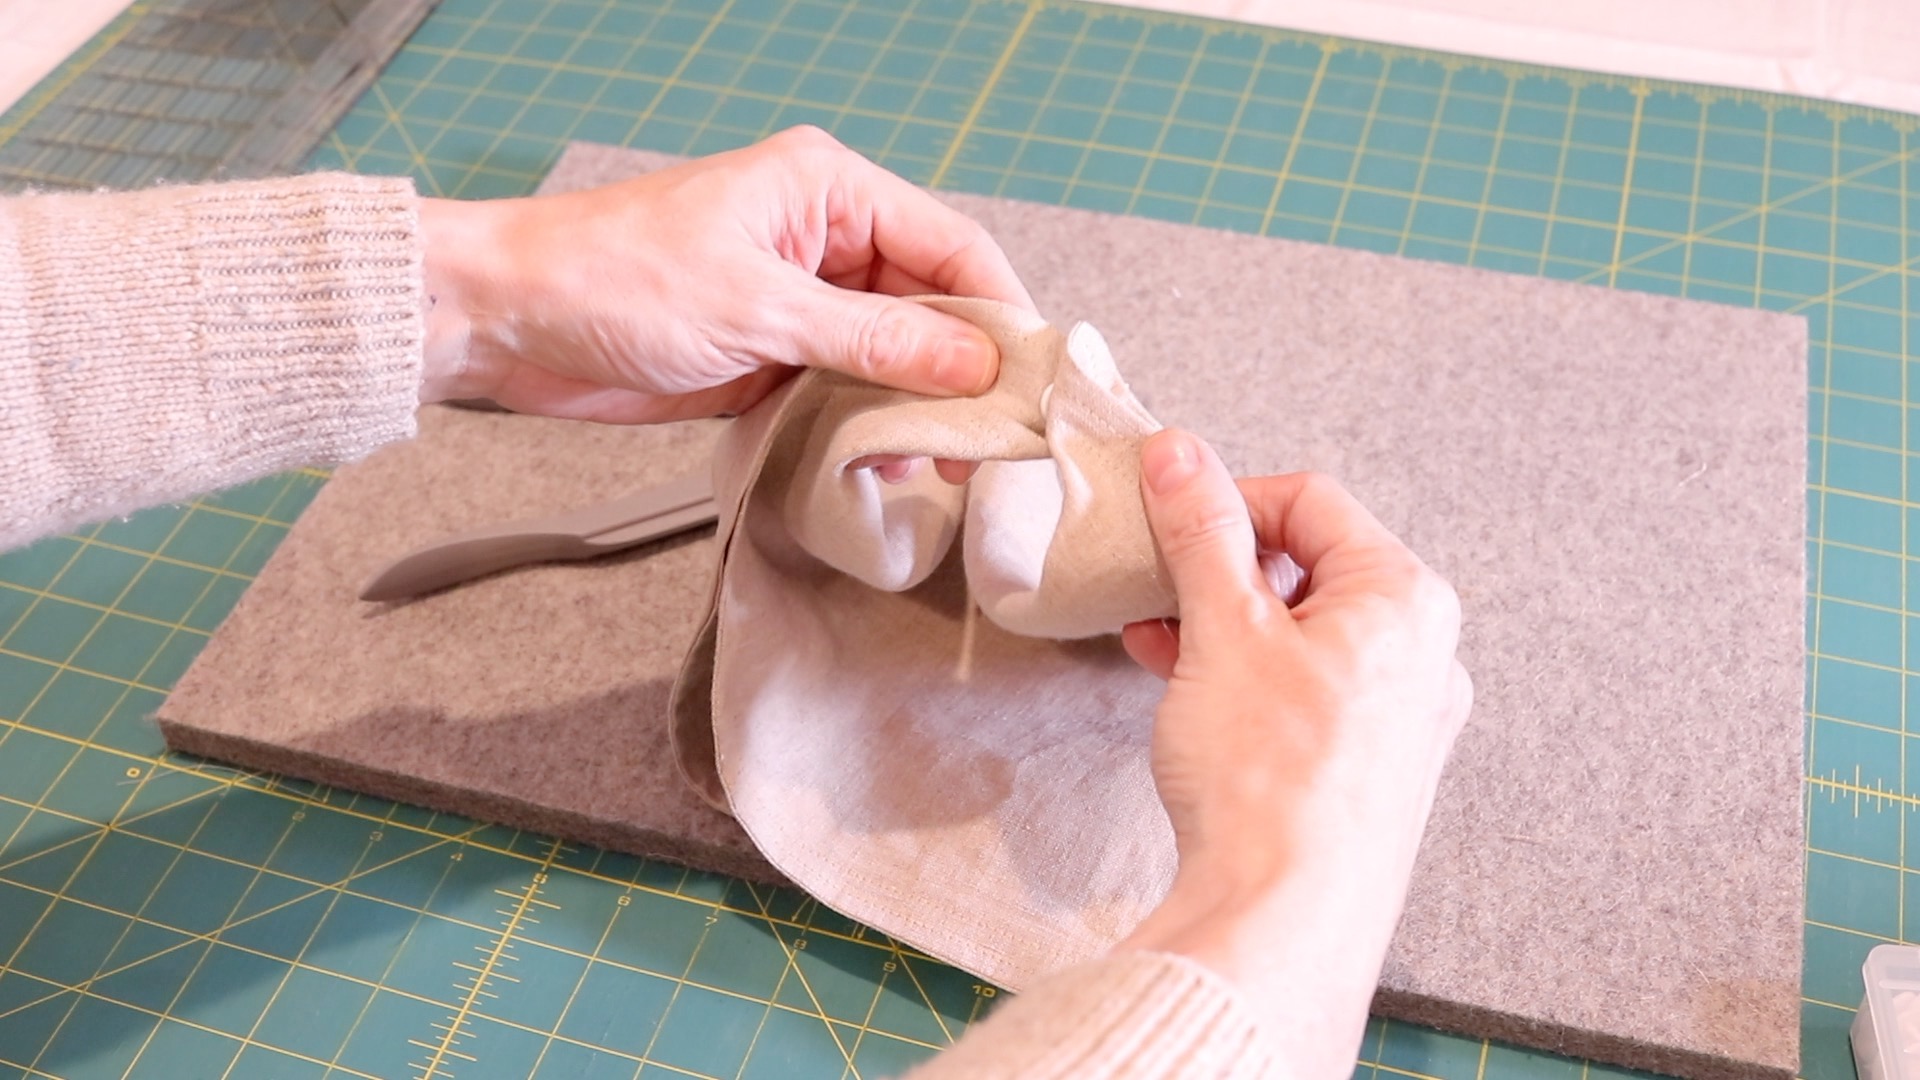
Press out your seams.
- Around the entire edge of your bandana, take and gently move your seams out. this helps to push the seam out so it lays nice and flat to iron. Rolling out the seams and finger pressing will usually provide a nice crisp edge all on its own without the need to iron. I still iron because that’s just how I’ve always done it.
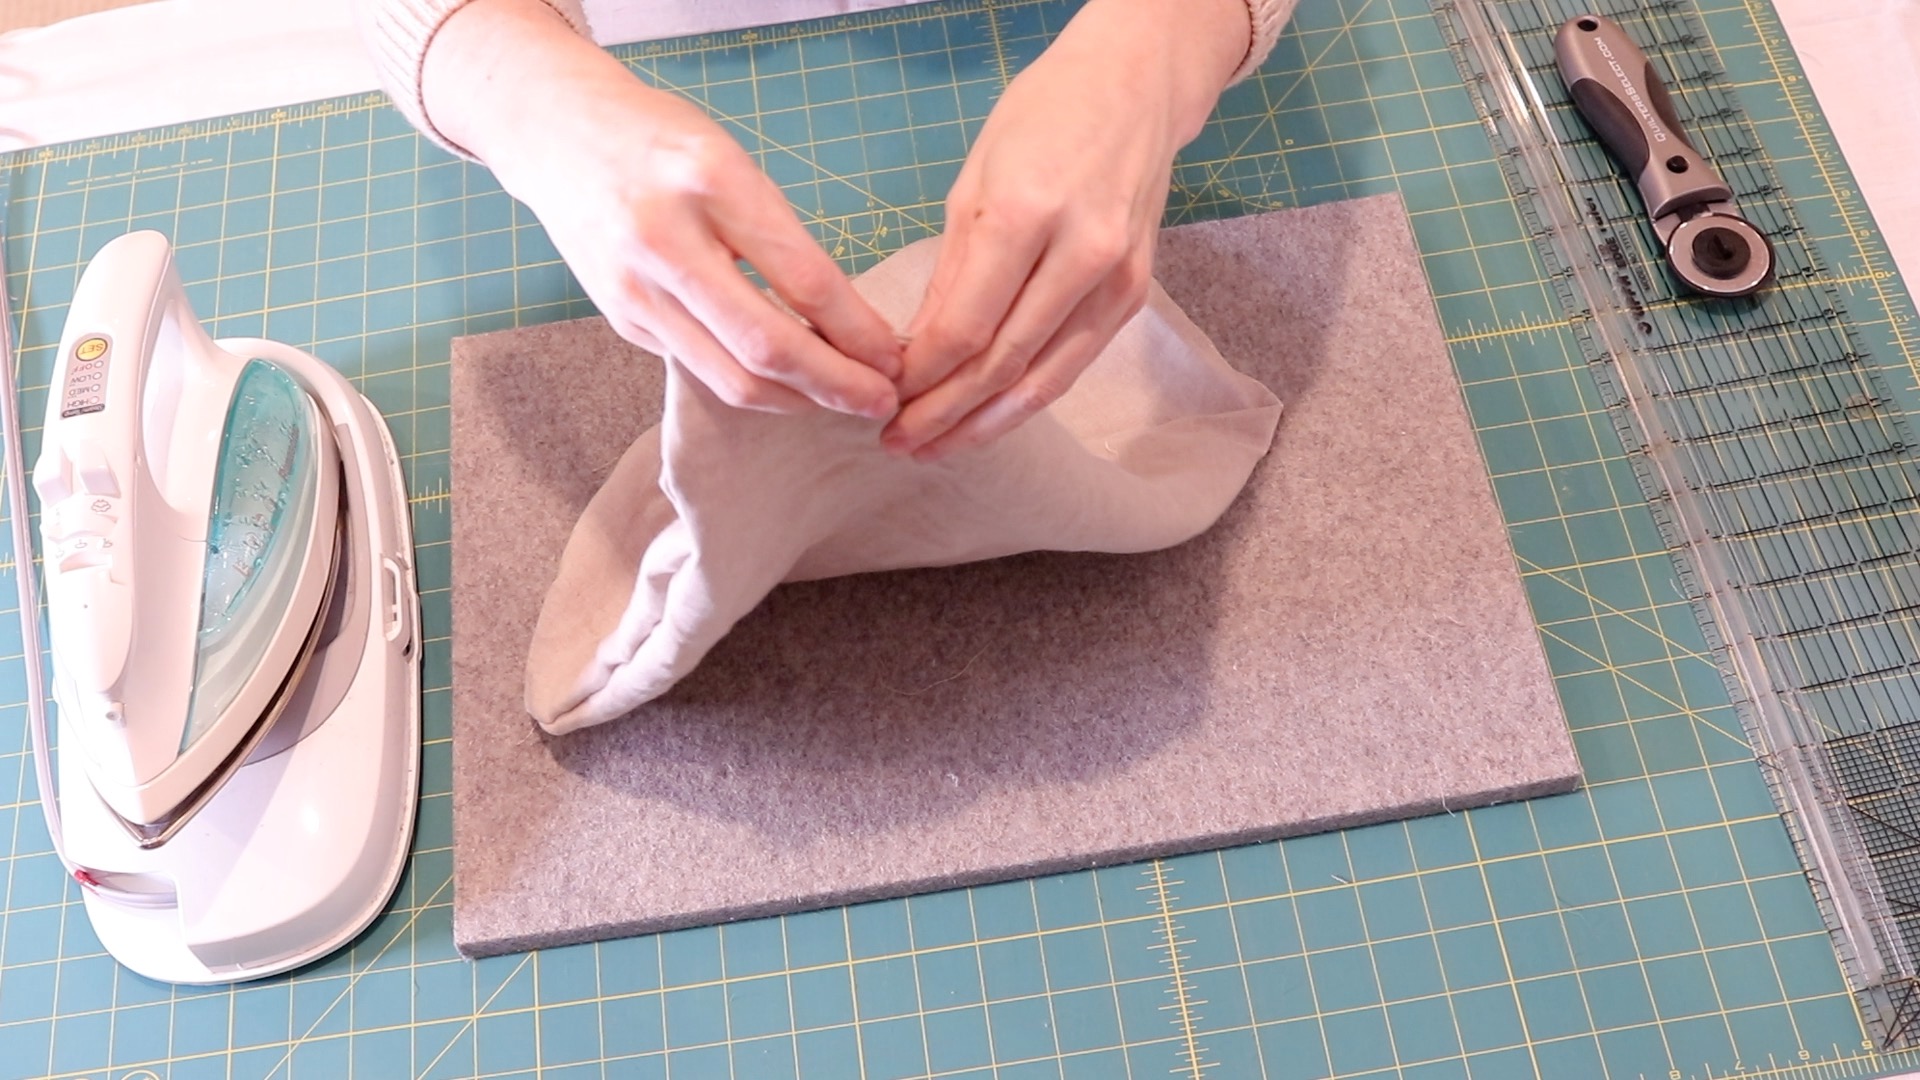
- Once you have finger pressed all your seams out after you have rolled the seams out, gently give the edges a press. This will ensure things are laying nice and flat for topstitching.
- When you get to the edge where you have left your opening that you turned your bandana through, make sure the edges are all folded towards the center and pressed towards the inside. This will ensure that you won’t see any of the raw edges when you topstitch.

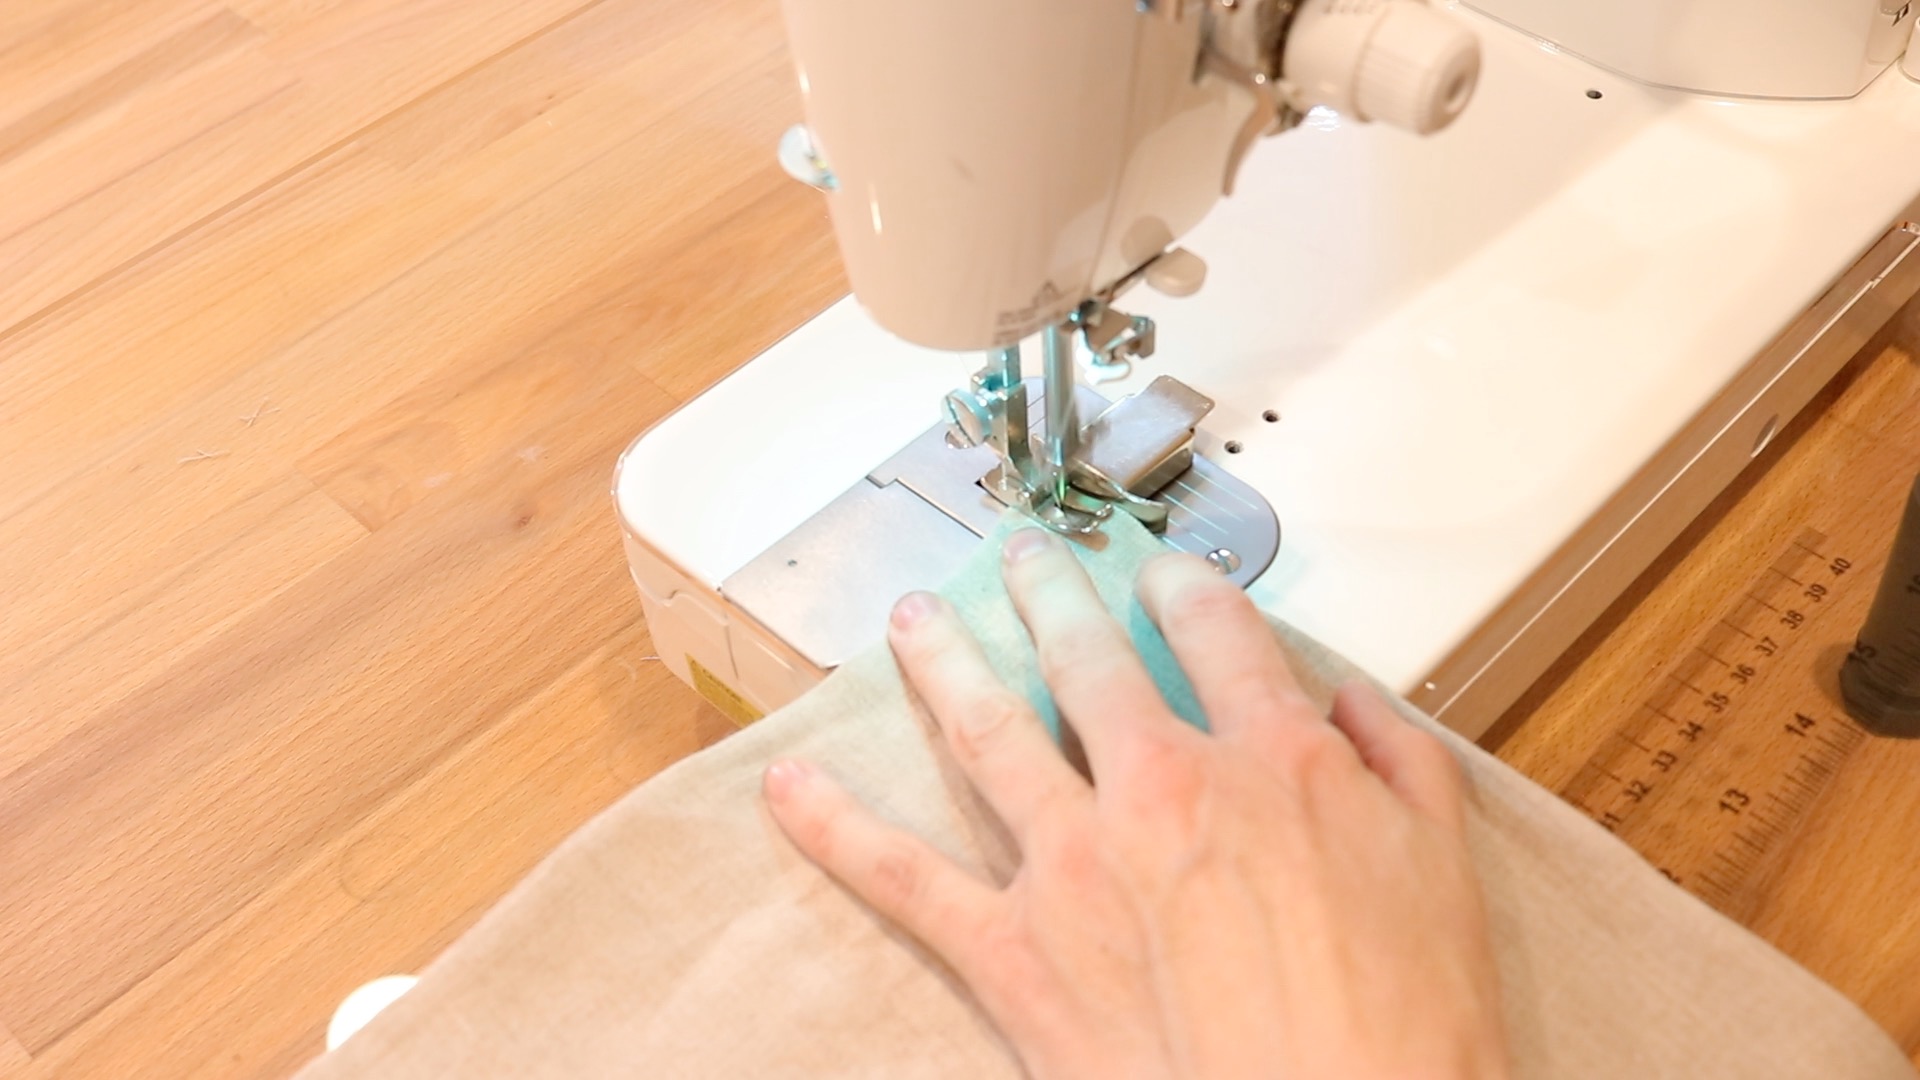
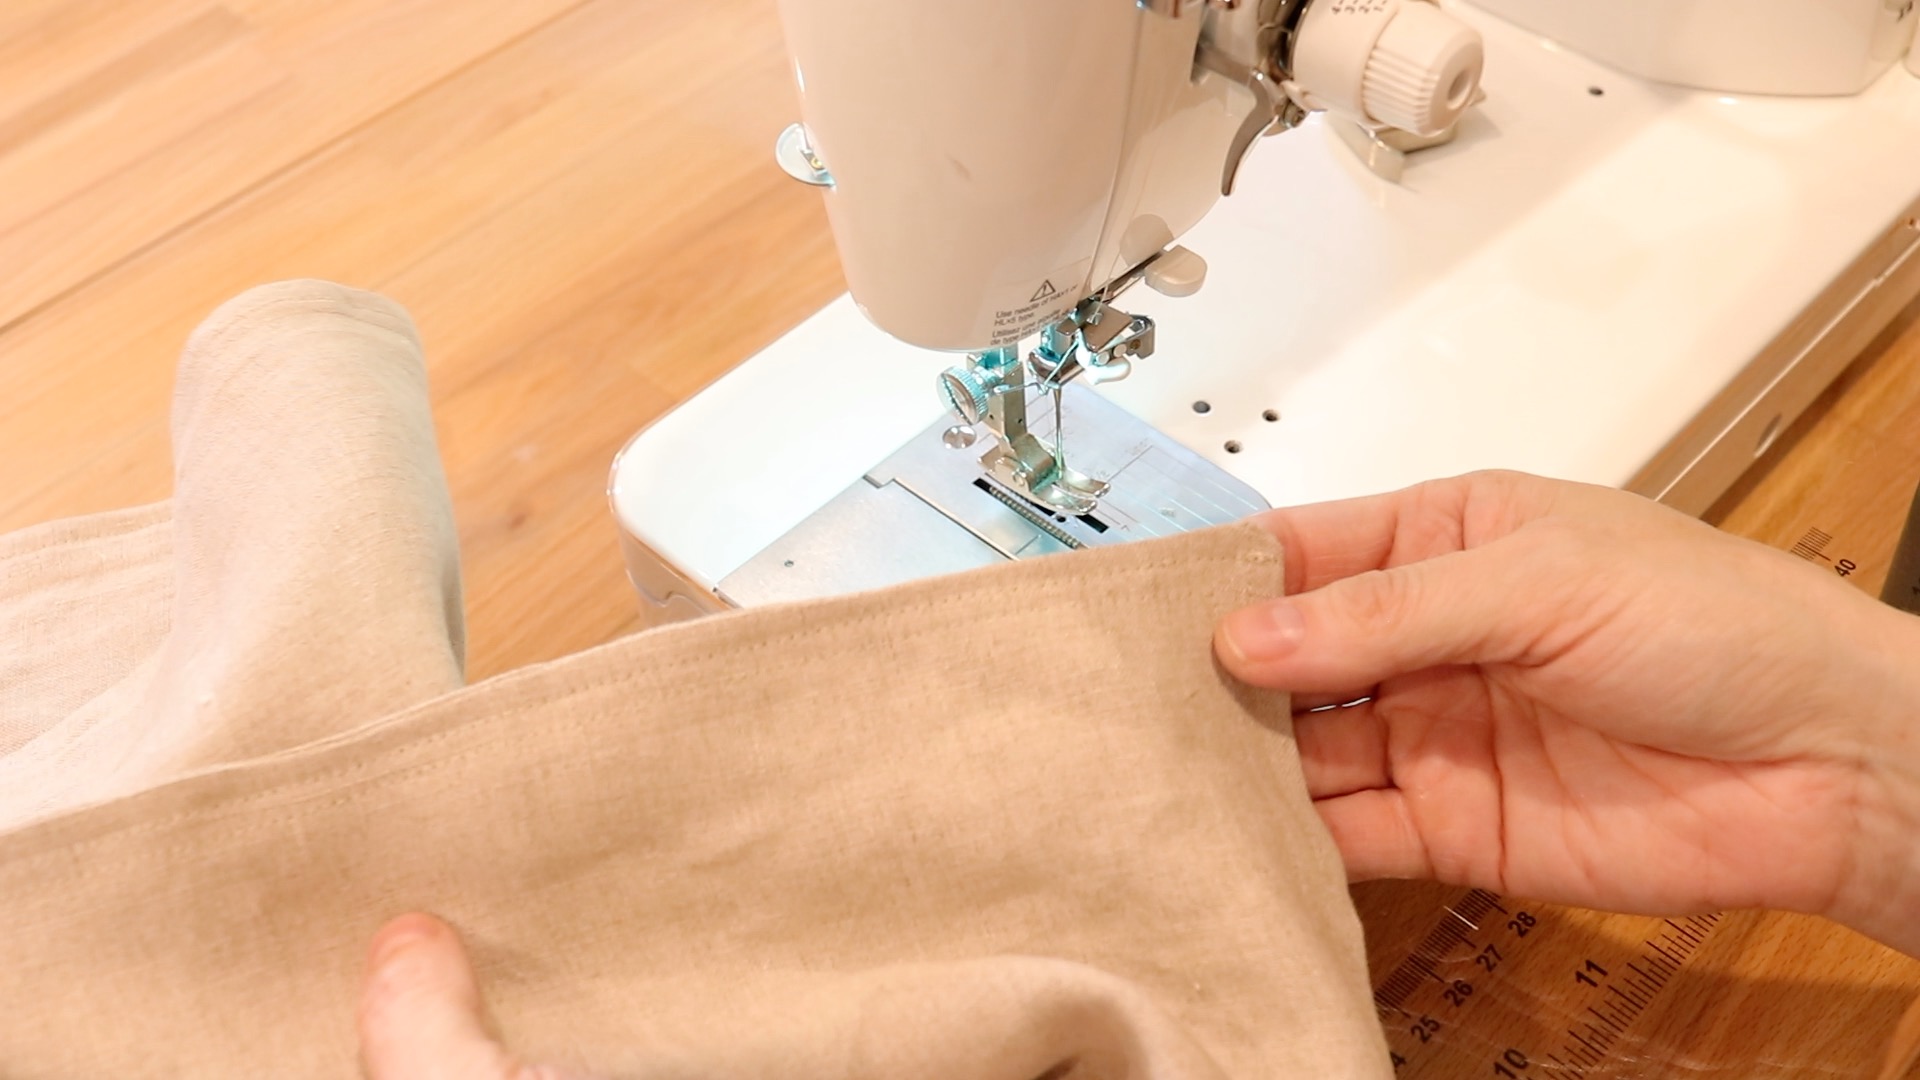
Topstitching
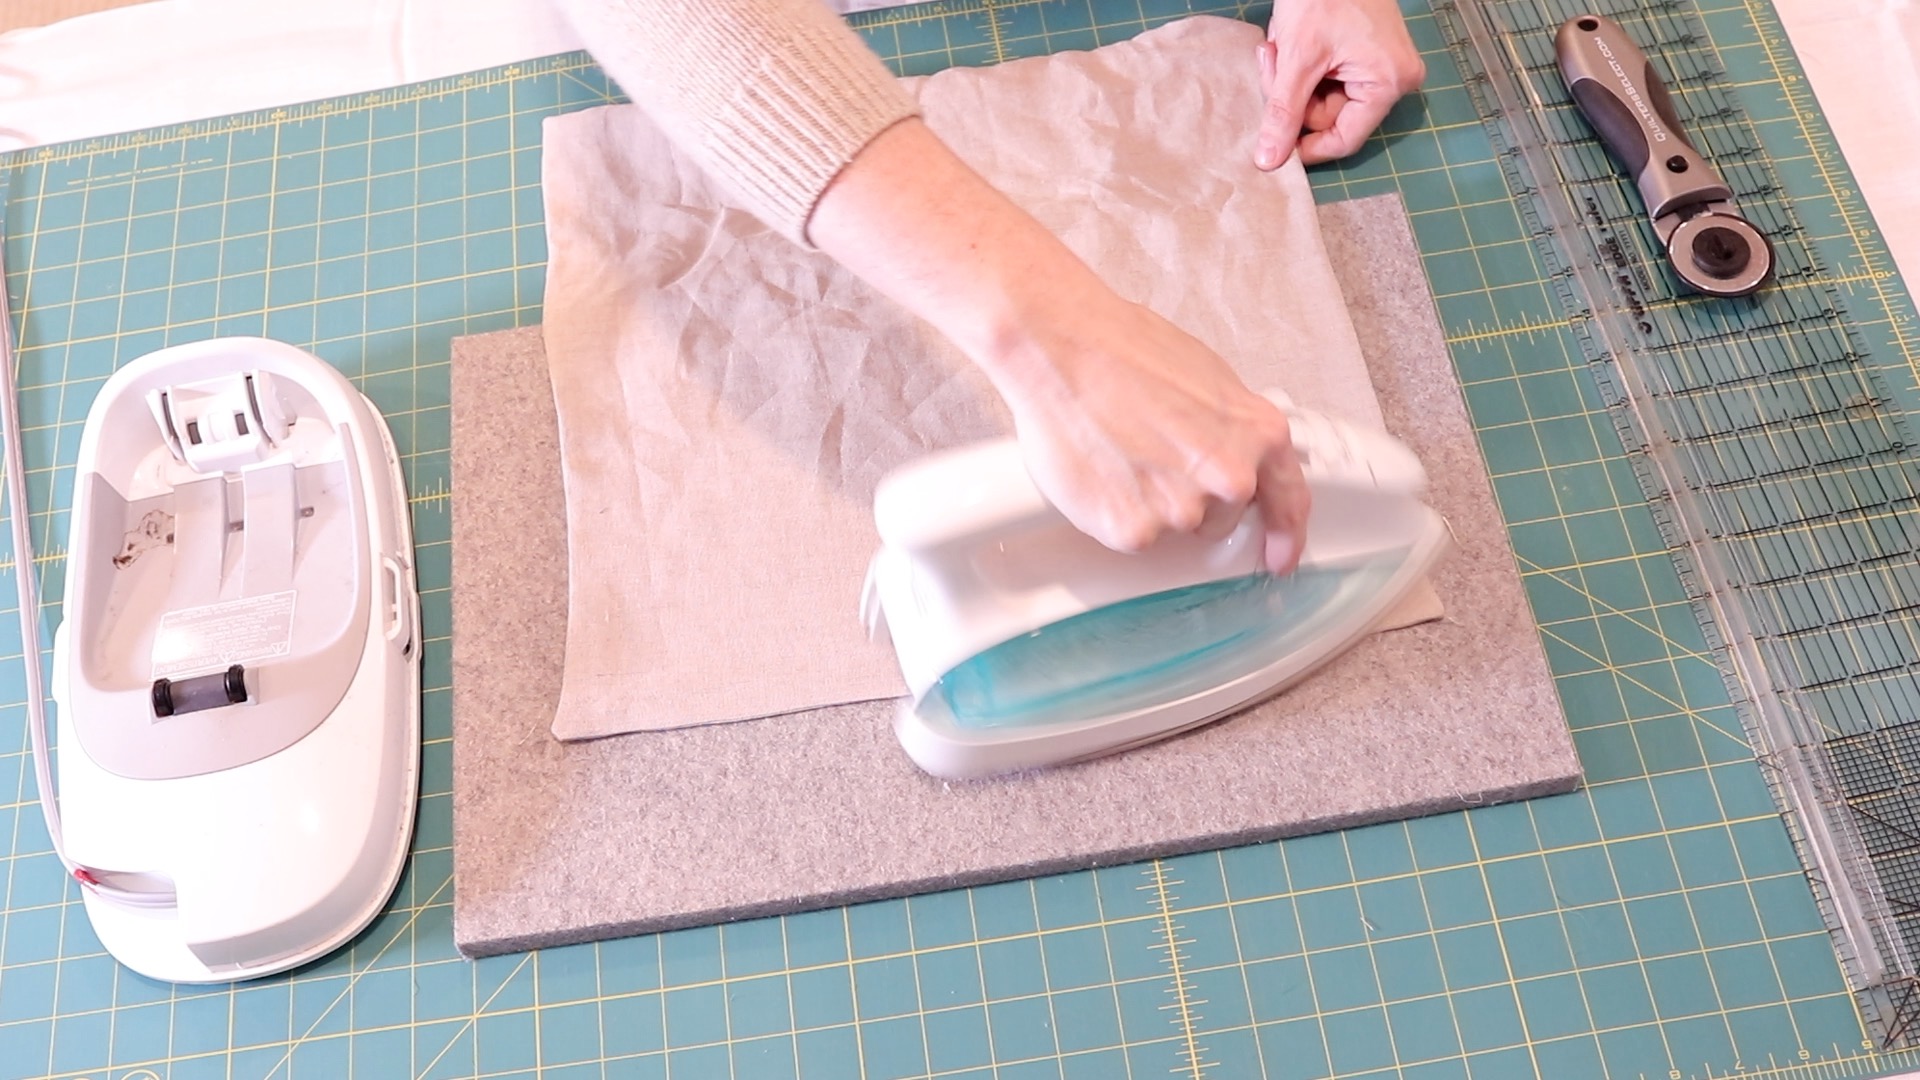
- After you have ironed your bandana, it’s time to topstitch. This part of the project I guess could be optional too, but if you washed your bandana, the seams are going to puff out and you’ll need to iron them flat again. I personally love the look of topstitching. I feel like it really gives projects a finished look.
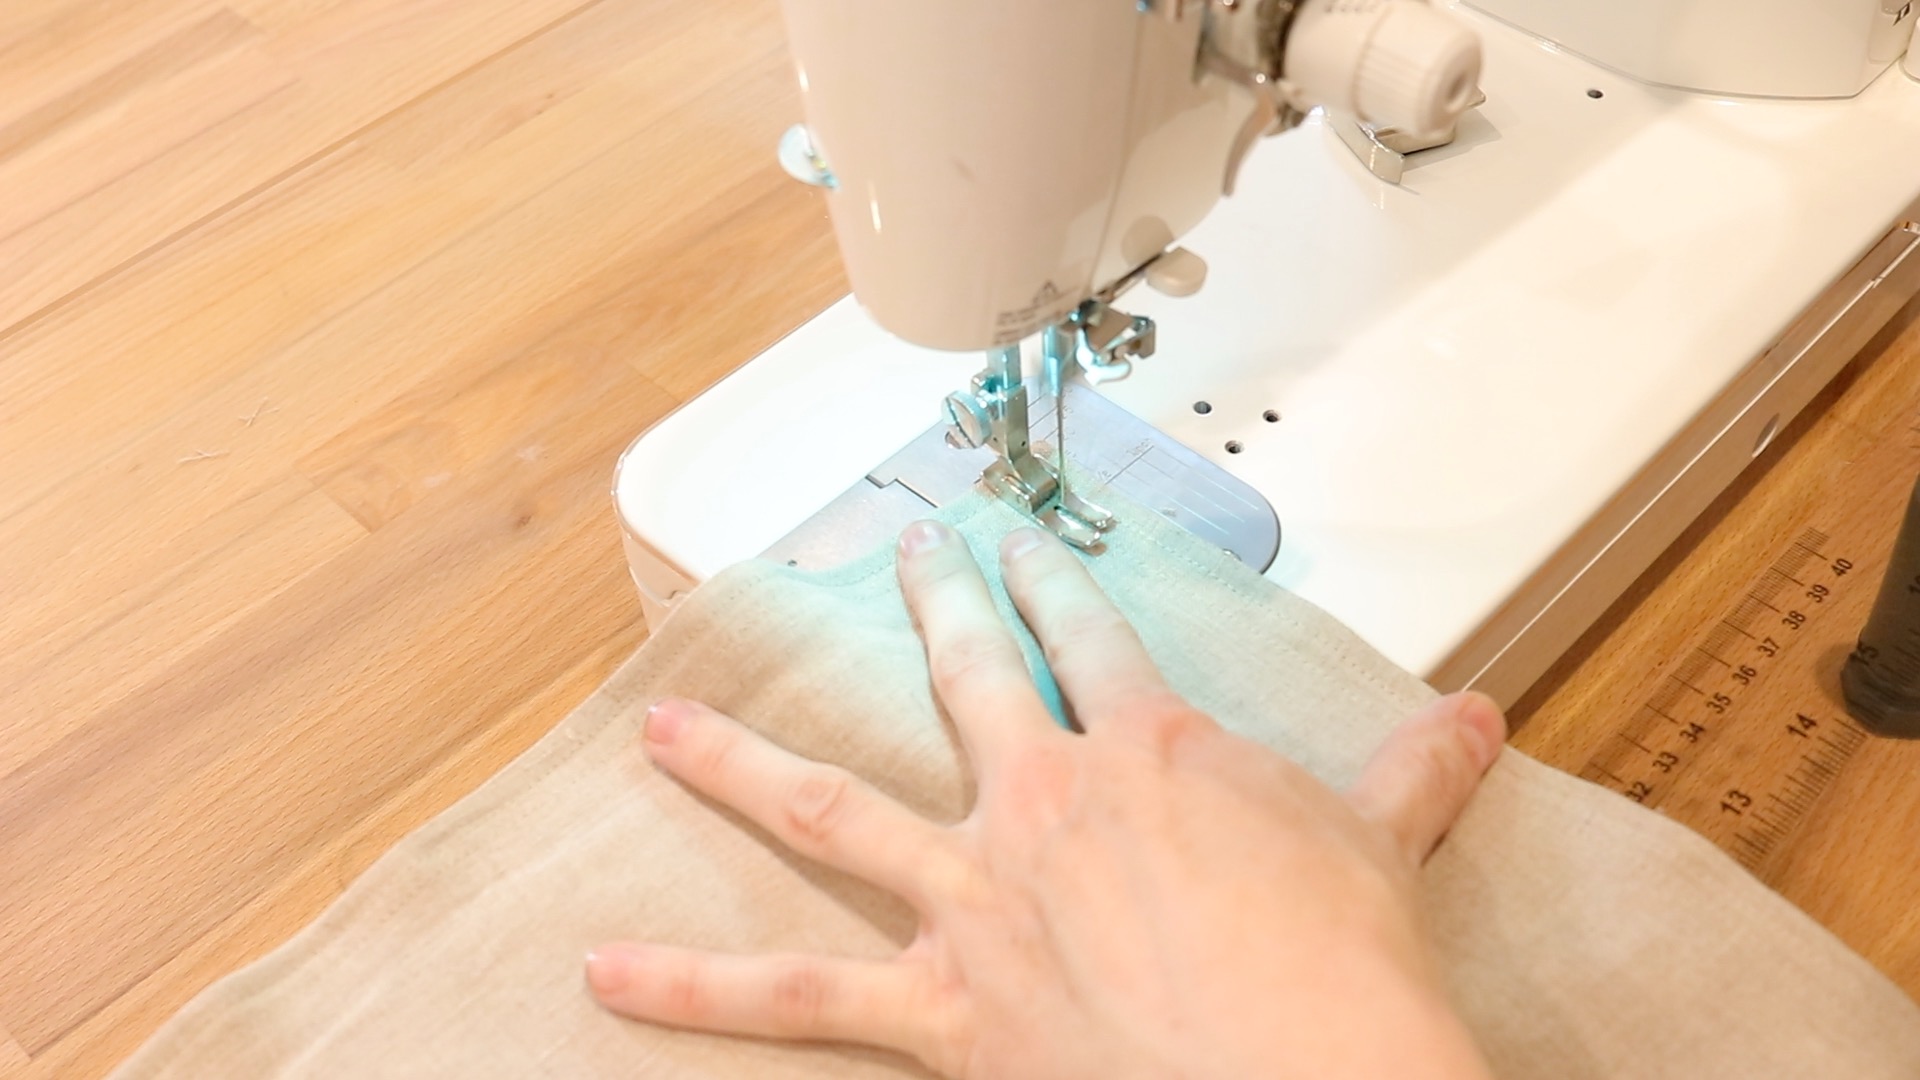
- Using that edge of your bandana as a guide, sew 1/4 inch topstitch around all the edges of your bandana. Be sure that when you are topstitching the area you left open for turning that the raw edges are completely sewn down. I usually start my topstitching on this side for that reason.
- After I completed topstitching around the edge one time, I decided to do one more topstitching line 1/4 inch in from the first line. Again, this is necessary. I wear bandanas a lot in the summer and when I’m hiking and gardening so I just really wanted this to look nice.
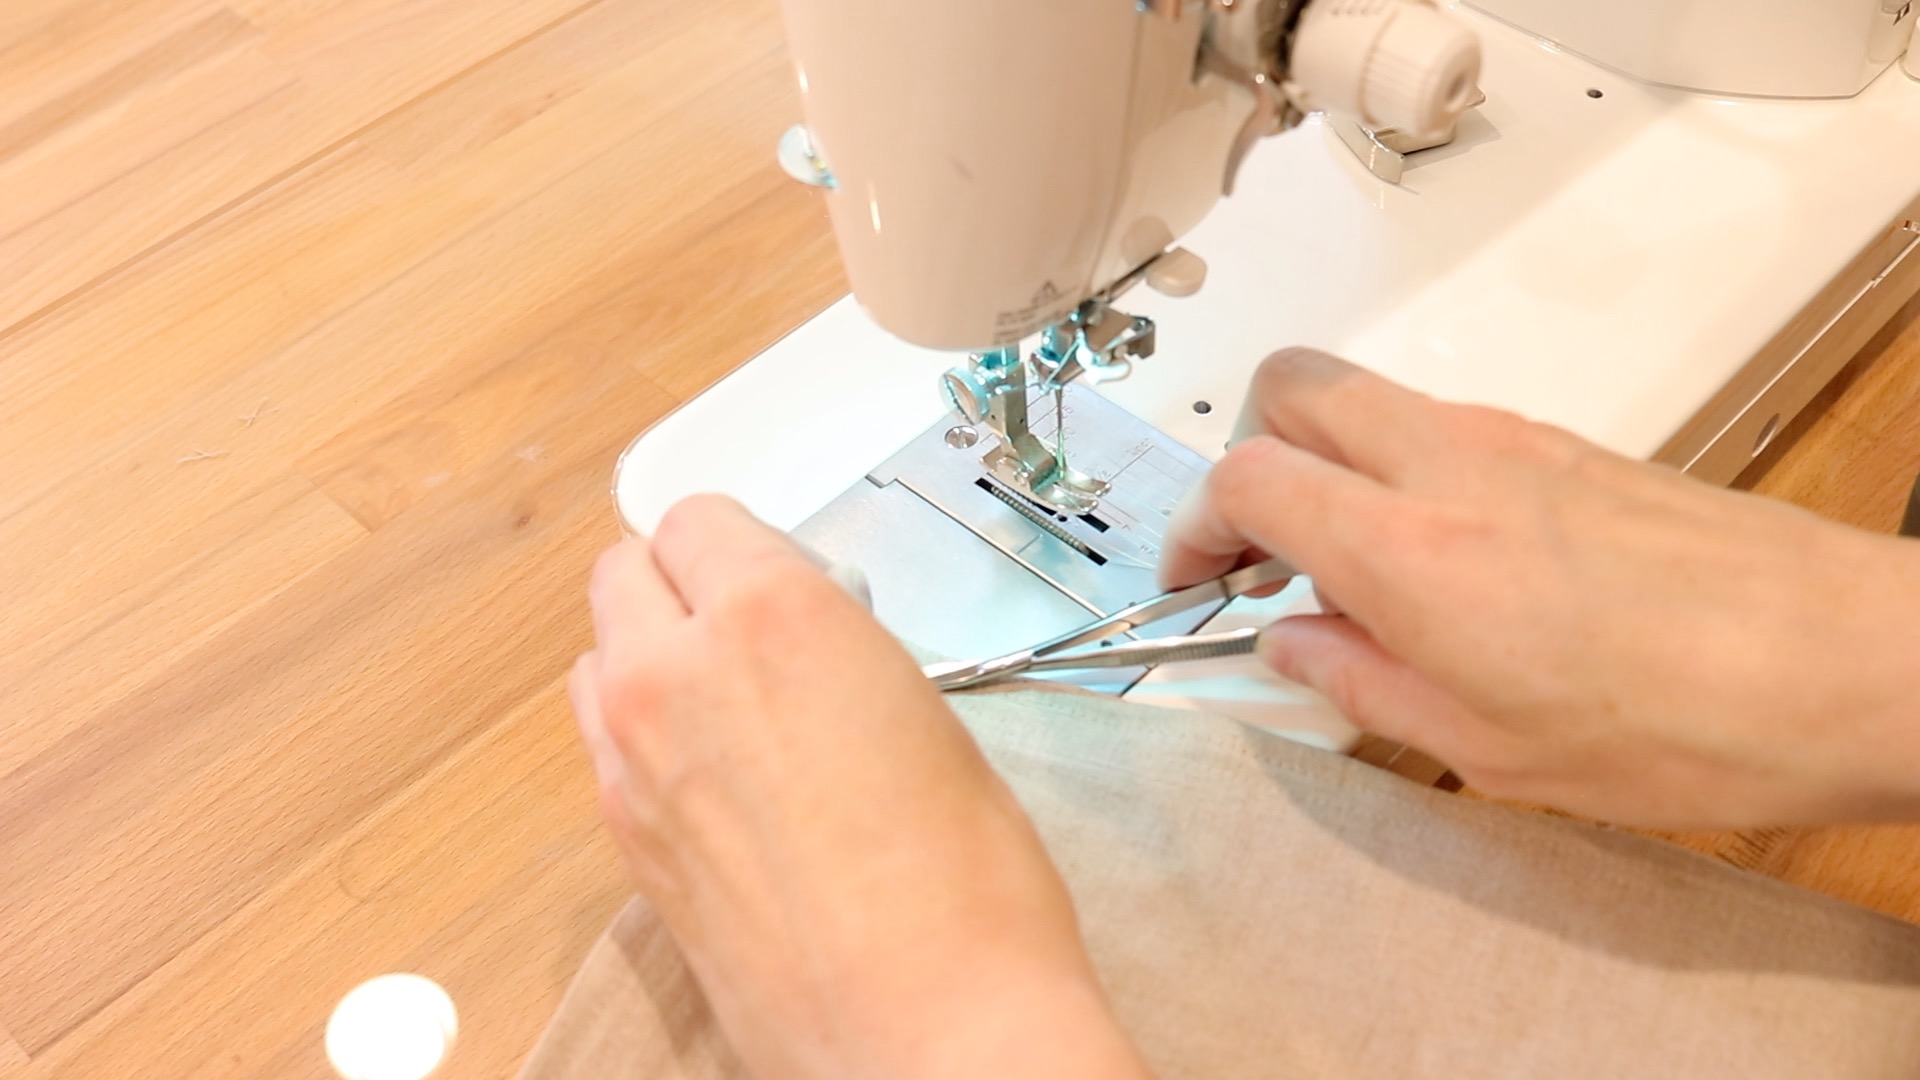
Trim your threads
- Once you have finished all the topstitching you want to do, trim all the loose threads. I use these thread trimmers and they are my favorite. The tips are turned up so it makes it easy to trim super close to your projects. Highly recommend.
- Here’s what your bandana should look like once you have it all topstitched.
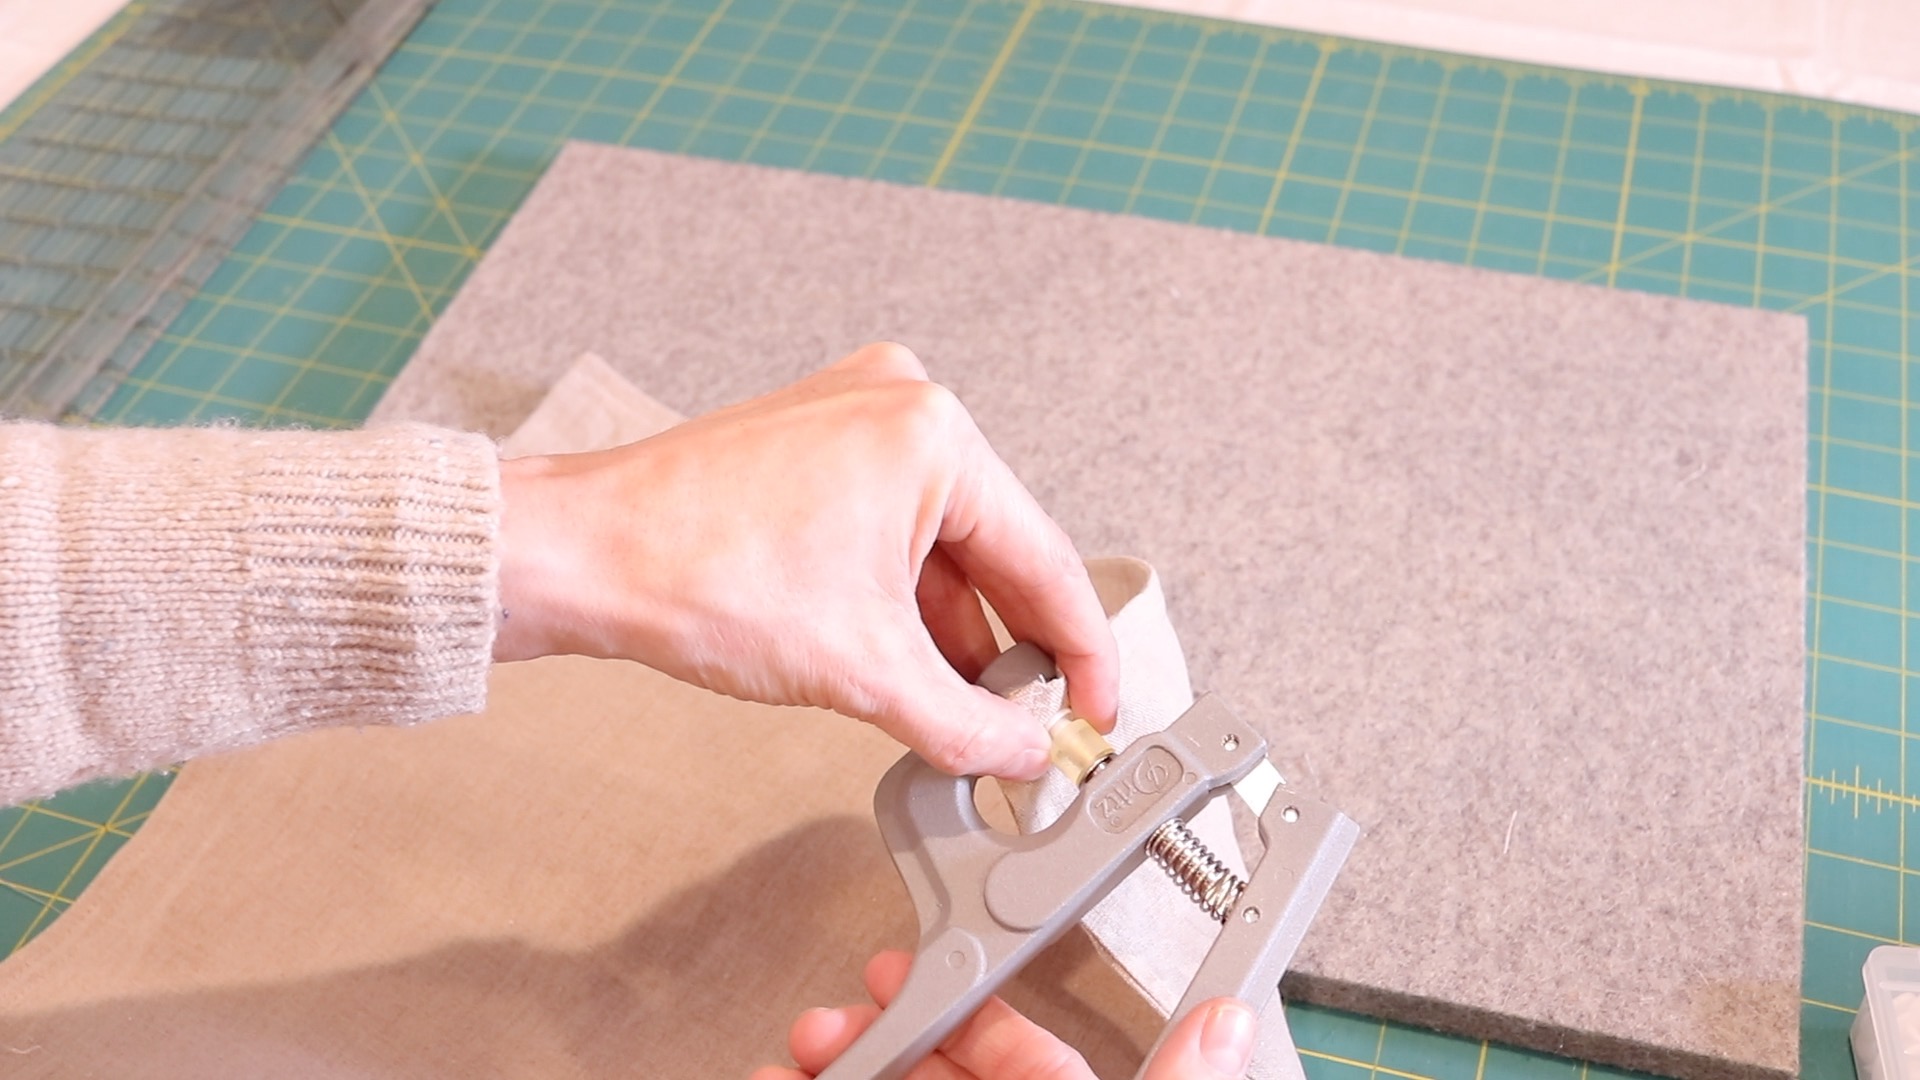
Adding snaps
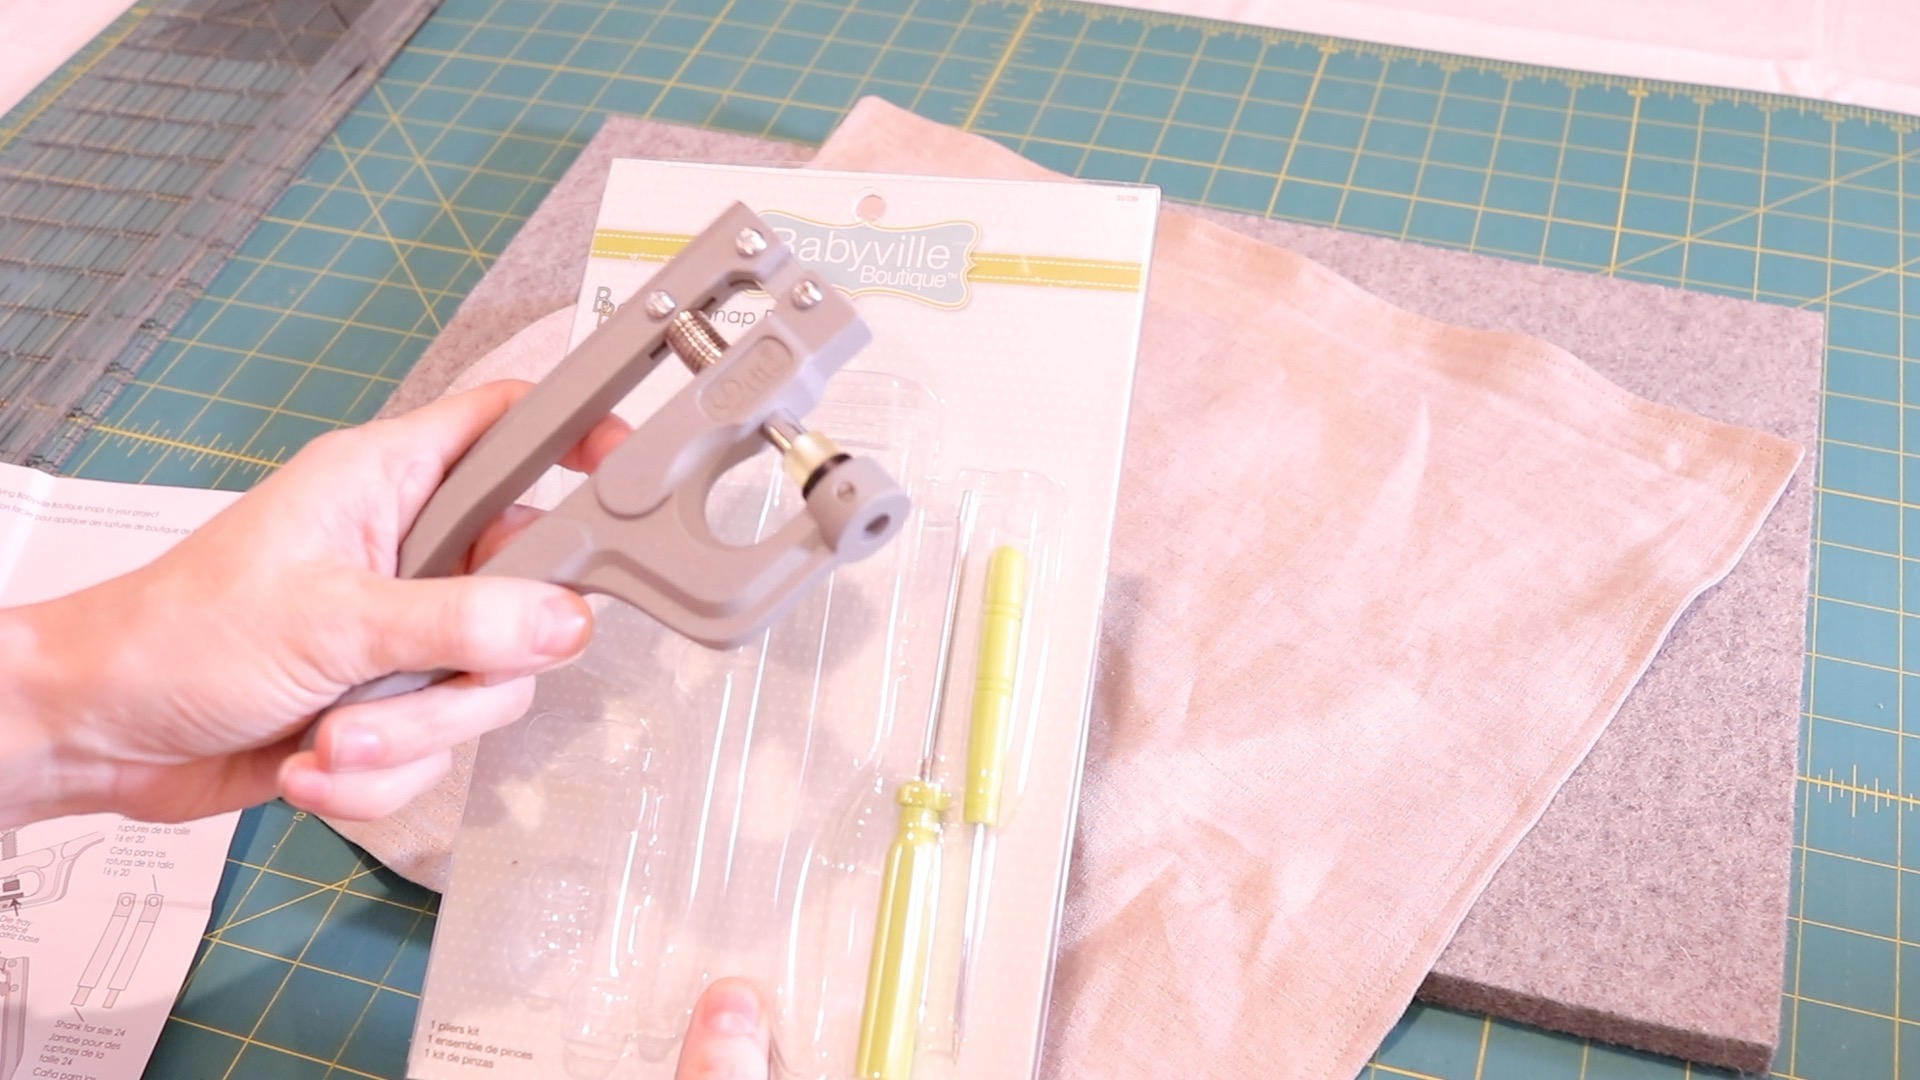
- Grab your KAM snaps tool and the plastic snaps. You can use any snap color of your choice. I just prefer neutral tones.
- Most of the snap tools come with really great directions on how to use them. I always take a piece of scrap fabric and do a test BEFORE I punch holes into my project to install snaps. Especially if it’s been a while since I last used it.
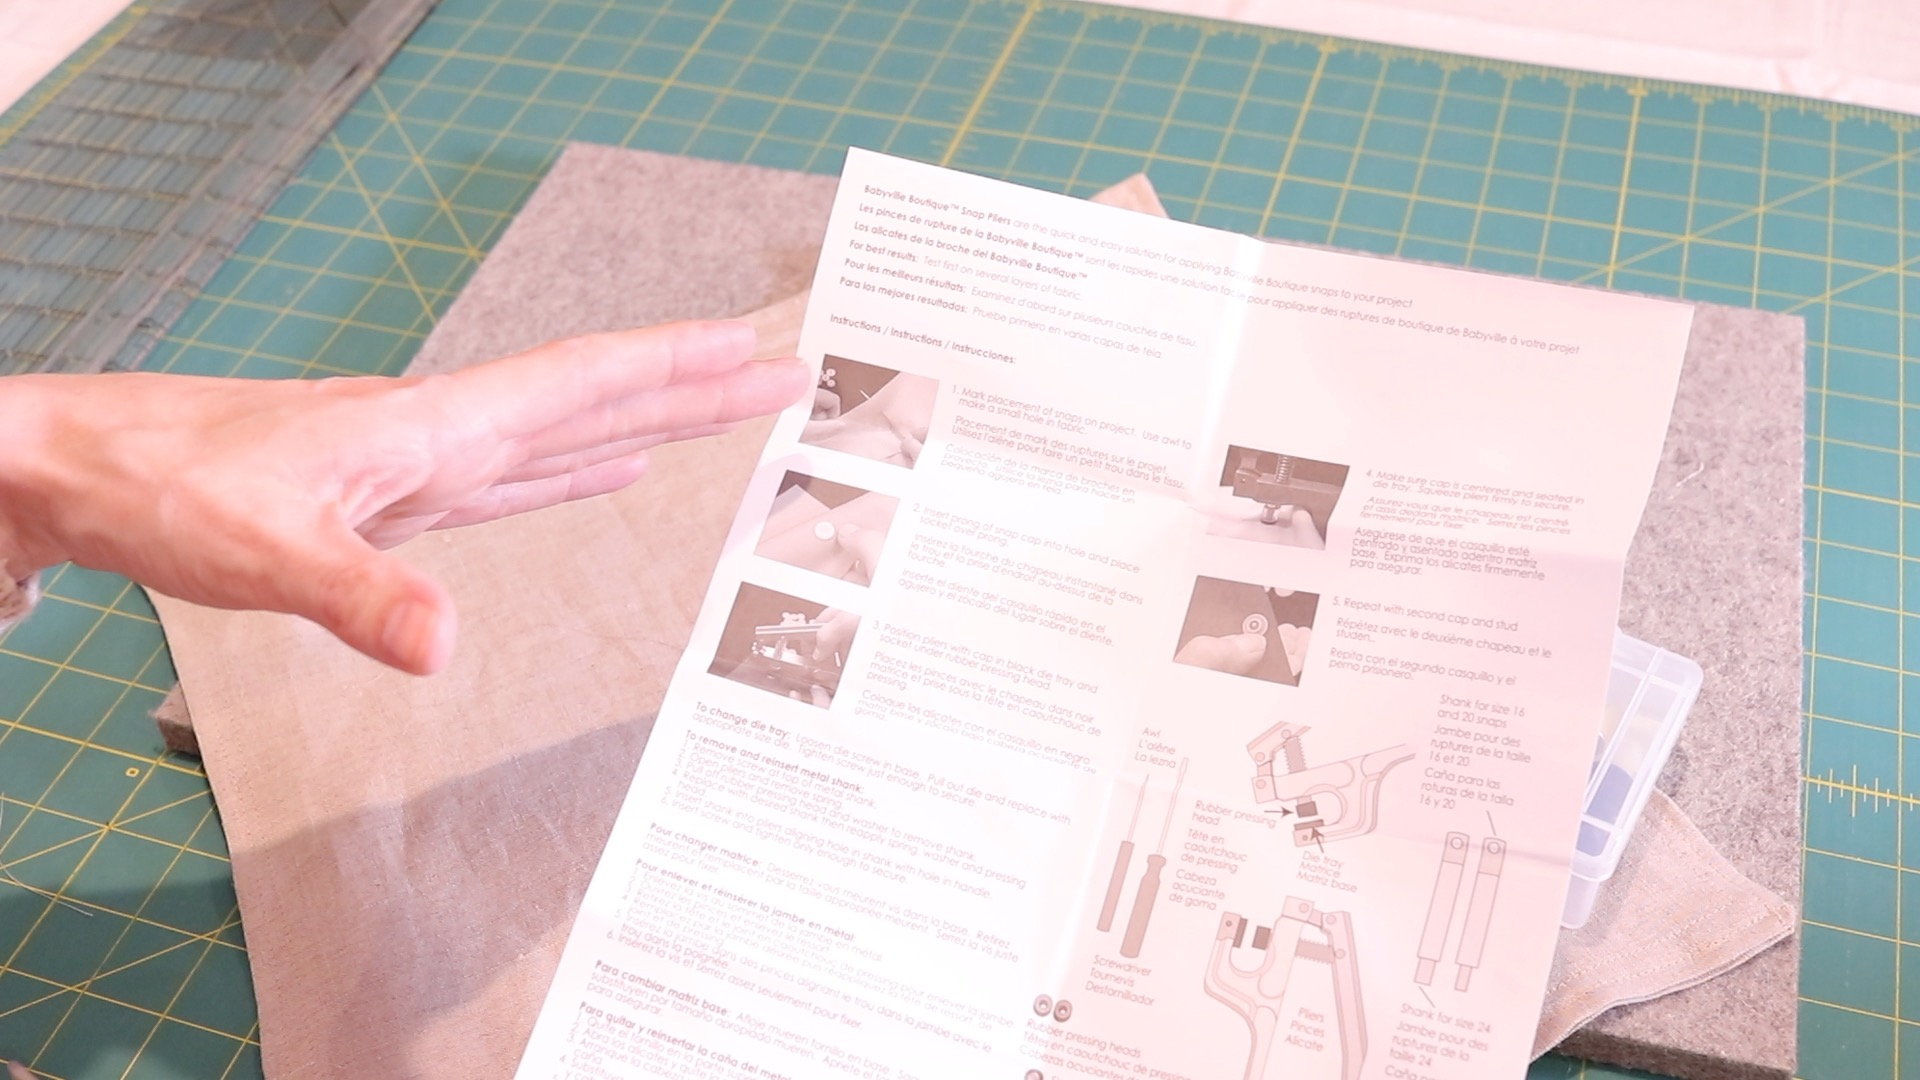
Tip
You can usually find these snap tools at your local craft store too. These are commonly used to make cloth diapers as well as baby bibs of all sorts.
I found that this one (pictured above), doesn’t seem to secure the snaps as well as my KAM snap tool, but I’m still unpacking all my craft supplies in my new sewing/craft room and couldn’t find my KAM tool (sad). So this is what I’m using today. However, I don’t favor this brand at all.
Placing the snaps
- Decide what (2) corners opposite of each other you’d like your snaps to be on. I like to include the corner that I left open for turning. This will make sure it’s hidden since it will be snapped behind you. But it really doesn’t matter.
- Lay your bandana down in a diamond shape on your cutting surface.
- After you have consulted the directions for use, grab the snaps you will need as well as your snap punch tool.
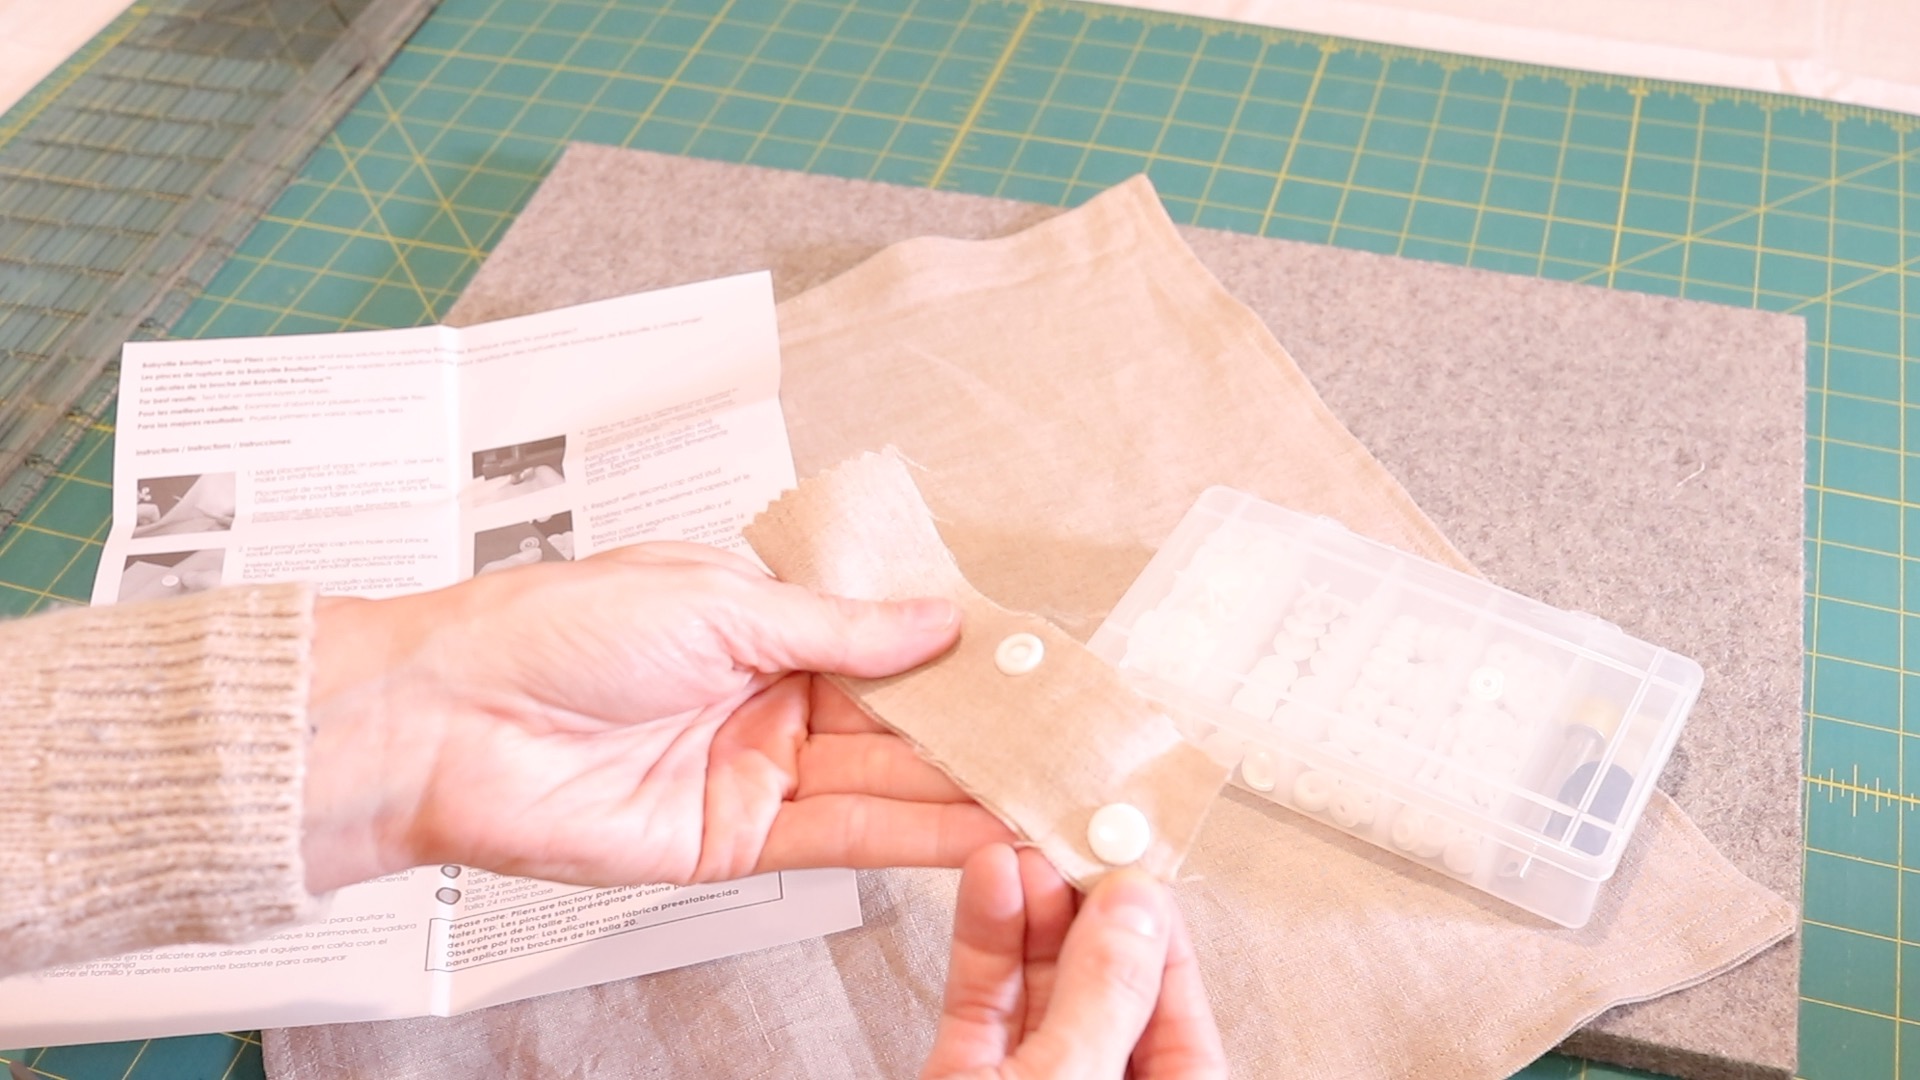
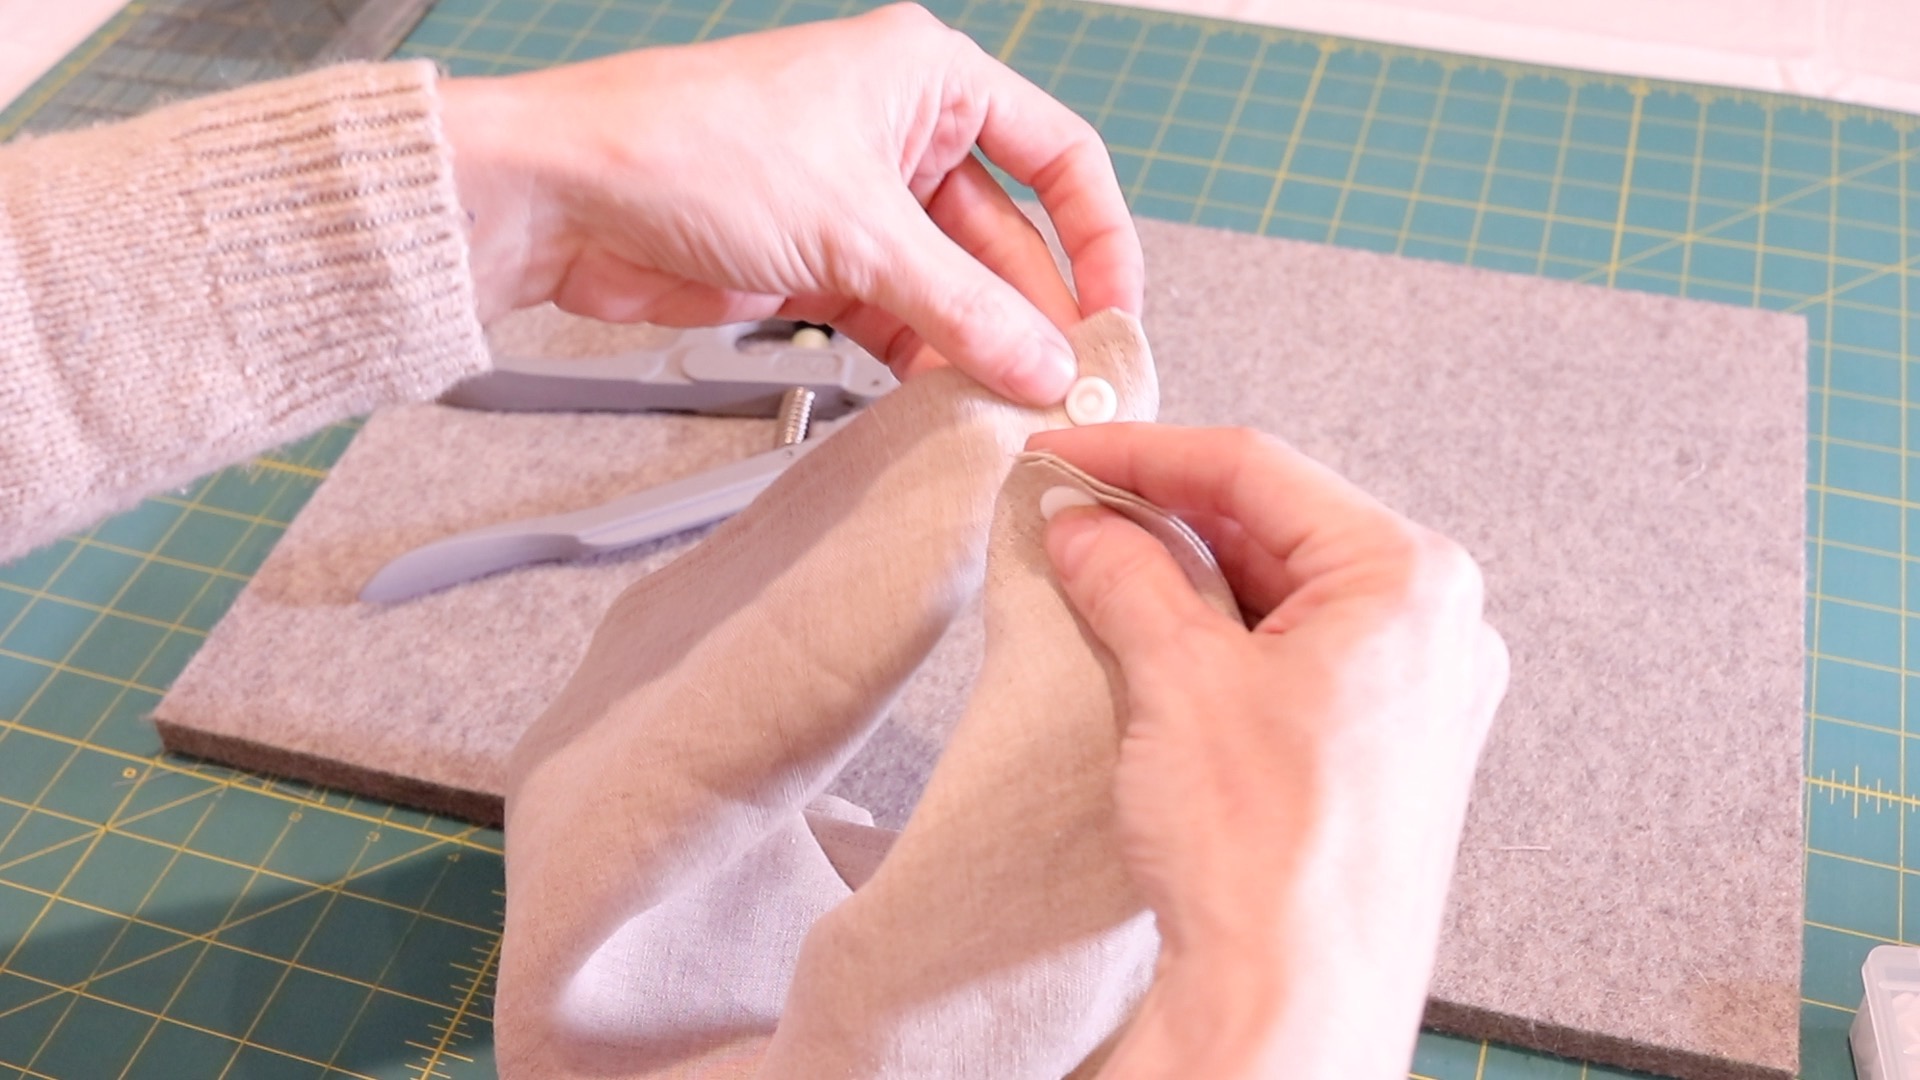
- Carefully take the sewing awl included in your snap punch kit, and puncture the fabric where you would like your snap to go. I placed my snap 1/2 inch in from the corner (for reference).
- After you have made the hole with your awl, carefully take the piece of the snap that has one smoothie/flat side and a side with a spike on it, and poke the spike side up through the hole.
- Now take the corresponding snap to that piece and place it over the top of the spike that’s coming through your linen fabric.

- Now take your KAM tool and seat the flat side of the snap into the little black cap on the snap tool. Make sure it’s all the way centered in the cup. THIS IS IMPORTANT because pressing down on the tool when the snap is in the wrong place can cause the snap to break in half when trying to install it.
- Once you know your snaps are in the tool properly, go ahead and squeeze down HARD multiple times to be sure the snap is really secured.
Adding the second snap
- To install the other snap, you’ll want to make sure that the flat side of the snap is on the OPPOSITE SIDE of what you did to the previous side.
- Make the hole with your awl the same distance from the corner as you did with the other snap. BEFORE you secure it down with the tool, bring the corners of your bandana together (how you would if you were going to wear it), and check to see that the snaps would lay flat when snapped together. Then you’ll know if you have them installed correctly.
- Install this snap the same way you did the first one.
Completed bandana
More Sewing Posts
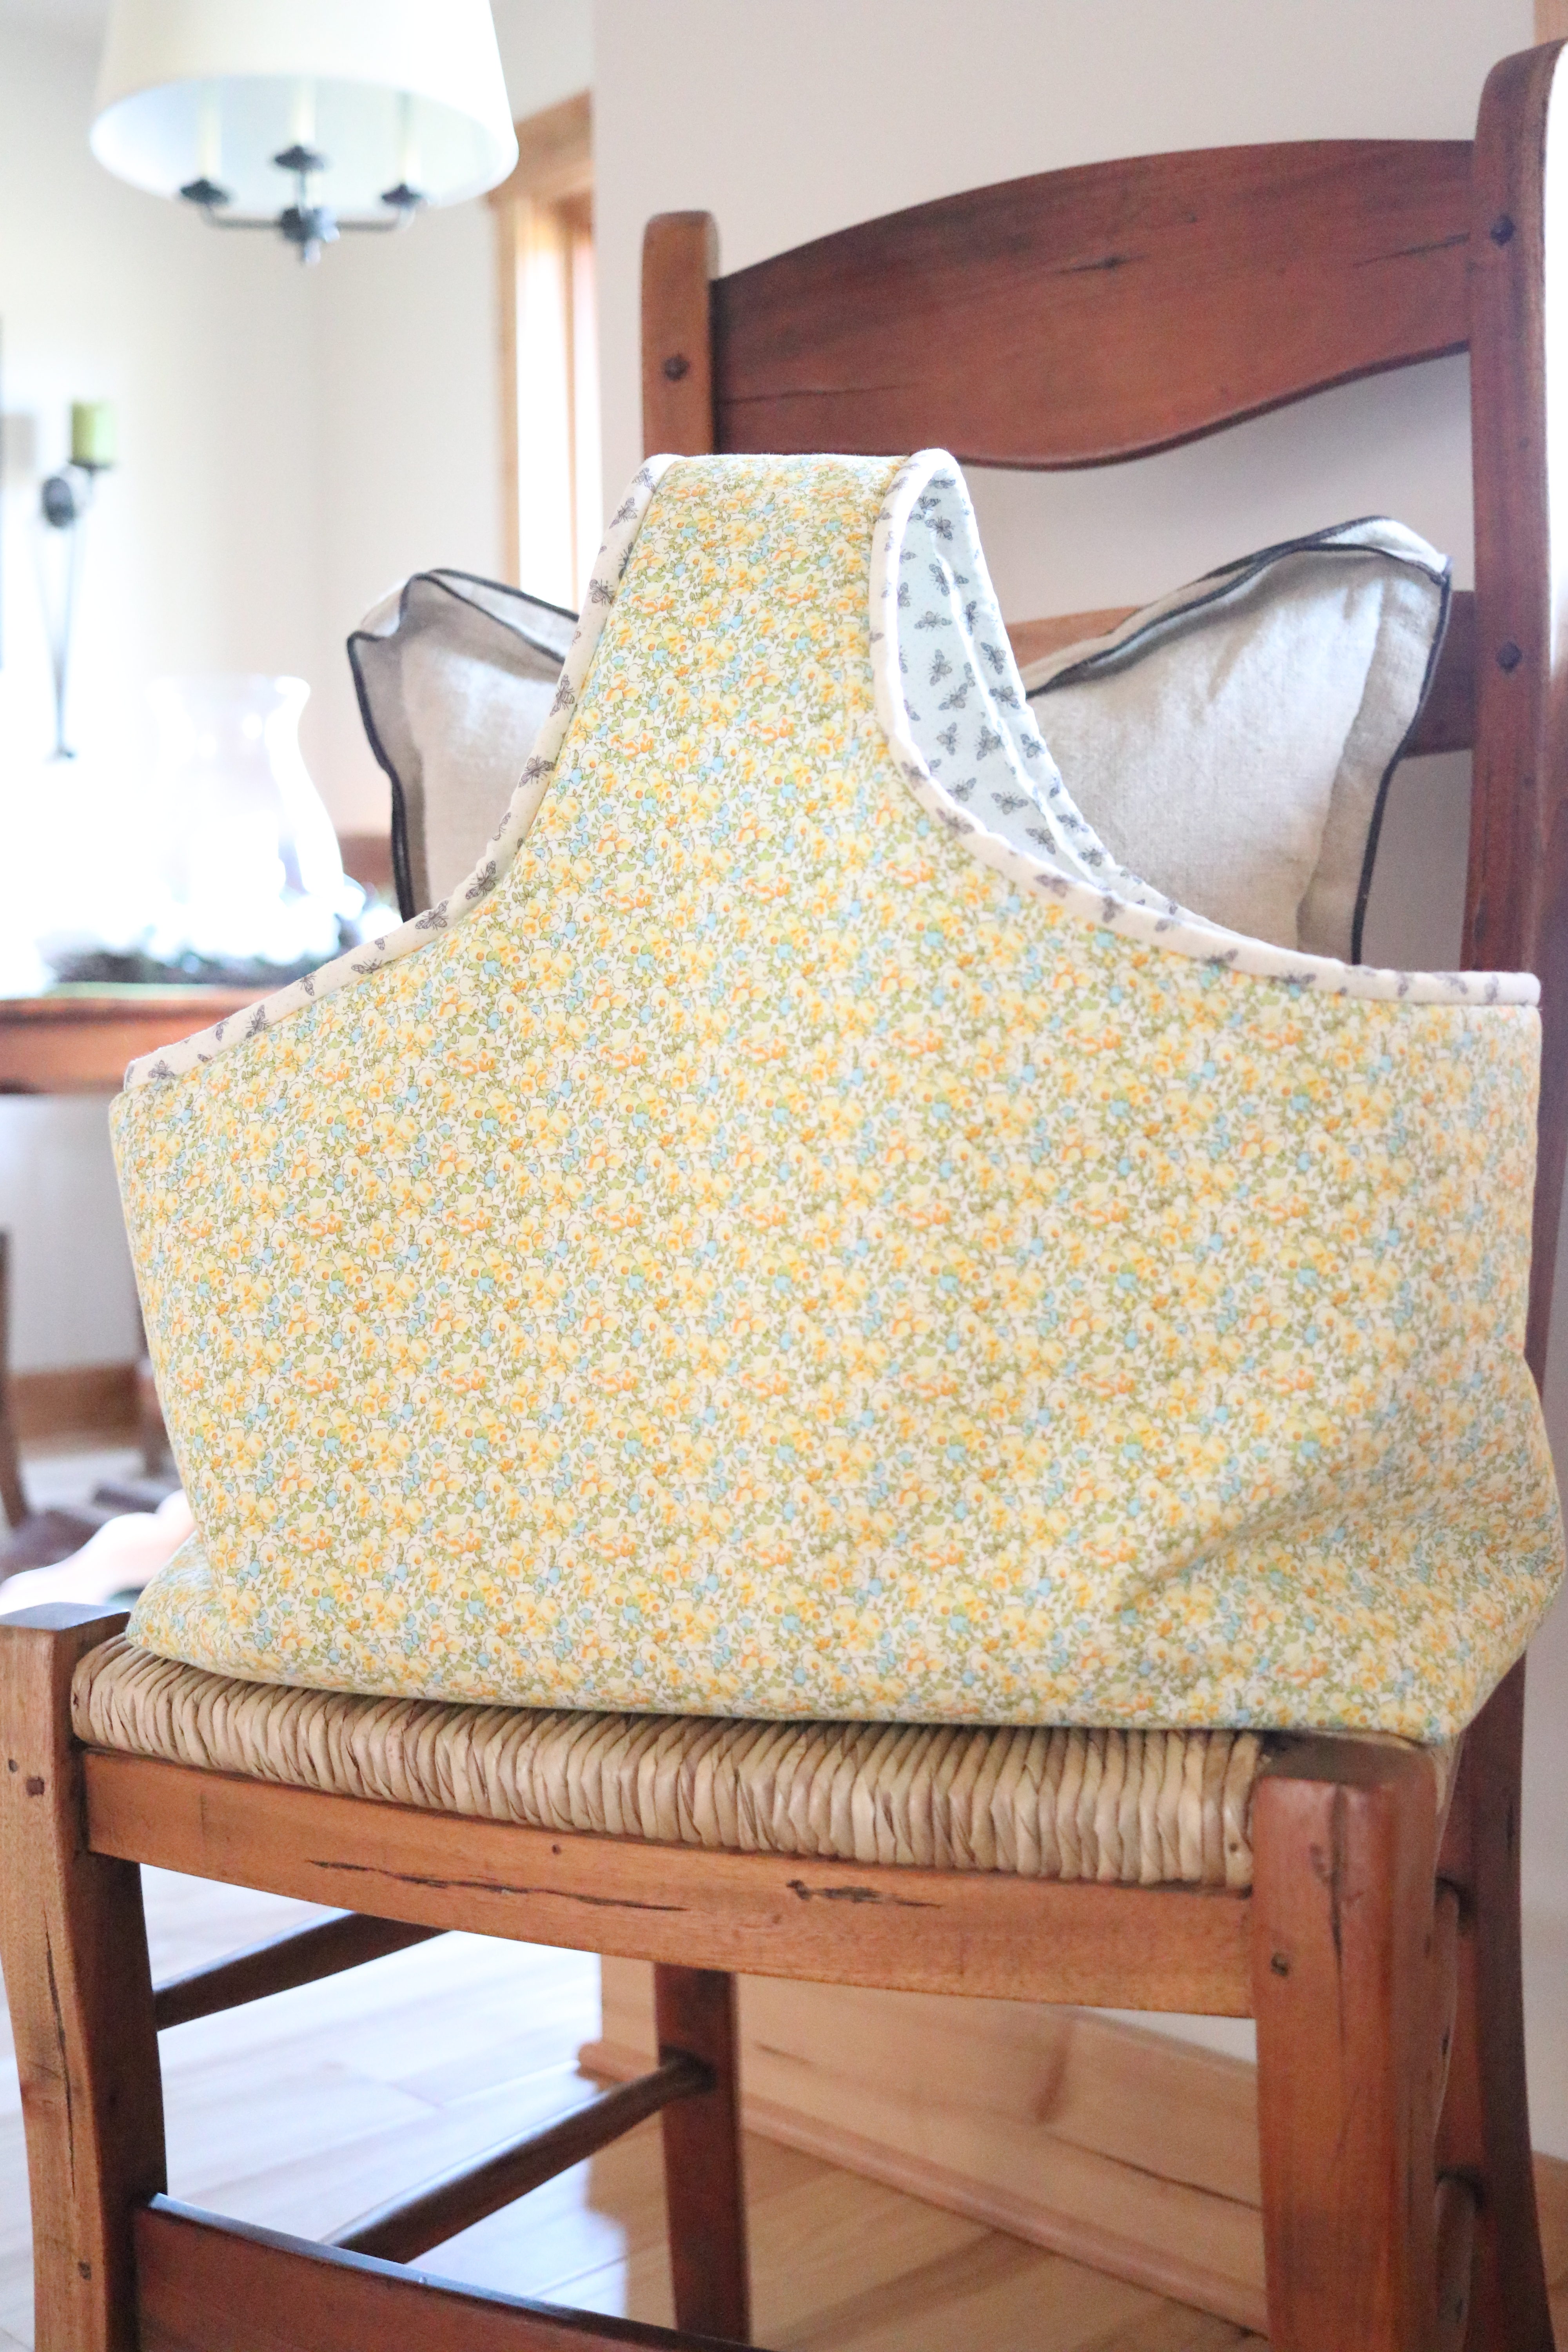
Fabric Basket
(available in 2 sizes)
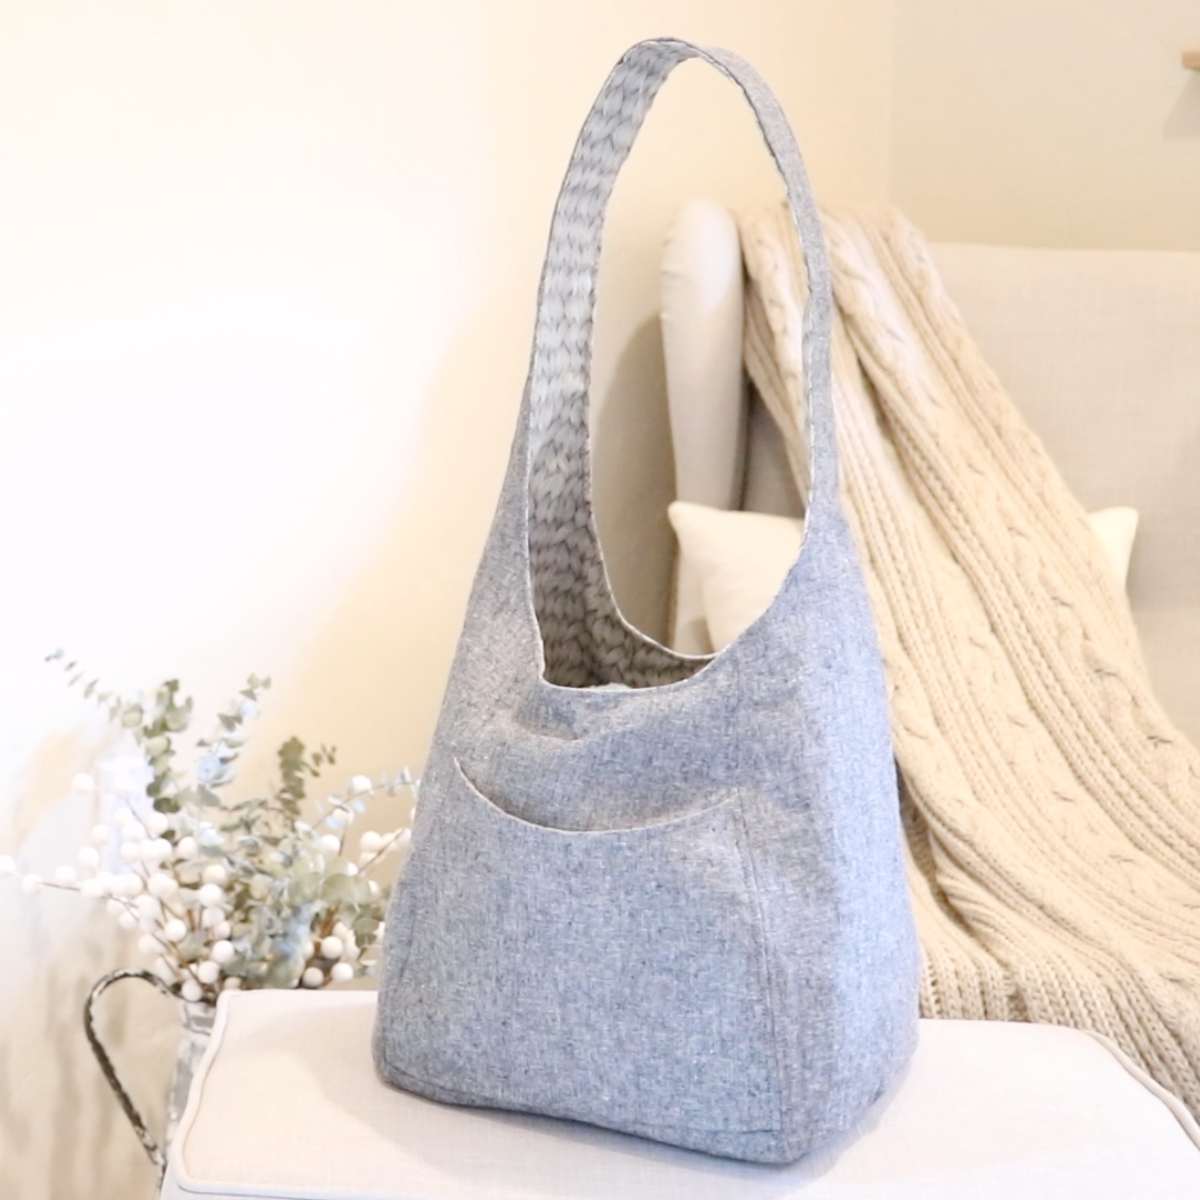
How To Sew A Hobo Bag

How To Sew A Gathered Skirt with Pockets
Thanks so much for tagging along for another sewing tutorial. Hope you enjoyed making this simple bandana.
See you all next week.

Shop
Be sure and check out my sewing supplies post where I list out all my sewing favorites for every budget!
The Best Sewing Supplies
Beginner sewer and looking to get your sewing essentials to start sewing quilts, clothes and more? Look no further than this detailed post and video!
Photo Credit: Homemade On Our Homestead