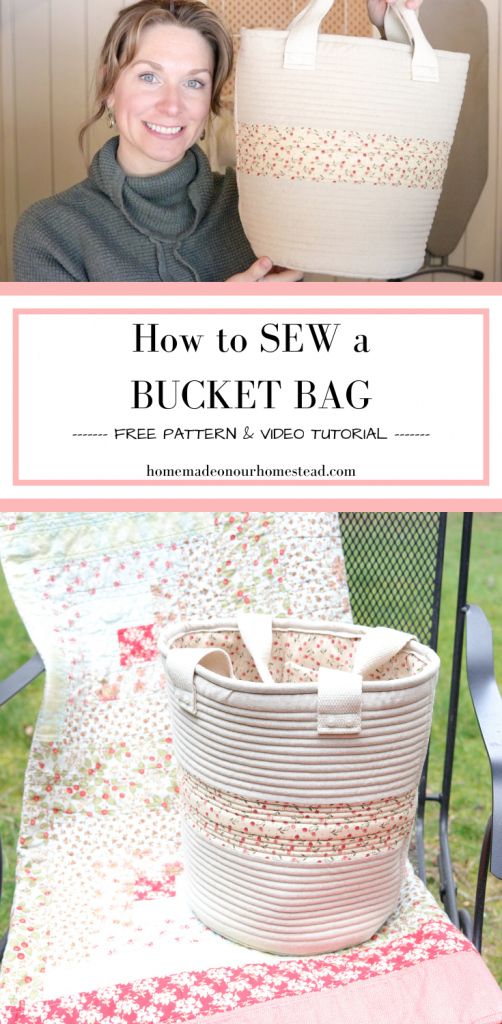
HOW TO MAKE A SIMPLE BUCKET BAG
Learn how to make a simple bucket bag with this FREE sewing pattern and tutorial.
I love to sew. I think that’s been established here.
When my daughter asked for a knitting bag, I knew I could make something that was just her size, easy to carry and super functional (not just for knitting).
She has since used her bag for apple picking, trips to Nana and Papas house with all her art supplies, and long road trips carrying all her essentials.
DIY tote bags are some of my favorite things to design and sew. They make great gift bags for people, holiday totes, craft project bags, I mean, who doesn’t love a good reusable, washable bag? Am I right?
This tote bag sews together fairly quickly too.
Grab your machine and let’s get to sewing!
How to sew a simple bucket bag video tutorial
Supplies for making a bucket bag
I’ve also added the substitutes that can be used in parenthesis.
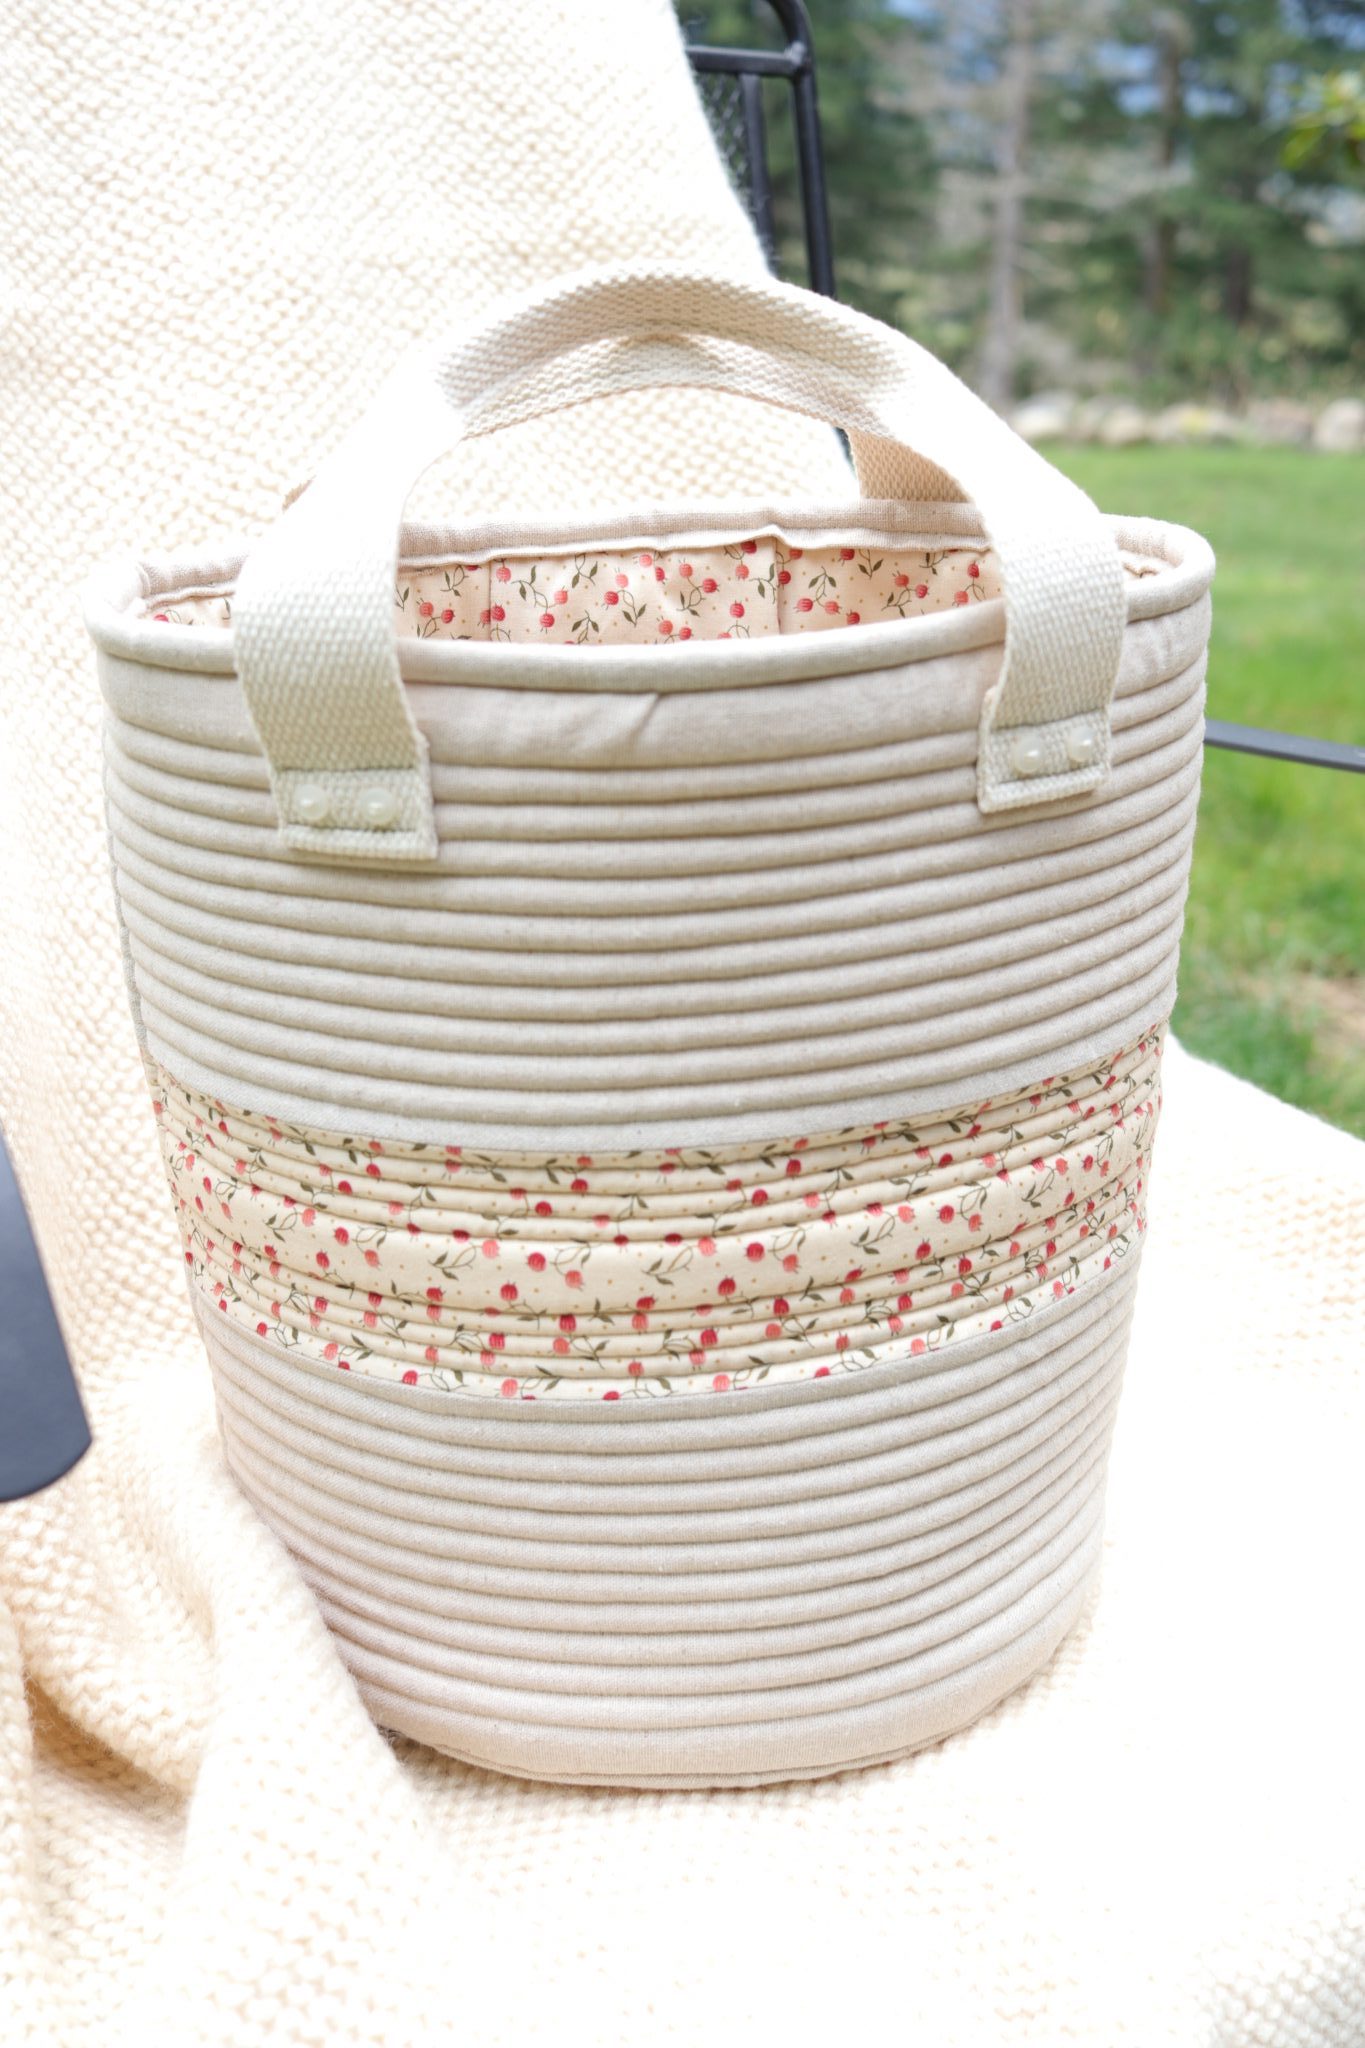
- Fabric : 2-3 fabrics of your choice. You’ll need an exterior fabric, an interior fabric and a fabric for the binding. Fabric selections are totally up to you. I used a linen/cotton blend for the exterior of the bag pictured above and a quilting cotton for the interior.
- Fusible foam (you can use also use a fusible fleece. This will not give your bag the same stability as fusible foam though).
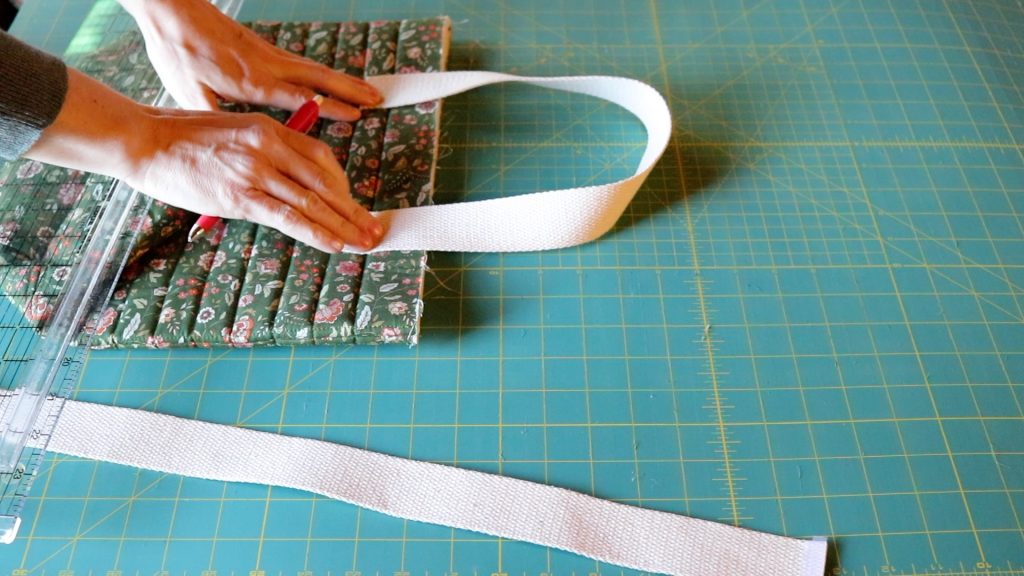
- Cotton webbing for the bag handles. Width and length of these handles is up to you as well. I used 1.5″ wide cotton webbing that was cut into 18″ long strips for each handle.
- Sewing machine.
- Iron.
- Applique pressing sheet if you are using a double sided fusible. This inexpensive sewing item will save your iron.
- Sewing pins or clips.
- Ruler.
- Rotary cutter OR scissors.
Optional supplies to consider
- Quilting Gloves
- Erasable Chalk Pencil to mark quilting lines.
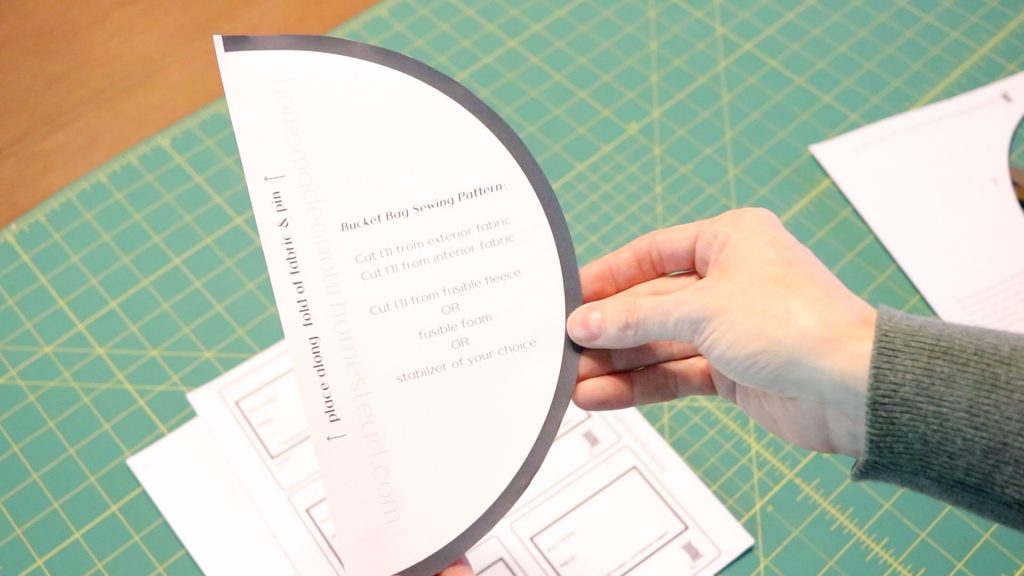
FREE bucket bag sewing pattern
Click on the button below for the bag bottom template. It’s a PDF download.
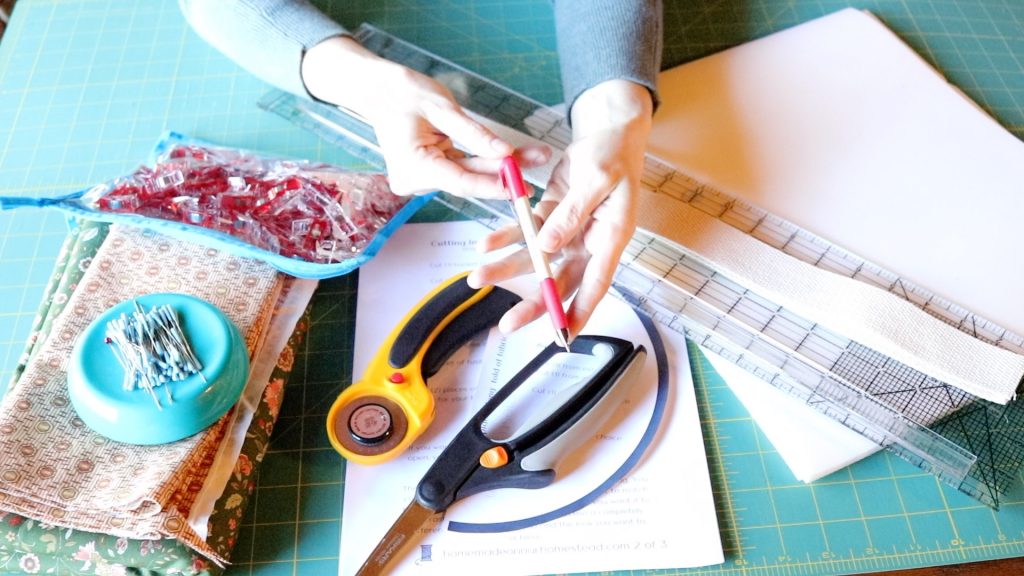
Tips for cutting your fabric for this project
- As always, I recommend washing and ironing your fabric before you begin cutting your pieces out. Some people swear by pre-washing and others will tell you it isn’t necessary. I personally prefer it.
- DO NOT PRE-WASH ANY FUSIBLE material, just your fabric. You can thank me for this tip later when your not peeling a fusible off the inside of your dryer.
Cutting the fabric for your DIY bucket bag
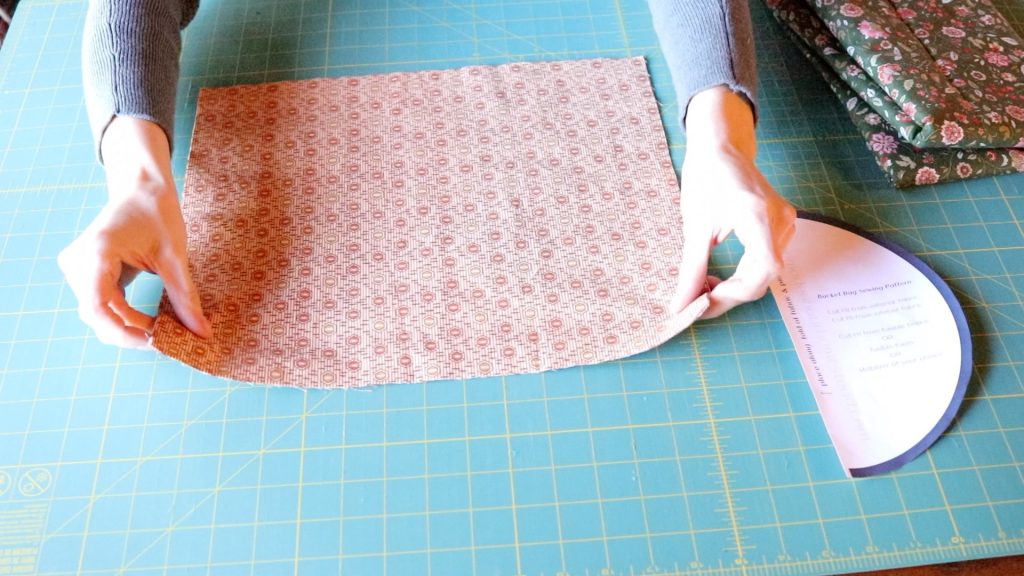
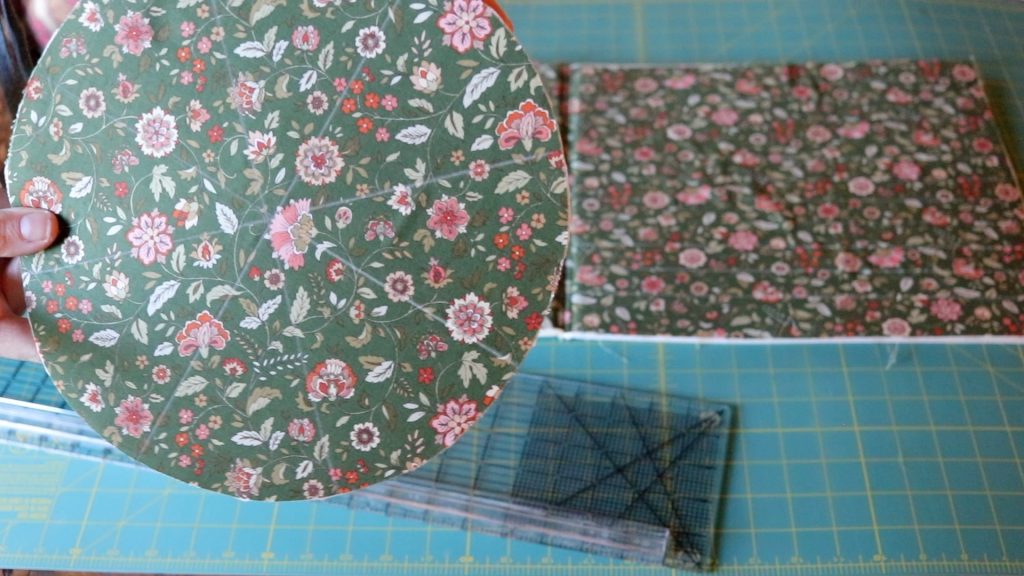
- Begin by cutting (2) pieces from the EXTERIOR fabric 14.5″ long x 12.5″ wide.
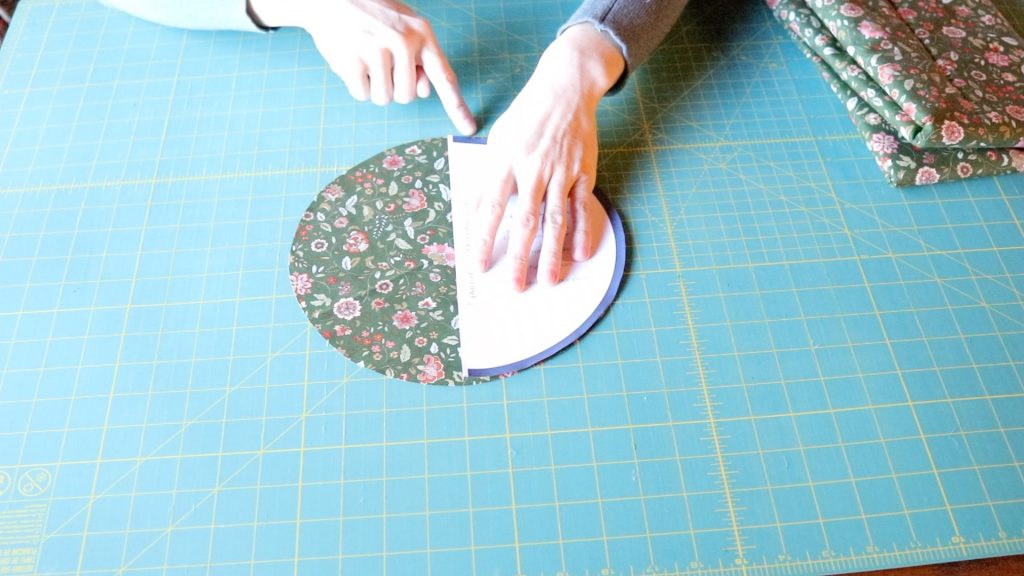
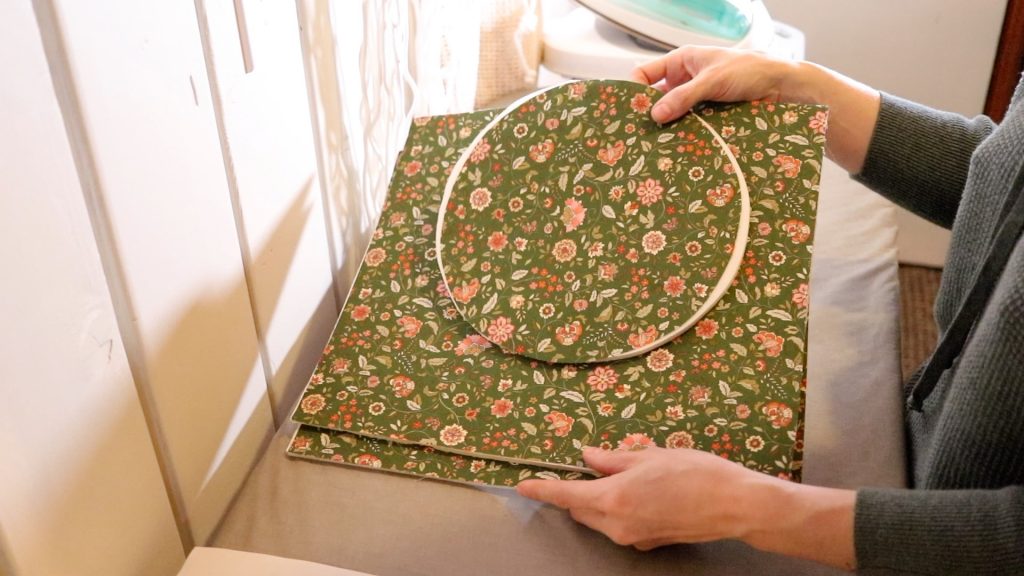
2. Next, cut (1) piece from EXTERIOR fabric using your bag bottom pattern piece.
3. Cut (2) pieces from INTERIOR fabric 14.5″ long x 12.5″ wide.
4. From your INTERIOR fabric cut (1) piece using your bag bottom pattern piece.
5. Cut (1) strip of fabric (from the fabric of your choice) for the binding strip. The piece should measure 35 inches long by 3 inches wide.
Cut the fusible fabric and webbing for handles
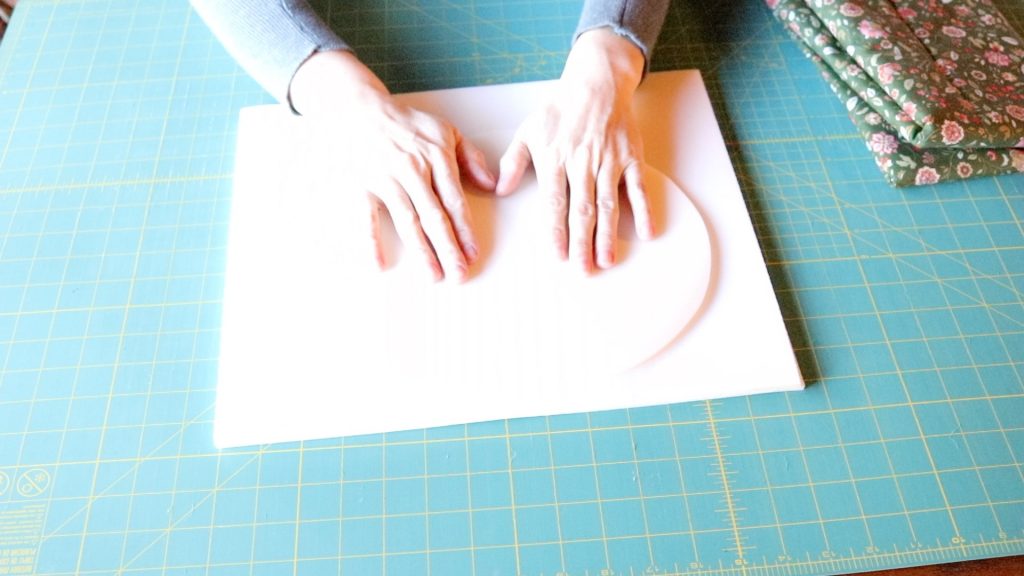
- Cut (2) pieces from your FUSIBLE FOAM 14 1/2 inches long by 12 1/2 inches wide.
2. Next, cut (1) piece of the FUSIBLE FOAM using your bag bottom pattern piece.
3. Then cut (2) pieces of cotton webbing. I recommend using a webbing that’s 1 1/2 to 2 inches wide and 18 inches long. This is only a recommendation. Make the handles any length and width you prefer. This is just what I used for this particular bag.
Fuse your fabric to the foam
You’ll be fusing your EXTERIOR bag pieces to the fusible foam ONLY.
- Turn your iron on. HIGH heat, NO STEAM.
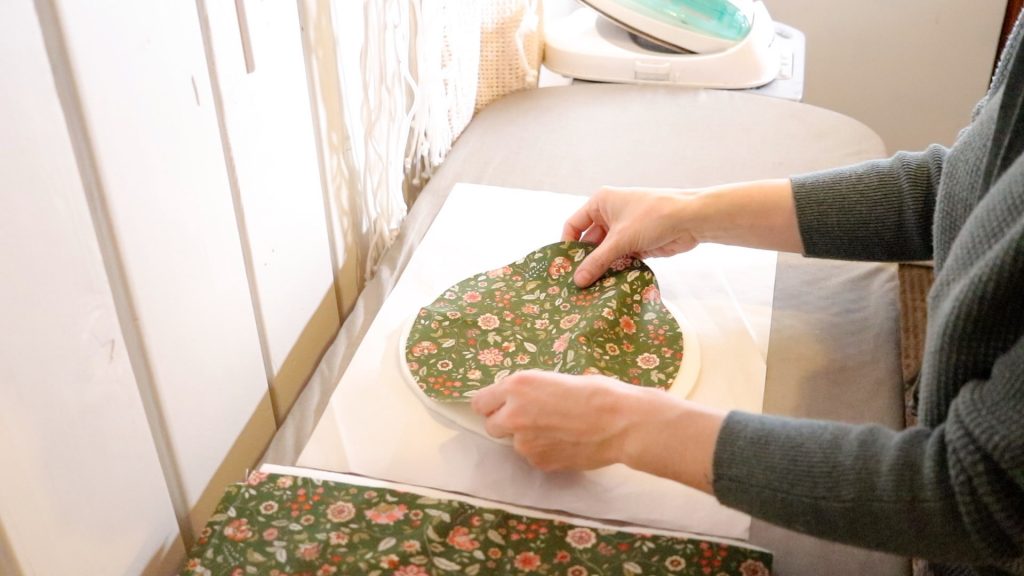
2. Take each of your 3 pieces of EXTERIOR fabric and fuse them to the coordinating size of the fusible foam. Iron each piece until it is “fused” together 10-15 seconds.
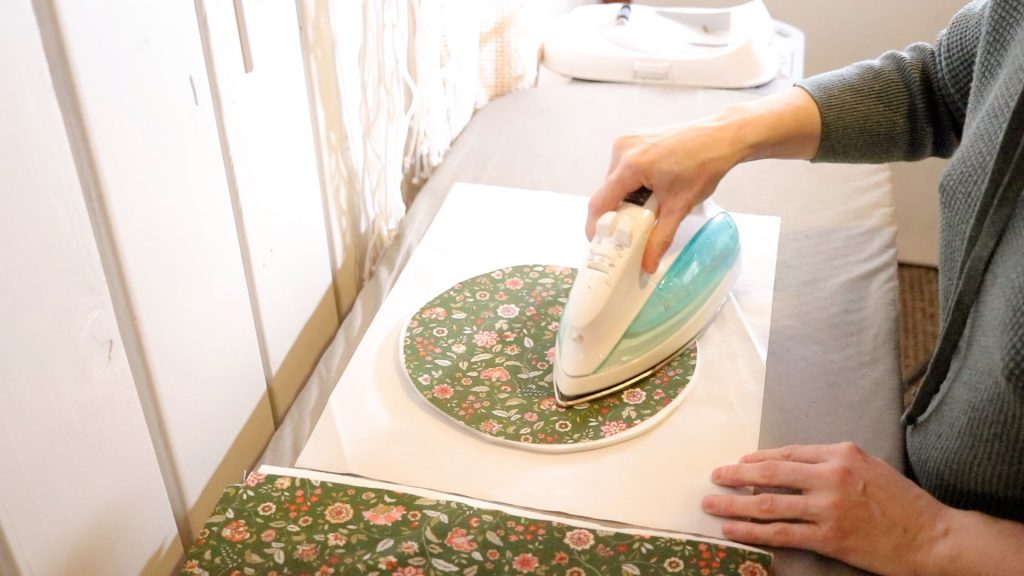

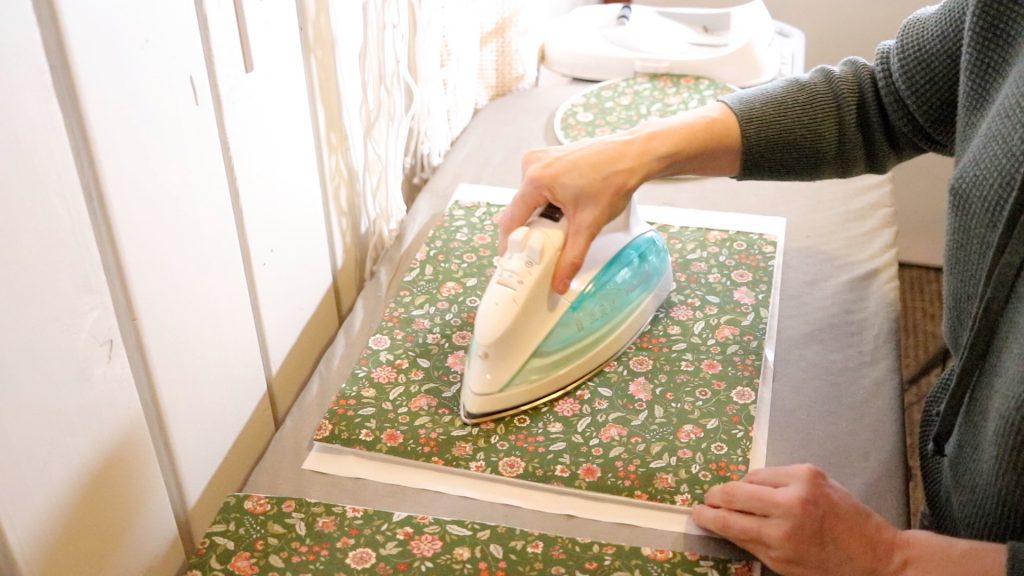
3. When you are finished, you should have (3) pieces of your EXTERIOR fabric fused to fusible foam pieces.
4. You can trim up any excess foam pieces that are sticking out past your fabric if needed.
5. Set these (3) fused pieces aside for now.
Prepare the binding for your bucket bag
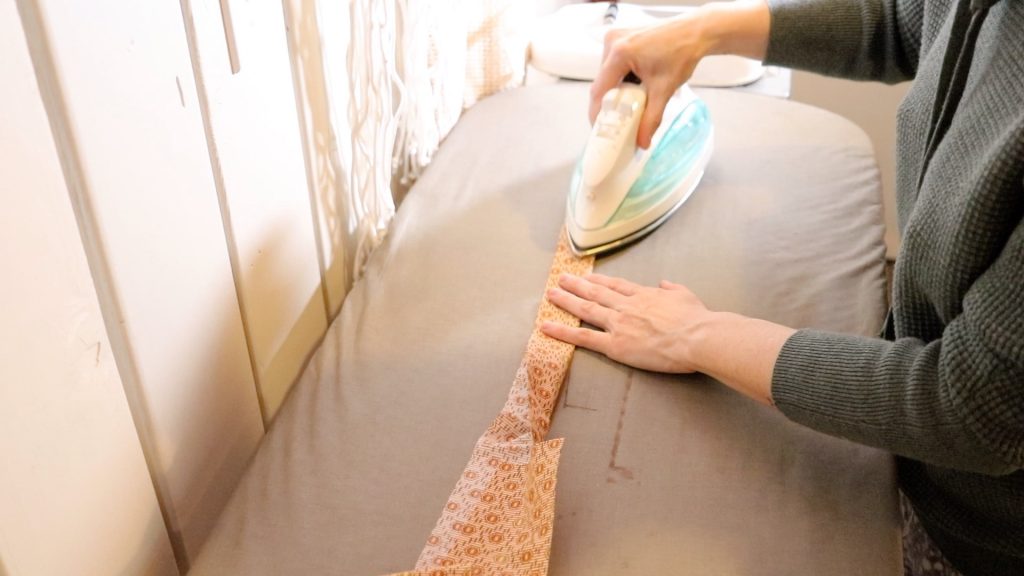
- Take the piece of fabric you cut 35″ long x 3″ wide and press it in half LENGTHWISE wrong sides together (WST).
- Set the binding piece off to the side for when we assemble the bag.
Sewing your Simple Bucket Bag
NOTE: Seam allowance can be 1/4 inch or 1/2 inch for this project. Just be sure you use the SAME seam allowance throughout the entire project. I used 1/4 inch for my bag (for reference).
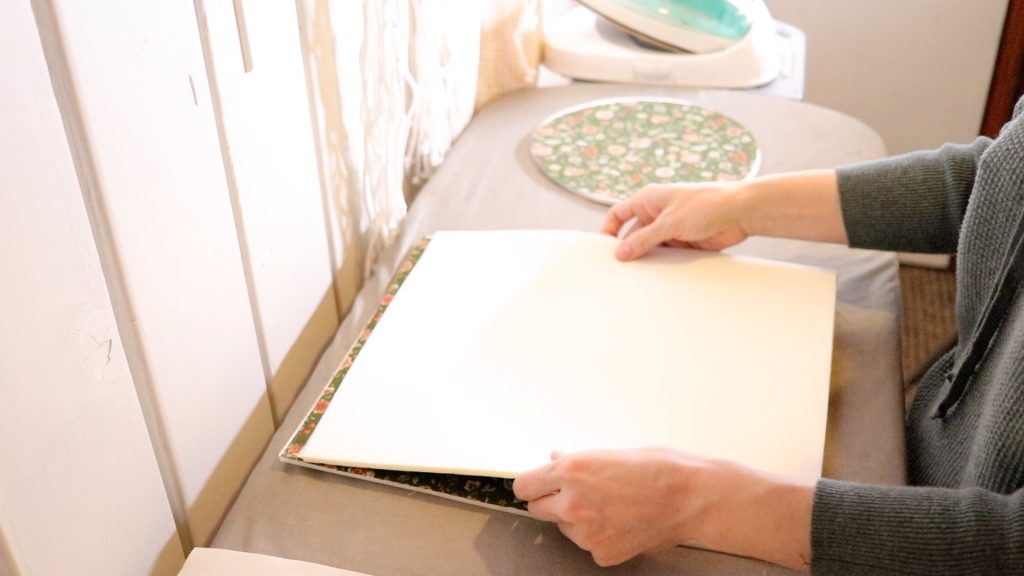
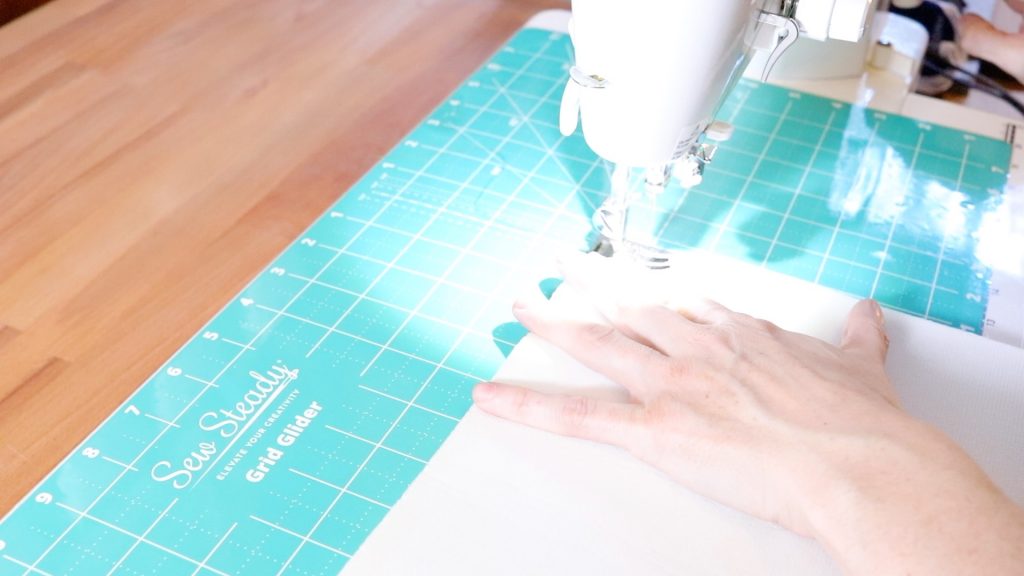
- Begin by taking your (2) exterior fused bag sides and stitch them together along one of the 12 1/2 inch sides.
Remember to backstitch at the beginning and end of each line of stitching.
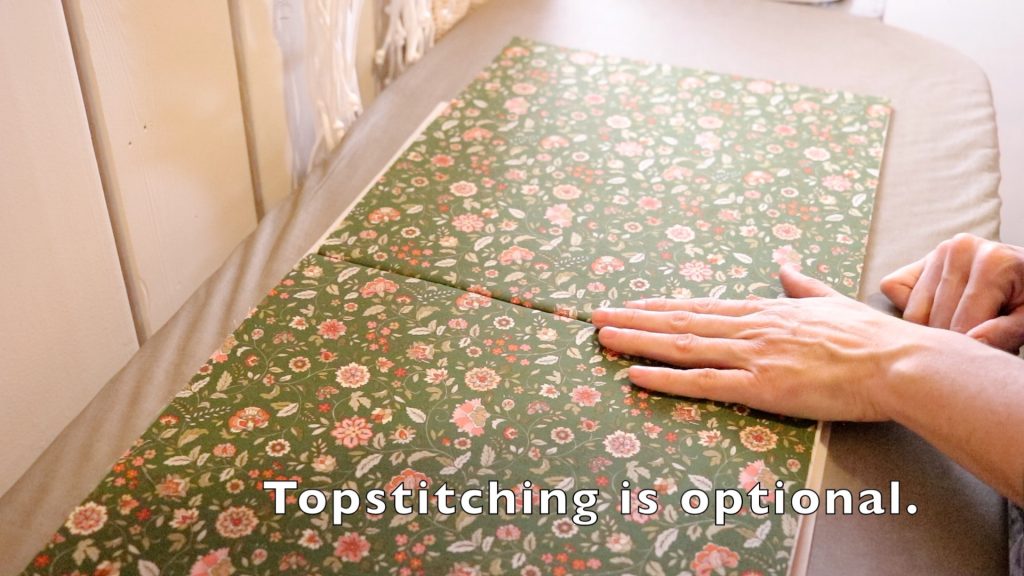
2. After you have sewn the side seam, you’ll press this seam open.
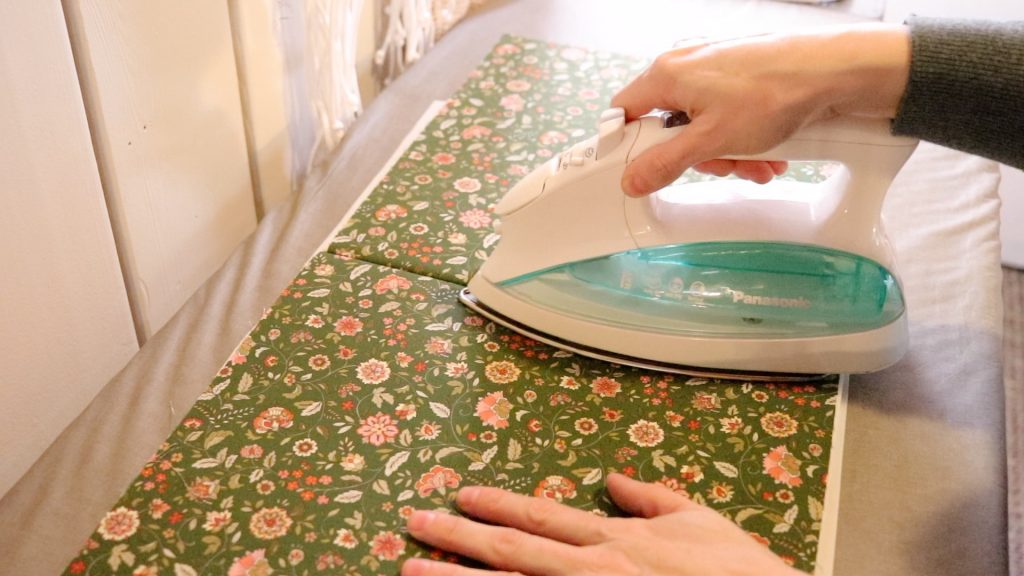
3. If you prefer to topstitch, you can topstitch 1/4″ or 1/2″ on each side of the side seam. The topstitching will always give your projects a more finished look but is totally optional.
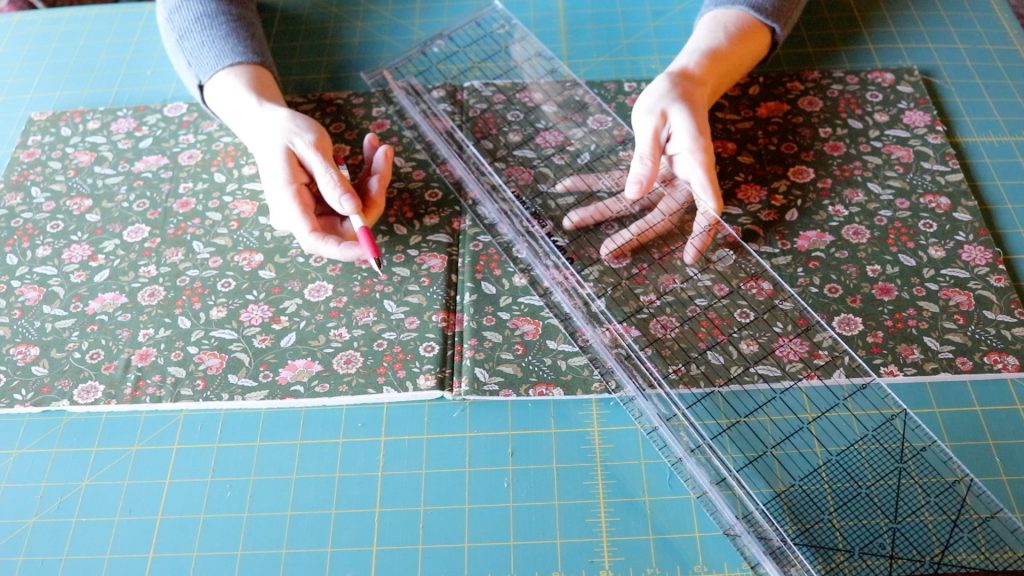
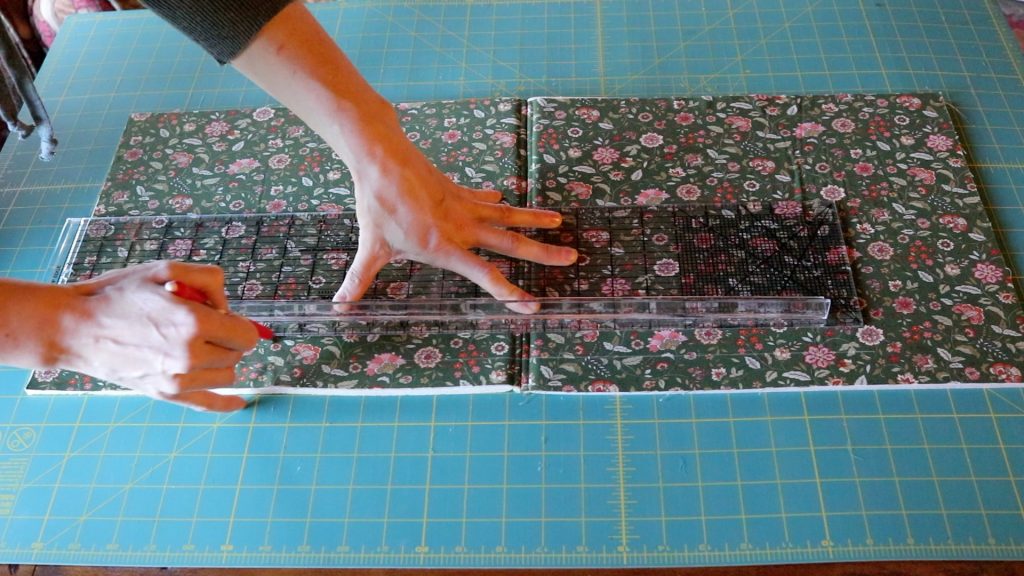
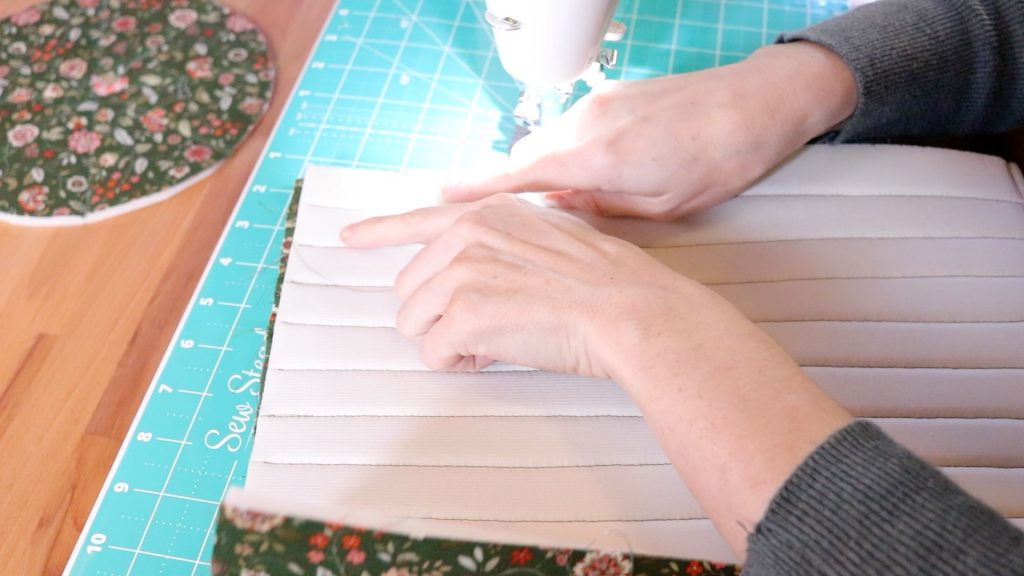
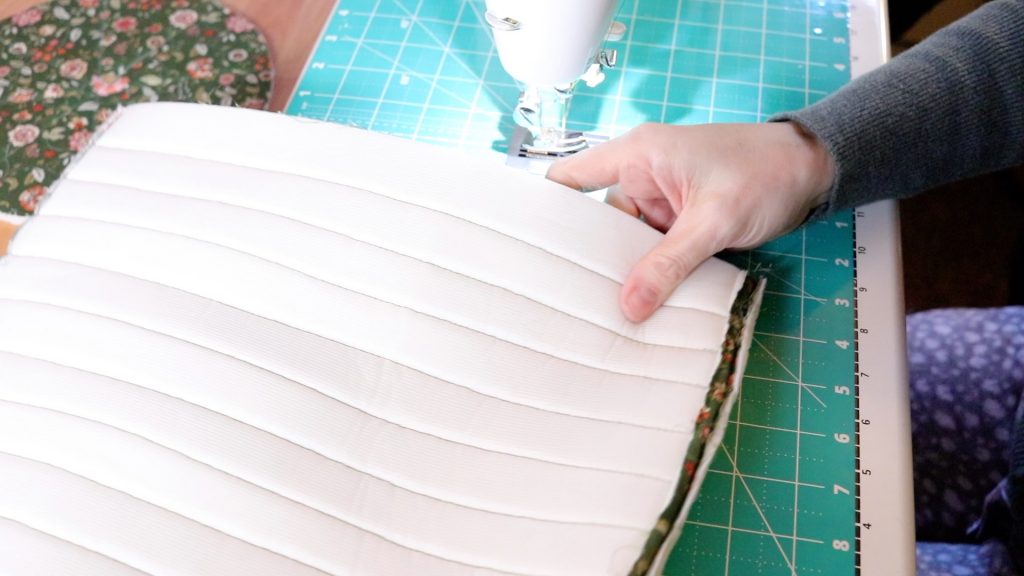
Mark your quilting lines on your bag
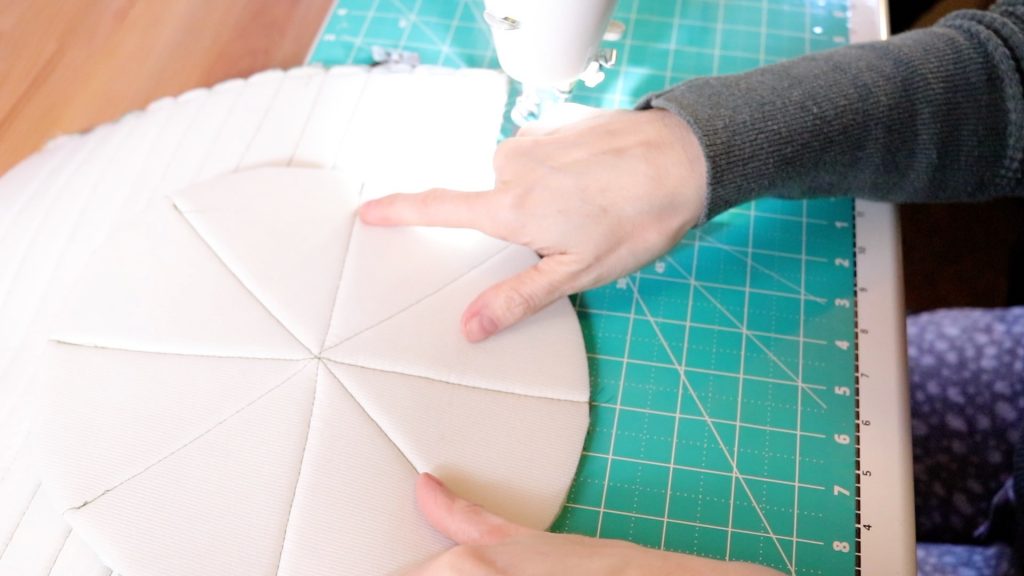
- With your ruler and chalk pencil, head to a flat surface and mark your bag exterior sides and exterior bag bottom with some lines you want to quilt.
This stitching will really stand out on fabric fused on foam. It helps keep all your bag pieces together during washing and with extensive use.
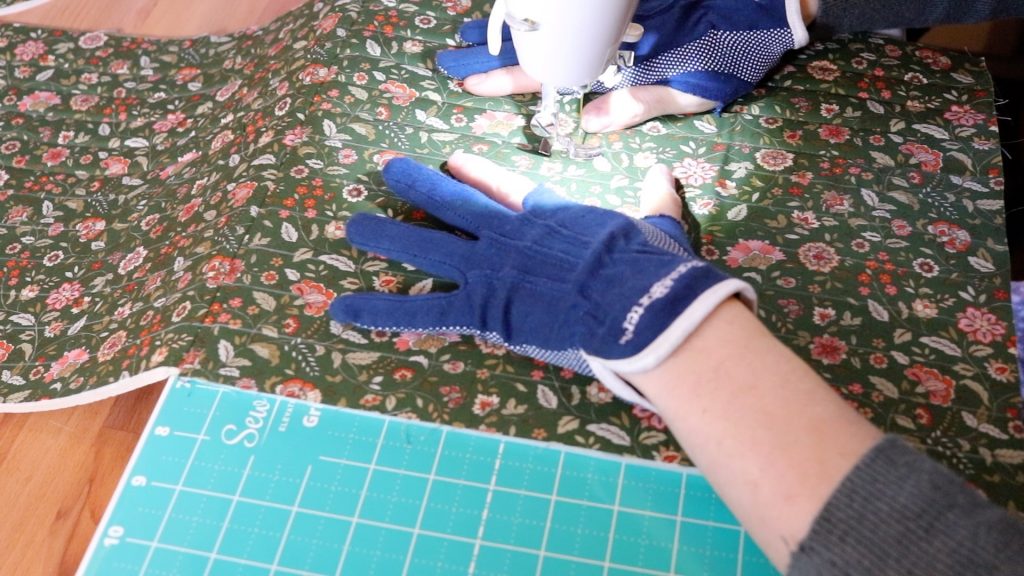
Quilting your bucket bag
- Time to make some decisions about thread. If you use a thread that matches your main fabric, it won’t stand out as much.
Using a contrasting thread you’ll see your stitching lines more easily. This is all personal preference. For this particular project, I chose a matching thread.
I prefer to wear quilting gloves when I do any quilting work that involves a lot of time. I have found that it eases muscle tension in my shoulders and neck since I’m not working as hard to pull and push my fabric.
Again, gloves are optional though. 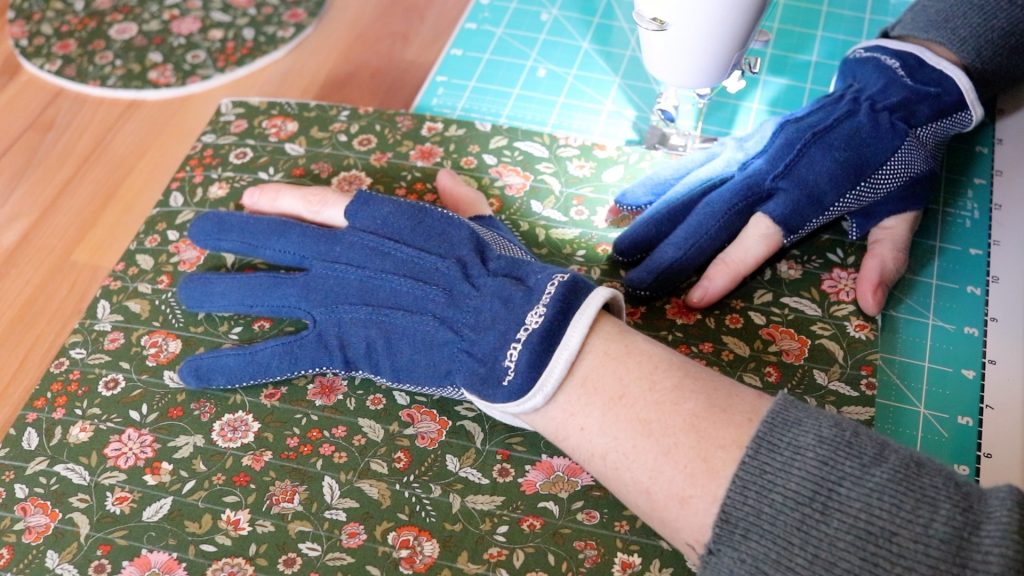
2. Quilt all the lines that you drew on your fabric pieces. Don’t forget to quilt the EXTERIOR bag bottom as well.
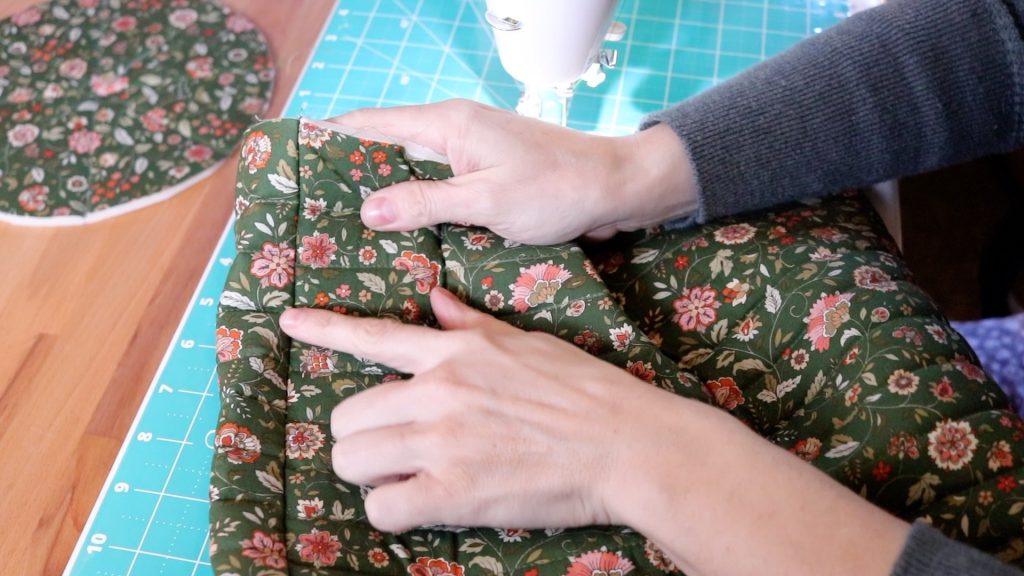
Sewing the main exterior bucket bag together
- Take your bag exterior piece and fold RST (right sides together).
2. Using your 1/4 inch or 1/2 inch seam allowance, stitch the remaining side of your bag together.
Don’t forget to backstitch at the beginning and end of each line of stitching.
3. Turn your bag RSO (right side out) and topstitch this side seam if you chose to topstitch the other side. This part can be tricky so just take it slow.
Attaching the bag exterior bottom to the bag exterior sides
**** Again, this part requires so easing so just take it slow ****
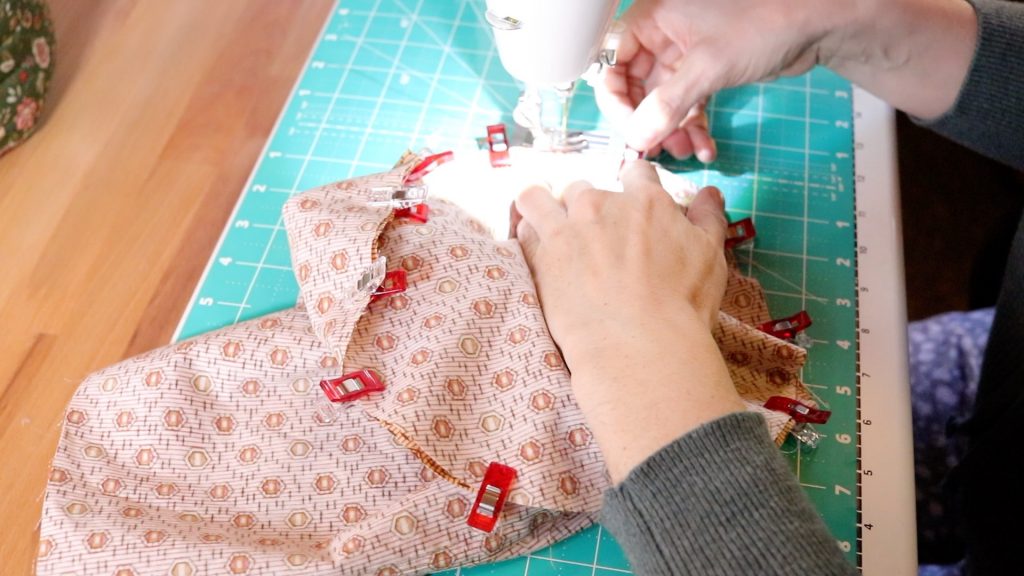
- Grab your pins or clips. I prefer clips as I have found that when I try to use pins that I seem to get poked a lot more. If you don’t want to purchase expensive sewing clips, mini binder clips work great as a substitute.
2. Make sure for this part that your bag exterior is facing with the right side facing in. When you clip the bottom to the sides, you want the RST (right sides together). So the fusible foam sides of your bag should be facing you.
3. I begin by finding the (4) centers along my bag bottom edge, and clip this first. Then I Slowly begin to clip and EASE the bottom to the bag sides. Clipping or pinning along the way around.
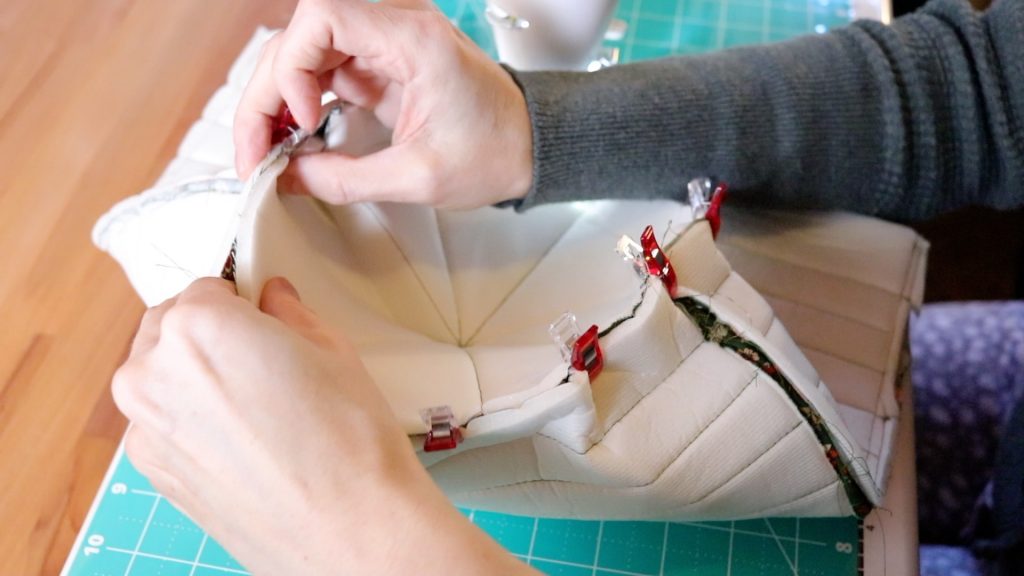
4. Once you have finished clipping or pinning, you’ll sew the bag bottom to the sides using the seam allowance you have been using thus far (1/4 inch or 1/2 inch).
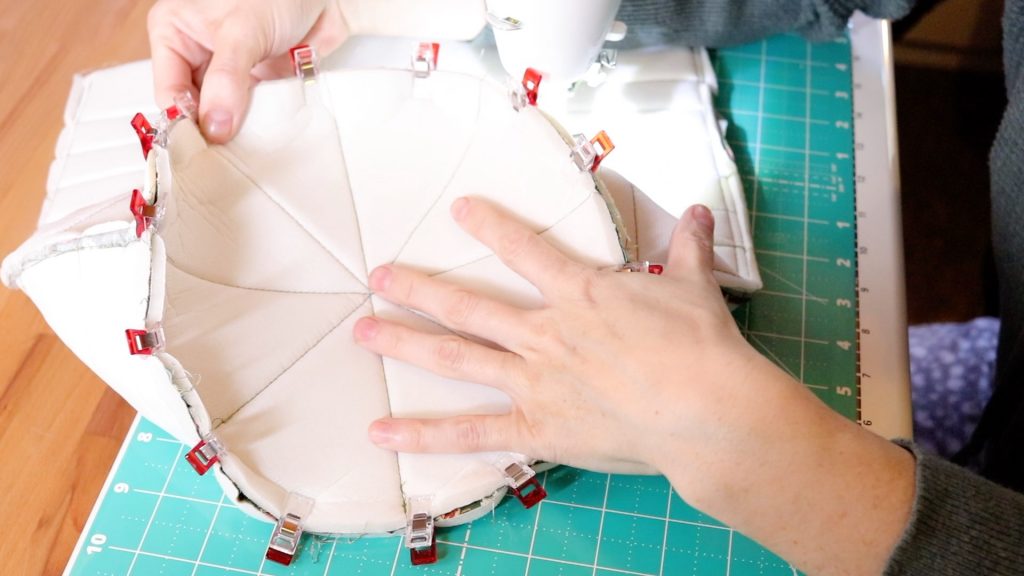

Turn your bag right side out
- After you have finished attaching your bag bottom, turn your bag so it’s RSO (right sides facing out).
2. Run your finger along the seam around the base of your bag to make sure there aren’t any holes or areas that seem weak. Now is the time to be able to easily fix this. Once you insert and attach your bag liner, it will be very difficult.
3. If you have no holes or areas of concern, set your completed bag EXTERIOR off to the side.
Finishing the interior of your bag
Now you’ll begin constructing your bag INTERIOR using the steps you just did to complete the exterior.
You don’t need to quilt the interior of your bag, unless you really want to.
- Sew the 12.5 inch side seam of your bag interior.
2. You can topstitch these seams as well (optional).
3. Attach interior bag bottom to interior sides.
4. Once you have completed assembly of the bag liner, set off to the side for later.
Marking the bag for handle placement
**** This part is really personal preference. Just make sure when you are marking your bag for handle placement, that you leave enough room along the top of your bag to attach the binding ****
- Using your ruler and chalk pencil, place marks where you’d like your handles to go.
2. Once you have marked your bag for handle placement, set the EXTERIOR of your bag off to the side for later.
3. It’s time to construct the handles so we can stitch them on.
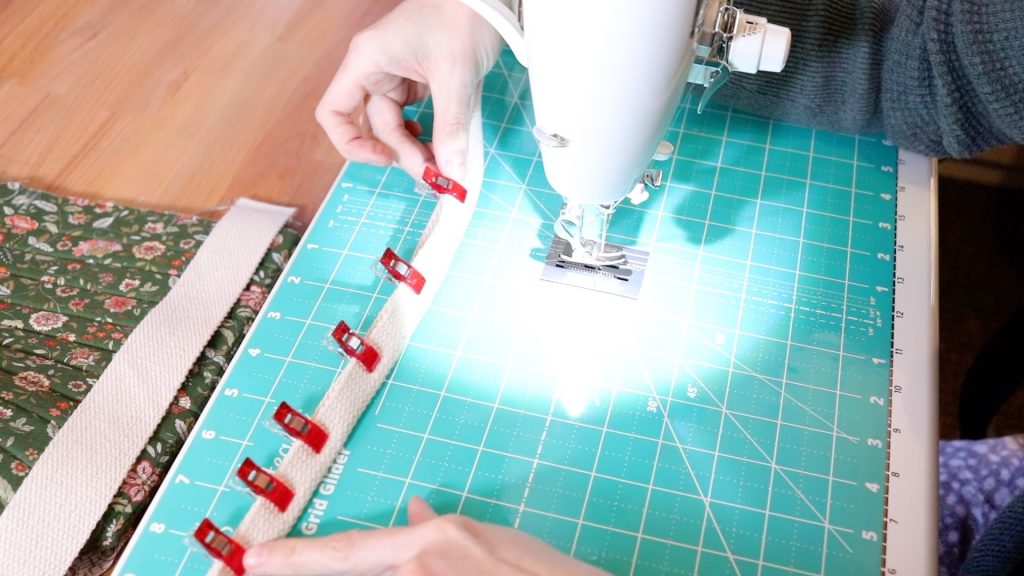
Bag handle construction
**** NOTE: If you are using cotton webbing as I did, you need to decide if you want the stitching lines on your handles to be visible or not.
I choose to hide these as much as possible by using a matching thread. So if you want to hide them, change your thread and bobbin thread now ****
- The first thing to do when you begin making bag handles using just cotton webbing, is to fold the end of each strap down and stitch. This will hide the raw edge.
2. Repeat for the remaining strap ends.
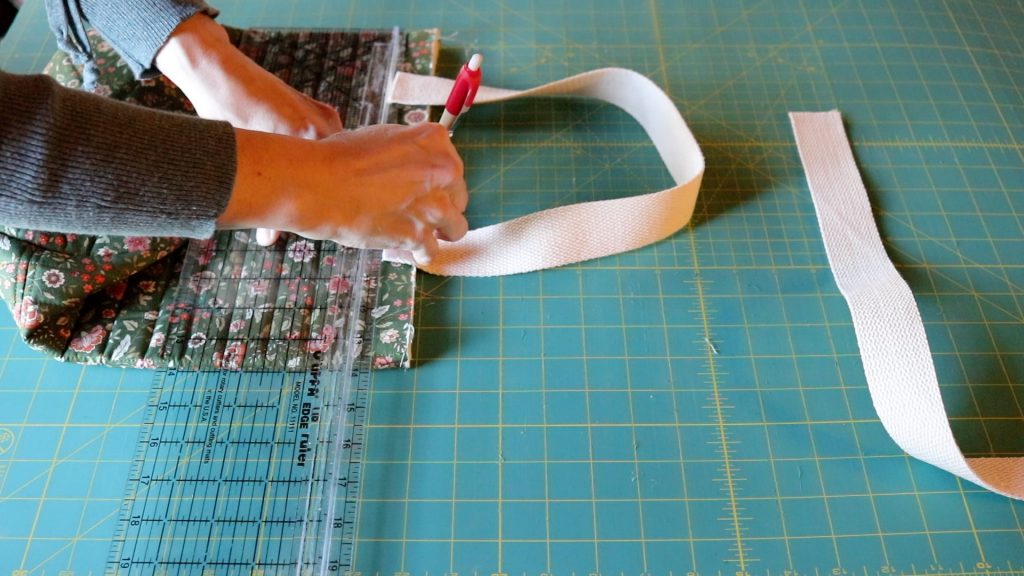
Rolling the webbing for a comfortable handle
**** NOTE: This step is also optional, but I really prefer the finished look and feel of a rolled handle. But if you prefer, you can skip this step ****
- Begin by folding each of your straps in half and finding the center. Mark with a pin or pencil mark.

2. Once you have identified the center of each strap, determine how long you want the roll on each handle to be.
For my straps, I measured 5 inches from the center pin on each side. The total rolled area of my handle will be 10 inches long.
This will leave me enough room to attach my handle easily as well. Again, the amount of roll you want to your handle is up to you.
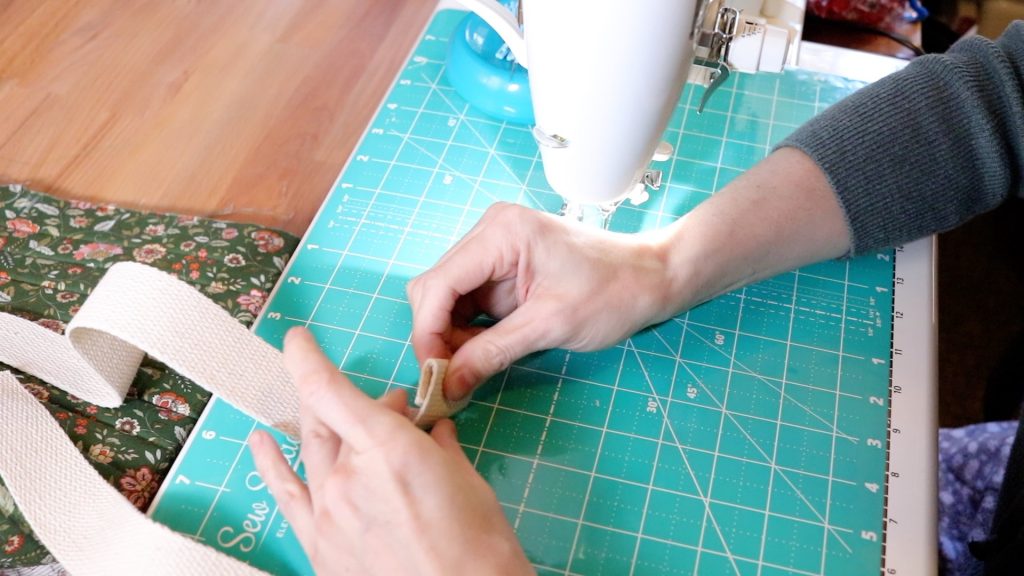
3. Clip or pin your handle.
4. Begin sewing using 1/4 inch seam allowance through both layers of webbing. This is a lot of bulk so go slow.
**** It may help to use a denim needle if you find your machine has difficulty with layers. I have found that cotton webbing is far easier to sew through than most other webbing materials ****
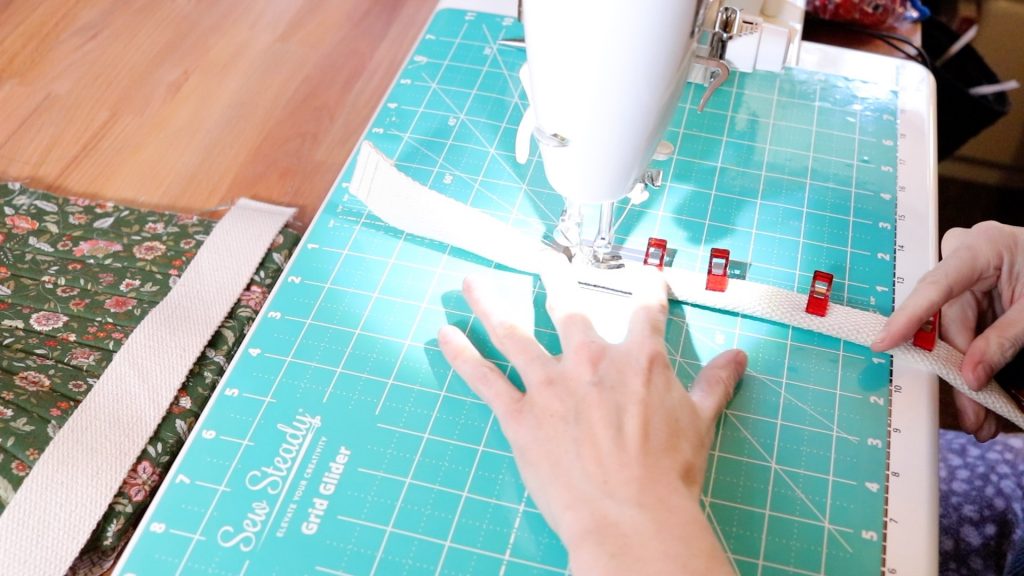
5. Make sure you backstitch at the beginning and end of these lines of stitching- THIS IS IMPORTANT!
Your handle is going to get a lot of wear and tear so you want to be sure it is properly stitched. I actually sew over the same line of stitching multiple times, just to be sure it’s really secure, especially if you are going to wash this bag.
6. Repeat the above steps for the other bag handle.
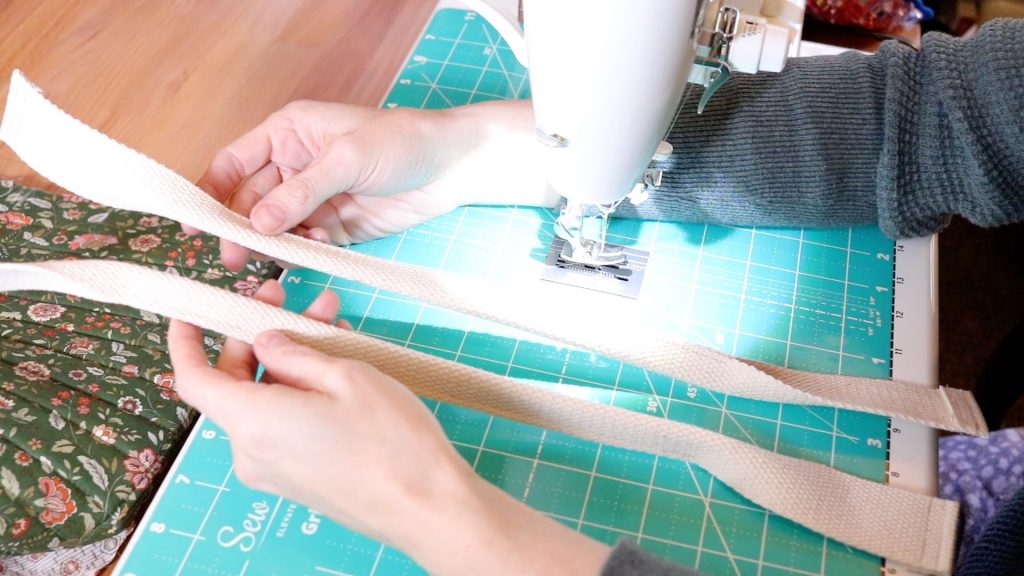
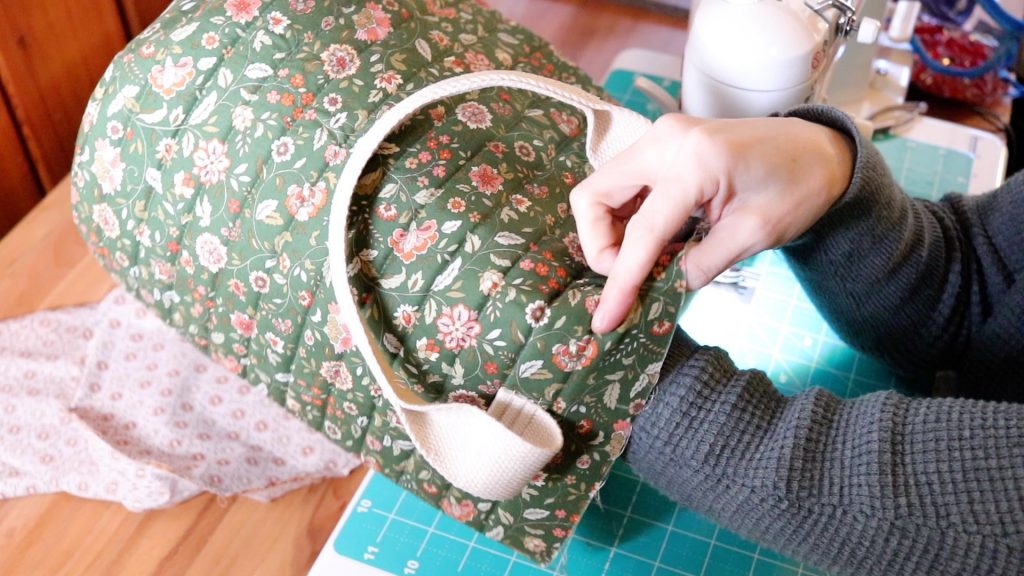
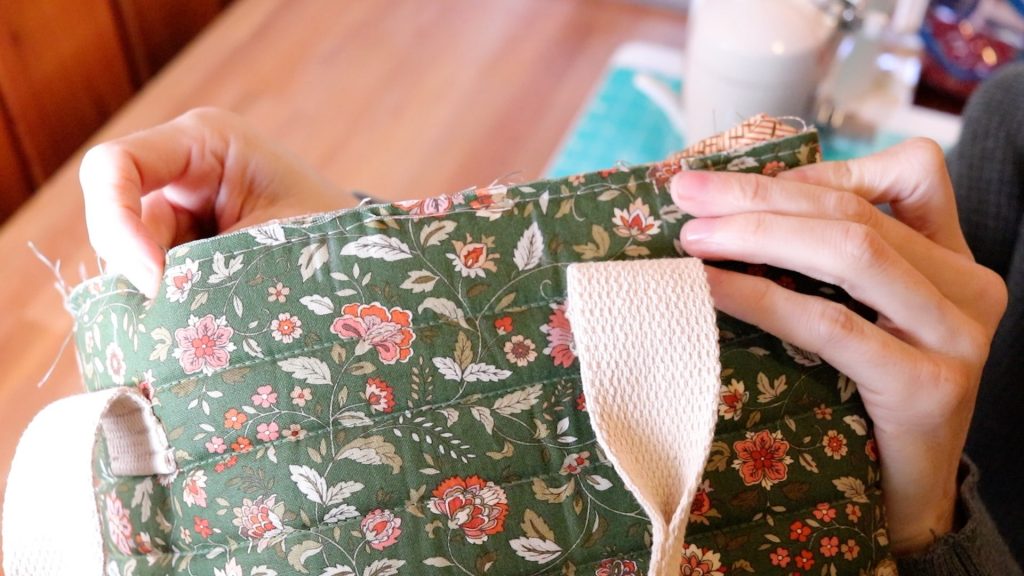
Attaching the bag handles to the bag
- Using the mark you created earlier, place you bag handles onto the bag exterior and pin in place. I prefer pins for this part just to make sure the handles don’t shift at all when sewing them on.
**** NOTE: Be sure that your bag handles aren’t twisted ****
Make sure that the raw edge you turned under on your handles are laying up against your bag exterior-you don’t want to see this.
Again, change your thread if you don’t want to see it. This is your last chance to do that.
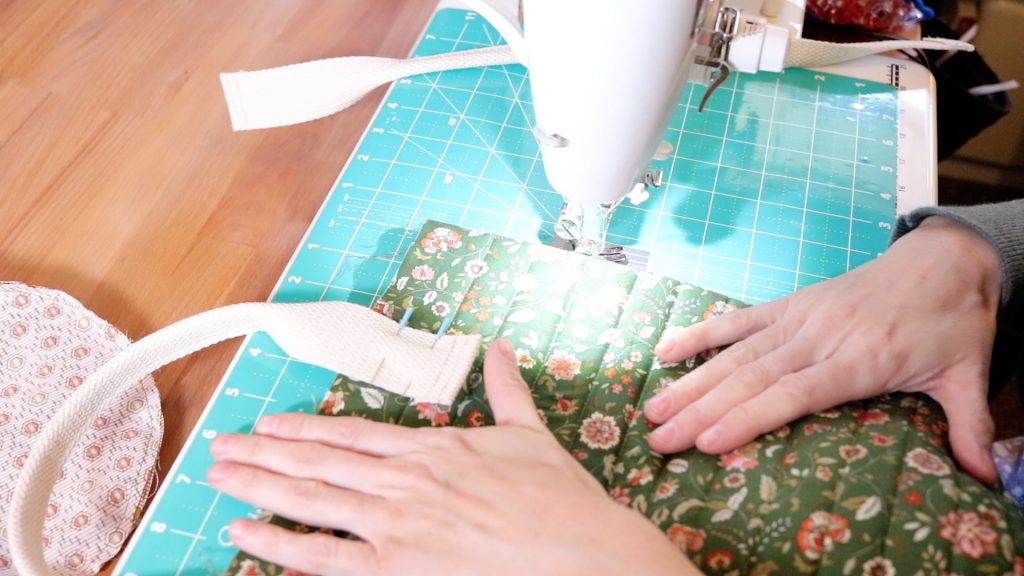
2. Stitch into place. Backstitch at the beginning and end of each line of stitching. I always try to go over the same lines of stitching I already did. Keeps it nice and clean looking.
3. Repeat for all (4) handle ends.
Insert the bag liner into our bag exterior
- This is called a “drop-in” liner. You’re literally going to take the liner and drop it into the bag WST (wrong sides together).
So the exterior of your bag stays pretty side out, and the liners wrong side is going to stay facing the wrong side of your bag exterior when dropped into place.
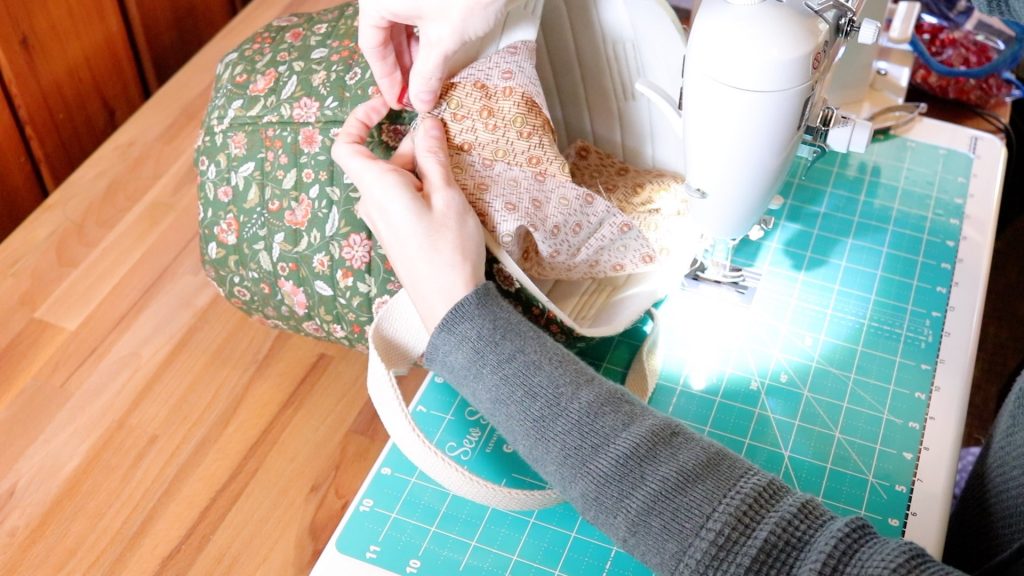
2. Begin by clipping or pinning the side seams together. Then working around the top of your bag, ease the raw top edges together all the way around. 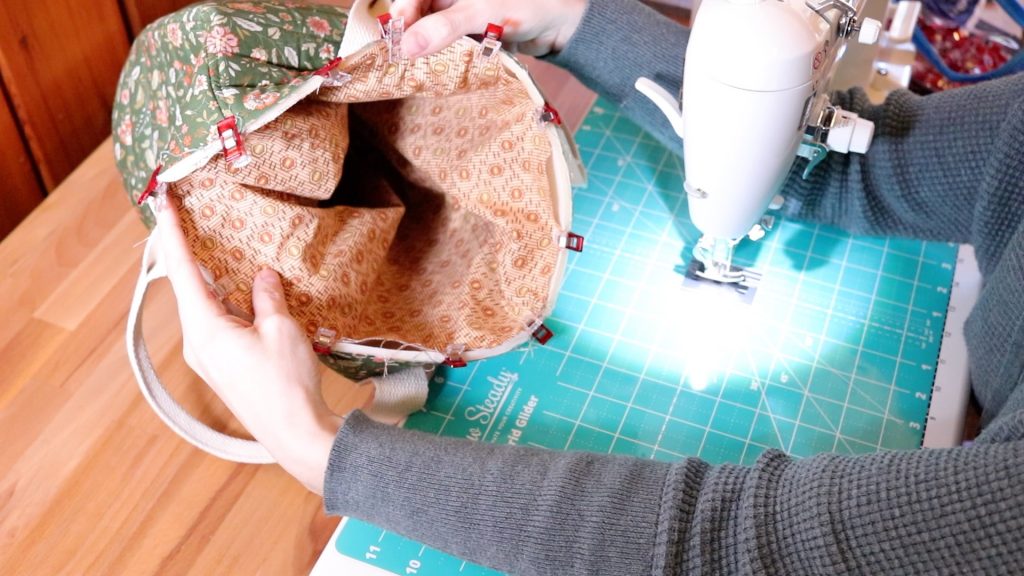
By now your bag should start looking more like a bag. Yay!
3. Now we’re going to attach the liner to the bag exterior using a basting stitch. This just means that you’re going to lengthen your stitch to a 4.5 or 5 and NOT backstitch.
Consider basting a temporary stitch to hold this in place. At the end of bag construction, you can easily snip, and pull the thread out.
4. Baste stitch the entire way around the top of your bag.
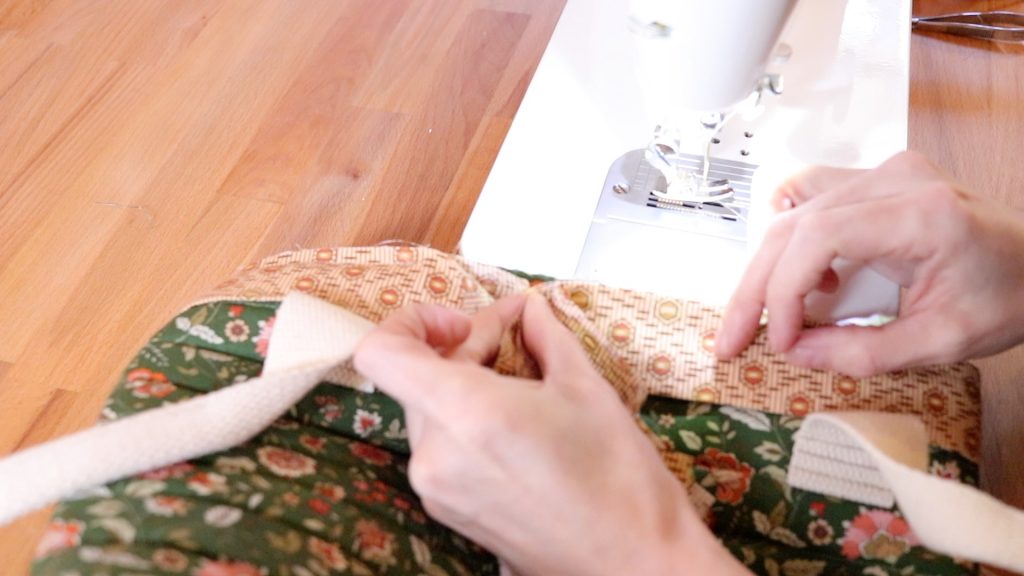
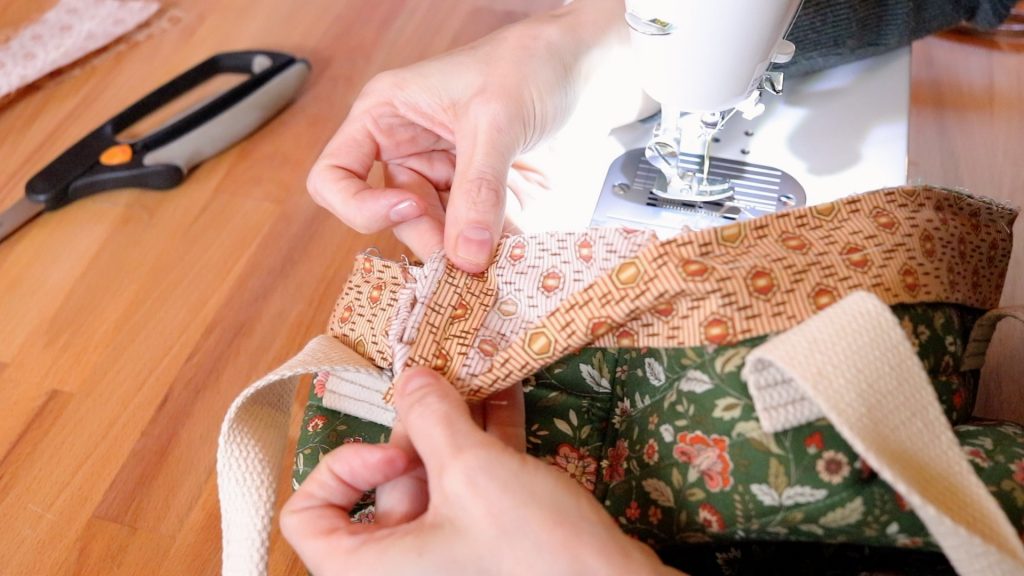
Attaching the binding
- This part can be a bit tricky. If you are a quilter and you’re familiar with attaching quilt binding, this step will be a cinch.
2. Grab the binding strip you created earlier. You’re also going to need clips or pins for this step, and some patience.
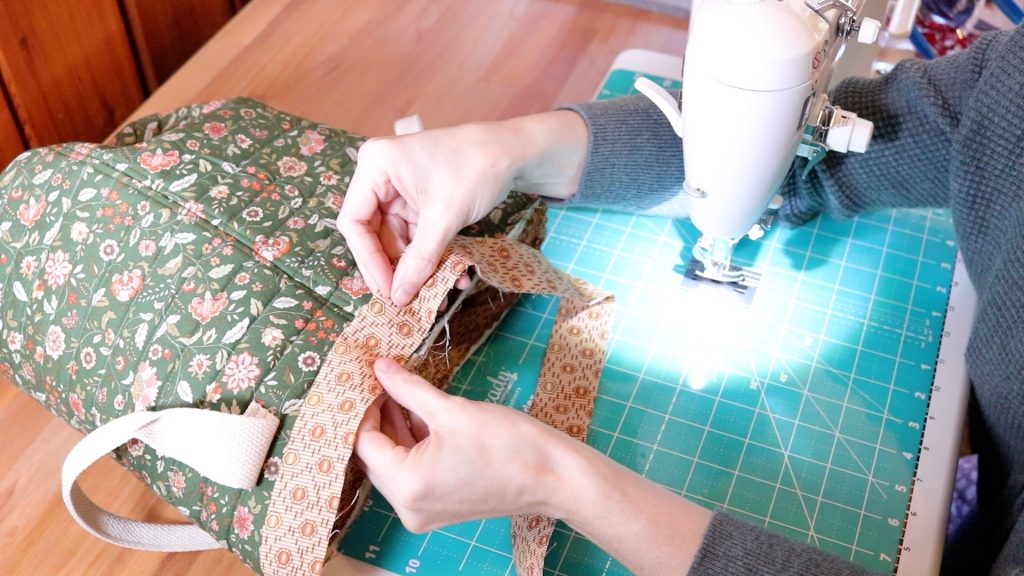
3. Beginning at one of your side seams, match the raw edge of your binding strip, to the raw edge of your bags top. You’ll want to begin clipping or pining by leaving yourself an 8 to 9-inch tail before your pinned area.
You’ll see why in a minute.
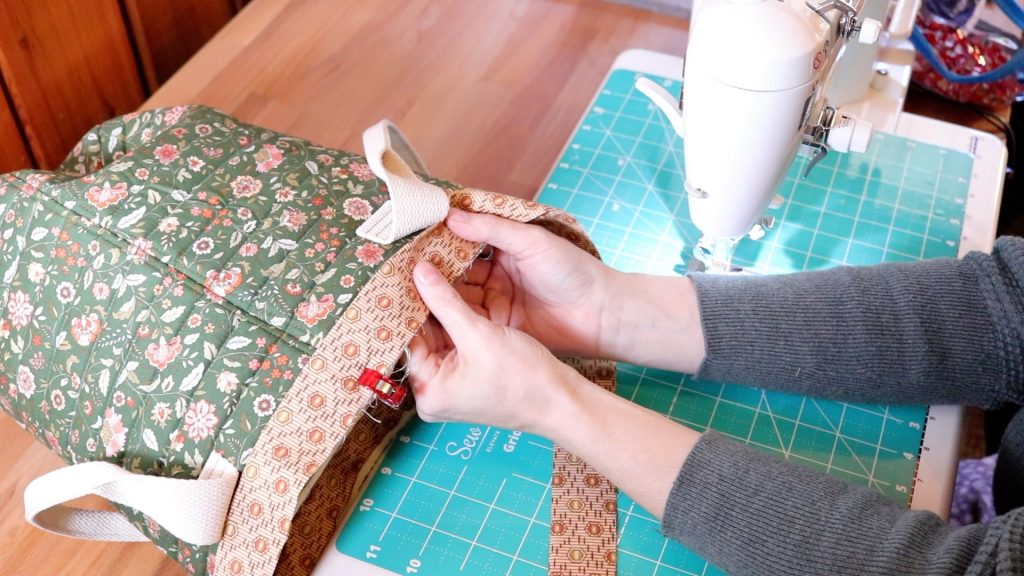
4. Pin your binding strip to the top of your bag all the way around, stopping at the other side about 8 to 10 inches AWAY from the other pinned side. You’re creating a “GAP” in the binding attachment.
Return your stitch length back to standard setting
**** Make sure that your machine is returned back to the normal stitch length after you have basted. The normal stitch length is 2.5 to 3.5 depending on the make and model of your machine ****
If you aren’t sure what the standard stitch length is for your machine, check your manual.
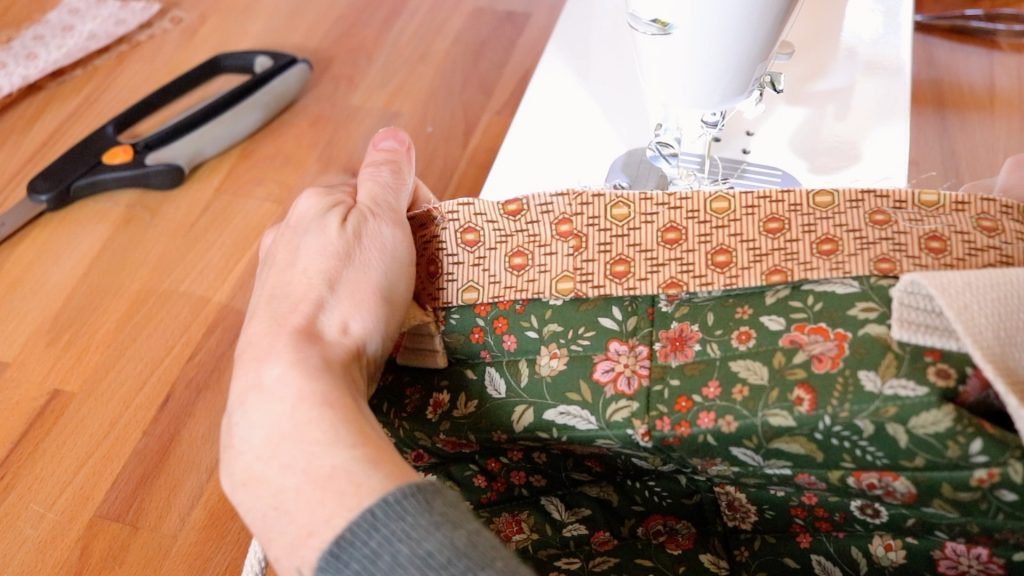
5. Sew around the top edge of your bag to attach the binding. When you are finished, you should have a gap like the one pictured above.
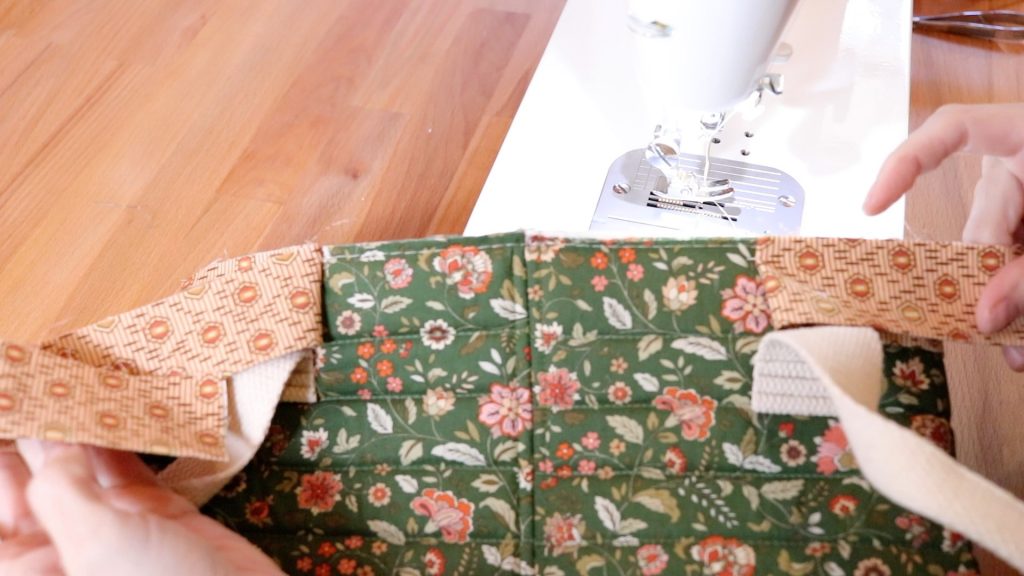
6. Next, carefully open up the two ends of your binding strips.
Now for the tricky part.
7. Making sure the binding strips aren’t twisted. Lay the two open ends of the binding strip RST (right sides together).
8. Pinch the strips together so they would lay nice and flat if sewn together. They should lay flat against the exterior of the bag, slightly tight, and not have a bunch of excess fabric or bulging.
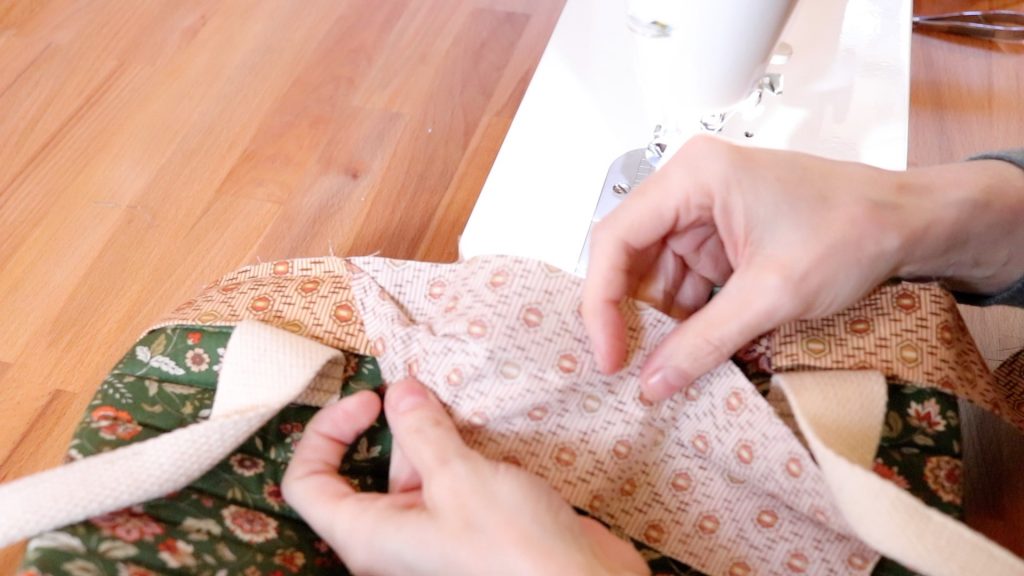
9. Pin through both layers of the strap to hold them together where you’ll want to stretch them.
10. Continue to lay the strips flat, RST, and pin along the entire binding strip. Make sure the pins don’t shift.
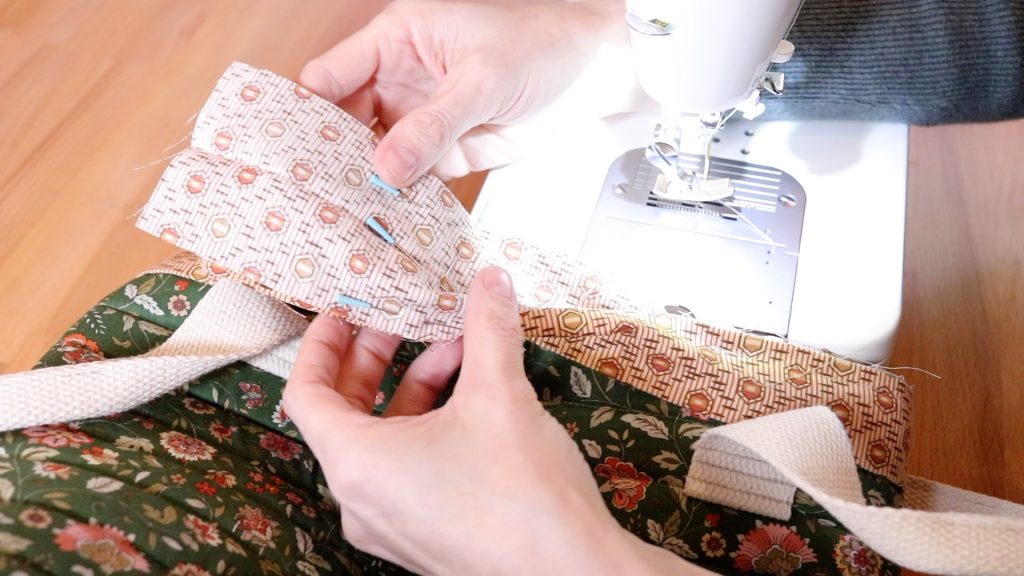
11. Sew a straight line from the top to the bottom of the binding strip.
Trimming the excess fabric from the binding
Ok, so you have just finished sewing the binding strip together.
DO NOT CUT the excess fabric from the strip until you have checked to make sure that
*The strips lay flat against the bag.
* That the binding isn’t twisted.
* Be sure there isn’t a lot of excess fabric.
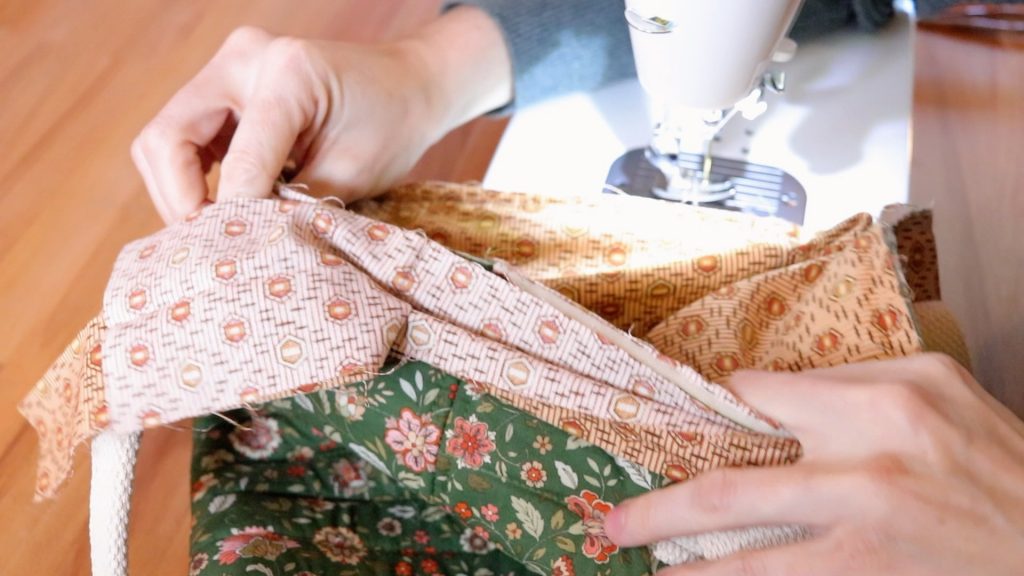
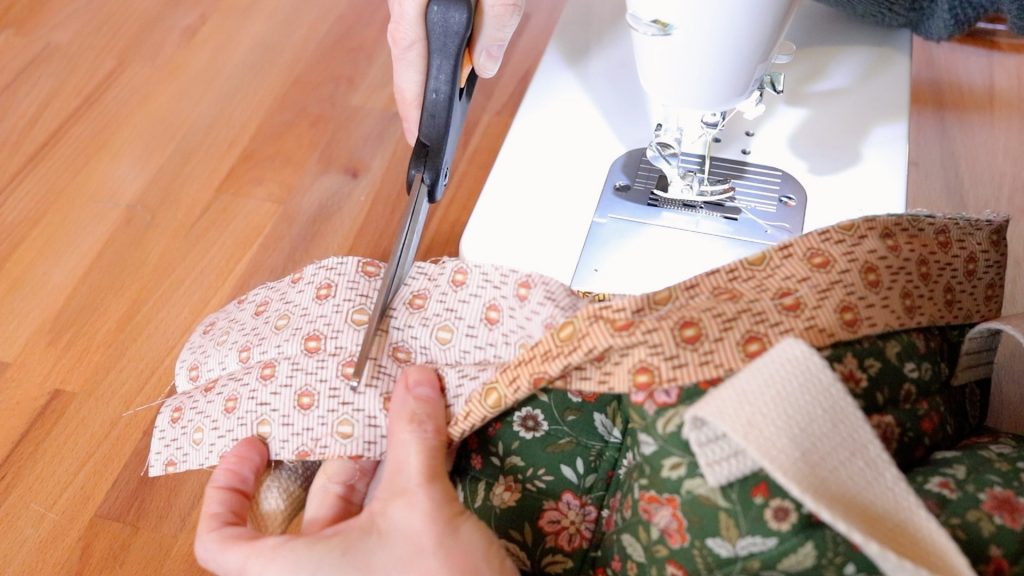
12. Once you have double checked that everything is as it should be, trim away the excess fabric from the binding.
Trim about 1/2inch away from your line of stitching.
13. Finger press that seam open.
14. After you have finger-pressed your seam open, fold the binding strip back into place. Raw edges should be meeting at the top.
15. So now you can take it back to your sewing machine and finish that line of stitching. Begin sewing right over the top of your last line and overlap a bit to make sure it won’t come undone.
16. Backstitch at the beginning and end.
Stitch in the ditch around the top
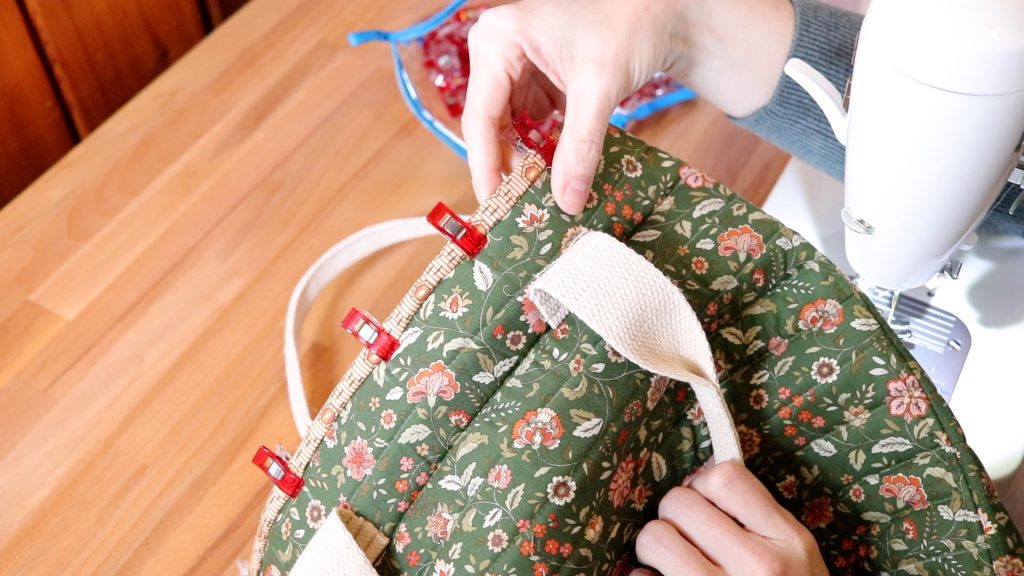
We are officially on the last step to complete this adorable bag.
- Ok, so now take that binding strip that you just finished attaching to your bag, and flip it up, over the top raw edge, and towards the center of your bag.
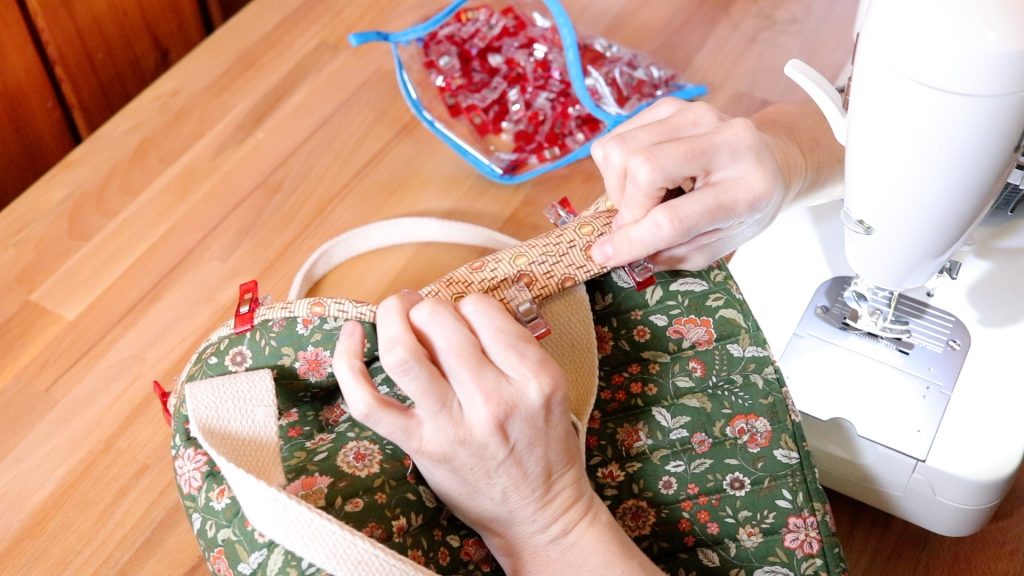
2. Fold it up and over then clip or pin it into place around the entire top edge of your bag.
3. Stitch in that seam that you created between the bag exterior and the binding.
This technique is called stitching in the ditch.
If you are slow and careful, that stitching line should be hidden within that seam and you won’t see it. It will catch the binding on the inside of your bag as well.
It’s totally genius. In my sewing opinion that is.
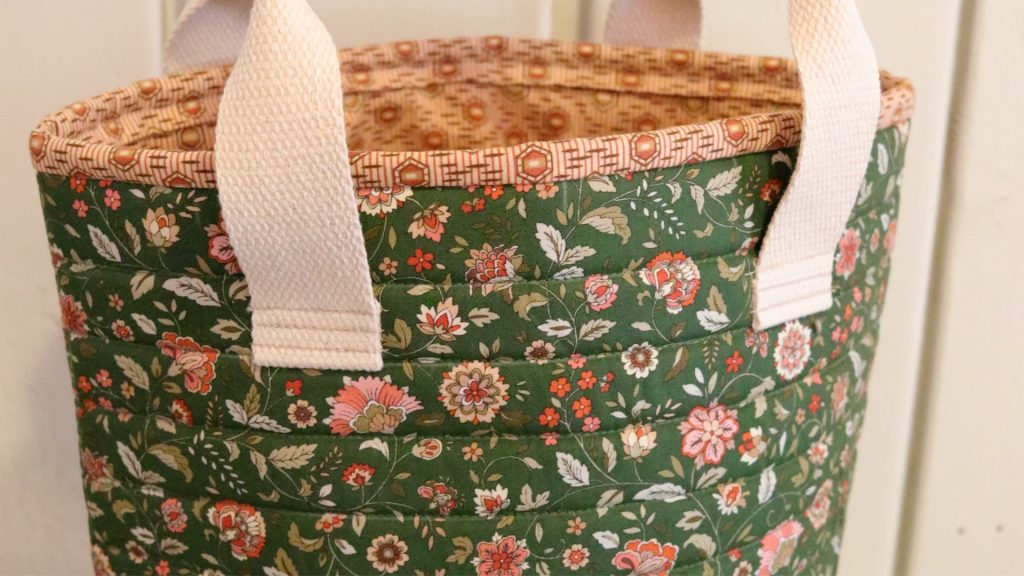
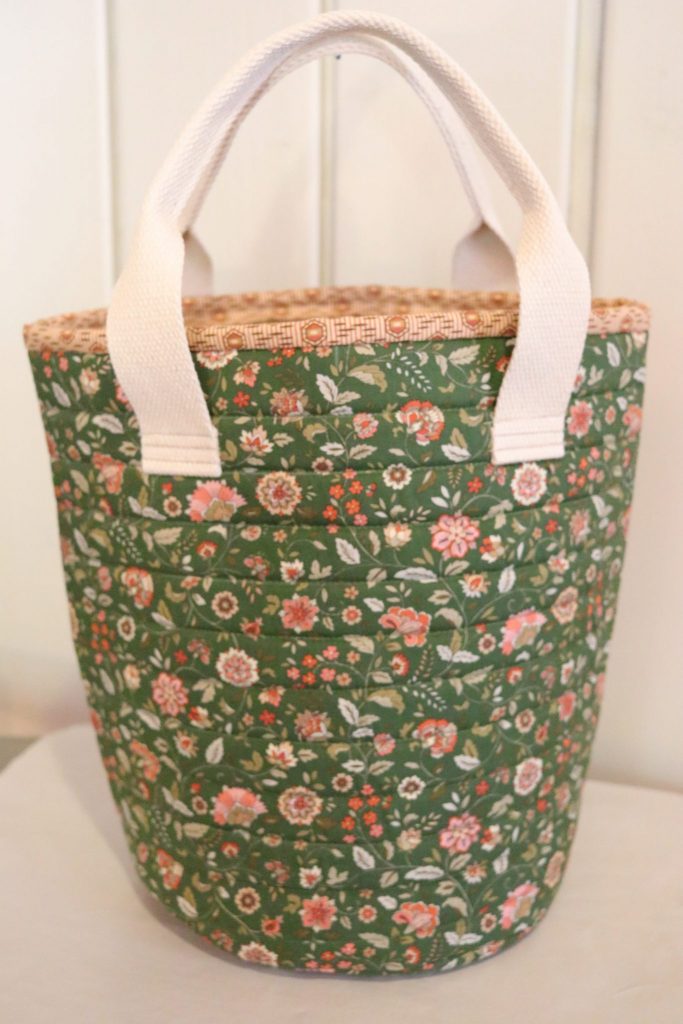
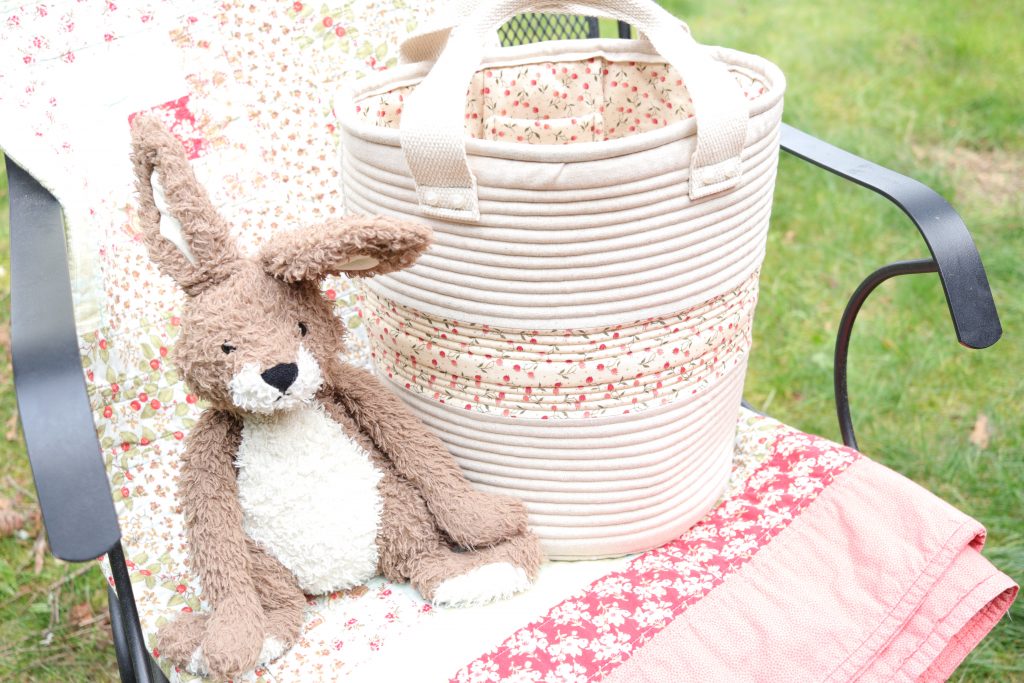
Completed Simple bucket tote bag
Congratulations! You have just finished your tote bag.
What are your favorite things to sew? I love sewing just about anything, but tote bags are probably one of my favorites because of their versatility.
Shop this post:
Pin it for later
I hope you guys enjoy this free pattern and tutorial. Make sure you tag me over on IG with all your makes. I love seeing the patterns come to life.
Happy sewing!