
Grab my free Ebook
25 of our Best Recipes
Jelly beans danish candy canes marshmallow cotton candy sweet brownie. Sesame snaps sesame snaps chocolate jelly bear claw halvah sesame snaps brownie shortbread.
your embed code here
Latest from the blog
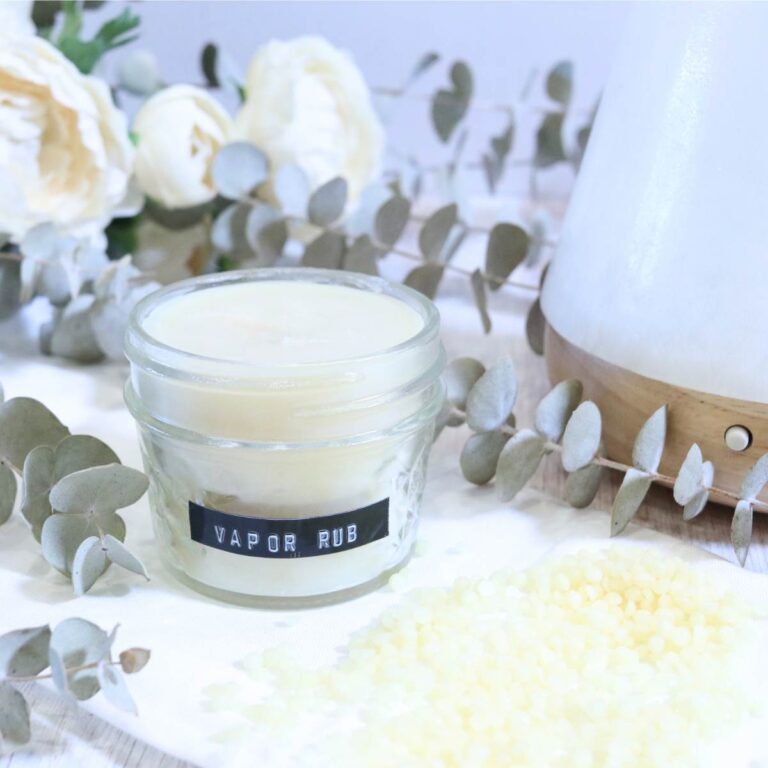
All-Natural Vapor Rub With Soothing Essential Oils
When cold and flu season comes around, it’s so nice to feel prepared. Making a batch of all-natural vapor rub with soothing essential…
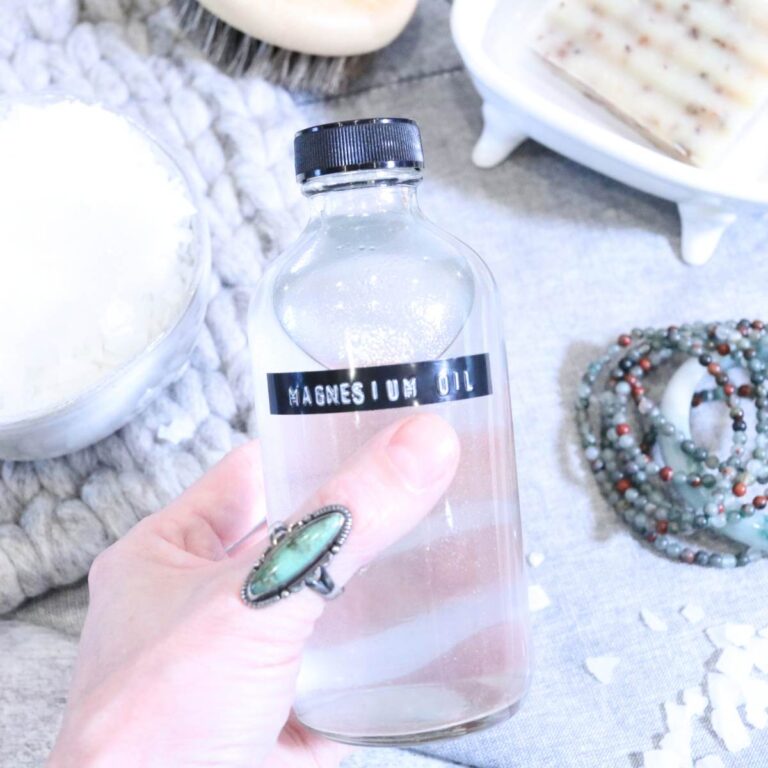
How To Make Magnesium Oil
Making your own magnesium oil at home is really simple and can be used in many DIY health and beauty products. So today…
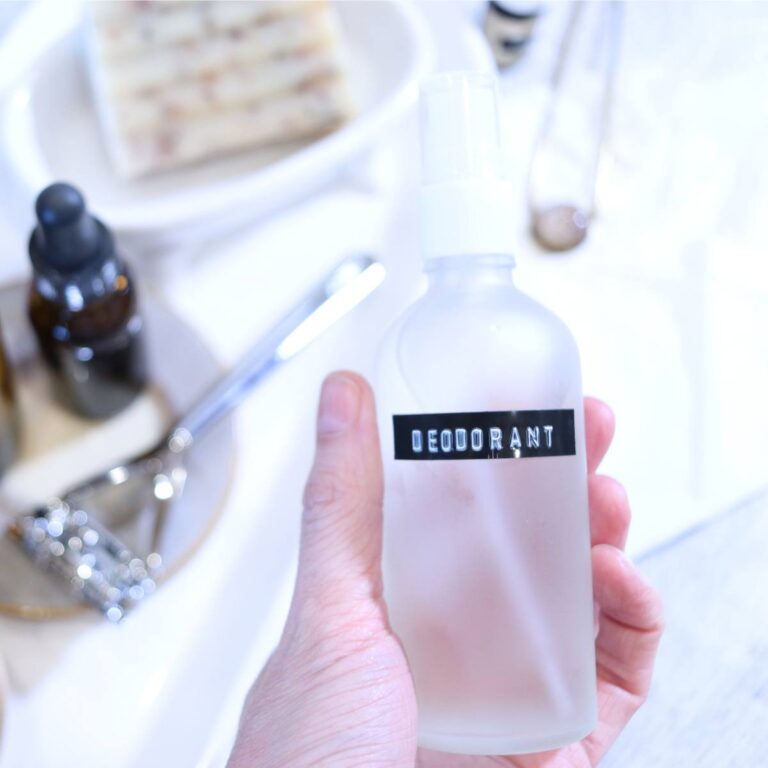
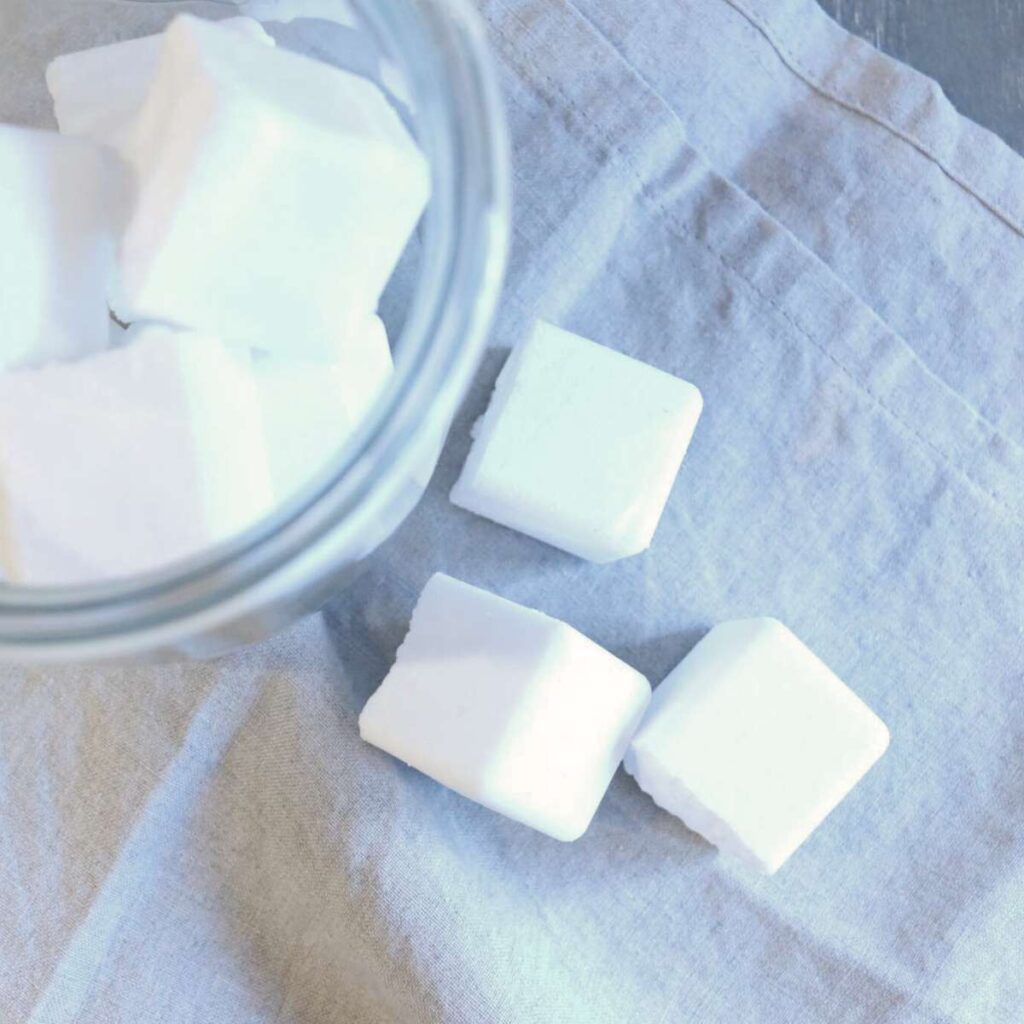
How To Make Magnesium Deodorant
Ever wondered if you could make a really effective deodorant spray at home that really works? Well, today I’m sharing how to make…
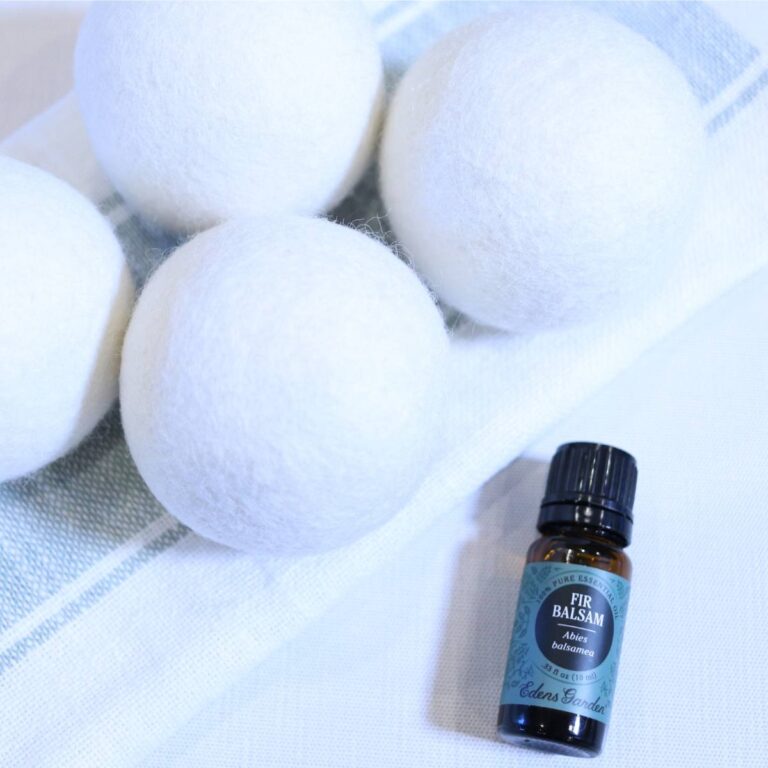
How To Make Wool Dryer Balls
Wool dryer balls are essential to any natural laundry routine. Today I’m sharing how to make wool dryer balls so you can enjoy…

Hi there!
I’m Brie
Welcome to our cabin in the woods here in the beautiful Pacific Northwest. I’m so glad you’re here! Read more…