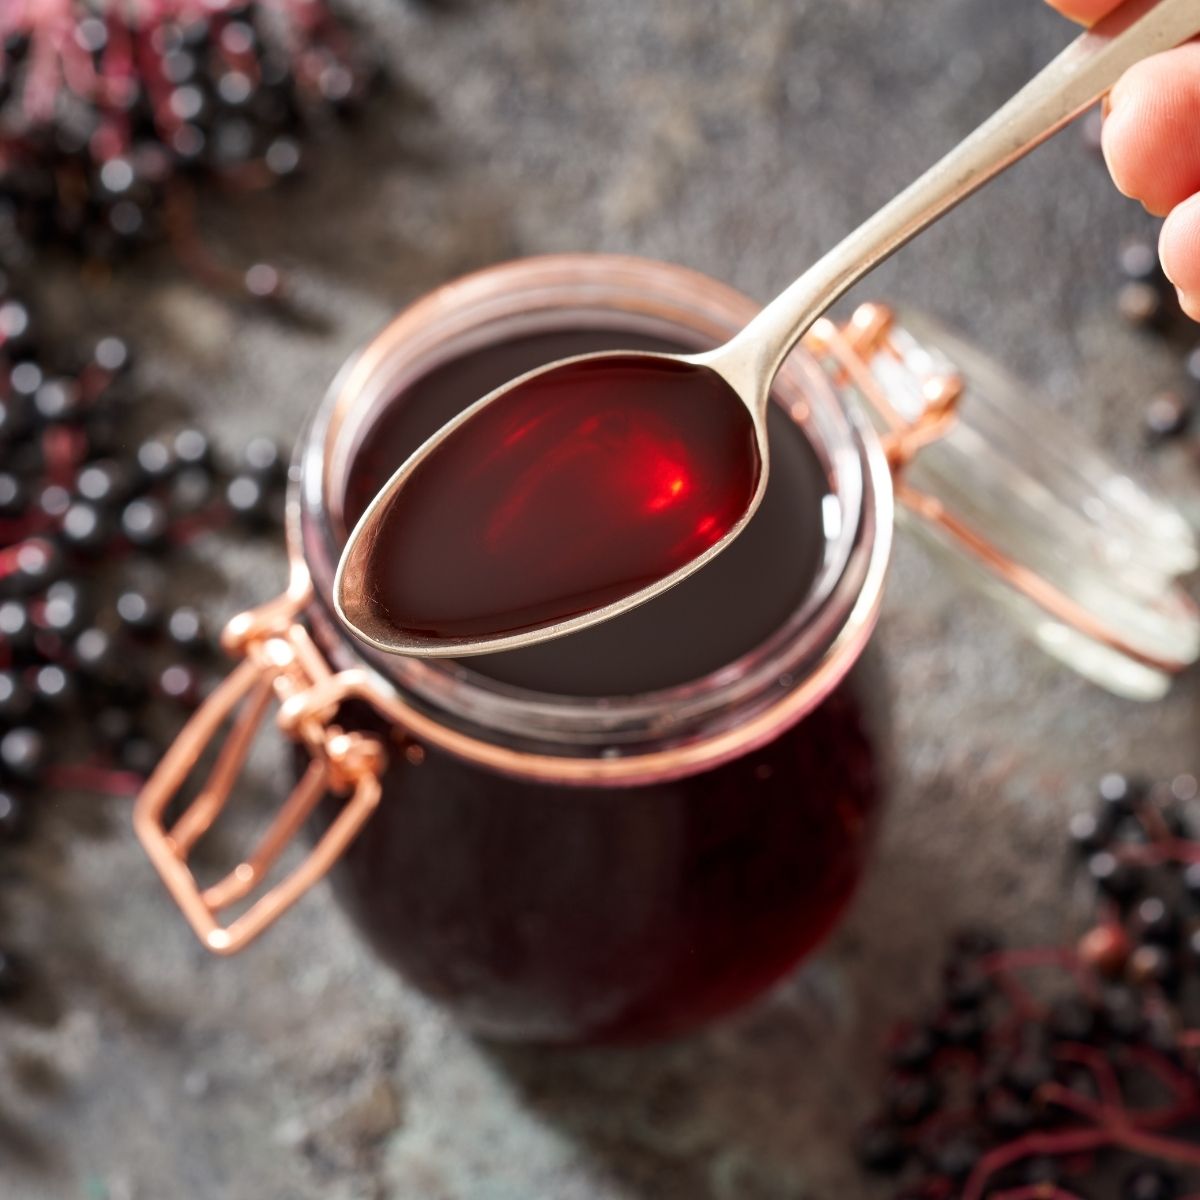
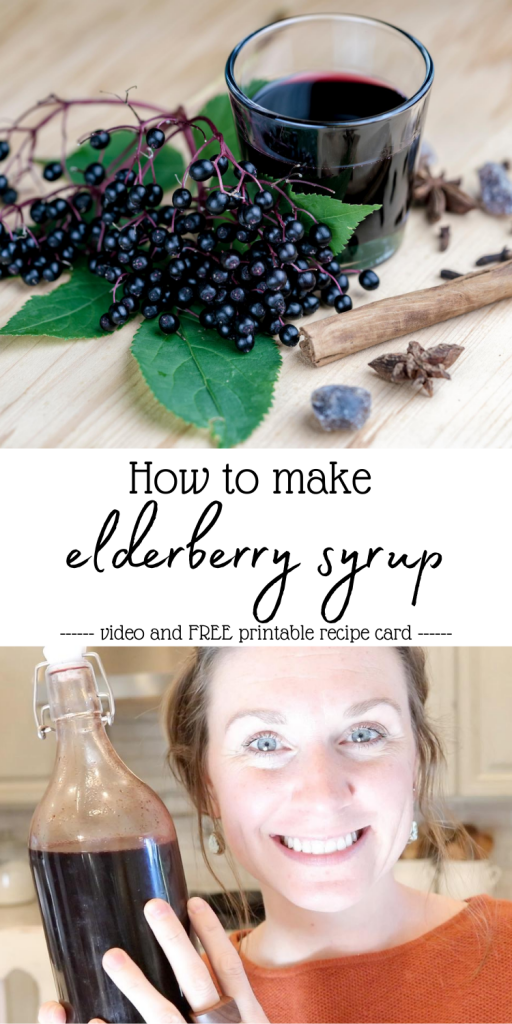
How To Make A Thickened Elderberry Syrup
Learn how to make a simple thickened elderberry syrup on the stovetop or with an InstaPot.
If you are looking to get started making your own elderberry syrup, you’ve come to the right place.
I’m going to show you 2 simple methods for making your own natural immune boosting syrup at home.

Some of these links are affiliate links. You can read my full disclosure HERE.
Disclosure: Any information obtained from this post is from my own opinion and research. This information is not meant to treat or diagnose, prevent or cure illness. Please do your own research and talk to your doctor about whether or not elderberry syrup is right for you and your family.
Why DIY elderberry syrup?
- Elderberry syrup is a great natural remedy for colds and flu.
- Elderberries are super high in antioxidants as well as vitamins A, B, and C.
- Taking elderberry syrup daily can help decrease the severity of colds and flu as well as help decrease stress, help with inflammation, diabetes, and more. These berries are packed with so many benefits it’s no wonder people take it daily!
If you’ve been to the store recently to buy elderberry syrup or elderberry gummies, you’ll notice how incredibly expensive they are. Making your own can save you a ton of money and you’ll know exactly whats in it-no hidden ingredients or things you can’t pronounce.
Health benefits of elderberries
Elderberries are packed full of amazing things to help support your immune system, which can in turn help your body recover from sickness faster.
Elderberries are also great for:
- Helping reduce inflammation
- Can help prevent cardiac issues
- Helps your body eliminate excess cholesterol (hyperlipidemia)
- Can reduce the signs of aging
- High in Vitamins A, B and C
- Boosts the immune system
- Can help alleviate cold and flu symptoms
- Help decrease duration of colds and flu
- Antibacterial
- Decongestant
- Anti-diabetic
- Can assist with weight loss
- Antitumor
- Antiviral
To read about all the health benefits of eldberries, click HERE.
Can I eat raw elderberries?
You should never eat raw elderberries. While eating a couple can’t hurt you, the seeds have a cyanide inducing glycoside, which can cause a build up in your body and make you quite sick (nausea, vomiting or diarrhea).
When elderberries are cooked thoroughly on the stovetop or in an InstaPot, it will ensure that the cyanide is cooked out.
Elderberries in an uncooked state are quite sour and bitter.
How to use elderberry syrup
In our home we like to take elderberry syrup daily to help boost our immune systems and keep illness to a minimum if we can help it. If you don’t want to take it everyday, you can also start taking it at the onset of symptoms.
If you don’t love the taste, but still want the healthy benefits of daily elderberry, consider:
- Adding it to a smoothie
- Incorporating it into a fresh pressed juice
- Make elderberry gummies
- Add to a breakfast smoothie bowl
- Make elderberry kombucha
- Add elderberry syrup to a hot tea with lemon
- Pour over ice with a refreshing sparkling water
There are so many ways to add it to your diet without having to just take it by itself.
There is a ton if information on the internet regarding elderberry syrup and dosing (age based). Read more about proper elderberry dosing HERE.
To use:
Take 1 Tablespoon of elderberry syrup every 2 hours at the onset of symptoms. Reduce the serving size to 1 teaspoon for children under the age of 12.
Children under 2 can be given 1/2 teaspoon safely. But again, do your own research on this and determine what’s safest for you.
Is elderberry syrup safe for babies?
Honey can act as a natural preservative and a sweetening agent. Using honey is my preferred choice when it comes to making my own herbal syrups, supplements and body products. We also have our own bees which makes it even easier for me.
However, honey isn’t considered safe for children under the age of 1.
If you are making elderberry syrup as a gift for friends or loved ones with littles ones, consider using a substitute such as an organic maple syrup or even agave nectar.
How to thicken your homemade elderberry syrup
There are a few different ways you could thicken your homemade syrup recipes.
I prefer to use arrowroot powder in place of cornstarch as a thickening agent. While cornstarch does make a perfectly usable thickener, I prefer the healthier option of arrowroot.
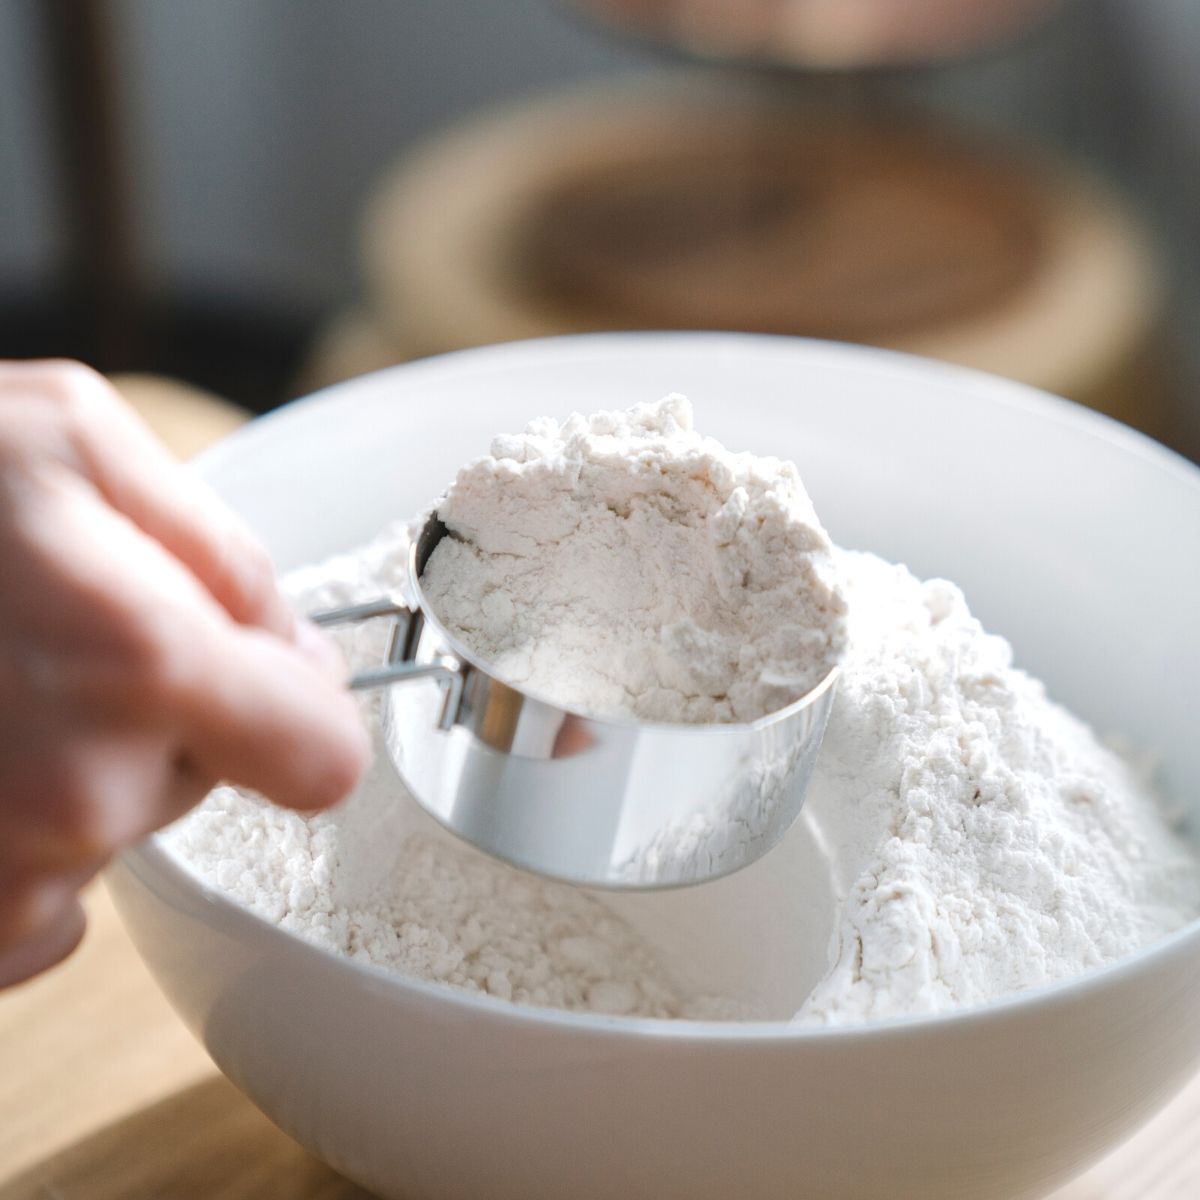
Arrowroot powder to thicken elderberry syrup will produce the same results and is a much healthier alternative.
A lot, although not all, corn based products on the market shelves these days contain genetically modified ingredients. I prefer to keep the use of these products in our home to a bare minimum. I’m always interested in finding a healthier alternative.
You can buy an organic arrowroot powder for barely more than a container of cornstarch. Plus I like the it comes in a bag that is recyclable too.
Arrowroot powder is high in iron, potassium, zinc and magnesium as well. So not only is it helpful as a thickening agent, you are also get some extra key nutrients and minerals into your diet.
You only use 2 Tablespoons per batch of syrup so one bag of arrowroot powder lasts a long time.
Organic Elderberry Syrup Video Tutorial
Ingredients
- 3 1/2 cups of filtered water
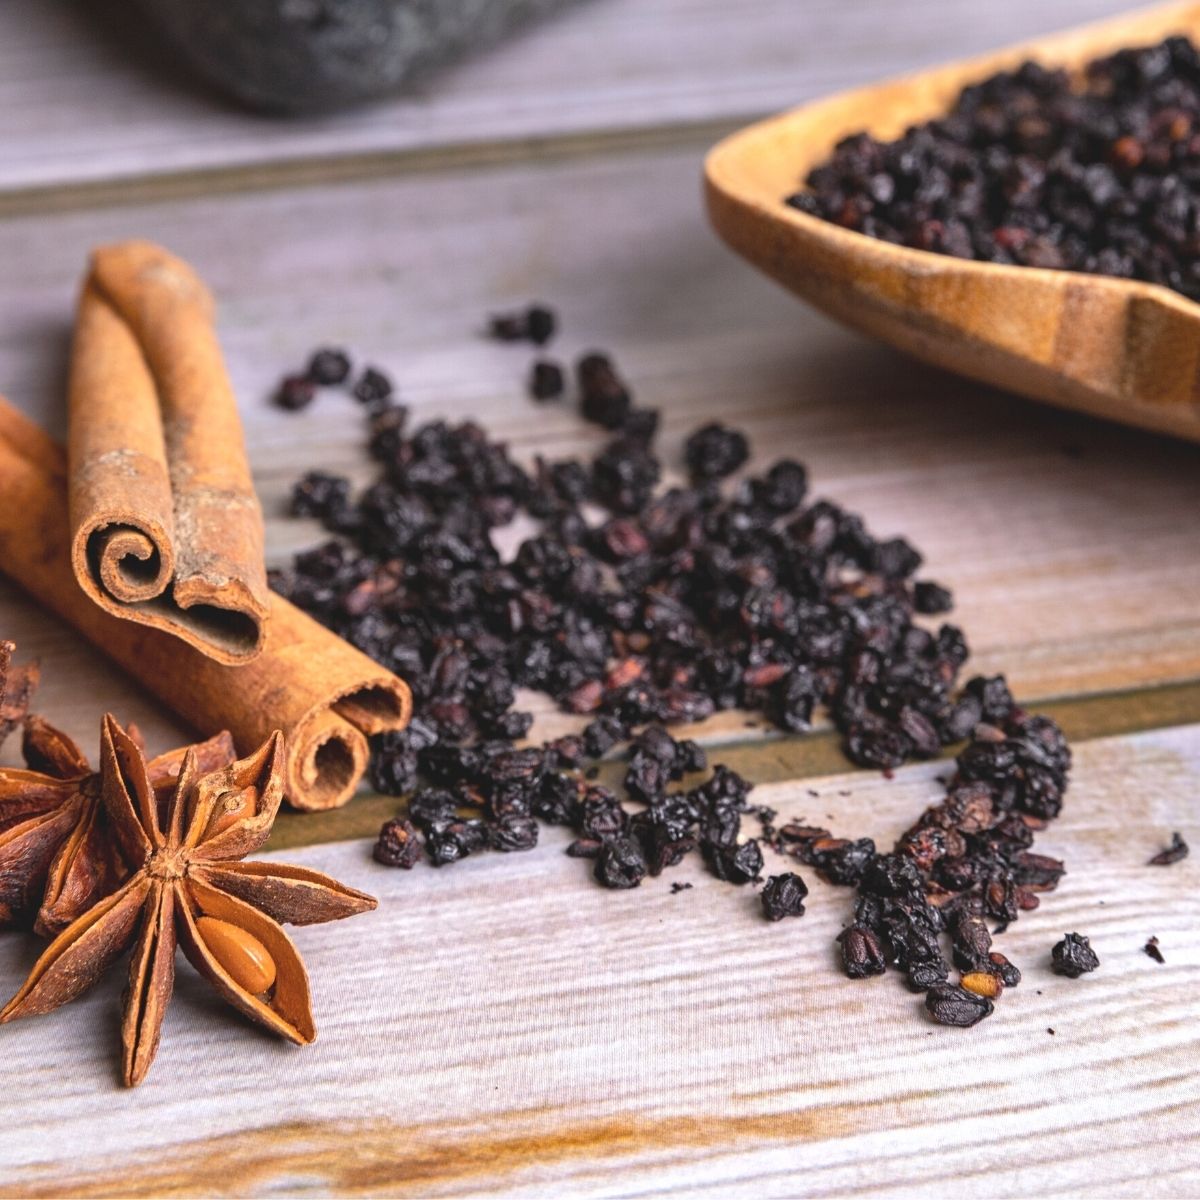
- Organic dried elderberries (1 cup)
- 1 Tablespoon ginger (fresh grated or powder)
- 1 teaspoon cinnamon
- 1/2 teaspoon clove
- 1 Tablespoon arrowroot powder
Optional ingredients to add to your elderberry syrup
If you don’t love the taste of ginger, I’ve included a few alternative that you can add to your syrup that are also beneficial.
Ginger has a really strong flavor and can be overwhelming. So if you want to omit the ginger try adding:
- Eccinacea root
- Lemon (including the rind)
- Orange slices (including the rind)
- Cardamom
- Vanilla bean
You can also add these things to your elderberry syrup in place of the optional essential oils.
Or just consider adding them along with all the other ingredients. All of them have amazing health and antioxidant properties.
How to make thick elderberry syrup
- Add 3 1/2 cups of filtered water to your pot.
- Then add your elderberries, ginger, cinnamon and clove to the pot as well.
- Turn the heat on and bring mixture to a boil.
- Once boiling, give mixture a stir to incorporate ingedients.
- Covered or uncovered (I use a lid with a vent) turn heat down to a simmer and allow mixture to sit for 45 minutes to 1 hour or until mixture has reduced to about half.
- Once mixture is reduced, remove from heat.
- Pour mixture into a strainer over a bowl.
- Use a spoon or spatula to press the berries and extract as much liquid from them as you can.
- Add 1 Tablespoon of arrowroot powder and stir until combined.
- Set syrup off to the side and allow to cool until its only slightly warmer then room temperature.
- Next add 1 cup of raw honey and stir until incorporated. If adding essential oils, you’ll do that now as well.
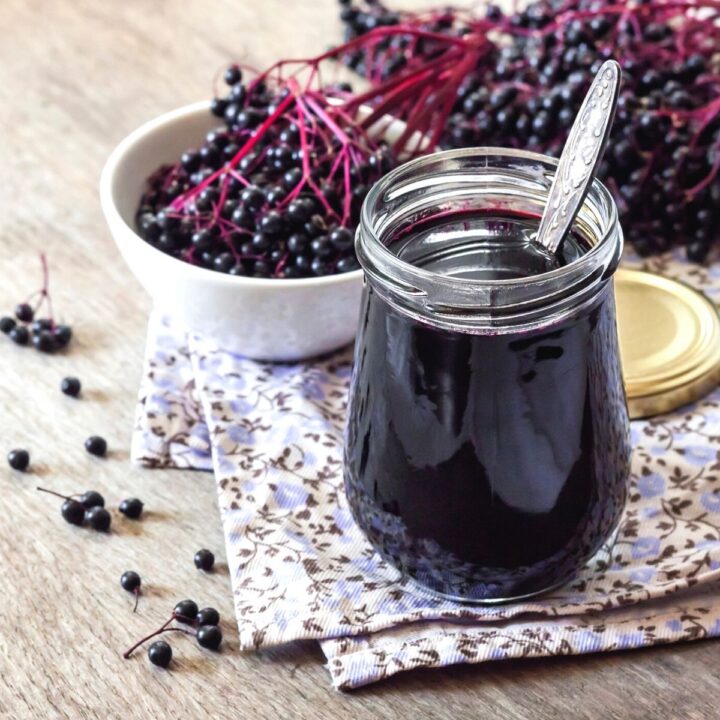
- Pour your elderberry syrup into glass bottles or mason jars and store in fridge 2-3 months.
- Now enjoy the immune boosting benefits of your homemade elderberry syrup!
- Print the recipe cards below for later use. Stovetop and InstaPot versions available for print.
Shop
Tools to make your homemade elderberry syrup
- Small glass bottles (16 oz.)
- Larger glass bottles (32 oz.)
- InstaPot (only if preparing using this method)
Pantry Items
- RAW honey (1 cup) or Maple syrup or Agave nectar
Stovetop Recipe
Thickened Elderberry Syrup (stovetop)
Learn how to make a delicious immune boosting thickened elderberry syrup with this easy to follow recipe.
Elderberries are packed full of vitamins and antioxidants and are helpful in lessening symptoms of colds and flu.
Taken daily they can help strengthen the immue system.
Ingredients
- 3 1/2 cups filtered water
- 1 cup dried elderberries
- honey
- arrowroot powder
- cinnamon
- clove
- ginger (fresh or powder)
- OPTIONAL INGREDIENTS:
- 2/3 cup Apple Cider Vinegar (raw including the mother)
- Orange slices (rind on)
- Lemon slices (rind on)
Instructions
- Add 3 1/2 cups of filtered water to your pot.
- Then add your elderberries, ginger, cinnamon and clove to the pot as well.
- Turn the heat on and bring mixture to a boil.
- Once boiling, give mixture a stir to incorporate ingedients.
- Covered or uncovered (I use a lid with a vent) turn heat down to a simmer and allow mixture to sit for 45 minutes to 1 hour or until mixture has reduced to about half.
- Once mixture is reduced, remove from heat.
- Pour mixture into a strainer over a bowl.
- Use a spoon or spatula to press the berries and extract as much liquid from them as you can.
- Add 1 Tablespoon of arrowroot powder and stir until combined.
- Set syrup off to the side and allow to cool until its only slightly warmer then room temperature.
- Next add 1 cup of raw honey and stir until incorporated. If adding essential oils, you'll do that now as well.
- Pour your elderberry syrup into glass bottles or mason jars and store in fridge 2-3 months.
- Now enjoy the immune boosting benefits of your homemade elderberry syrup!
- Print the recipe cards below for later use. Stovetop and Instapot versions available for print.
InstaPot Recipe
Elderberry Syrup (InstaPot)
Learn how to make immune boosting elderberry syrup in your InstaPot.
Ingredients
- 3 1/2 cups filtered water
- 1 cup organic dried elderberries
- 1 cup RAW honey
- 1 TBSP ginger
- 1 tsp cinnamon
- 1/2 tsp clove
- ALTERNATIVE you can use Young Living Vitality Essential Oils:
- 10 drops of THIEVES essential oil (use essential oils at your own discretion)
- 10 drops of LEMON or ORANGE vitality essential oils.
Instructions
- Add 1 cup of dried elderberries to the instapot.
- Add 3 1/2 cups of filtered water.
- Add spices (if using EO's add them AFTER your mixture has cooked to maintain health benefits).
- Cook on HIGH pressure for 12 minutes.
- After the 12 minutes, let your InstaPot depressurize naturally. DO NOT ATTEMPT TO OPEN YOUR IP RIGHT AWAY-THIS COULD RESULT IN SERIOUS INJURY.
- After your instapot has completely depressurized, open, and mash berries using a potato masher or spoon.
- Pour elderberry mixture through a strainer and press to exctract liquid fully from berries. You want to get the most from them.
- Once syrup has cooled, add in your RAW honey and essential oils (optional).
- Refrigerate mixture for 2-3 months.
Get recommended dosing instructions from your doctor or healthcare provider.
Notes
Some thoughts on trying to help with costs associated with making your own elderberry syrup. Elderberries (especially organic), can be quite expensive, but there are some ways to save money, while still providing your family with the best immune support you can.
1. Split the cost of ingredients with friends, family, or neighbors also interested in making their own elderberry syrup.
2. Split the cost of a bulk bottle buy to reduce costs even more.
3. Buy all the ingredients and bulk make batches of syrup to sell to family and friends if they aren't interested in making their own. This can be a great source of income during the cold and flu season and you'll be helping boost immune systems. It's a win-win!
4. Buy your ingredients BEFORE October (if you can). I know it sounds silly but hear me out. Ingredients will get more difficult to source so buying early will actually save you money as I've seen the cost of elderberries nearly DOUBLE mid-October-and that's IF they are still available.
5. Consider buying a couple of elderberry bushes and harvesting your own berries. We ordered some bushes from a local nursery and they won't arrive until November. These were also difficult for us to source so consider this BEFORE the season begins as well.
When you aren’t feeling well, you’ll likely do whatever you can to make yourself and your family feel better quicker.
Consider making a reusable health pack infused with essential oils to help with aches and pains. I have a video tutorial for this too.
Elderberry syrup has so many amazing health benefits. I hope you’ll try making a batch for you and your family.
Thanks so much for stopping by our homestead.