How to Make A Reusable Heating Pad With Essential Oils
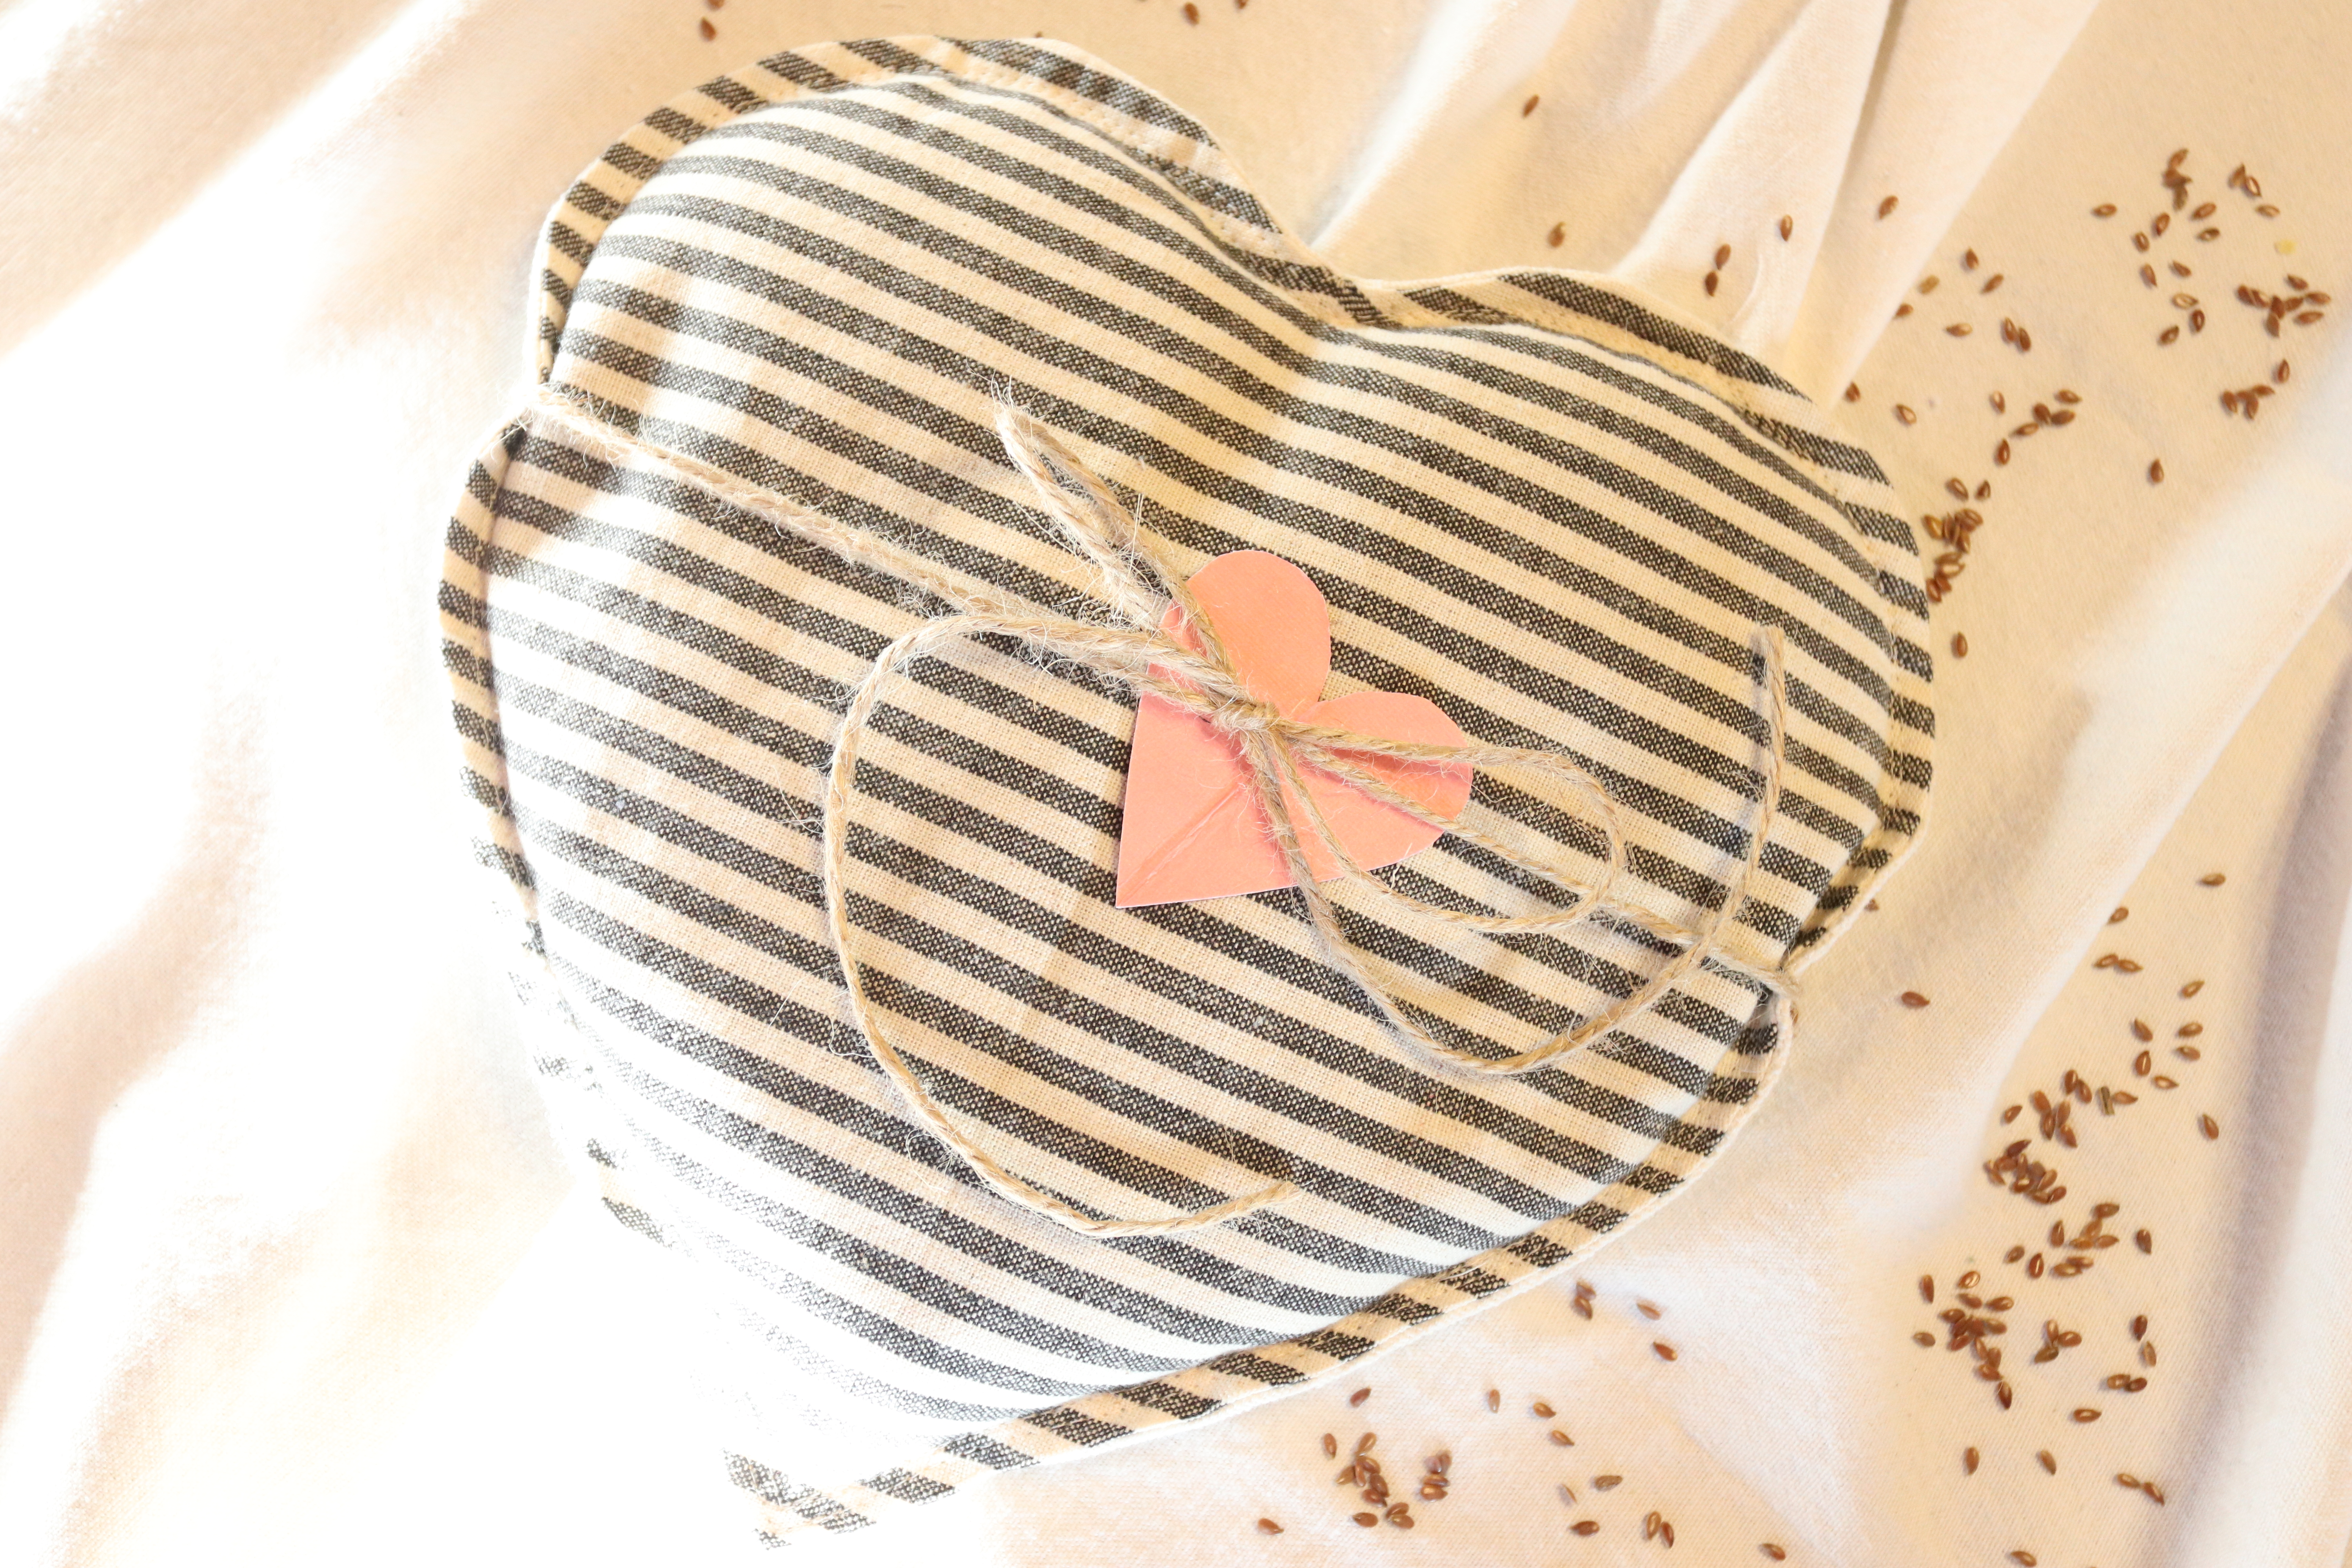
Learn how to make a reusable heating pad infused with essential oils.
This is a really easy DIY sewing project that is perfect for the beginner or seasoned sewers.
Having a reusable heating pad around for aches, pains or emergencies is always a good idea. So today, I’m going to show you how to make your own pattern so you can make a few for yourself, or as a gift for someone you love.
So grab your machine, and let’s get sewing!
Some of these links are affiliate links. You can read my full disclosure HERE.
Video Tutorial
Why make a reusable heating pad with essential oils?
These DIY microwaveable heating pads really do make a great gift. The best part? You customize the size, the fabric and what blend of essential oils you scent them with. Not only are they great to heat, but you can also put them in the fridge or freezer for a cool pack as well.
They are a great sewing project for kids and can be made from almost any fabric you have sitting around. These are great for repurposing old shirts or other sentimental clothing items you have around the house you aren’t sure what to do with. These are simple to make and have the kids decorate with fabric pens or fabric paint. Such a heart warming gift for someone you love.
- I guess the better question would be, why not? I love making things myself. It’s what brings me joy. So that is a big reason for me. But here are some other reasons why you might choose to make a reusable heating pad yourself.
- It’s more sustainable to make something that can be used many times versus something you can purchase that’s single-use.
- If you sew, this is a really simple project that you can make in less than an hour. Several of them actually.
- They make great gifts! I love making gifts for friends and family and because these are really simple to sew it makes them even better.
- If you are new to sewing and want to make simple, usable items-these are perfect!
- You can make these to sell in an Etsy shop. If you like to make items to sell at farmers’ markets, Etsy, or Facebook marketplace, these are quick sewing. They don’t require much fabric and can be infused with any variety of essential oil blends your customers want.
- Reusable heat packs are great because you can microwave them for heat or refrigerate them for a cool, soothing effect.
- These reusable heat packs are great for so many ailments. RA, migraines, aches, pains, muscle strain, and fatigue, just to name a few.
Favorite essential oils to use with a reusable heating pack
Now this really does come to personal preference or what you want to use your heat packs for. Not everyone is going to like the same essential oil blends.
For example, I really love patchouli but most people I know can’t stand the smell.
- Lavender is always a pretty safe choice when picking oils for heat packs.
- Stress relief and worry relief blends are good. I really love this duo pack that has both.
- Specific blends for muscle relief are good. This is one of my favorites.
- If you suffer from migraines or regular headaches, a blend that helps relieve those symptoms may be a good one to try. I really like this blend by Edens Garden.
- Immune boosting blends are always a crowd favorite as well. typically infused with blends of lemon, orange, cinnamon, and clove (to name a few).
What should I fill a reusable heat pack with?
Well you have a couple options when it comes to filling your handmade reusable heating pad.
- Flax seed (whole seeds, not ground)
- Rice (any type of rice will work)
I personally prefer flax seed instead of just plain rice.
After using these for many years, I found that flax seed not only provides a moist heat, but it also lasts longer then rice does.
You could also use a blend of rice and flax seed.
Because flaxseed is naturally an oily seed, I found that the scent of the essential oil actually lasted longer then that of plain white rice.
Uses for reusable heating pads
- Menstrual cramp relief that’s natural and effective.
- Soothing cool pack for headaches, bumps or bruises.
- Great pain relief for rheumatoid arthritis. I don’t personally have RA but my former roommate had it and she said it was the best relief for her.
- Muscle aches and pains.
Supplies
- 2 pieces of fabric (front and back) Like the striped cotton napkin I used for mine? You can find those here. This is the cotton drop cloth I use. Great if you are going to make a bunch of these.
- Whole Flax Seed (1-2 lbs) depends on the size you want to make as well as how full you want to make them. You can find the flax seed here.
- Sewing machine
- Scissors
- Essential Oil of your choice. This is one of my favorites to use when I make these. You can also check out the list of my other favorites below. Essential oils are totally optional. Don’t know what to scent your gift with? Consider purchasing a bottle or two of essential oils and let the receiver of your gift decide.
- Printer paper or construction paper for making a pattern.
- Sewing Pins. These are some of the ones I have and they come with a magnetic sewing pin pad. Bonus!!
Optional supplies
How to make a reusable heating pad
Step 1-Choose your fabric
- Choose your fabric. The size pieces you’ll need depend on the size you want to make. For reference, the ones I made in the tutorial video were 9.5 ” tall by 9.5″ wide. Drop Cloth thats been washed is a great inexpensive fabric.
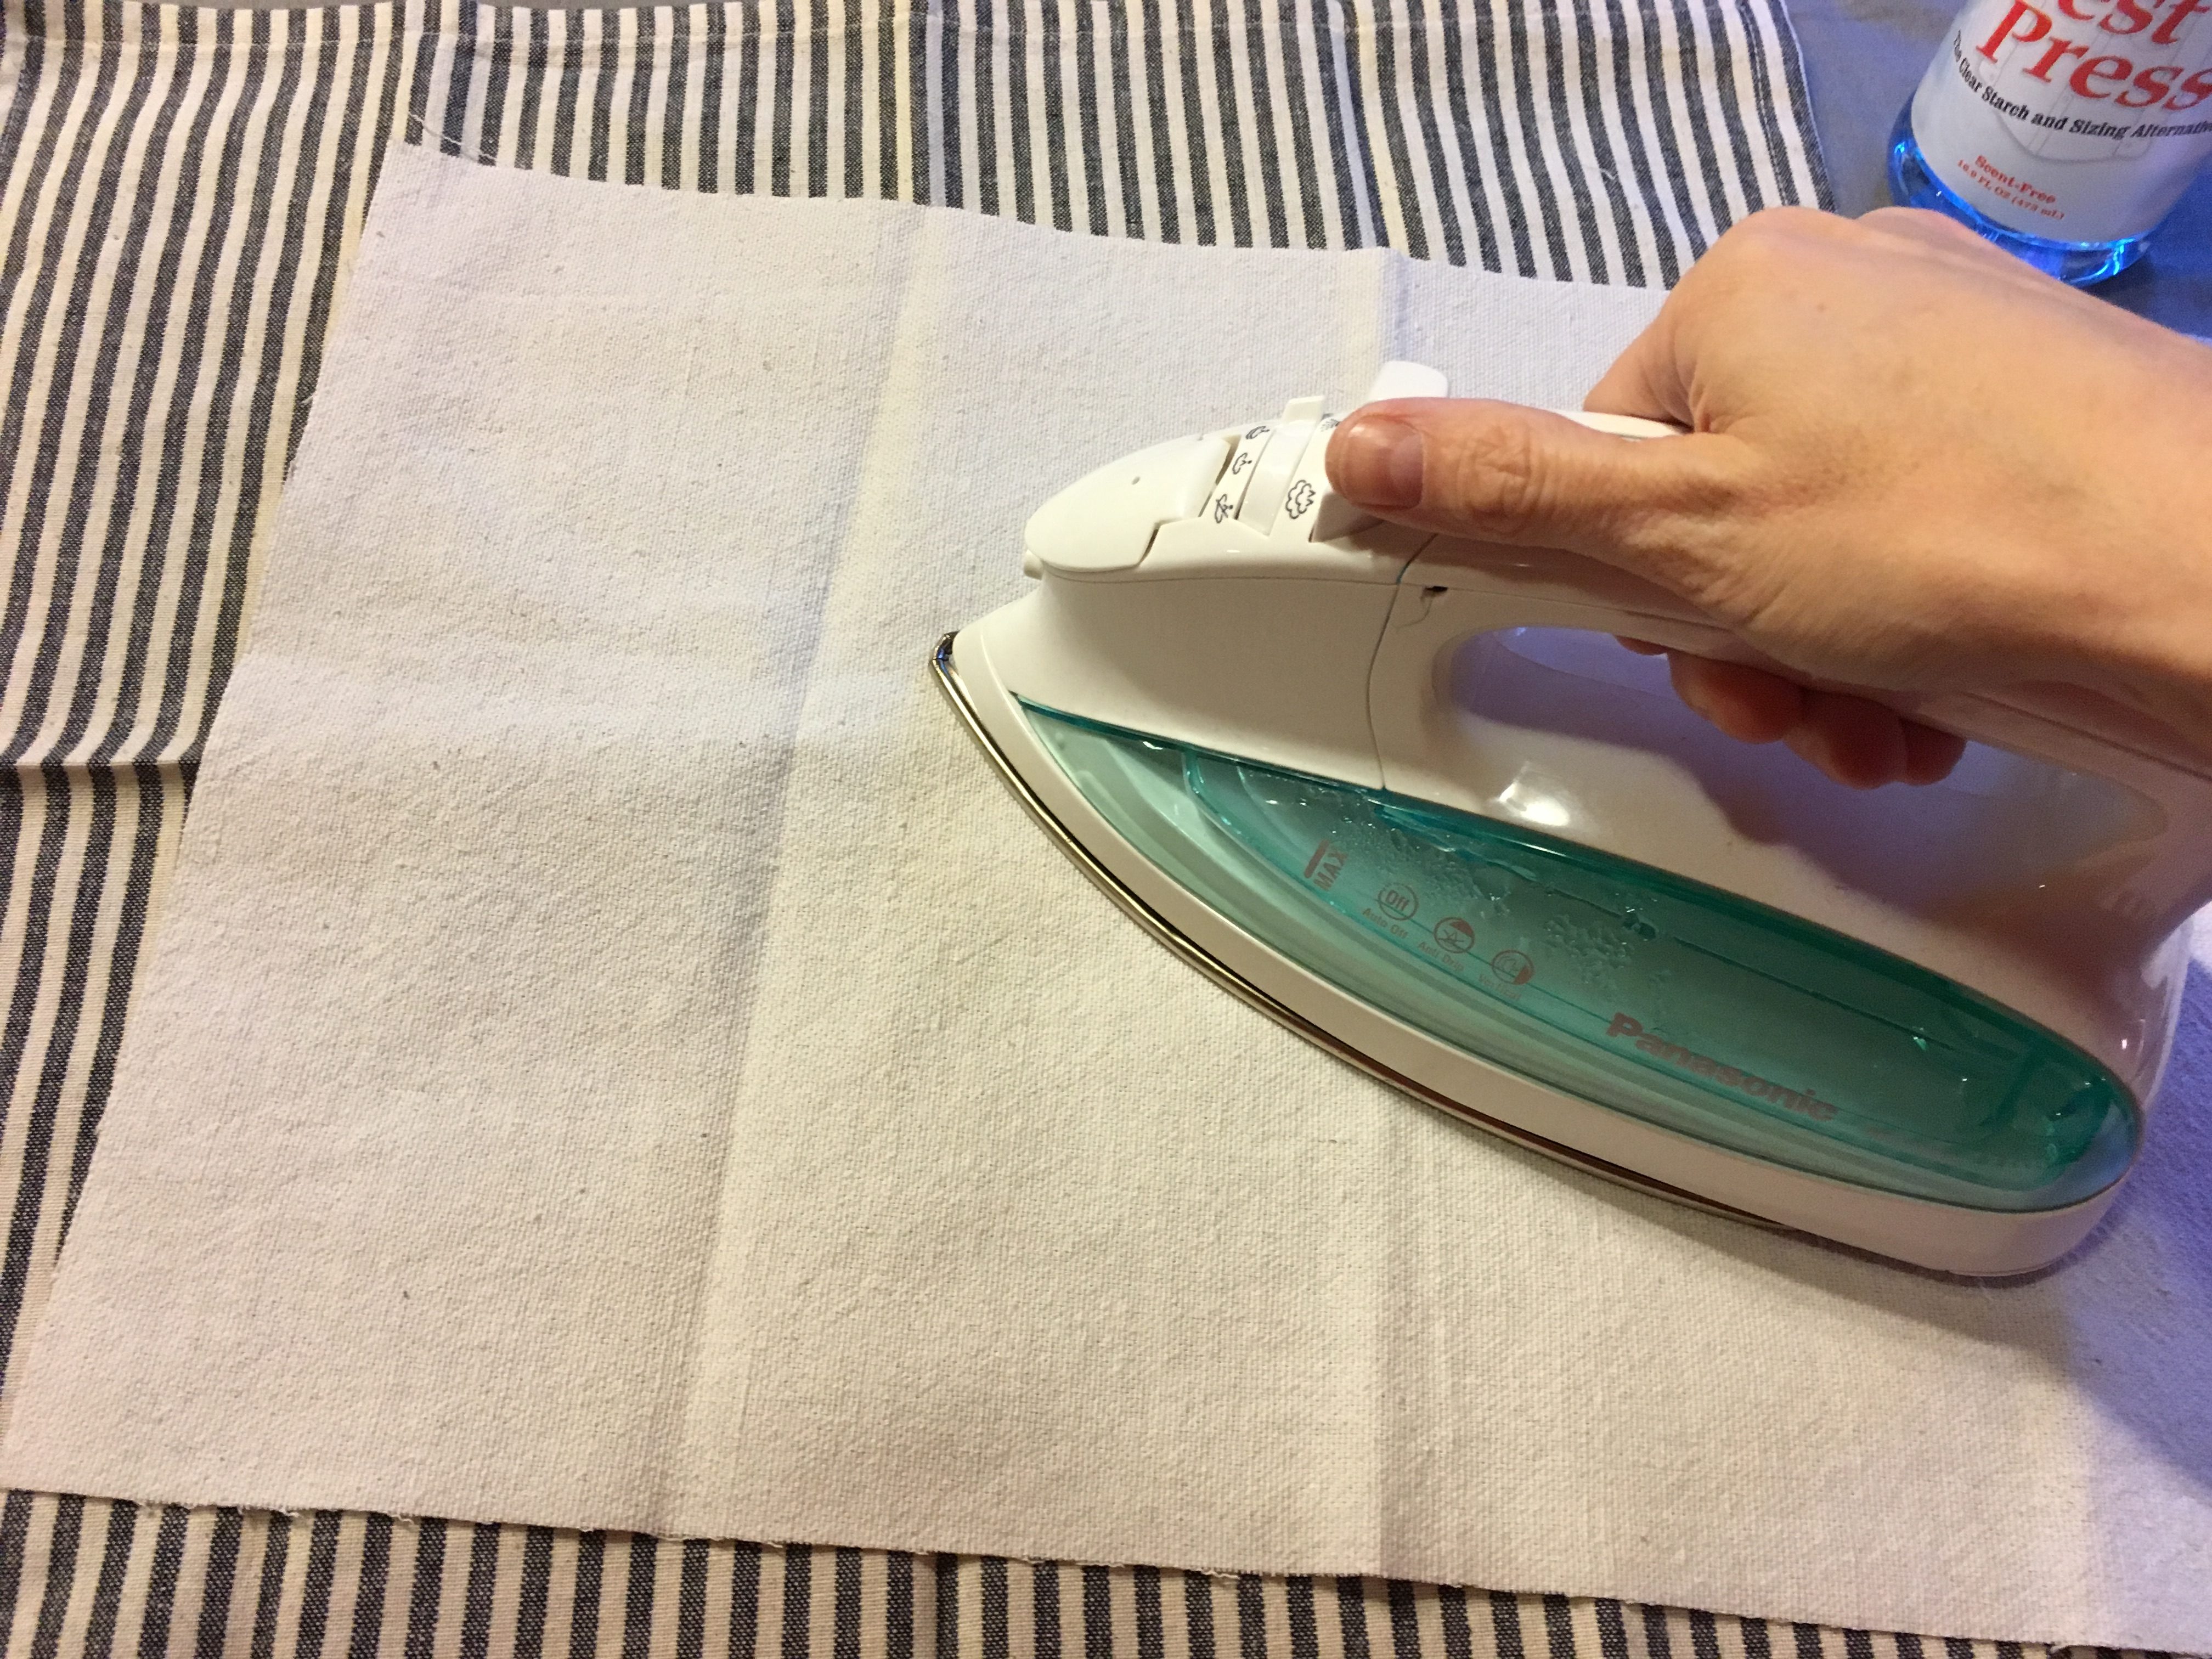
- After you’ve chosen your fabric, give it a little press with an iron. If the fabric isn’t wrinkly, you can skip this step. I just have found its easier to cut out and work with fabric that is nice and flat.
Step 2-Making the pattern
- Grab a piece of construction paper, newspaper or printer paper and a pencil. We’re going to make a pattern. If you really enjoy making these and love the size, you’ll have a pattern for later and you won’t have to scramble to re-invent the wheel.
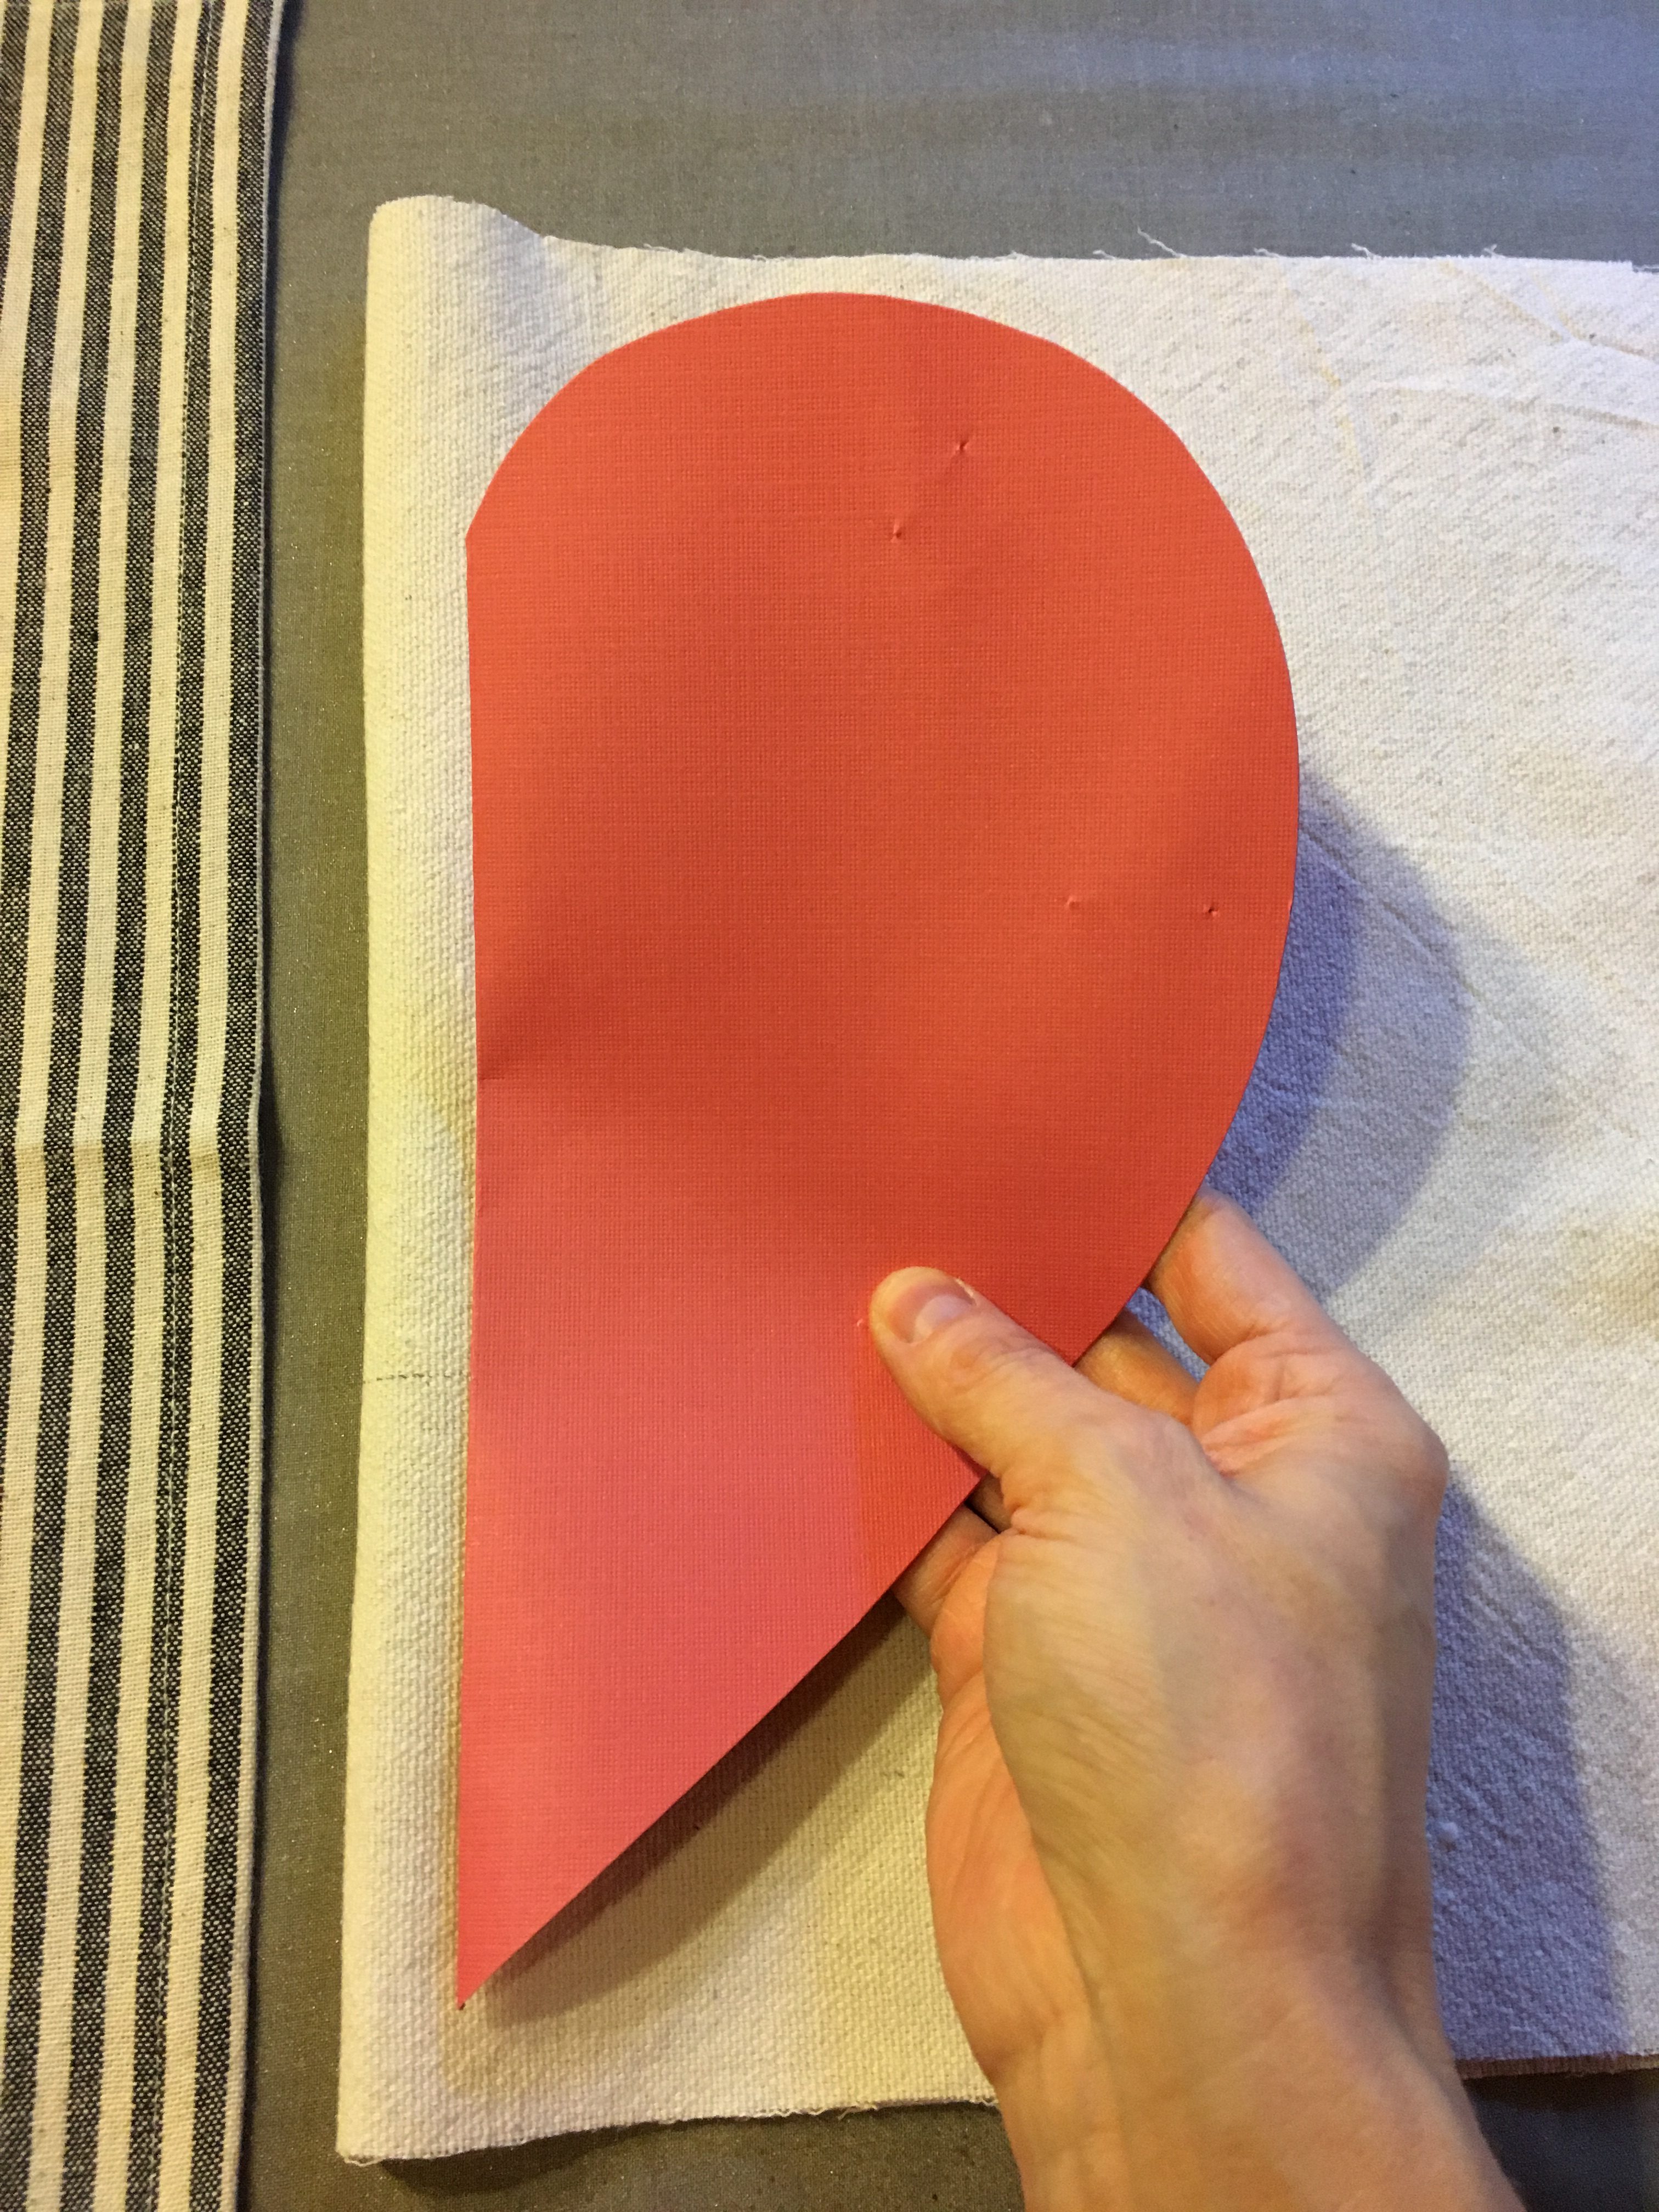
- Fold the piece of paper in half. Starting at the FOLD, take your pencil and draw half a heart on the paper.
- Next, with the paper still folded, grab a pair of scissors and cut out the shape you just drew. Once finished, open up the heart shape you just cut and check the size and shape. Love it? Great! you’re ready to move on. If not, fold it back up and keep trimming until you get the desired shape and size you want.
Step 3- Pinning the pattern to the fabric
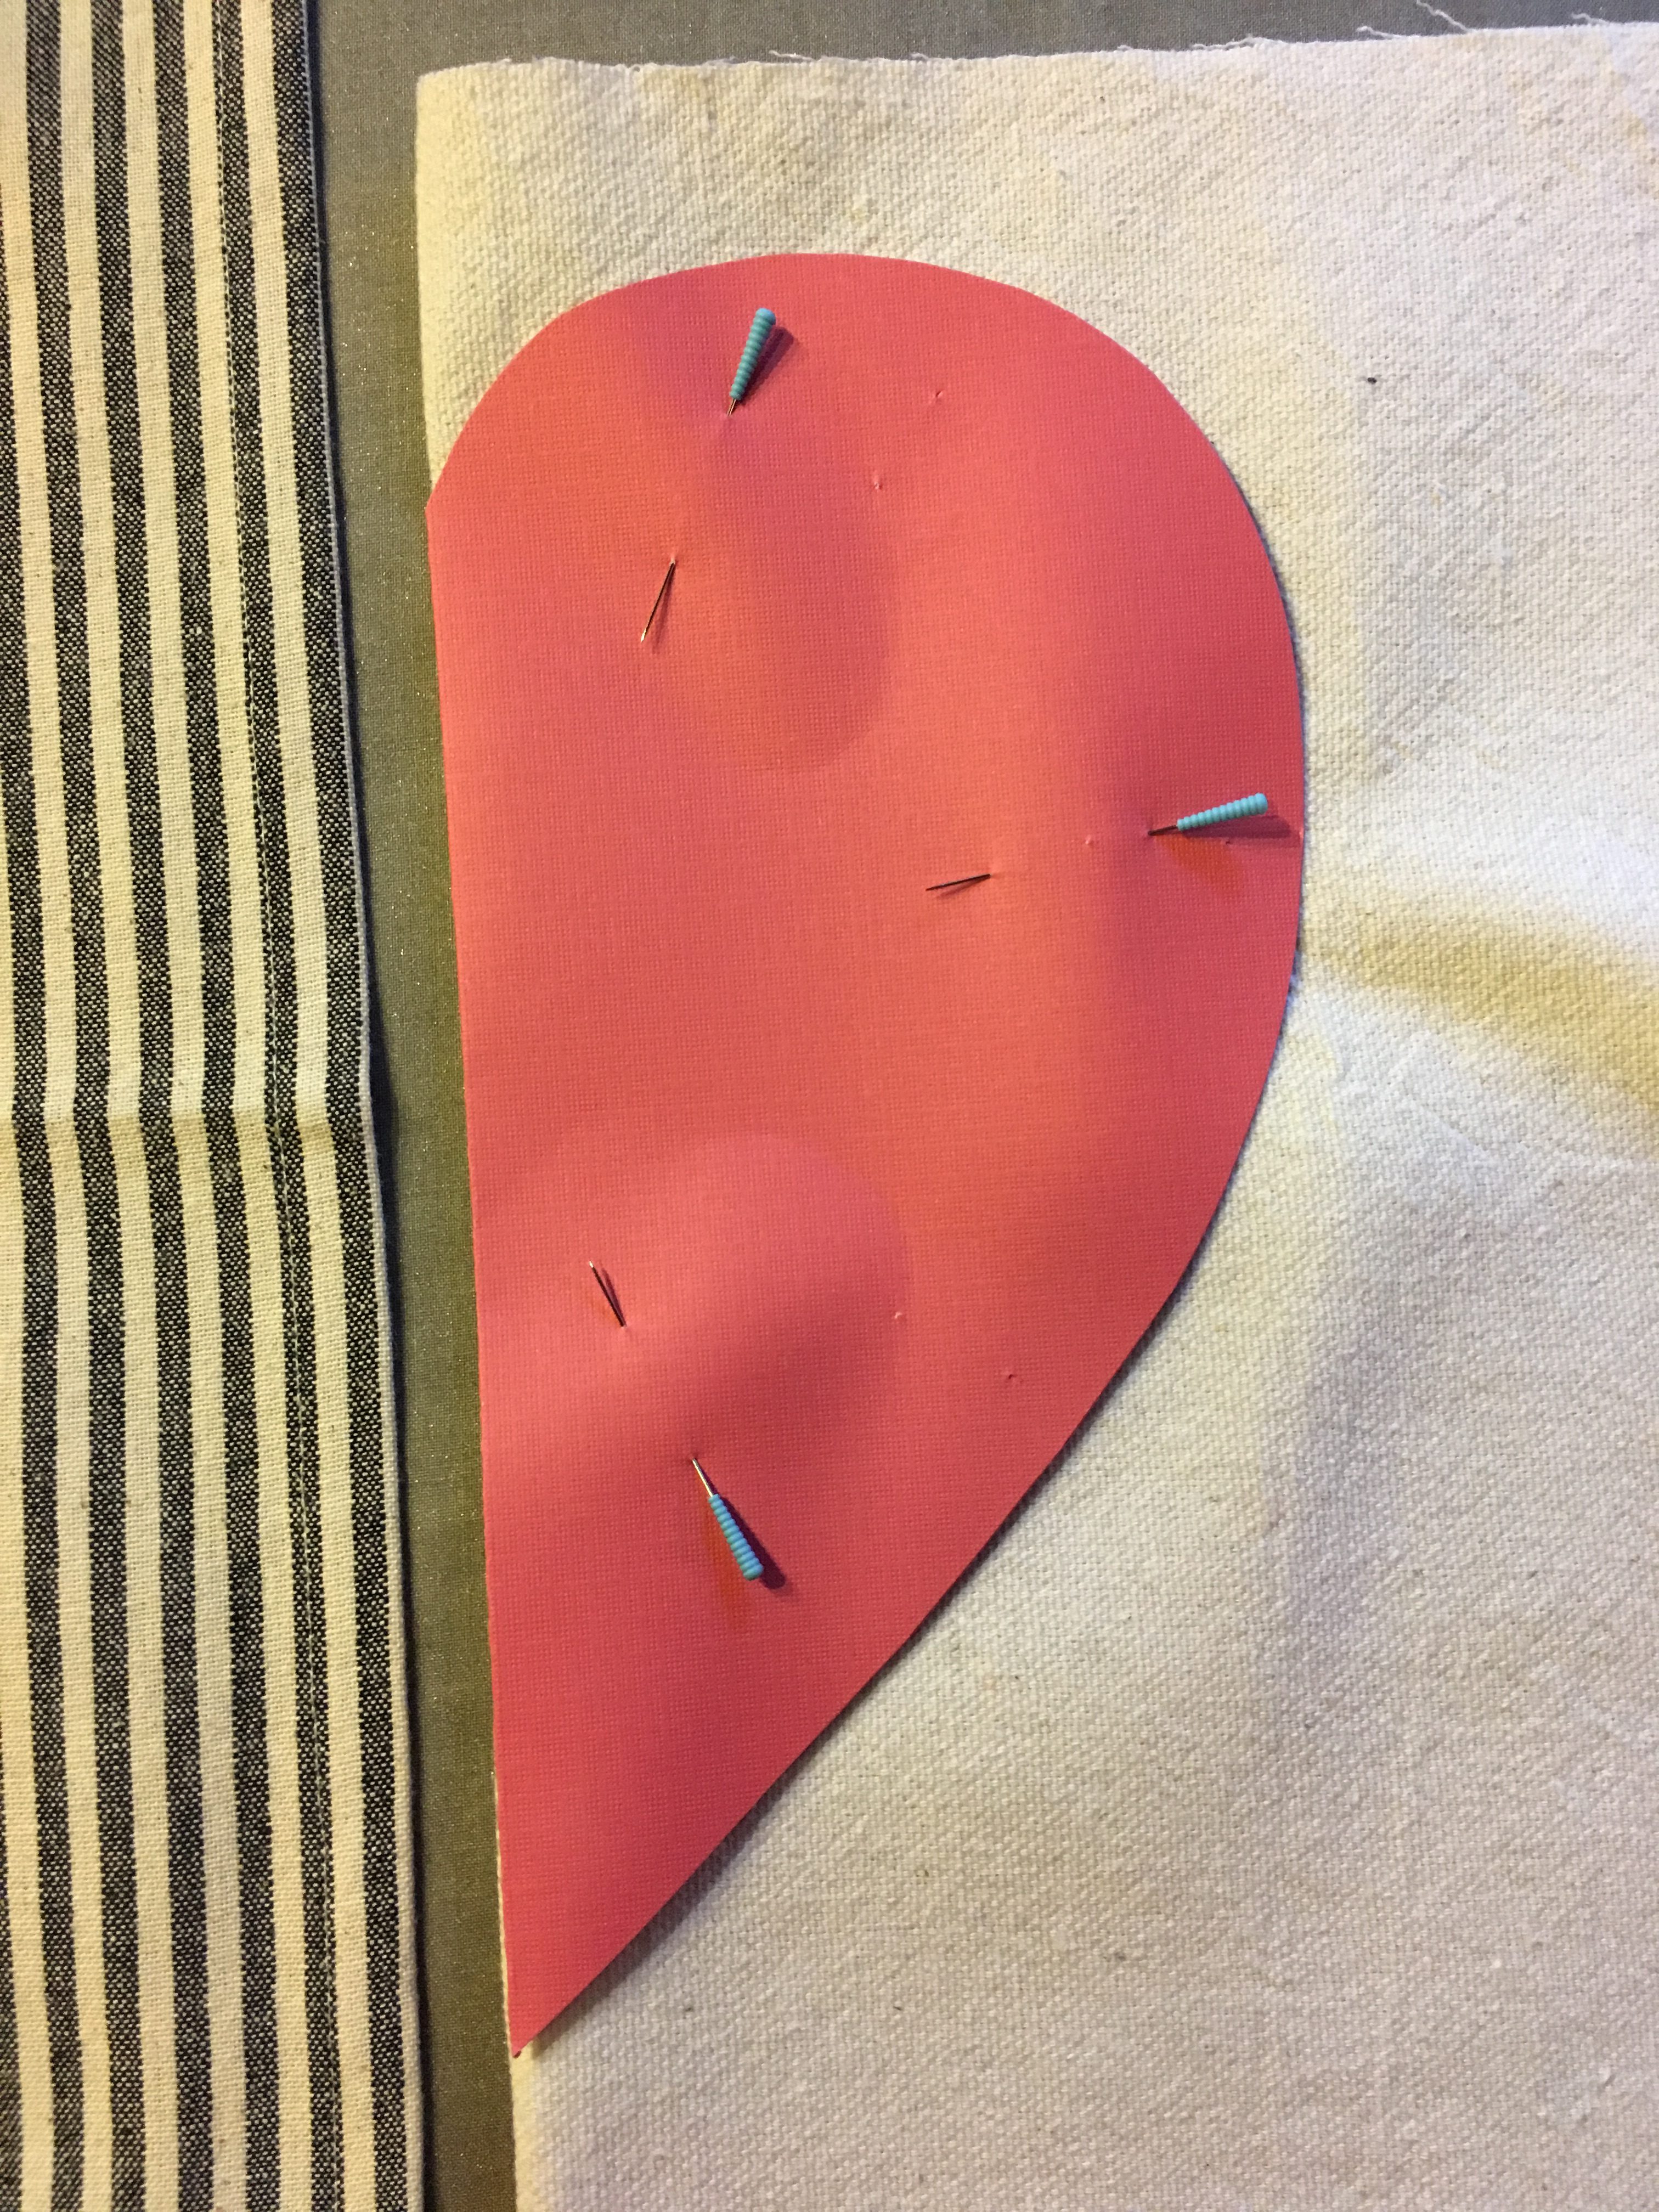
- Take one piece of your fabric you’re going to use that you’ve already pressed. You have two options here: you can lay your fabric totally flat and pin your pattern piece flat in the center of your fabric. Now I’m going to show you how I do it that I’ve found makes this a lot faster. Ready?
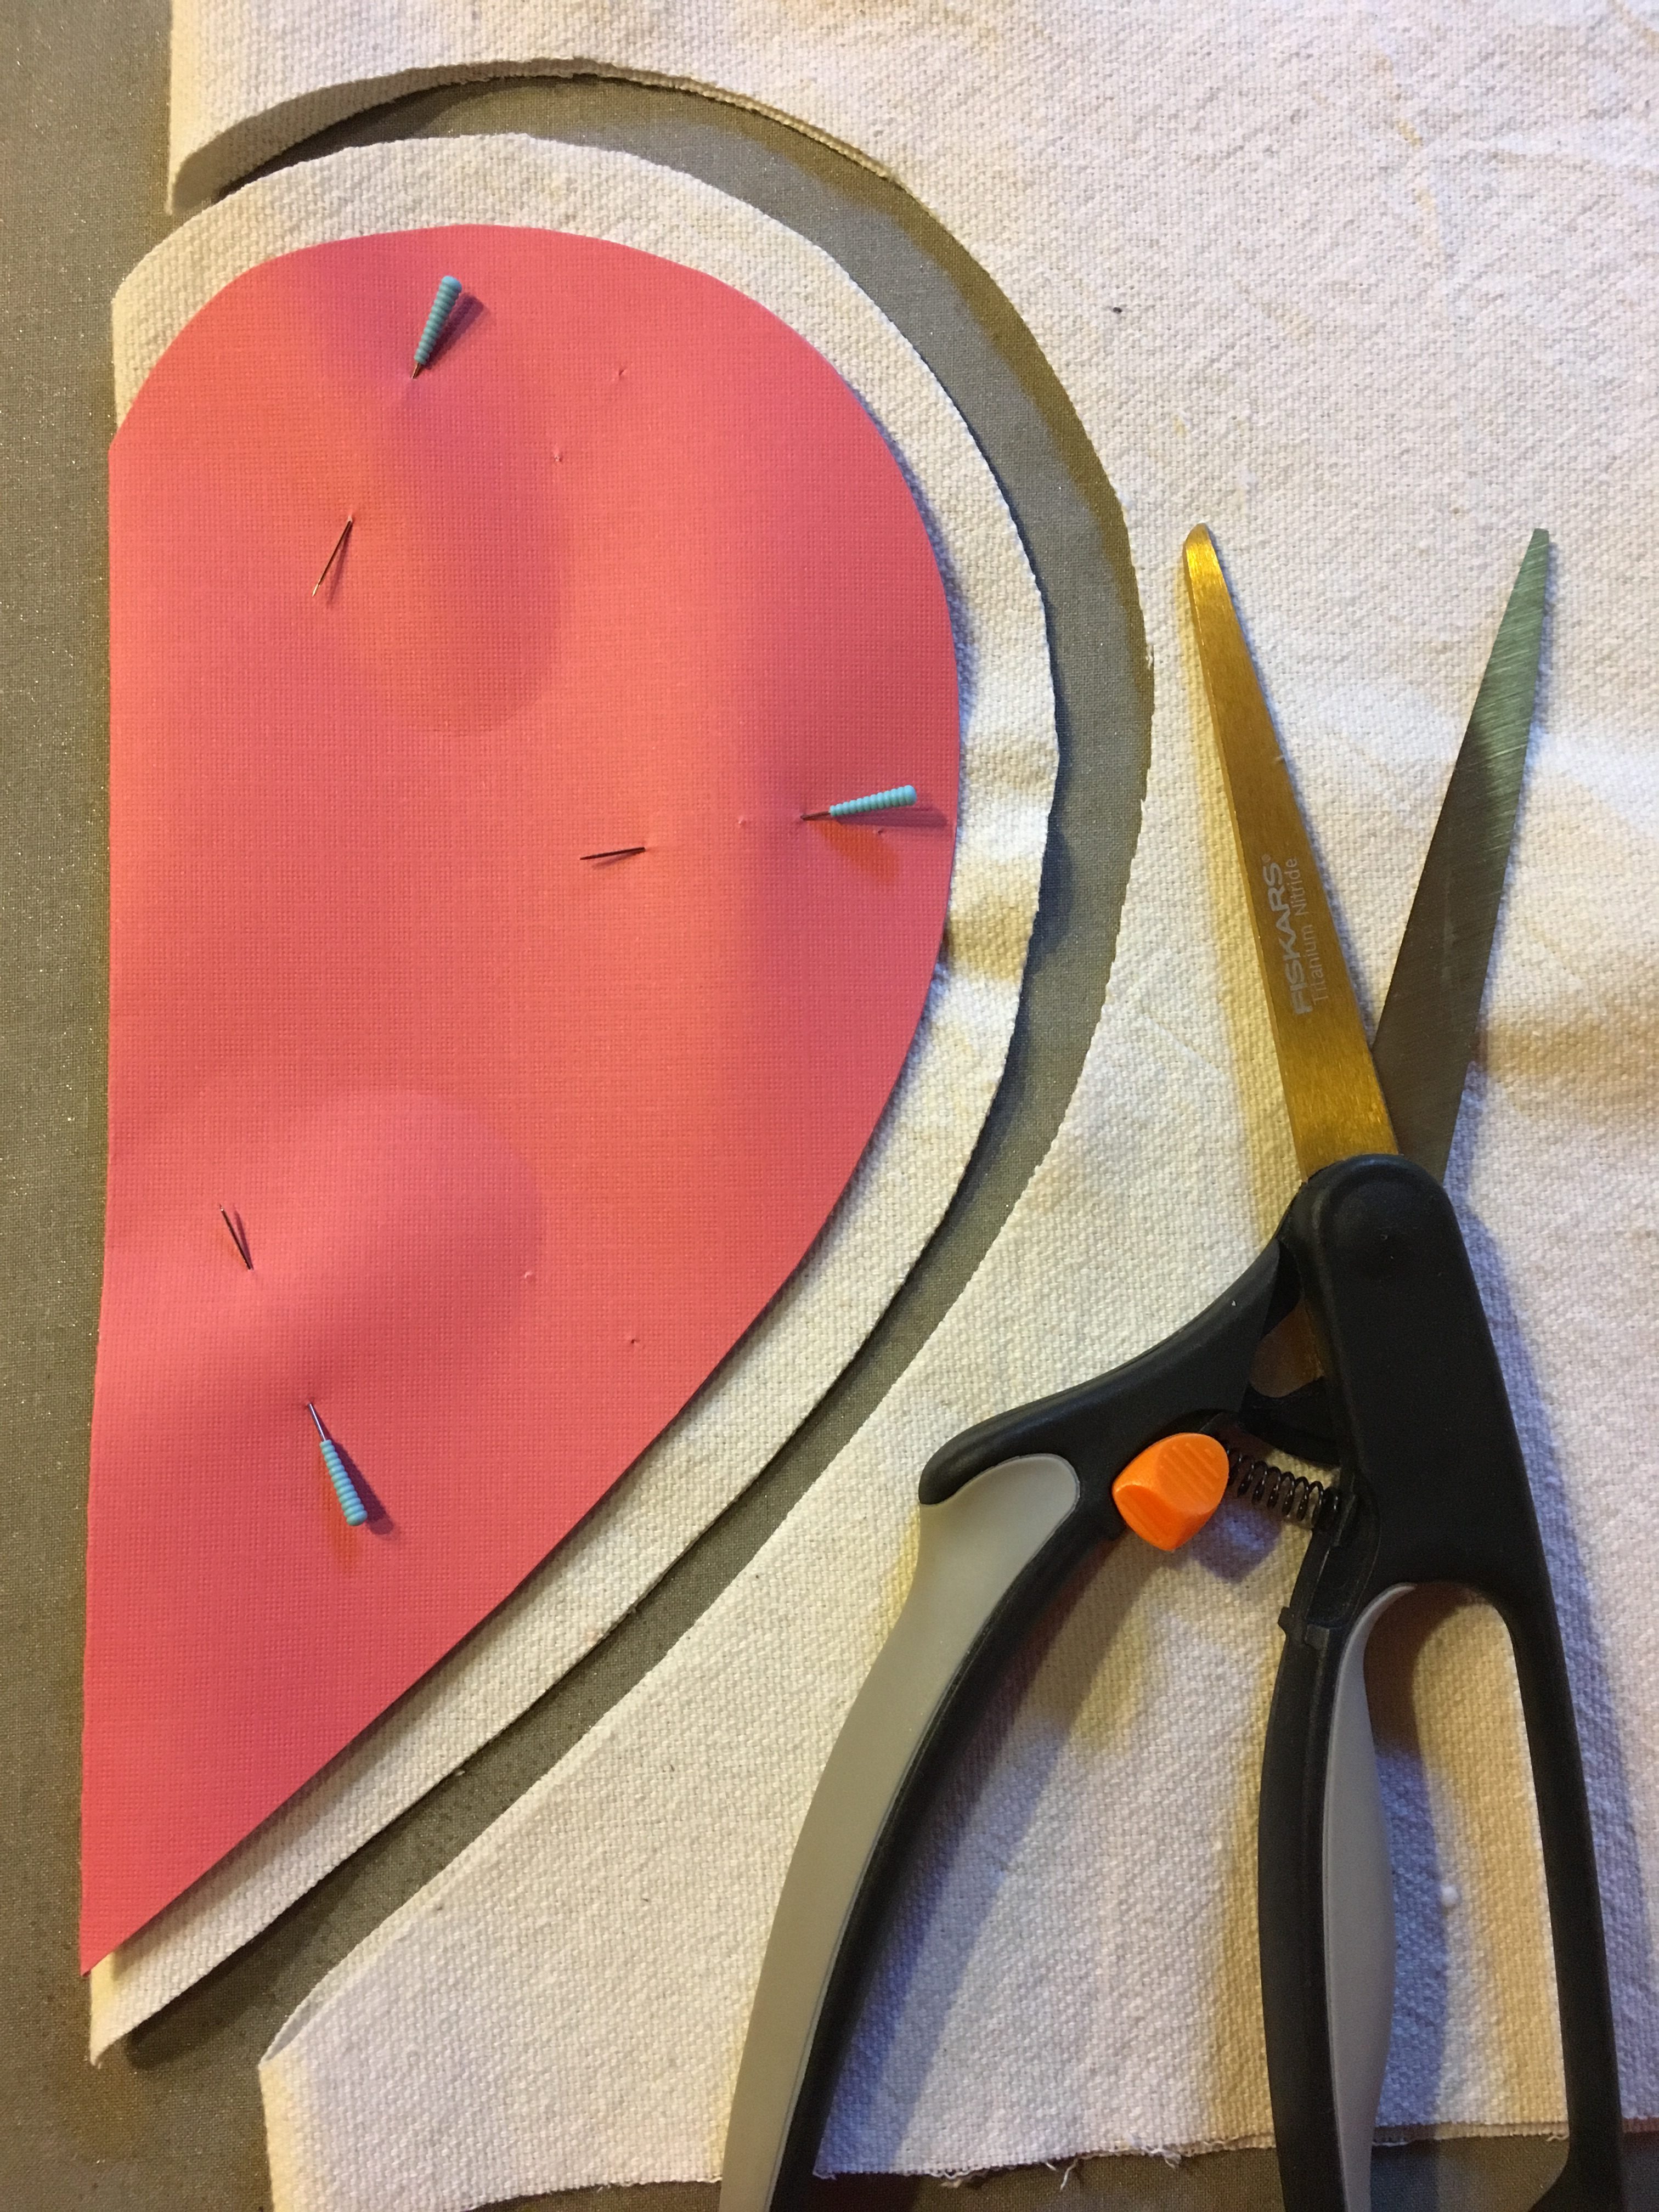
- Fold your first piece of fabric in half and lay flat. Next, fold your pattern heart in half. Lay the folded edge of the heart onto the top of your fabric-folded edges together. The folded edges should be onto of each other like this (see below). Pin in place.
Step 4- Cutting the fabrics
- After you have your pattern pinned to your fabric, it’s time to get your scissors and start cutting. Don’t be scared, you can do this!
- Take your scissors and cut 1/4 inch to 1/2 inch away from your pattern all the way around (see picture below). You’re doing so gives you the added seam allowance you’ll need when you start sewing. That just means that the pattern you made is going to be the size of the finished product.
Not giving yourself seam allowance will still give you the same end result (a beautiful heart shaped heating pad), but it will be slightly smaller since you didn’t give yourself this allowance for sewing it together.
Confused? Have questions? Feel free to ask in the comments section below-I’m here to help.
Step 5- Check the size of your heat pack
- After you’ve cut out your fabric, un-pin it and take a look at the shape and size. Make sure its what you want. If not, fold it back up and continue trimming away until you’ve reached you’re desired look.
Step 6- Cut the exterior fabric
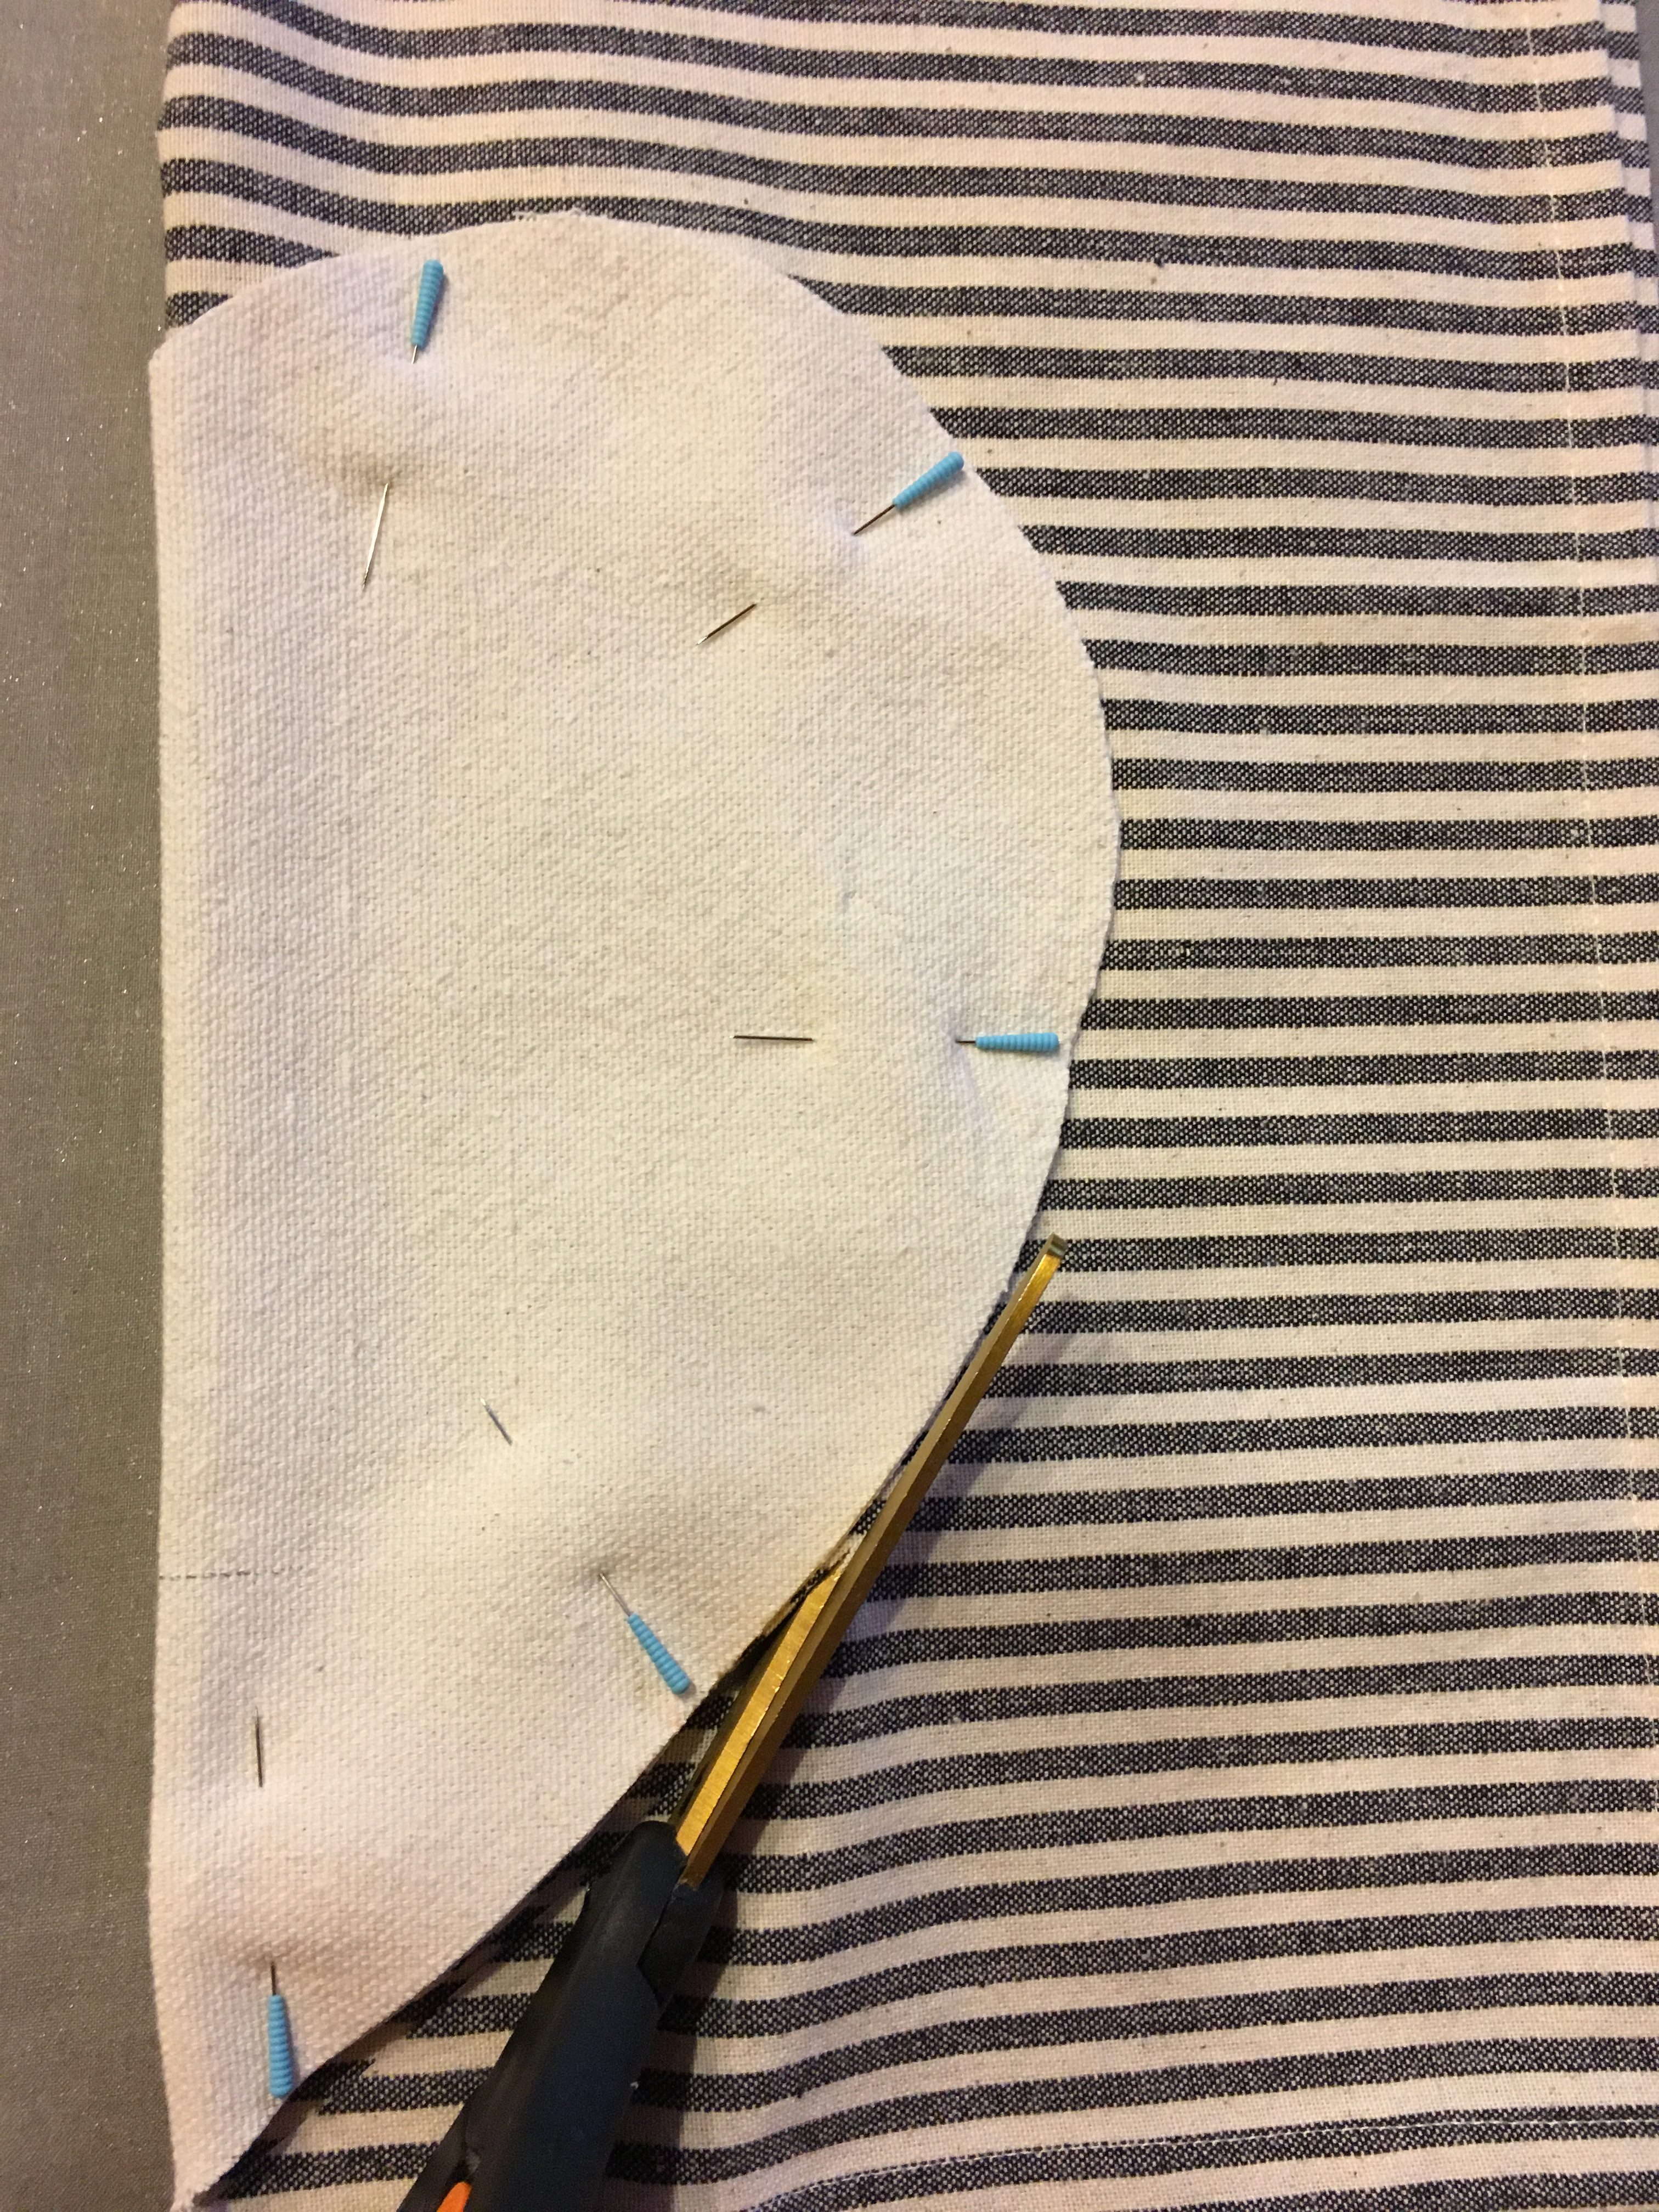
- Next, take the FABRIC you just cut into a heart shape and fold it in half again. Pin that onto the other piece of folded fabric. Folded edges together. Just as you did before with the paper pattern and the first piece of fabric. Now you’ll already have the seam allowance in and you won’t have to worry about cutting the two pieces exactly the same with the same size seam allowance.
Step 7- Infusing essential oils into your heating pad
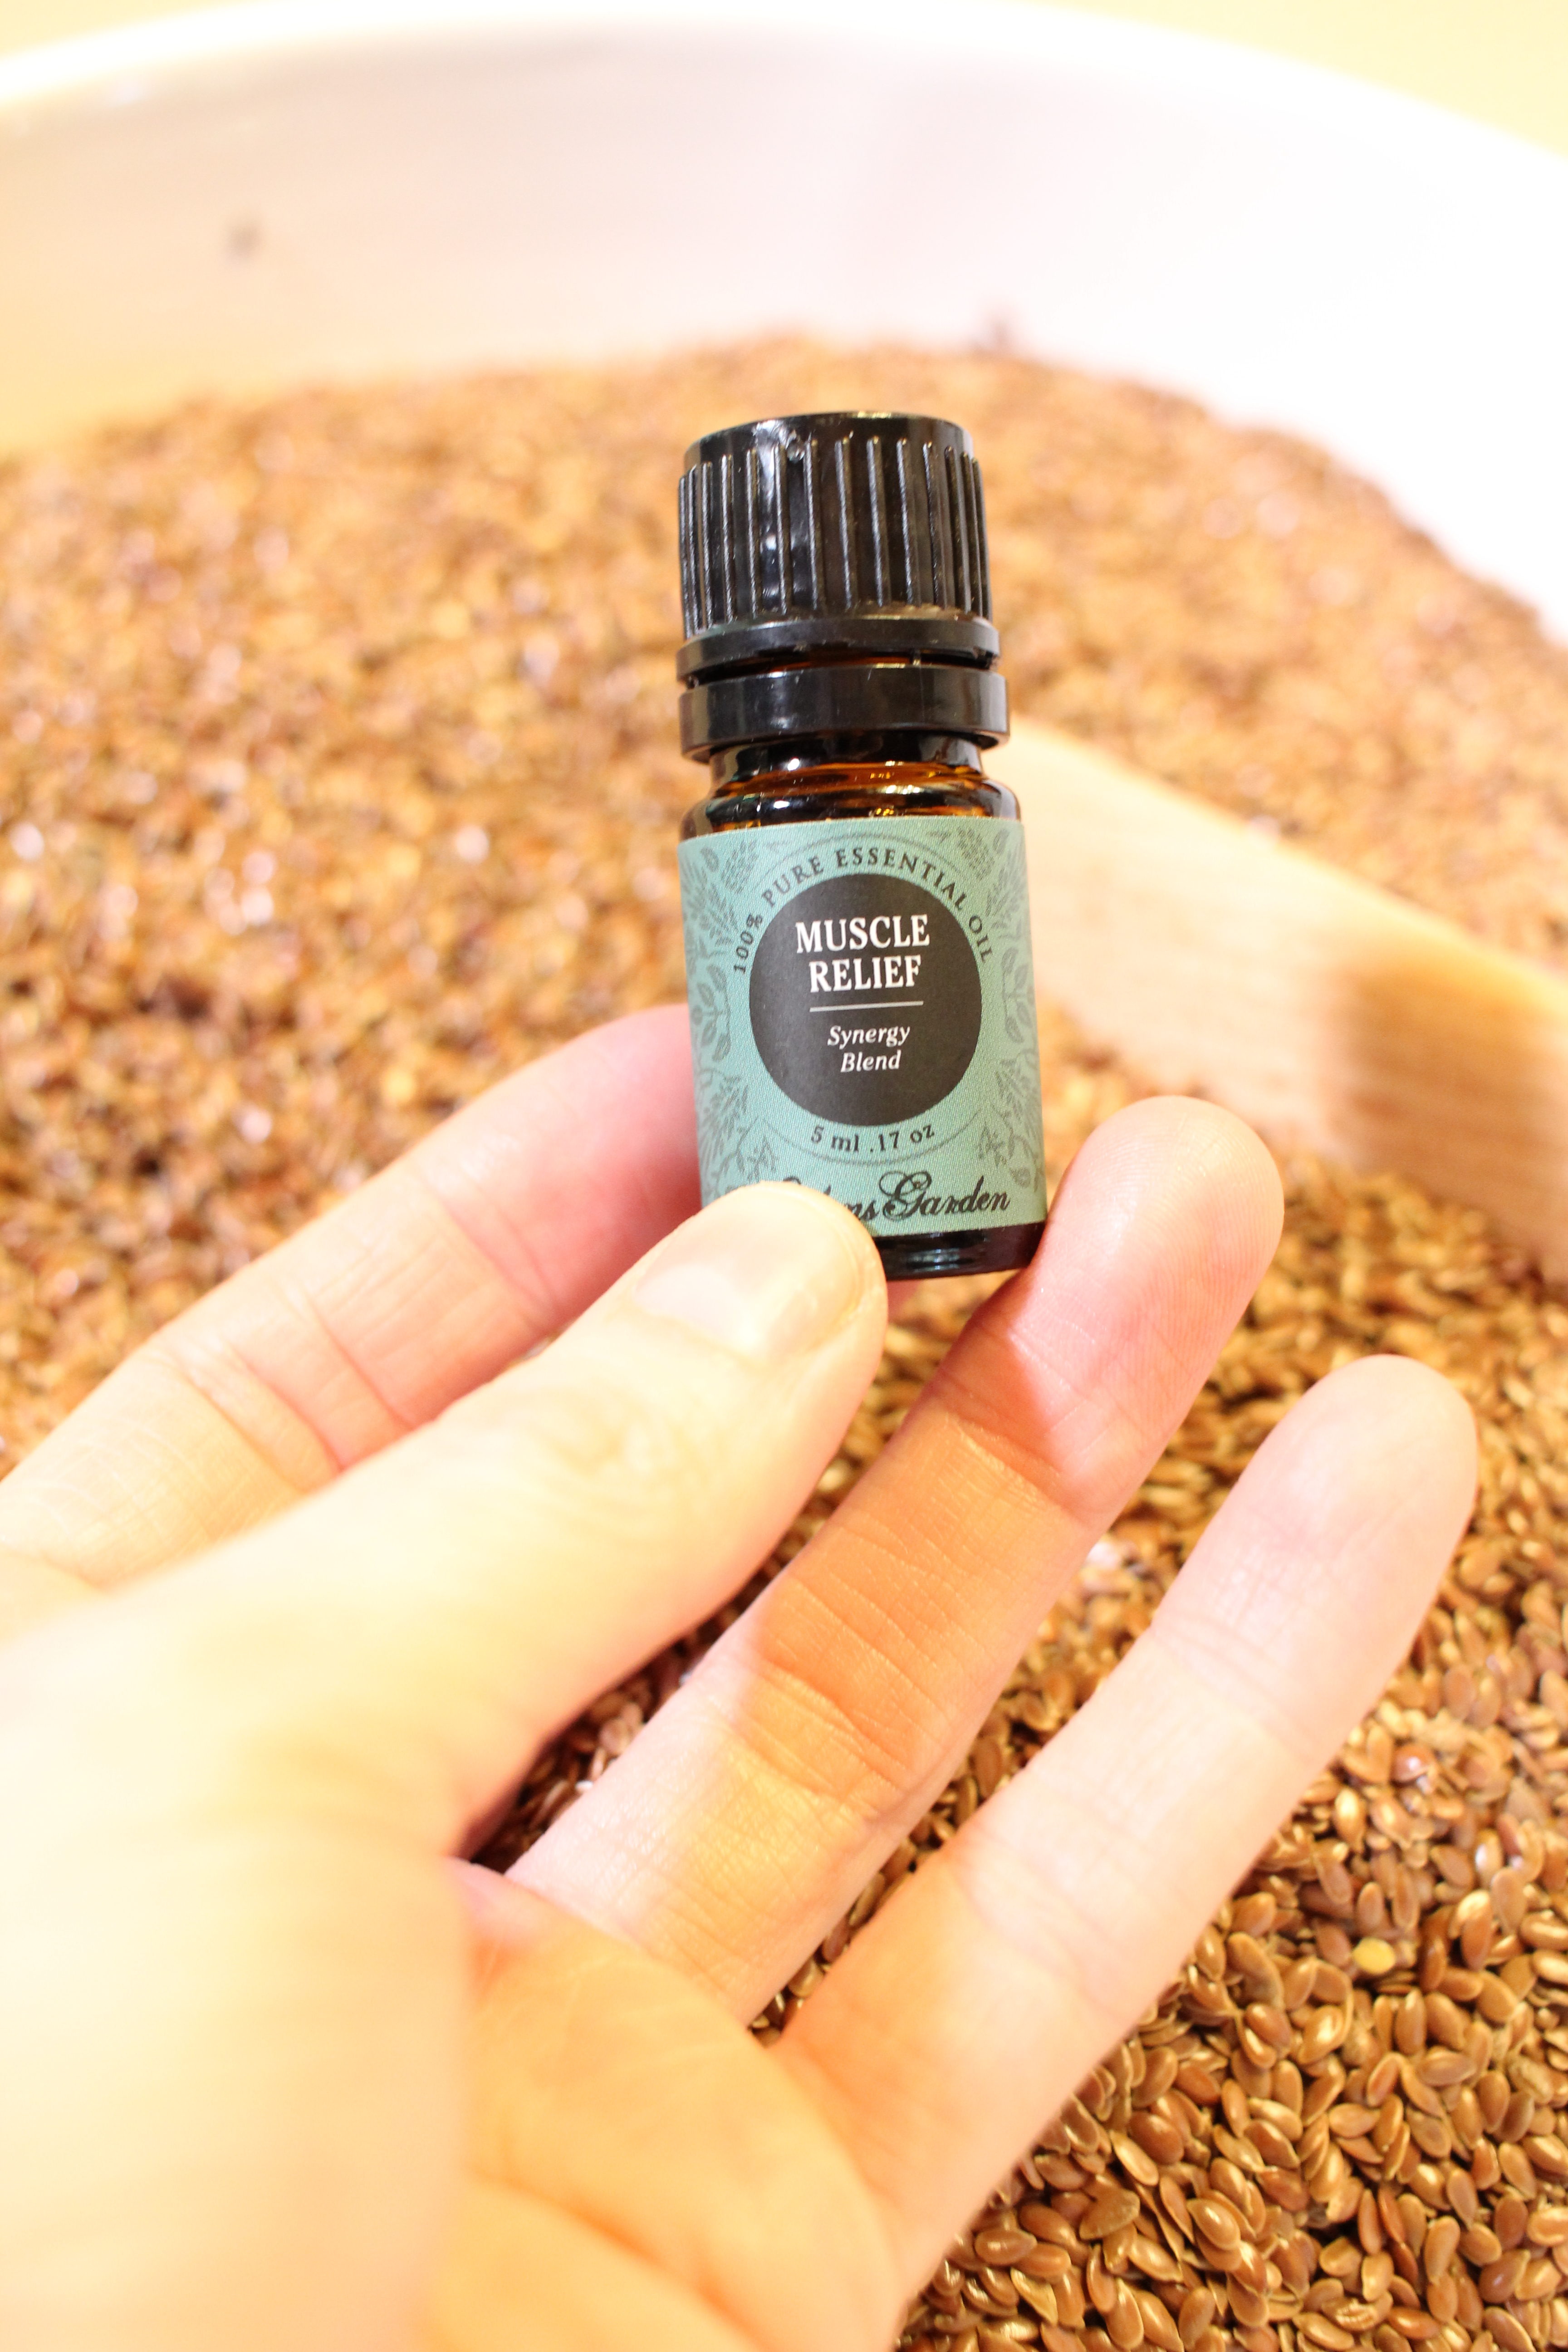
- If you plan to use flax seed or rice thats been infused with essential oils, now is a good time to pour the flax seed in a large bowl, add some drops of essential oils (as much as you’d like to achieve the desired scent) on the flax, mix and set aside.
- Make sure the flax seed or rice has been coated with the oils. This will provide that amazing smell and effect you get from using essential oils.
Step 8- Double check the pattern
- Now open up both of your fabric hearts that you’ve just cut and make sure they are the same size. They should be. You created an awesome pattern and followed the directions precisely. Lets move on to the next step.
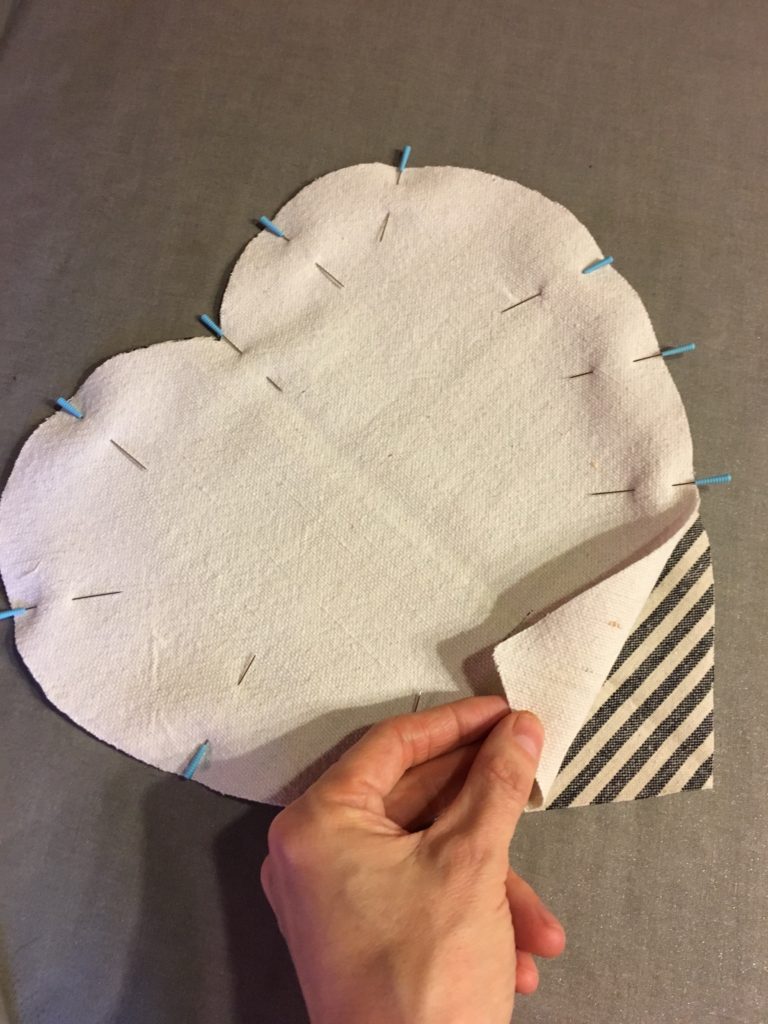
- If you are using a fabric that has a print or a “pretty side,” you’ll want to face both “pretty sides” of fabric towards each other. In sewing terms this is called right sides together sometimes abbreviated RST (on sewing patterns).
Step 9- Prepare for sewing
- With RST, pin the edges of the hearts together. This is going to help keep them in place while you sew around the edges. For this particular pattern, I recommend leaving 3 inches from the point down the right side and 3 inches from the point down the left side unstitched. This is going to be the opening you’ll use to put your flax seed into the heat pack.
Step 10- Thread your sewing machine
Select a thread that will either blend with your fabric or you can choose a highly contrasting thread. This is really personal preference.
Step 11- Sewing
- With your machine threaded and ready to go, place your heart shaped fabric pieces that are pinned RST under your presser foot. For my heat packs I feel like 1/2″ seam allowance is good. If you make your seam allowance too small you run the risk of the tiny flax seed sneaking out any mini cracks in your seams if its not sewn perfectly straight. Better to be safe then sorry.
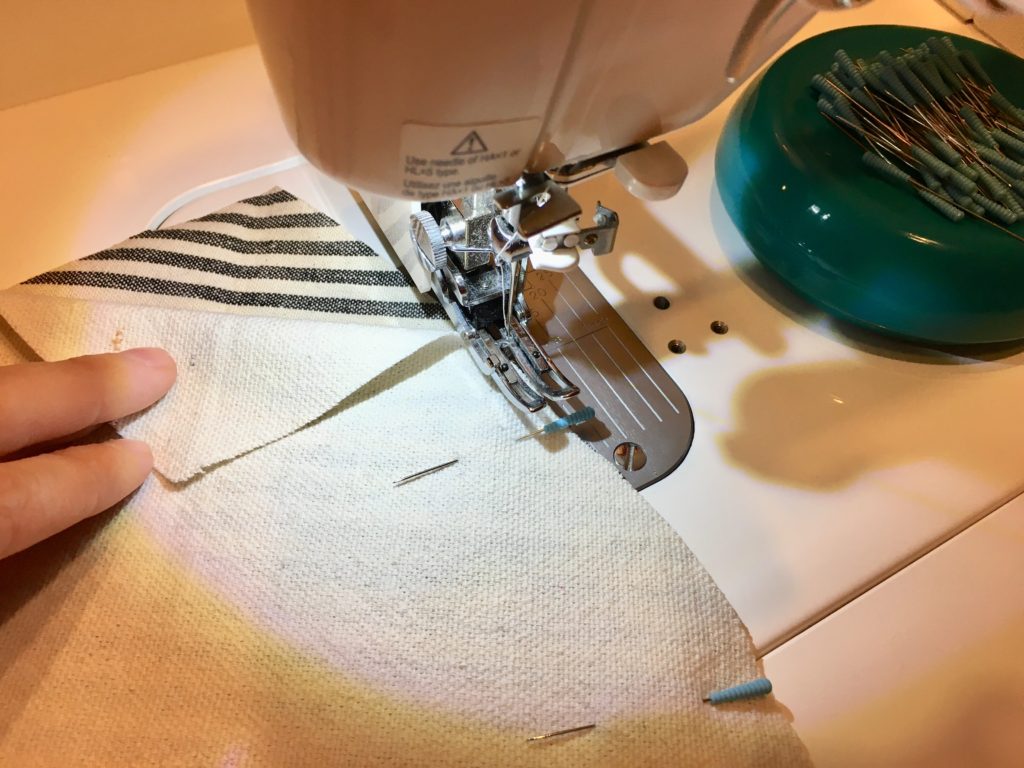
- With you’re presser foot down, slowly begin to sew. Make sure you back stitch 2-3 stitches at the beginning and at the end of your stitching. This will make sure that the seam doesn’t pull apart when you are filling it with the flax seed or rice.
- When you come to the center of the heart, stop sewing and make sure your needle is in the down position. With the needle down, list up the presser foot of your sewing machine and turn your fabric hearts so that you are now beginning to sew up the other side. Doing this will give you a nice crisp seam for your project. Very professional looking. No boxy corners here, you’re doing great!
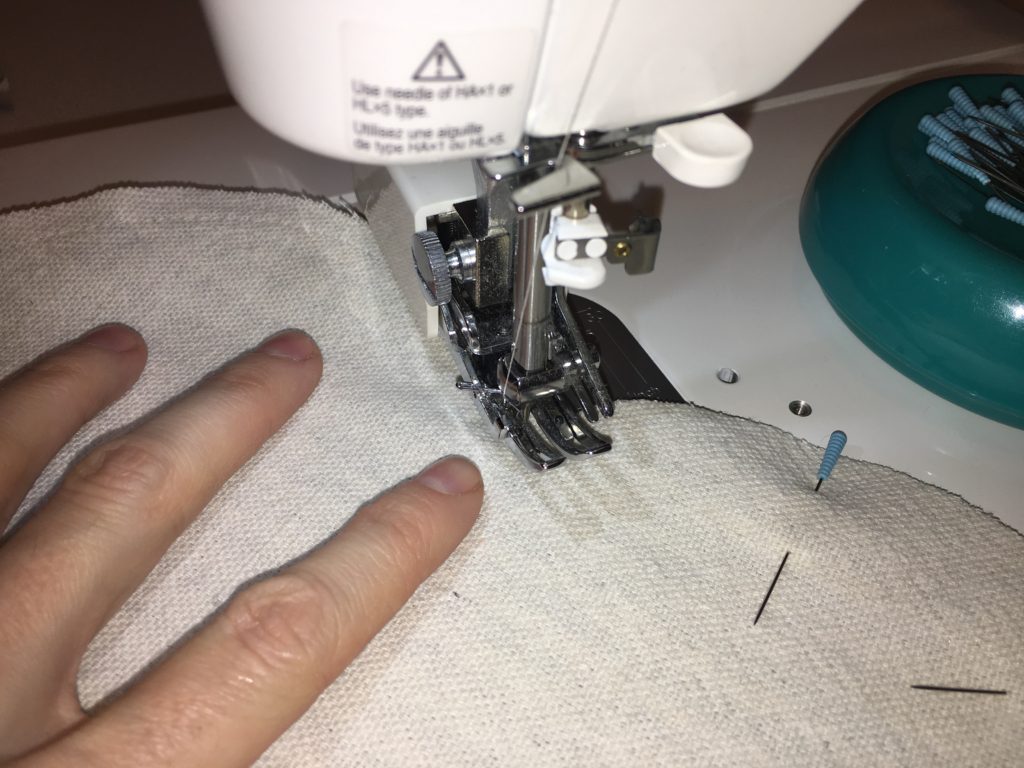
- Finish sewing down the other side of the heart, making sure you stop and backstitch about 3 inches from the end. Just like you did for the opposite side. Backstitch 2-3 stitches.
Step 12- Easing the seams
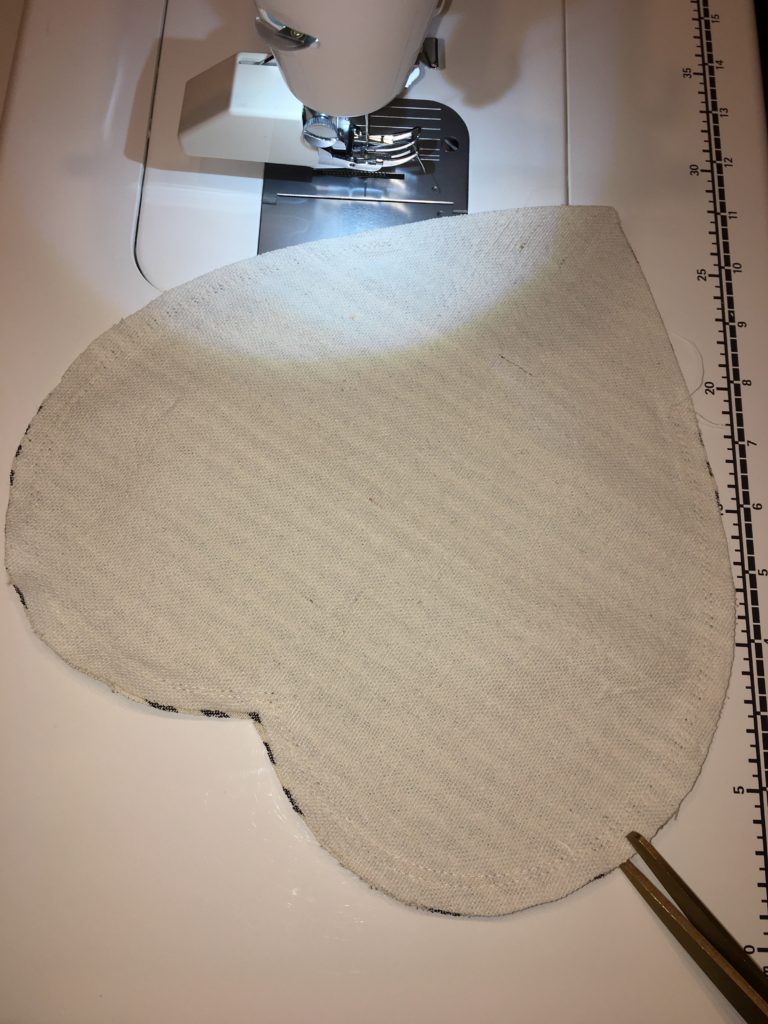
- Now that we have finished sewing and left an opening to fill, lets ease the seams a bit. If you’re new to sewing, a small pair of scissors may work better for you.
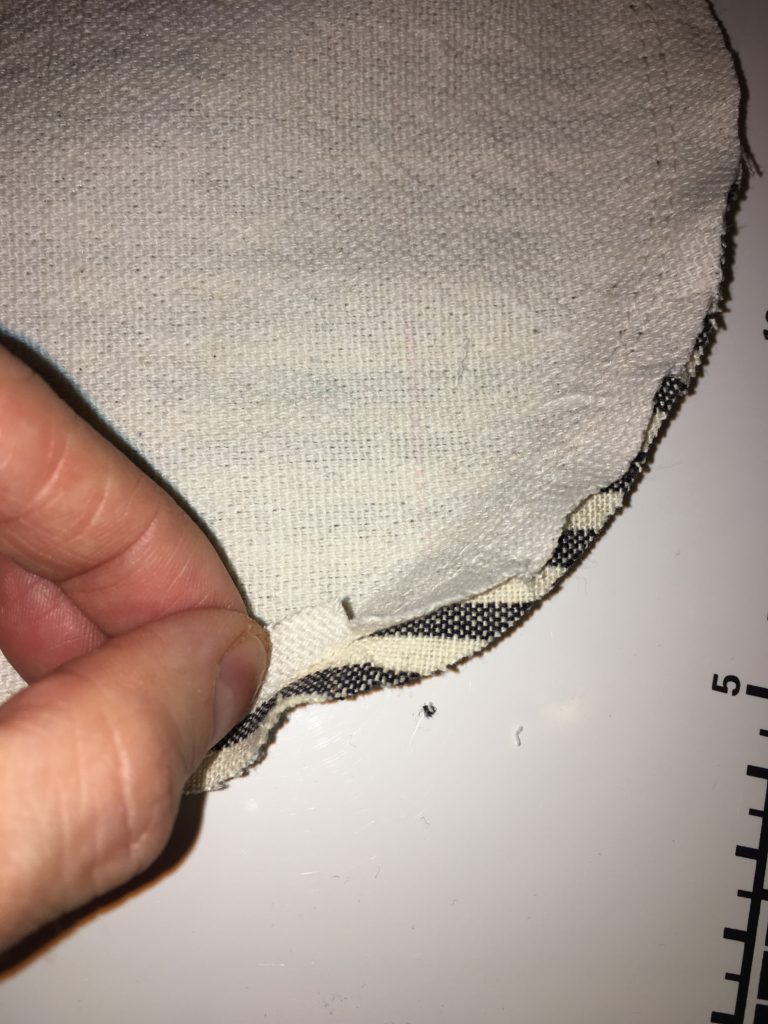
- Around the curved parts (top of the heart), make tiny “snips” around the corners every inch or so being careful not to cut through your stitch line. This will make your corners nice and rounded looking wen you go to turn this and press it.
- Worried you’ll cut through the stitches? Don’t worry, you can totally skip this part, its not a huge deal I promise. See the picture below. Hopefully this will show you exactly what I’m talking about. you can also watch this part of the video as well.
Step 13-Turning right side out
- Put your hand into the opening of the heart that you just created. Grab a little piece of the fabric and hang on tight! Slowly pull the fabric from the inside towards the opening and out. You’re now turning your project RSO (right sides out). That just means the pretty side of your fabric will be facing outward so you can see it.
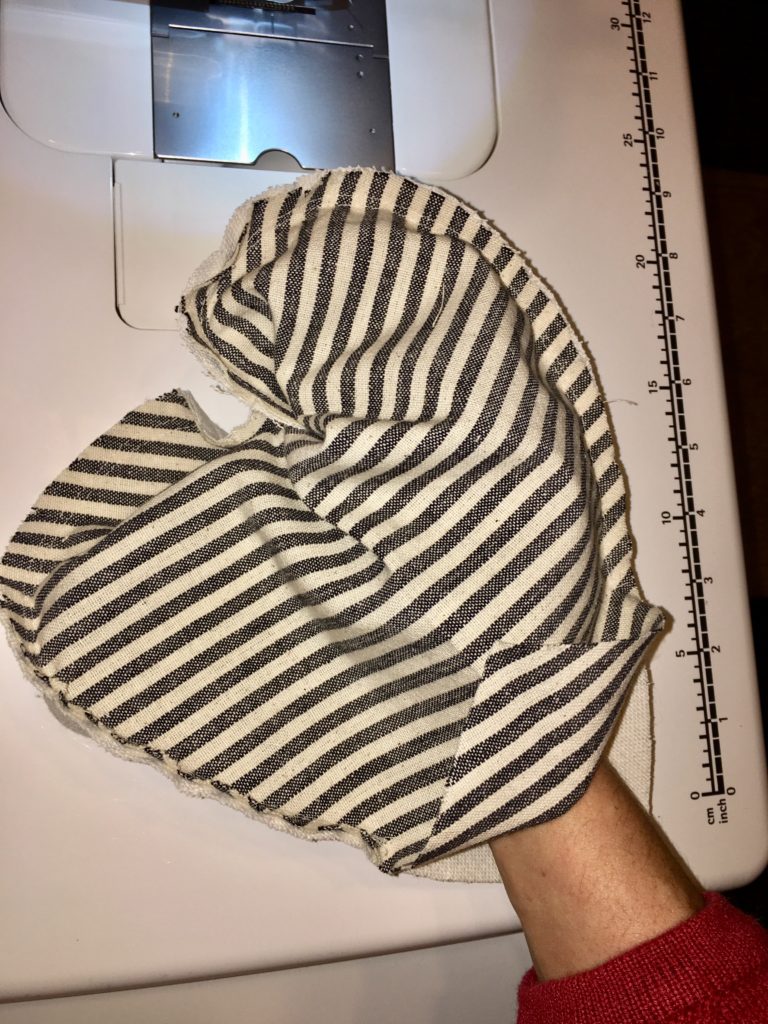
Step 14-Pressing the seams
- Now that you’ve turned your heart RSO (right side out), head to your ironing board and give it a quick press. Use your hands and fingers to push the corners out and give your heart its nice shape.
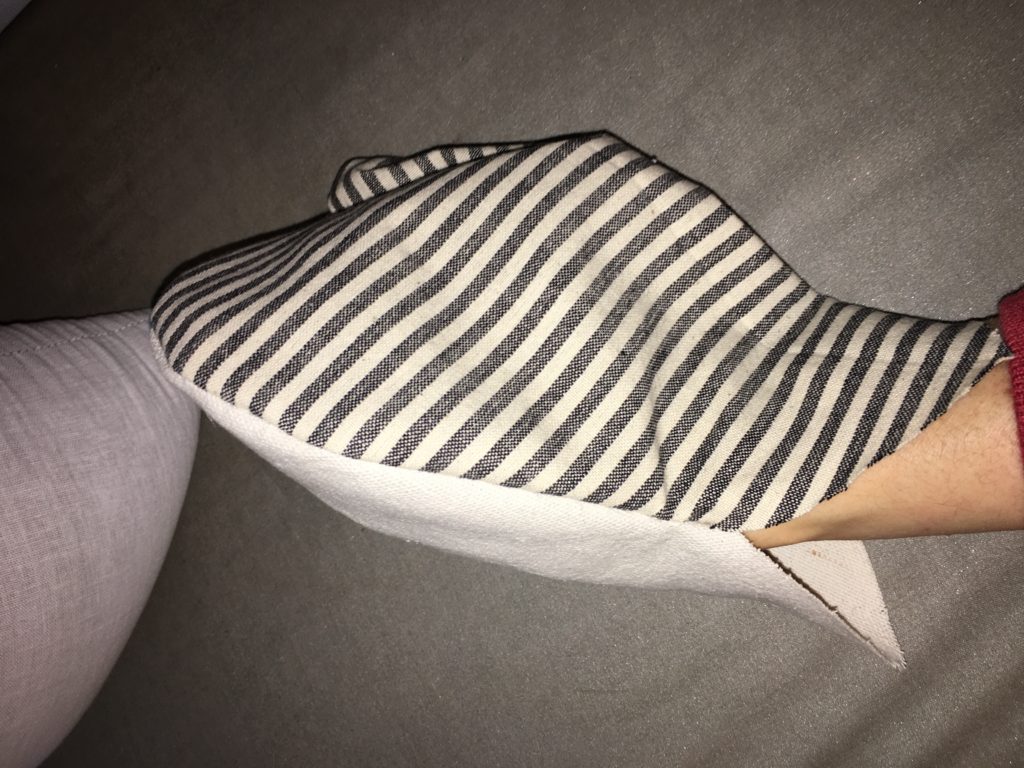
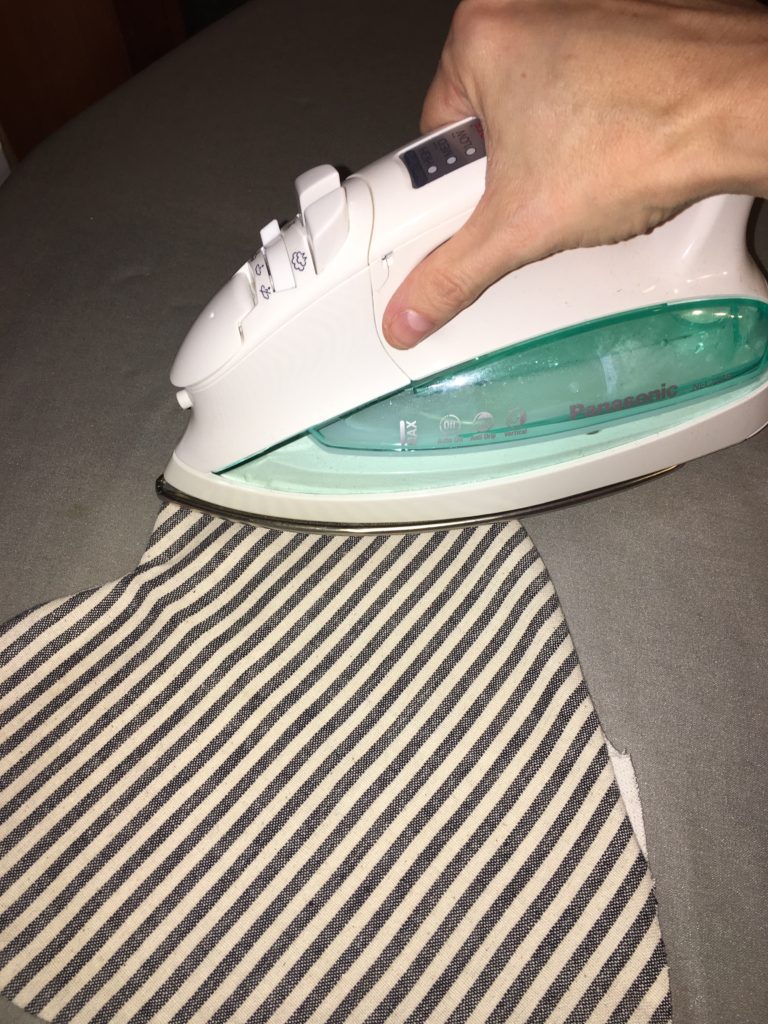
Step 15- Iron
- Once you’ve pressed your heart nice and flat, you’re going to iron down 1/2 inch (or whatever you did for your seam allowance) around the bottom open edges of your fabric (both sides). This is going to make it so you don’t have any raw edges when you sew this closed. You can also just sew it closed and skip this step but you’ll have raw edges of fabric exposed and it will fray over time with frequent use.
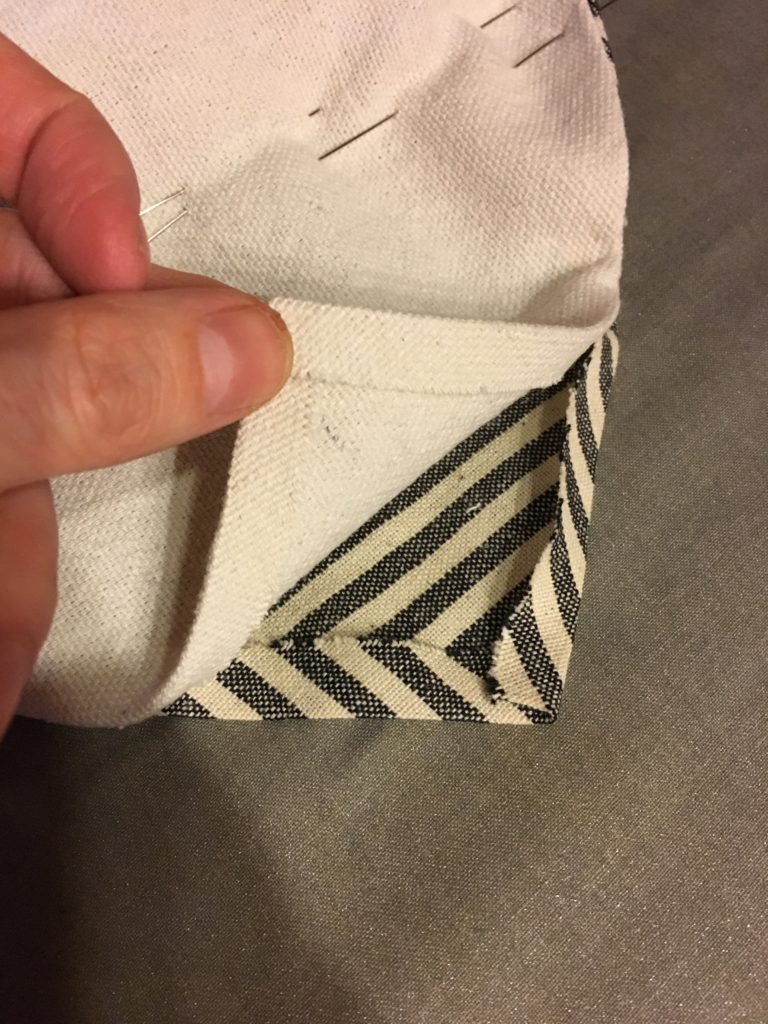
Step 16- Filling with flax seed or rice
- After pressing the edges of your fabric towards the inside of your heart, its time to fill. Finally!!!!
- Take your flax seed that you previously infused with essential oil and slowly begin filling your heart. I find that about half way is the right amount. Keep in mind that the more full you make this, the more challenging it can be to sew it closed.
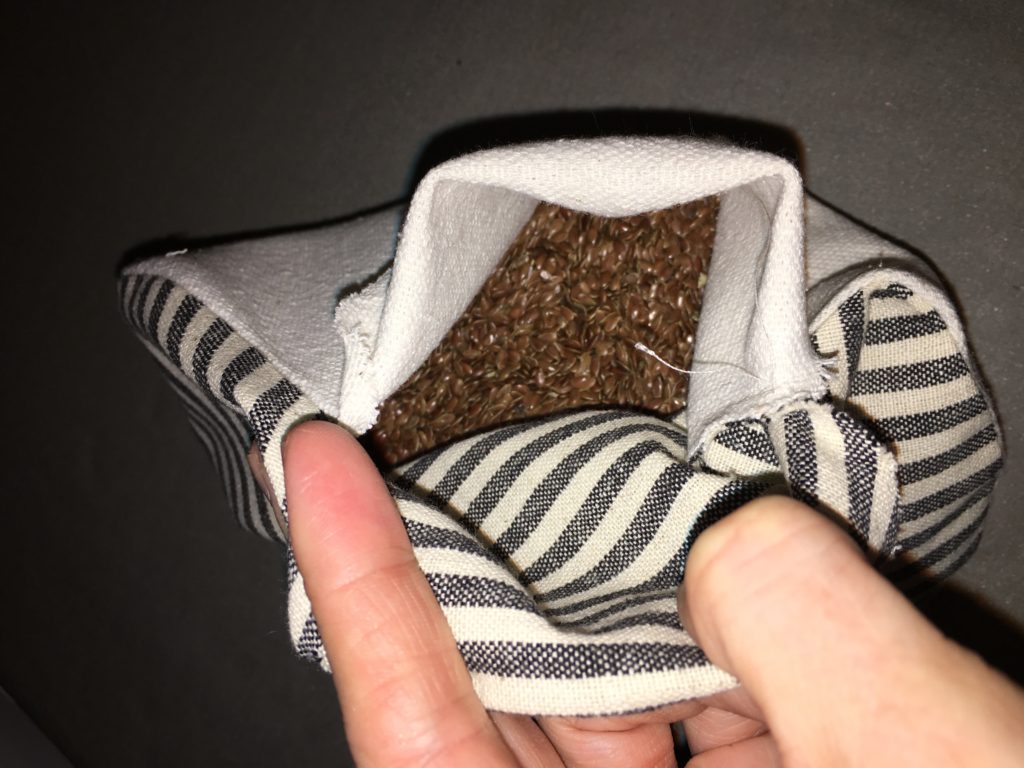
Step 17- Sew closed
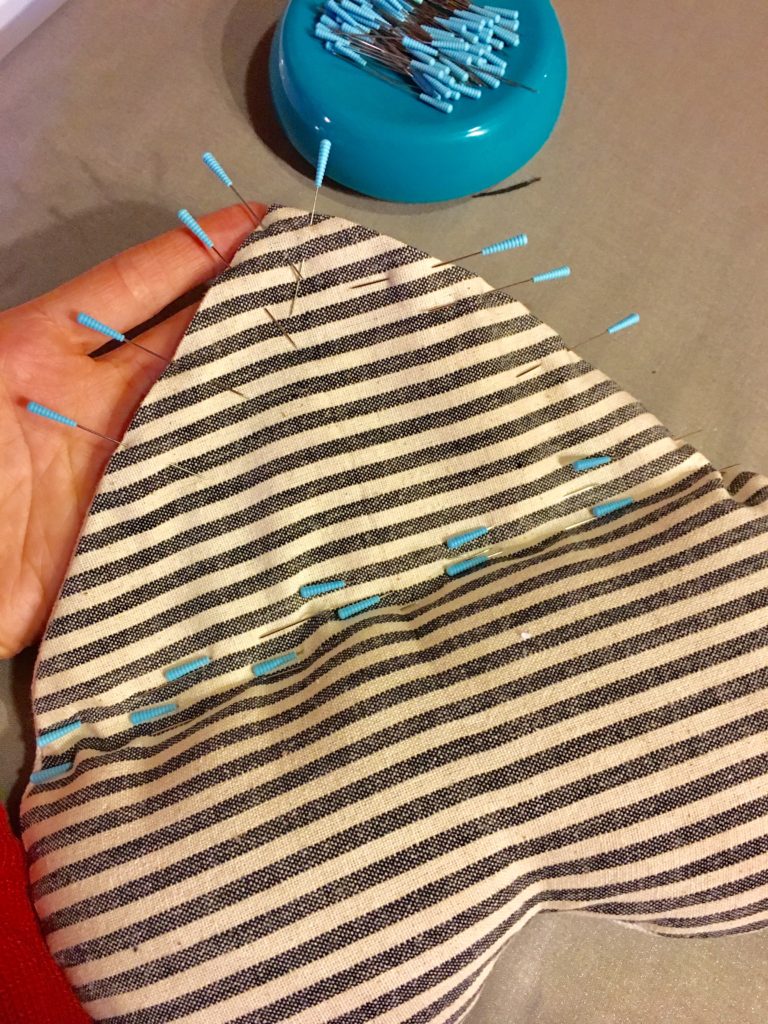
- Take some of your sewing pins and pin horizontally across the heart. Keeping the flax seed (or rice) to the bottom of the heart. The pins will be working to keep the flax seed in one place making it easier to sew closed. Once you’ve pinned horizontally, pin the opening closed as well. Again, if you don’t have sewing pins, no worries. Use mini office binder clips.
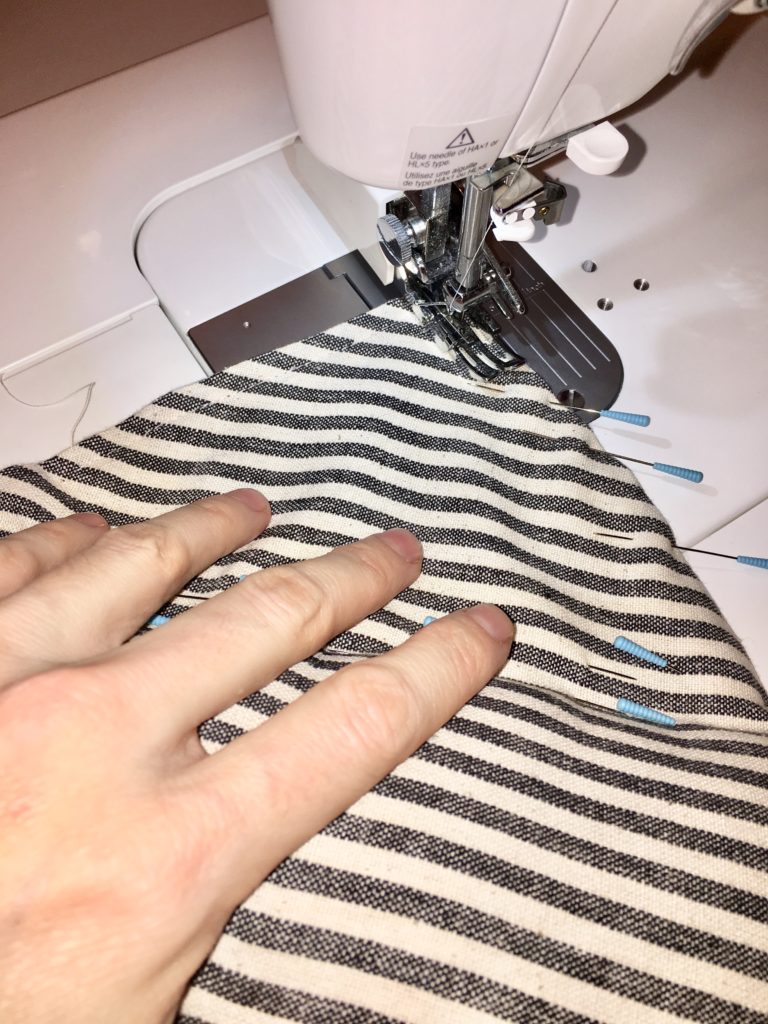
- Now that everything is pinned in place, head to your sewing machine and lets sew this heat pack closed. Finally!!
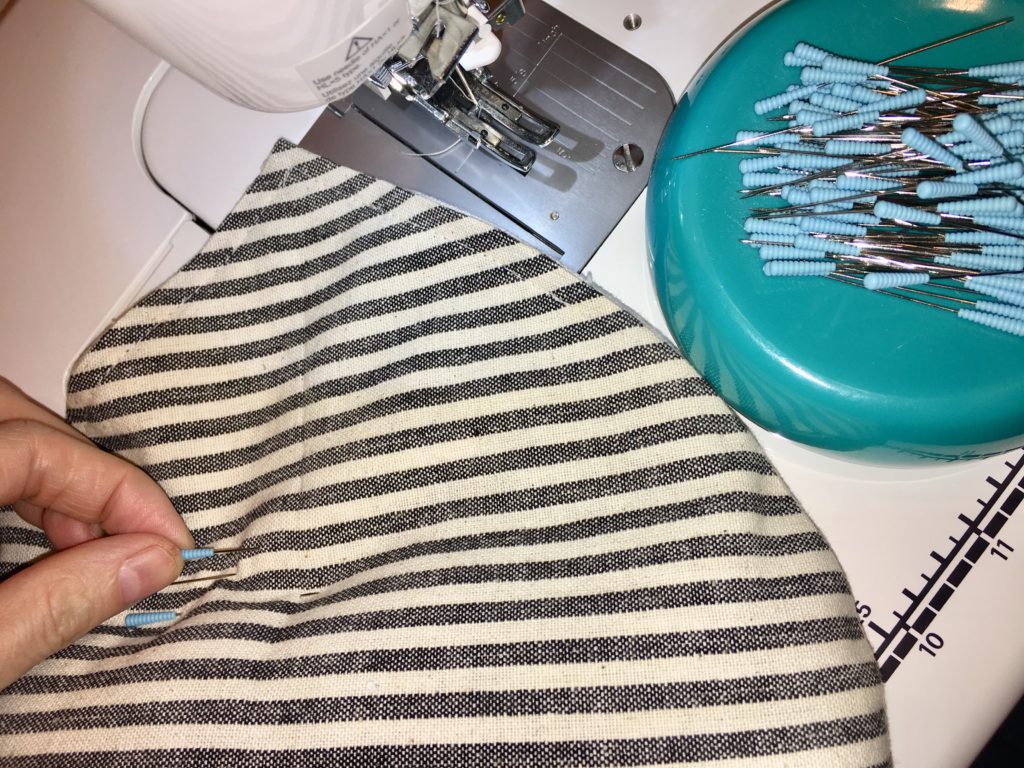
- Once you’ve sewn the opening closed, carefully remove all those pins. You should have a lovely little seam to keep all those flax seed inside.
Step 18- Finished reusable heating pad with essential oils
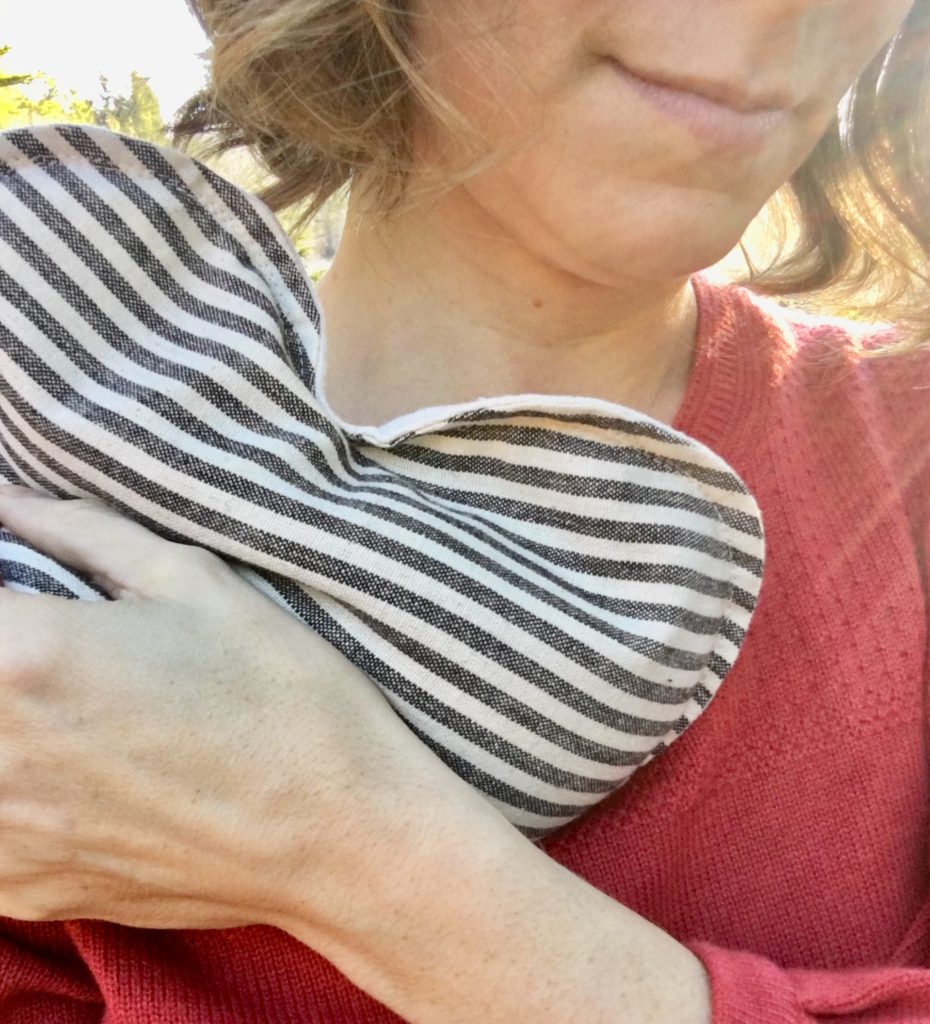
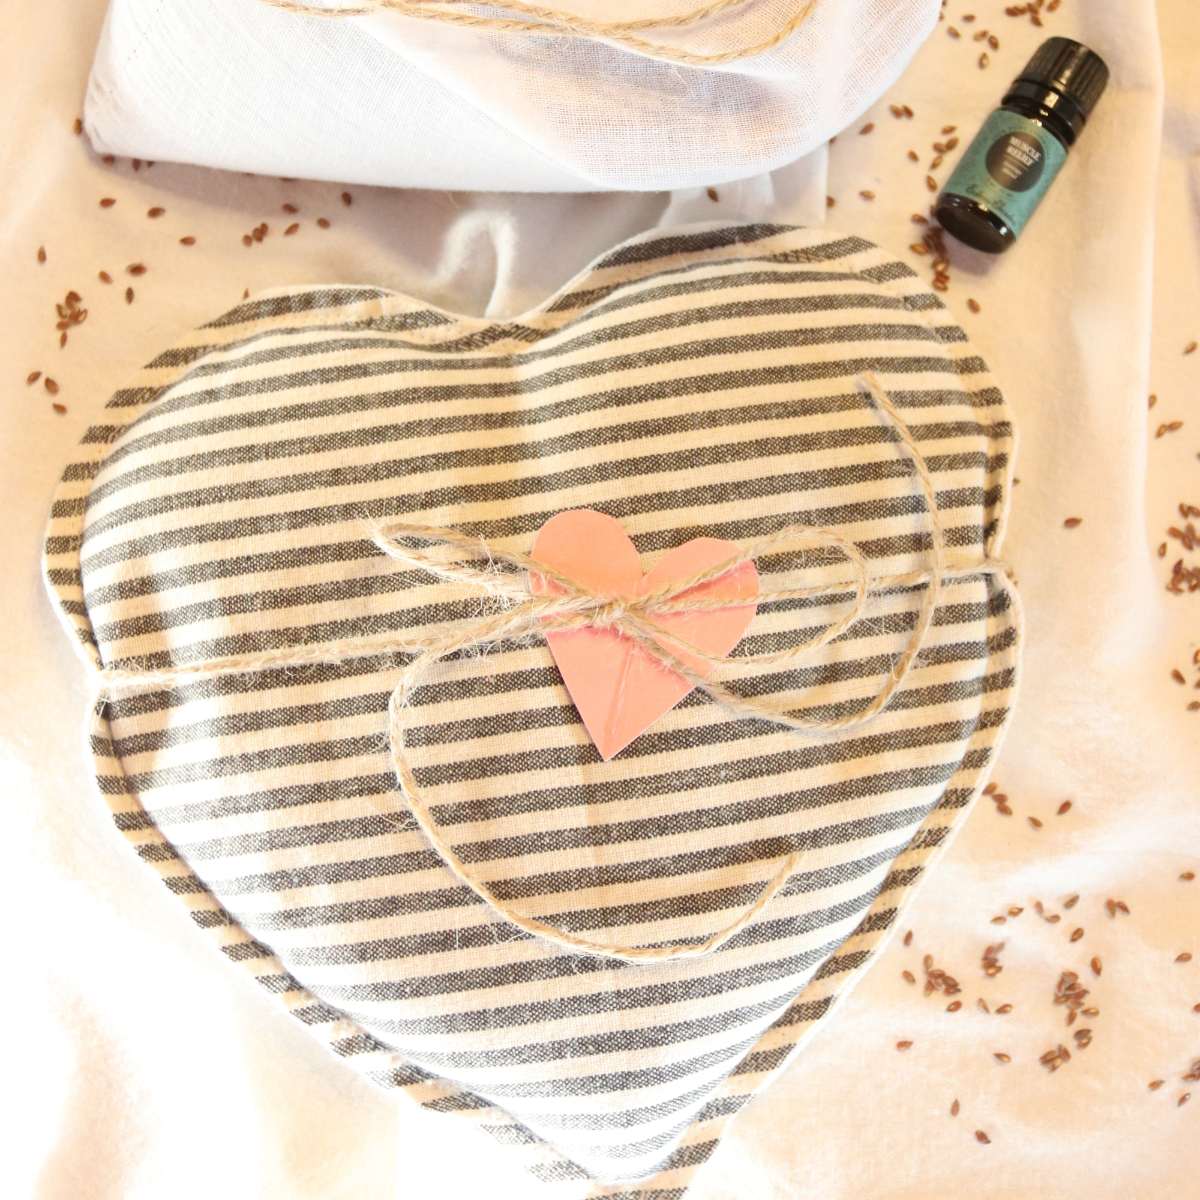
Now that you’ve finished this handmade gift, I like to check it by throwing it into the microwave and seeing what the optimal amount of time to heat is. Depending on the size and how full you made it, I find 1-2 minutes is perfect.
Since you’re sewing project is now complete and you know how long to heat it, make an adorable printed card that has a message as well as directions for use. I don’t know about you but I LOVE homemade gifts! As I mentioned above, if you used a plain fabric, you can have kids decorate these with fabric pens for a truly personalized gift.
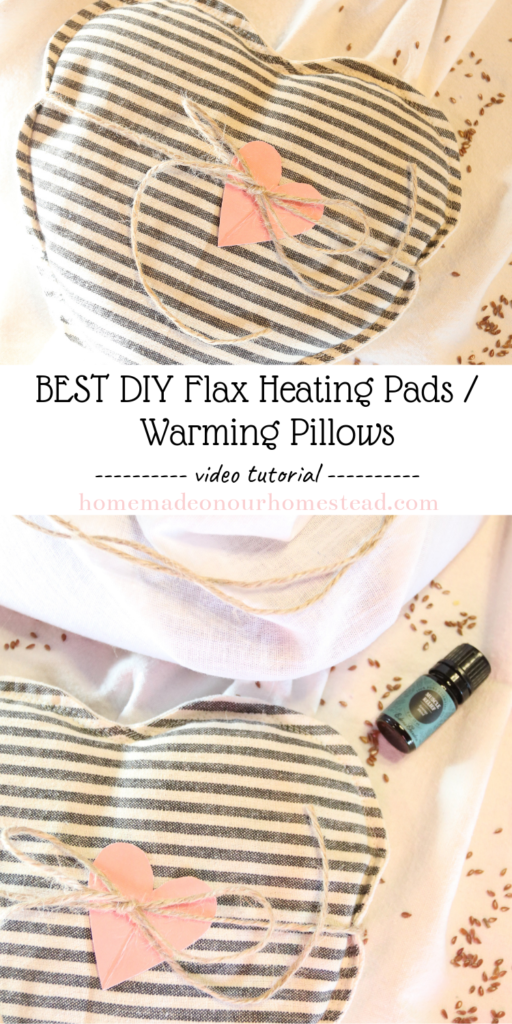
Shop
- Farmhouse striped cotton napkins
- Flax Seed
- Drop Cloth
- Essential Oils I use: Muscle Relief, Stress Relief, Lavender, Quiet Time, Patchouli
- sewing machine
- Sewing Pins with magnetic pin cushion
- mini scissors for snipping threads
- cutting mat
- Pressing Mat
- Mini iron
Optional supplies for a creative spin
- Non-toxic fabric pens (I found pens to be easier and far less messy)
- Non toxic Fabric paint
- Mini office binder clips (if you don’t want to use sewing pins)
I HOPE YOU ENJOY CREATING THESE HOMEMADE REUSABLE HEATING PADS. HAPPY SEWING!

More fun sewing projects
- Fabric basket (great for Easter baskets or Trick or Treat bags)
- Kitchen scarf
- Hanging chair (great for kids rooms, or outside)

Love this tutorial!!! I don’t see much at all and I think I could even do this!! Thank you!
What a great idea! I think I will make some as gifts.
Thanks Elise. I had SEW much fun making them. I love all things crafty. For sure my Niche 🙂
What a “heart warming” gift they are 🙂
Thanks Jayme. I know my hubby sure loves them. I’m sure after this house build is done, he’ll love them even more lol.
Thanks Lyndsy. My daughter almost instantly claimed these as hers lol.
Me too. So cozy 🙂