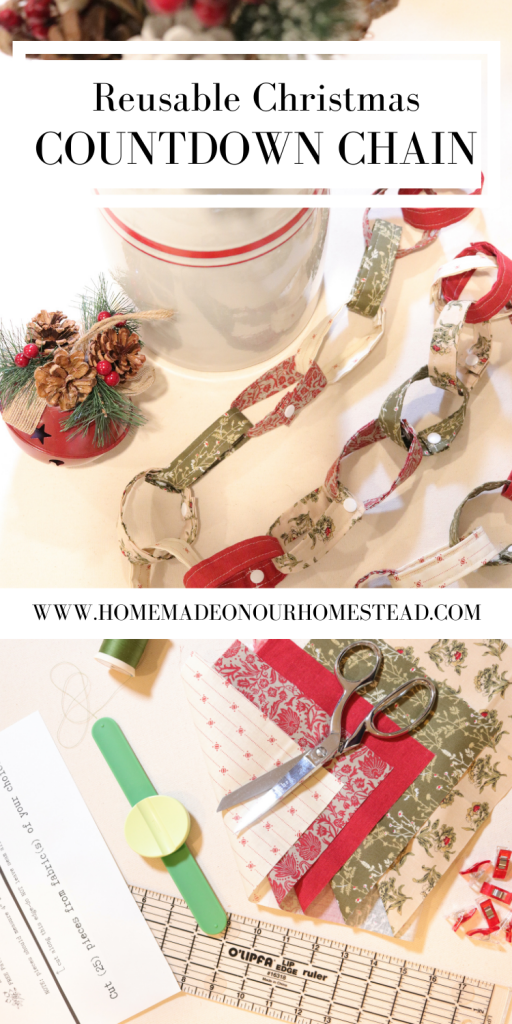
How To Make A Christmas Countdown Chain
Learn how to make a Christmas countdown chain just in time for the holidays.
Kids love to countdown the days until Santa makes his arrival to place all those much anticipated gifts under the Christmas tree.
This year, why not start a holiday tradition with this homemade fabric chain that you can reuse year after year!
I love being able to make decorations for my house for Christmas. My kids usually bring a lovely red and green paper chain home each year, but as we all know, things are a bit different this year (I’m looking at you 2020). So that’s how this idea was created.
Some of these links are affiliate links. You can read my full disclosure HERE.
FREE Christmas Countdown Chain Sewing Pattern
Reusable Advent Chain Video
Some of these links are affiliate links. You can read my full disclosure here.
Other holiday posts you may enjoy
Supplies
I always get specific with my lists of materials and supplies that I use in my tutorials. But feel free to use items that you have or whatever you can find at your local craft store. This is supposed to be a functional Christmas decoration that matches your style-have fun with it!
Play around with different fabrics and colors. You can always use Christmas-colored fabrics, not just Christmas themed fabrics-although these are cute as well. If you have a particular color you use in your home to decorate, feel free to use it for these fabric rings too. Ok, now back to the materials and supplies list.
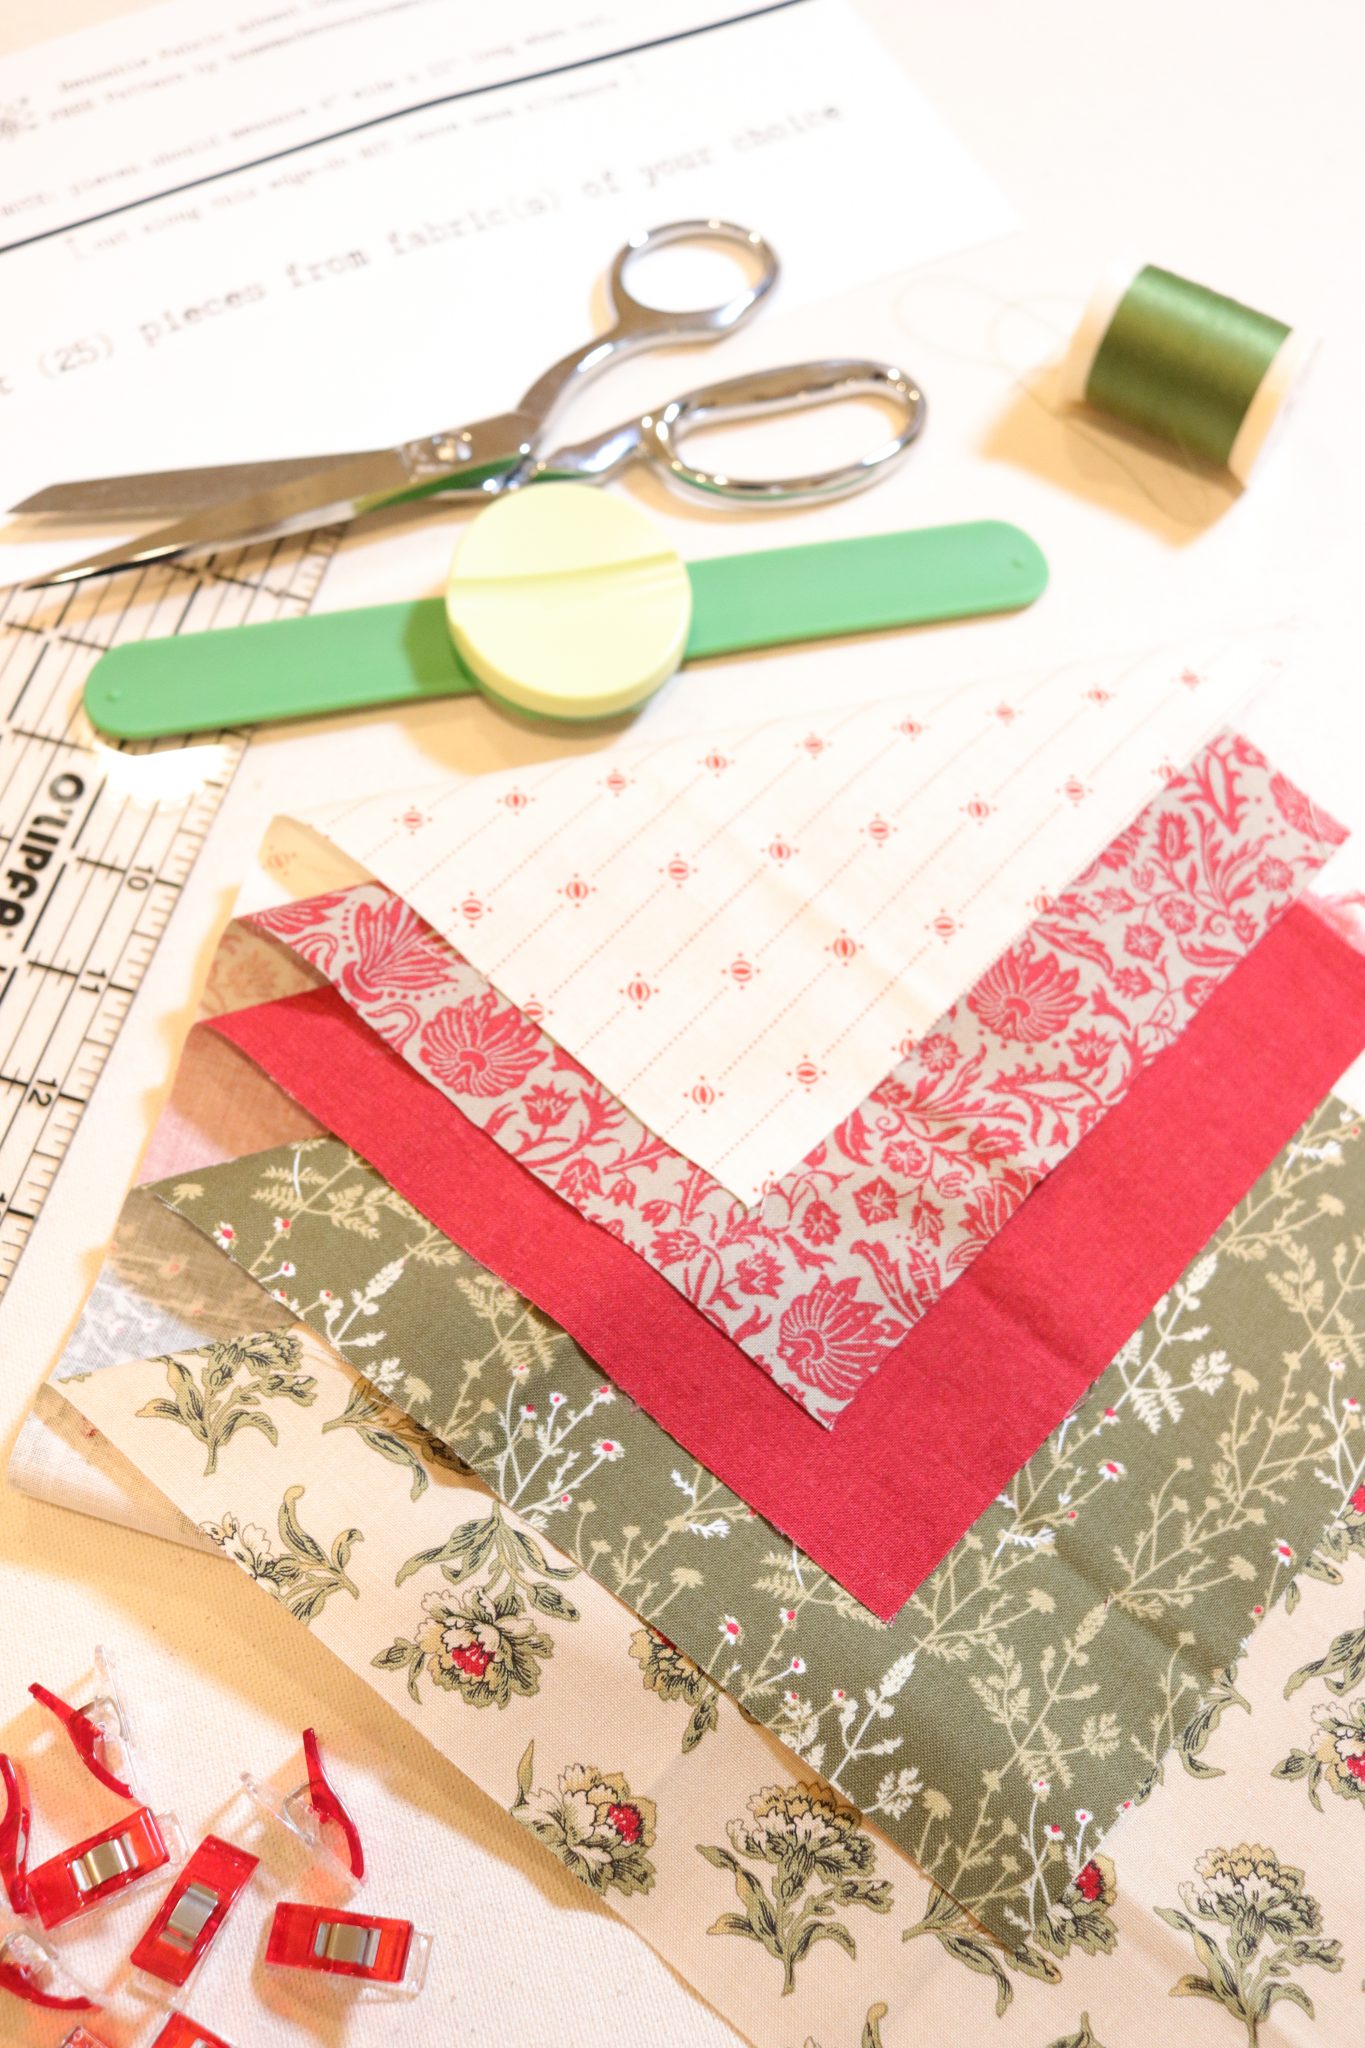
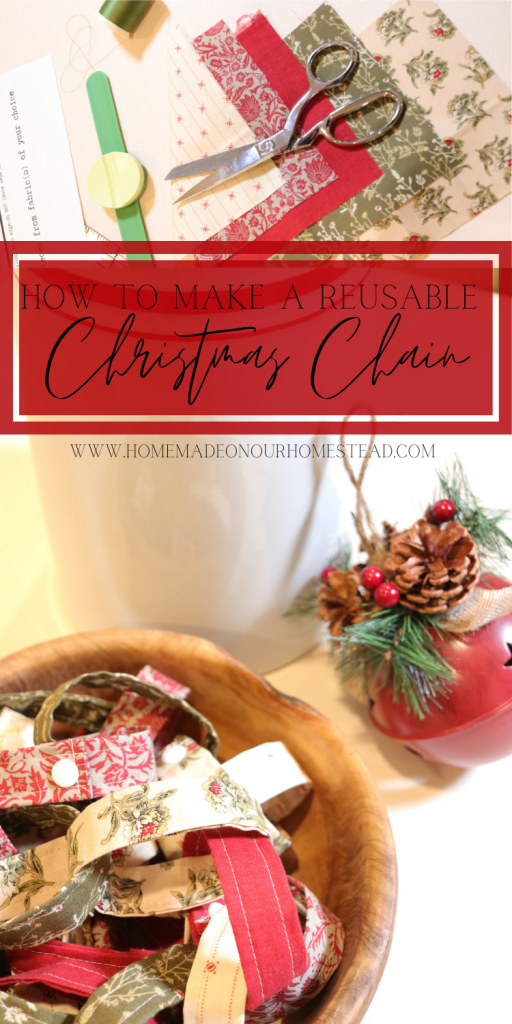
- Fabric. I used (5) fat quarters of fabric that were Christmas colored but not Christmas themed. You’ll need (25) pieces cut 4″ wide by 11″ long each. This is a great scrap-busting project.
- FREE sewing pattern. You can download this above. You don’t need this paper pattern template if you are going to use a ruler and rotary cutter.
- RULER. I used this STRIP RULER to make the cutting a bit faster. But a REGULAR RULER will work just fine.
- SCISSORS or ROTARY CUTTER. I also use THESE, to trim my threads.
- CUTTING MAT or surface that’s safe for cutting.
- SEWING MACHINE. This is the machine I was using, but any machine will work.
- IRON.
- Thread. You can use a coordinating thread (one that matches), or a contrasting thread if you prefer your stitching stands out. Again, get creative!
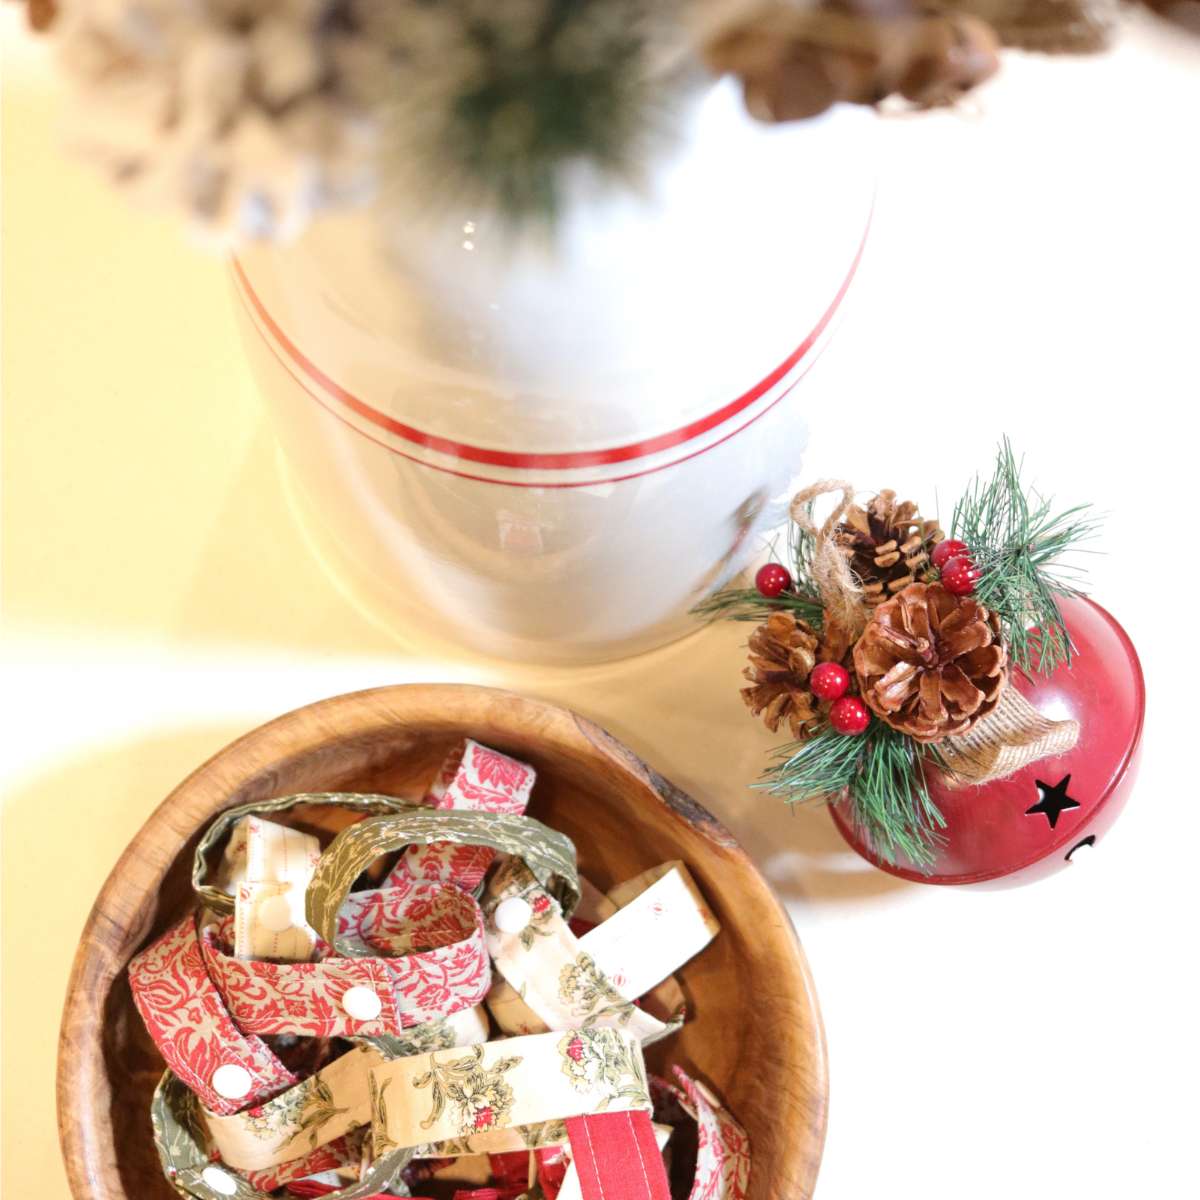
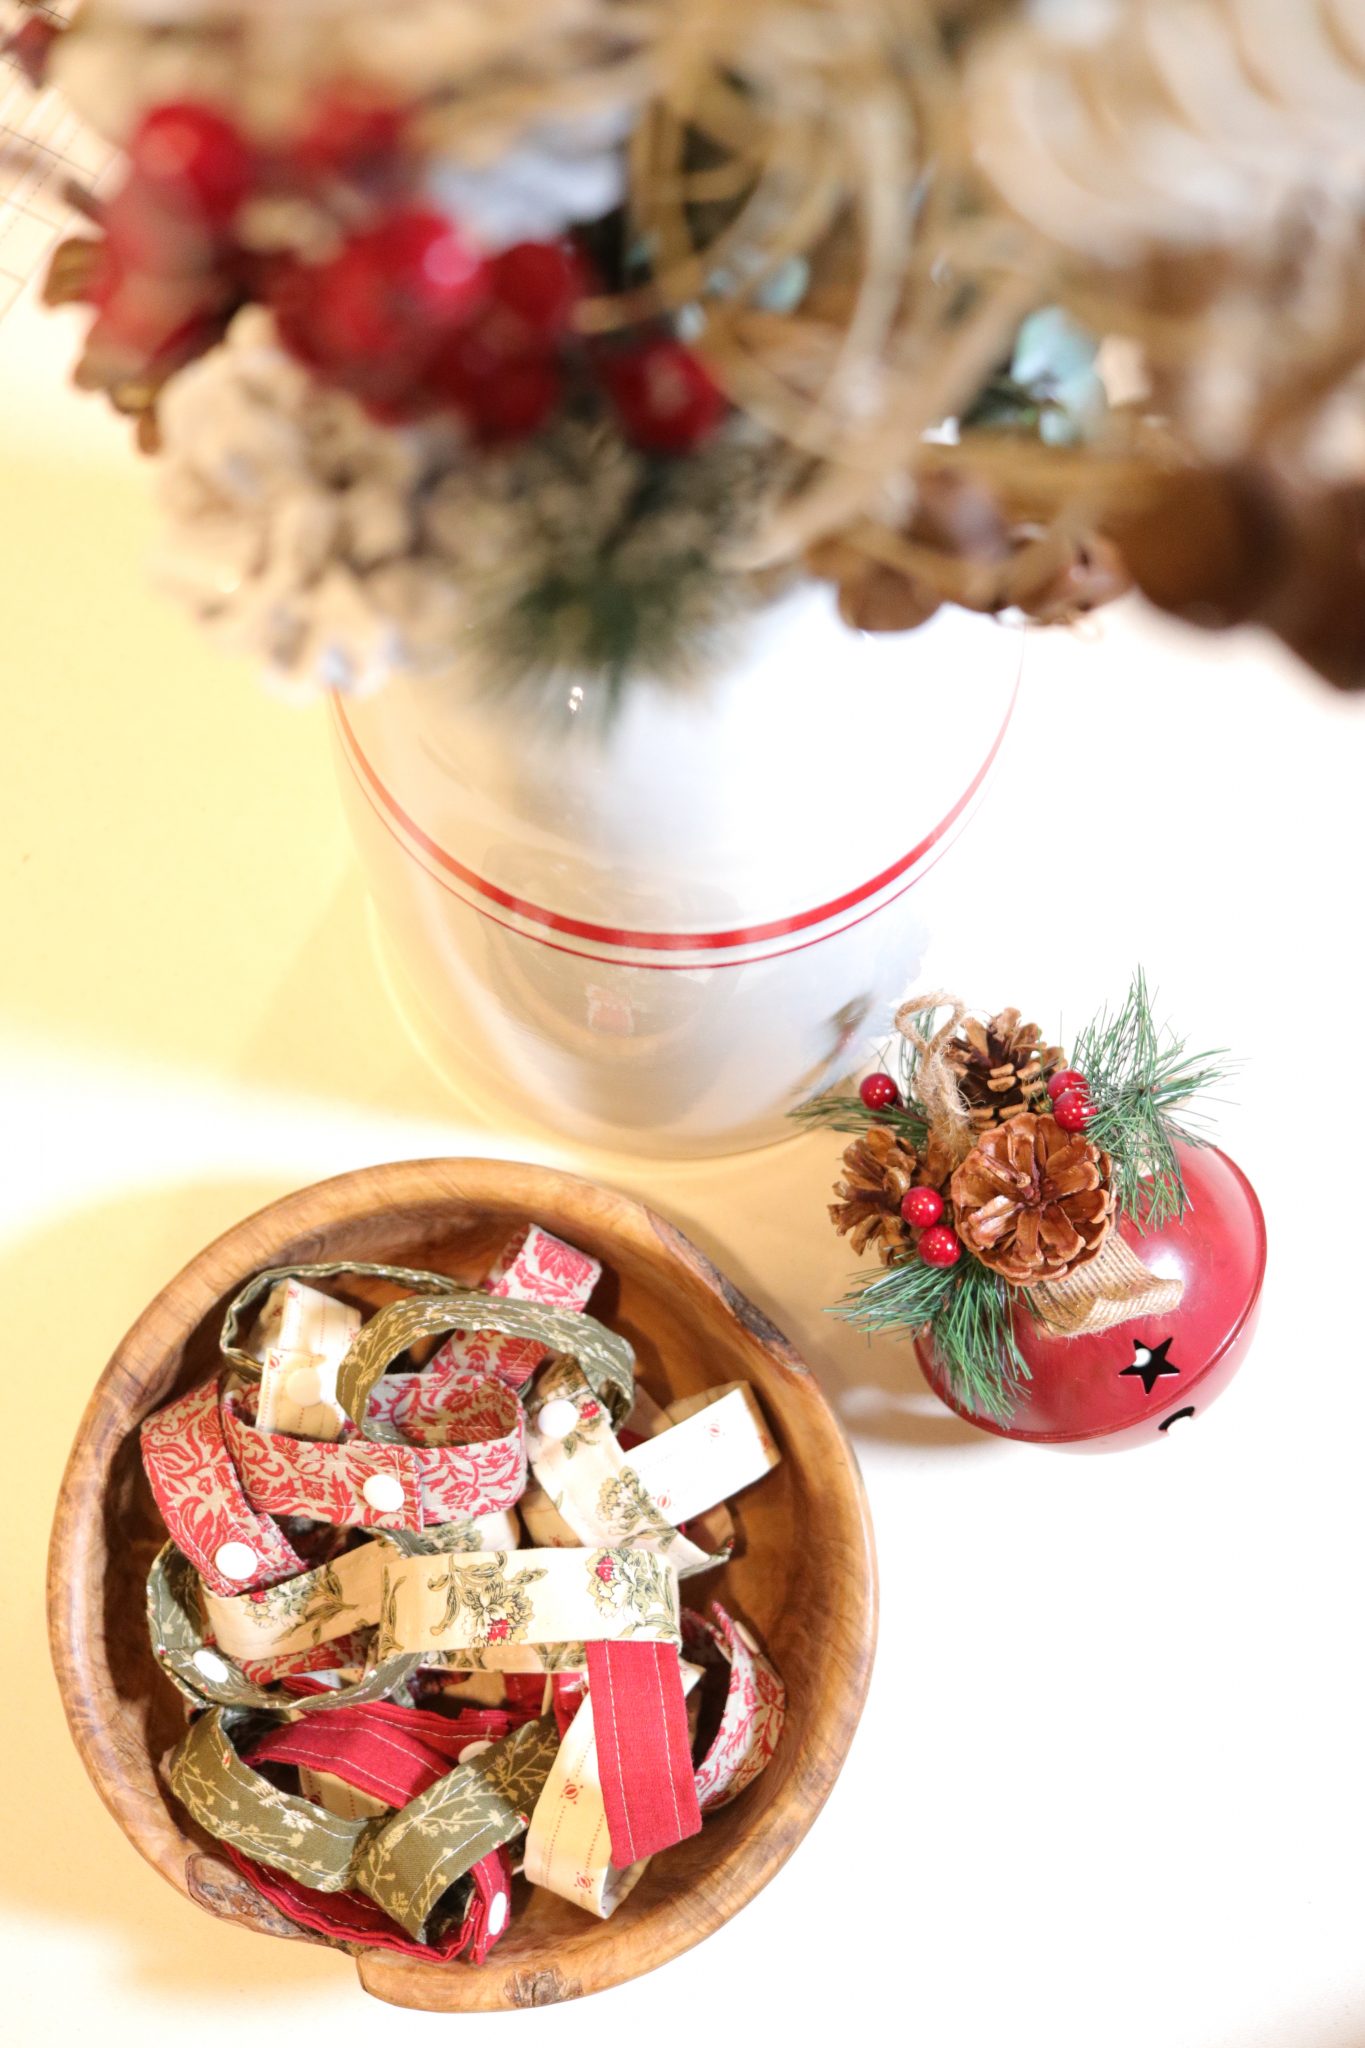
- SNAPS, velcro, or buttons. Just remember, if you are going to be using buttons, you’ll need the specialty foot for your sewing machine. Most machines come with this so make sure you check your sewing machine manual for how to attach and use it. I used the snaps and snap tool and you can find those HERE.
- PINS or CLIPS. This is probably something you could honestly make do without. I also used MAGNETIC PIN BRACELET to hold my pins while I sew.
How To Make A Christmas Countdown Chain
Select Fabrics
Pick the fabrics you want to use for your fabric chain. Remember, you need pieces that are 4″ wide by 11″ long so you can use scraps as long as they are large enough.
After you have decided on your fabrics, give them all a quick press with your iron. This will make cutting them out a lot easier. I stacked all my fabric and used a strip ruler to cut all my pieces out at the same time but a regular ruler and scissors will also work.
Cut Fabric
You have many different options to get your fabric cut into the correct sized pieces. I neatly stacked all my fabric pieces and used a strip ruler to cut all my pieces out at the same time. This isn’t necessary but it is a time saver.
You’ll need to cut the strip 4″ wide by 11″ long. If you don’t have a quilting ruler, don’t worry-just download the pattern I made for you and you can place that directly onto your fabric and cut your strips out that way too. You can find the pattern with the “download” button towards the top of this post. Print as many copies as you’d like.
Press Fabric
Again, this step is easier if you press (iron) all your pieces at the same time and then you can sit and batch sew them all at once. If you prefer to press one, then sew it, that’s ok too! This is where watching the video will come in handy. You can see exactly how I pressed to enclose all the raw edges. But I will try and explain the best I can and hope it makes sense.
A. Press each 4″ side in 1/2″ with wrong sides together.
B. Next, press fabric piece lengthwise in half. Then open piece back flat.
C. Then take of the 11″ sides and fold to meet the center pressed seam you made with your iron and press.
D. Repeat Step C. for the other 11″ side. You piece should now roughly measure 2″ wide x 10″ long (again, you don’t have to be exact).
E. Now take your fabric strip and fold in half lengthwise again. Press (if you need too). Pin or Clip (optional). Your strip of fabric should now measure 1″ wide x 10″ long.
I hope that all made sense. If you’re still with me so far-BRAVO!!
Sewing
- Note 1/4″ seam allowance.
Select the thread that you want to use for your rings. Again, you can use a contrasting thread that will stand out or a coordinating thread that you won’t see as well. I typically go for a coordinating thread but chose a contrasting one for this tutorial so it would be easier to see on camera. But have fun with it.
For these fabric rings I used a 1/4″ seam allowance and sewed around all (sides) so it looked symmetrical. However, you can just sew over the (2) short ends and the long open end to close things up.
You can also do a larger seam allowance, or a smaller one. Whatever gives you the look that you like-go for it!
Trim Threads
After you have sewn all (25) of your fabric strips, trim all your threads.
Attaching A Closure
So for these fabric strips, I chose to use THESE SNAPS. I found this step to go really quickly rather than having to sew hook and loop (velcro) to each one. Again, if you have velcro, I would just use it. Why buy something else right? But if you prefer the look of the little plastic snaps, then do that. You can always use the snap tool and snaps later for other projects-I know I do.
You can also attach a buttonhole foot to your machine and sew a buttonhole and attach buttons. I think this would look so cute! I didn’t have that many smaller buttons to use otherwise I would have likely done this instead. Refer to your sewing machines user manual for this step. Buttonholes are not something I do all the time so I myself still have to refer to my manual from time to time.
Connect The Loops
Congratulations! You have just completed this lovely (and yet simple) Christmas craft project. I hope you and your family are able to enjoy this countdown chain for years to come.
I hope you all have a Merry Christmas and a very blessed New Year.