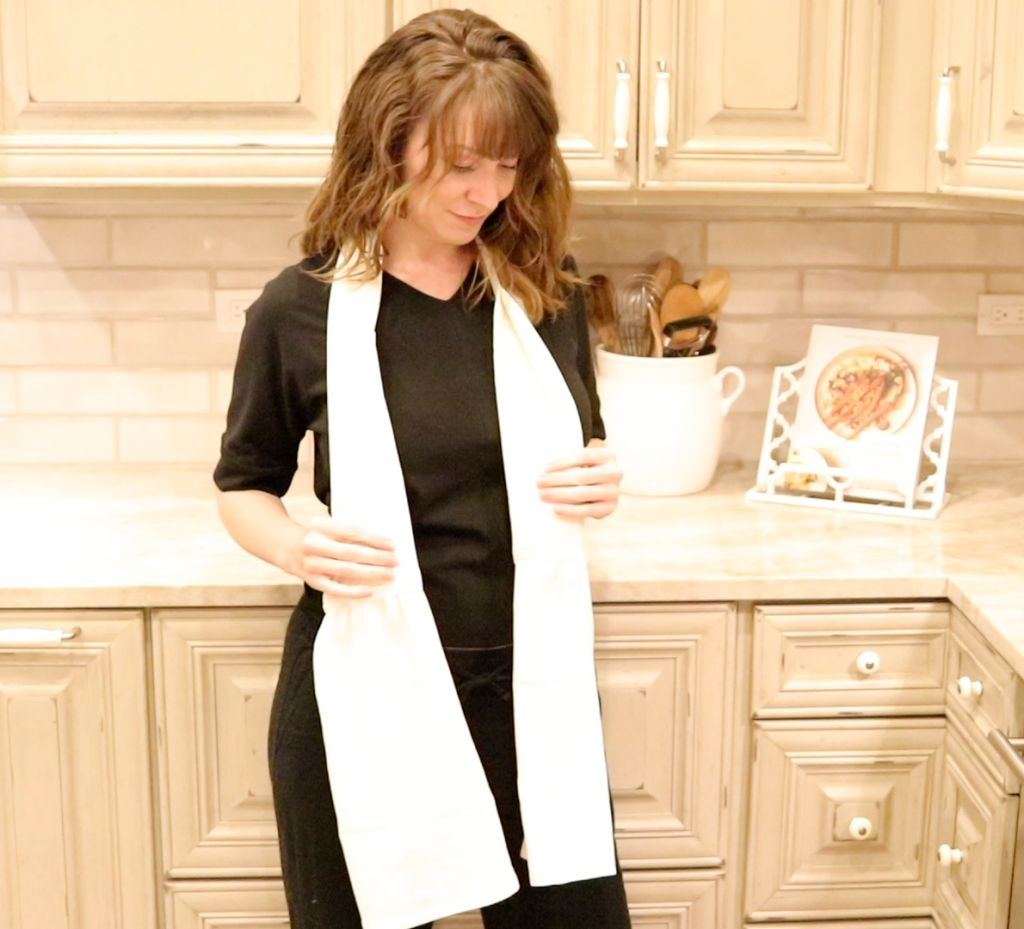
How To Make A Simple Kitchen Scarf
This simple kitchen scarf sewing tutorial is a great project to sew up for all the bakers and homemakers in your life. Actually, for anyone who spends a lot of time in the kitchen.
Kitchen scarves are a quick sew and will easily become your favorite kitchen accessory.
Have you ever heard of a kitchen scarf before? Let me tell you, up until last week I hadn’t either.
So let me show you how easy it is to make one! It would make a great gift for the holidays, a simple wedding gift or just for anyone who enjoys time in the kitchen.
Some of these links are affiliate links. You can read my full disclosure HERE.
Video Tutorial
Why Make A Kitchen Scarf
I spend a lot of time in the kitchen. Not just this time of year either. I do most of the cooking and baking for our family from scratch so I spend many hours each day in this area of our home.
I don’t always have a clean apron handy so this seemed like a really great opportunity to make something practical for myself, as well as whip up a couple for easy Christmas gifts too.
Each Kitchen scarf took me about 20 minutes to sew up and would be a very manageable project for a beginner sewer.
You can customize these adorable kitchen scarfs by embroidering a name or nickname on them as well. I’m fortunate enough that I received my grandmother’s embroidery machine when she passed away and I’m sure it would bring her great joy to know that it gets used a lot.
Supplies
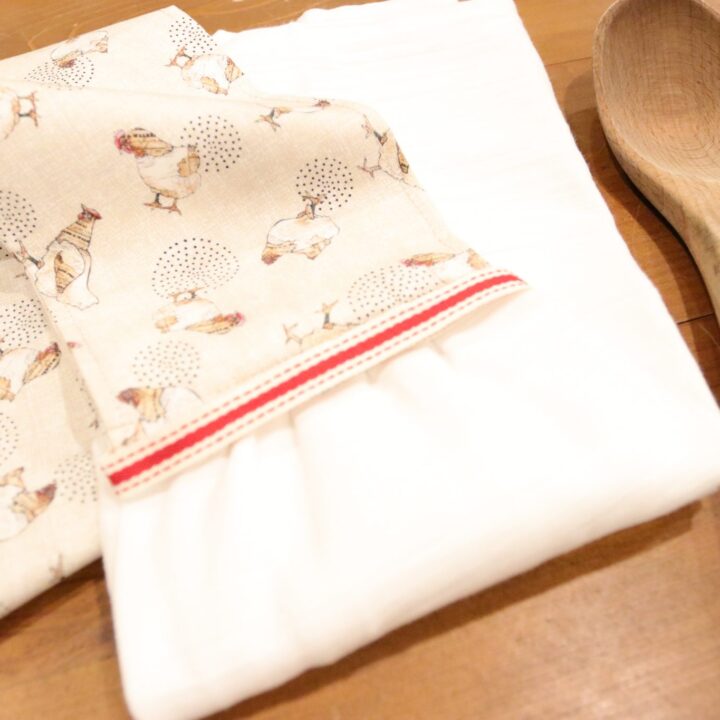
(1) 42″ long x 10″ wide piece of fabric for the main part of your kitchen scarf. For this project I used a 100% quilters cotton fabric. But this would also be beautiful from linen.
(1-2) tea towels, flour sack towels or regular hand towels. If the towels you are using are small towels, you’ll need (2). If you have one really large towel (like I did) you can get away with just having one and cutting it in half. Watch the video to see how I did this to eliminate having to sew extra seams.
- Ruler or measuring tape.
- Sewing machine and thread.
Any sewing machine should work just fine for this project. I always link the machine I used for each tutorial as it seems to be one of the most asked questions I get.
How To Make A Kitchen Scarf
Making a kitchen scarf really only involves simple cutting and a few sewing steps.
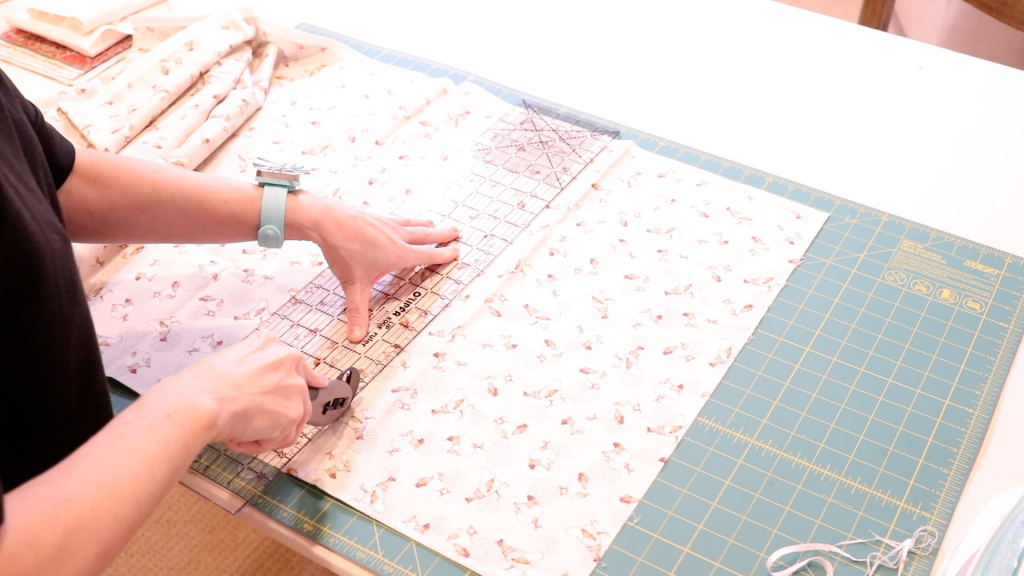
Step 1: Cut your main fabric 42″ long by 10″ wide.
NOTE: for reference, I’m 5’4″ tall and the bottom of this scarf hit me right below the waist. You can adjust the size as needed or to whatever length you prefer.
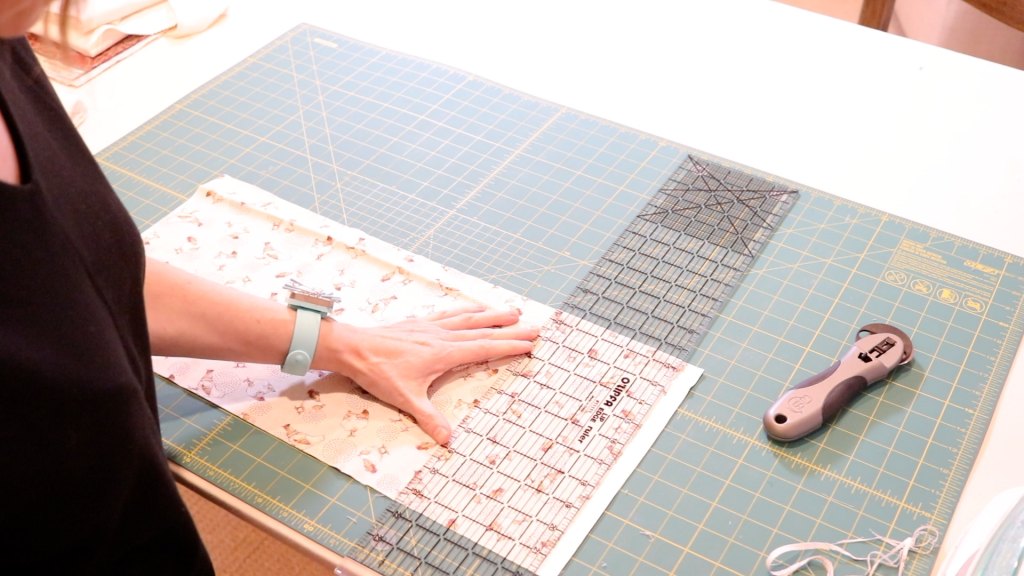
Step 2: After you have cut the main piece of fabric for your scarf, be sure and trim off the selvage edge if your fabric has one.
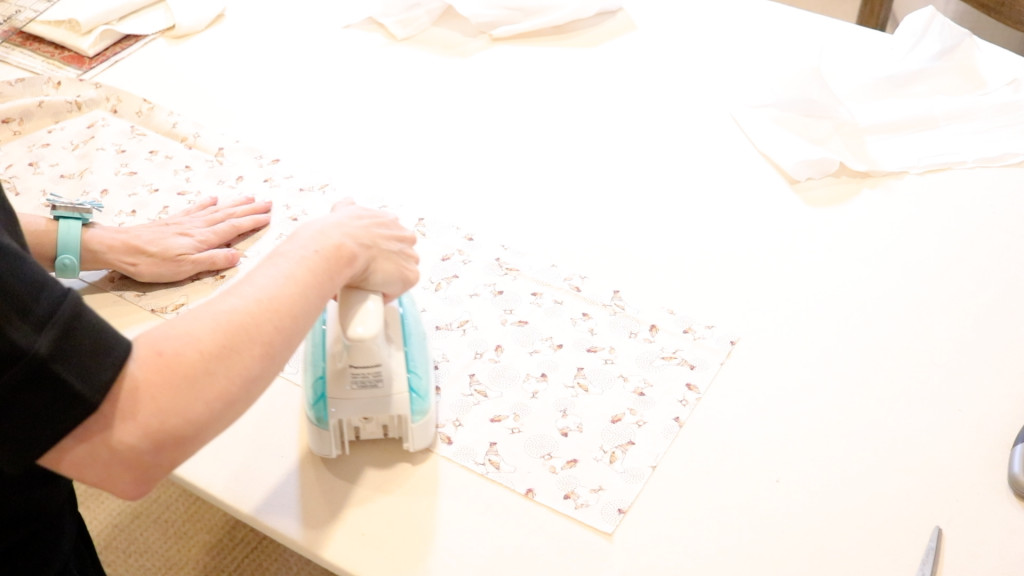
Step 3: Iron your fabric. If you don’t need to do this, then just skip they step.
Kitchen Towel Shawl
I have made quite a few of these kitchen scarfs to gift over the years. I have always found that tea towels work best for me.
They are light weight and easy to sew through.
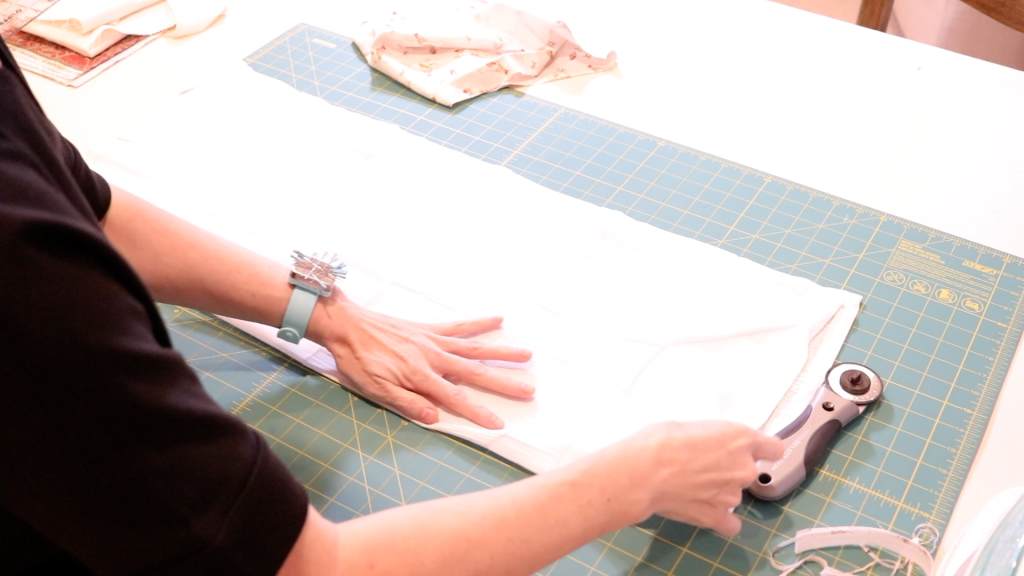
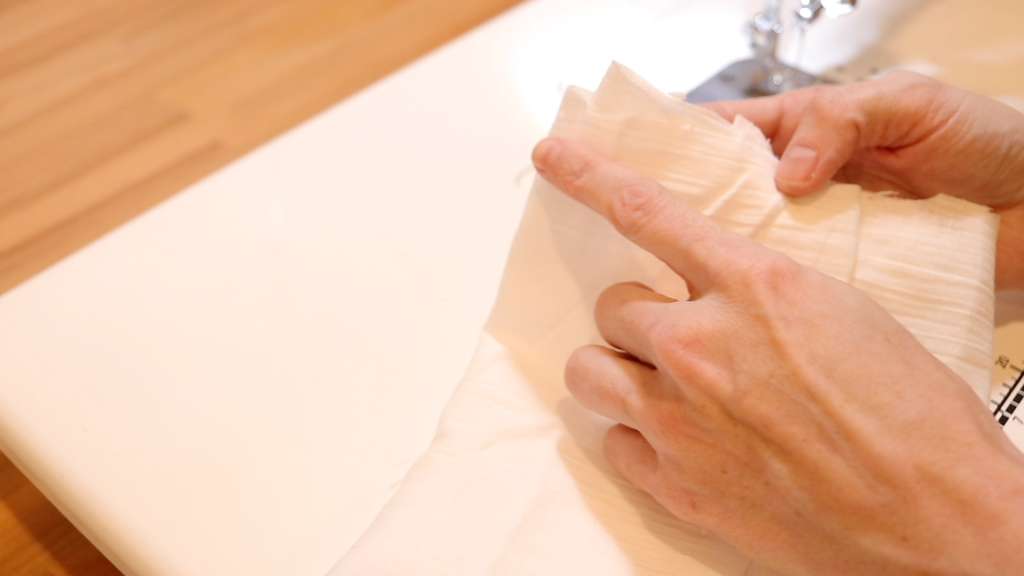
Step 4: I folded my flour sack towel in half and cut along the fold. This kept the seamed edge intact. That cut edge that doesn’t look very finished will be put inside your main fabric so you won’t even see it, so try not to focus on that.
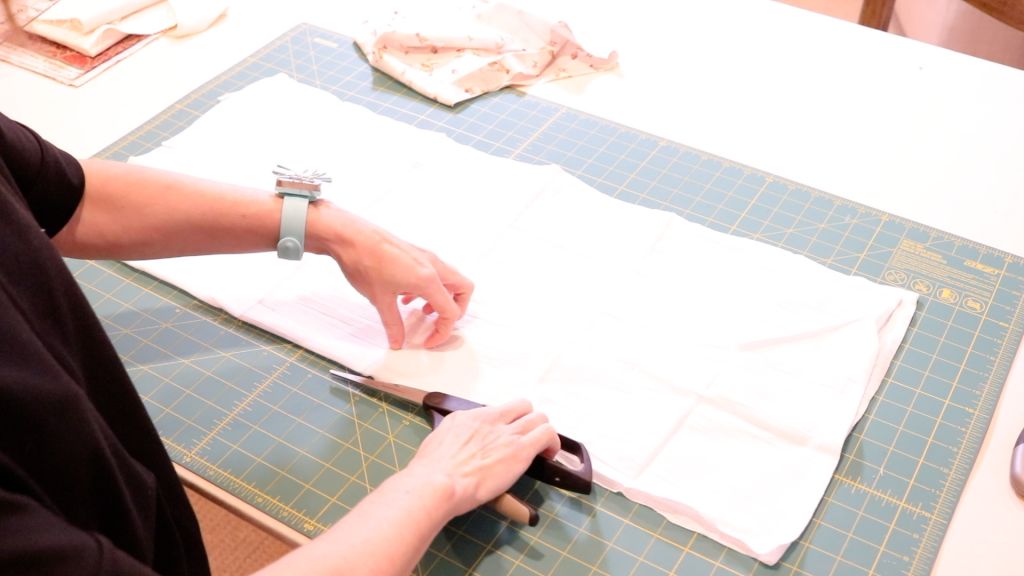
Step 5: Cut flour sack towel in half (if needed). It’s important to try and keep the seamed edge intact so you don’t have to recreate it. If you are using regular terry cloth hand towels, you can also cut these in half so you can make one scarf from just (1) hand towel. This really is a project you can customize however you want.
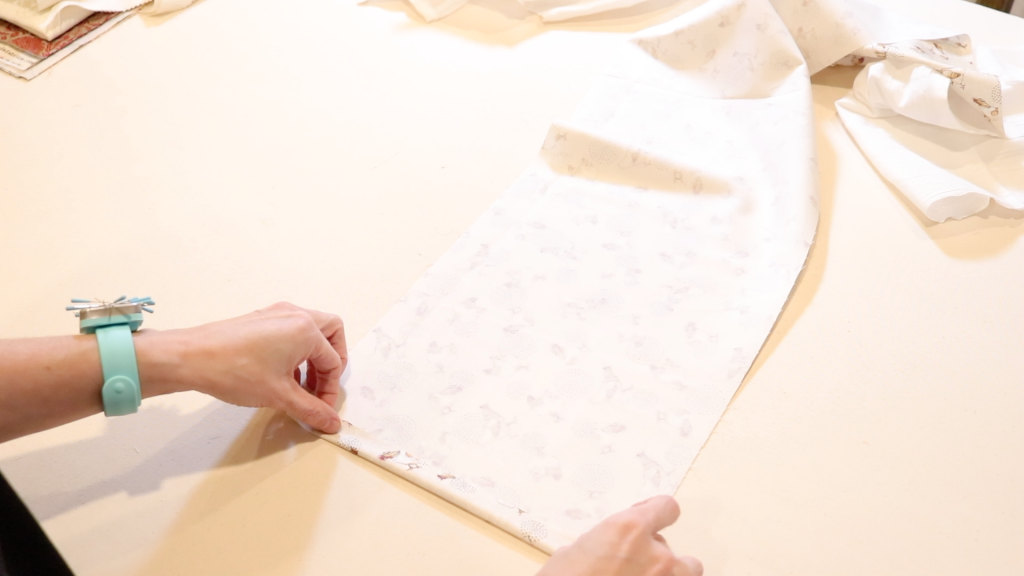
Step 6: Now take your long piece of fabric and fold up the 10″ edge 1/2″ and press. You’ll want the WST (wrong sides together) when you do this.
Repeat for the other 10″ edge.

Step 7: Now that both of your 10″ edges are pressed in, let’s fold our piece of fabric in half lengthwise and press.
Step 8: Pin (or clip) along the long edge. This will just ensure the pieces stay aligned when. If you are comfortable just sewing, then that’s fine as well. I literally pin everything.
Begin Sewing
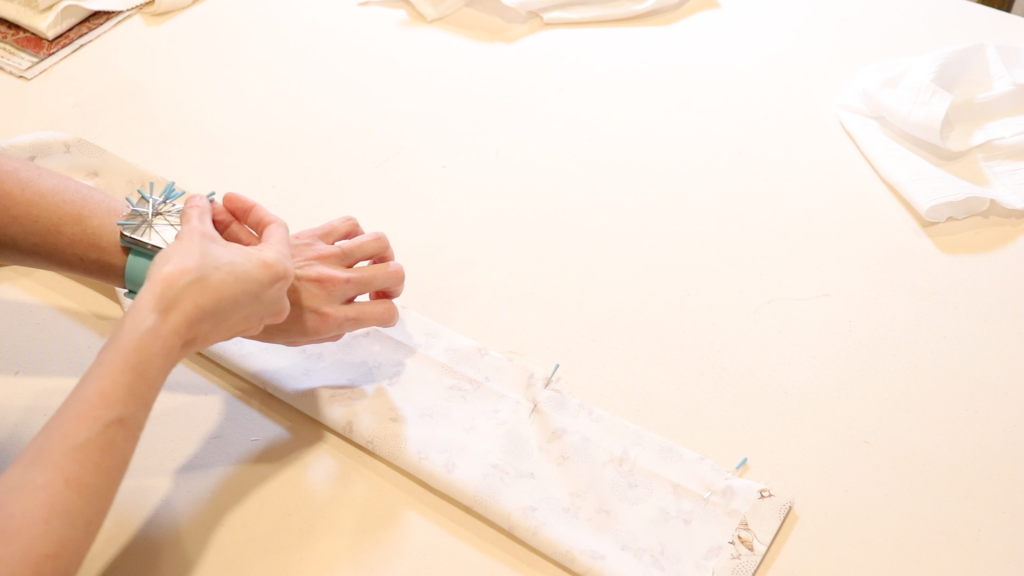
NOTE: 1/4″ seam allowance is what I used for this project. You can also use 1/2″ seam allowance if you are more comfortable with that. Just keep it the same on both sides of your scarf.
Step 9: Sew using 1/4″ (or 1/2″) seam allowance down the long (42″) edge. Backstitch at the beginning and end of your row of stitching.
Step 10: Turn your “tube” of fabric RSO (right side out).
I was able to just use my hands for this. If your hand doesn’t fit into the tube, try using one of these.
Step 11: Once you have turned your tube of fabric so the right side is facing out, go ahead and give it a press. Again, this step is optional but just one of those extra steps I always do.
Folding
Step 12: So depending on what types of towels you opted to use for this project, you’ll want to fold them so the seams are all in the back. If you cut a towel down like I did, you want to also make sure the raw edges are all at the top
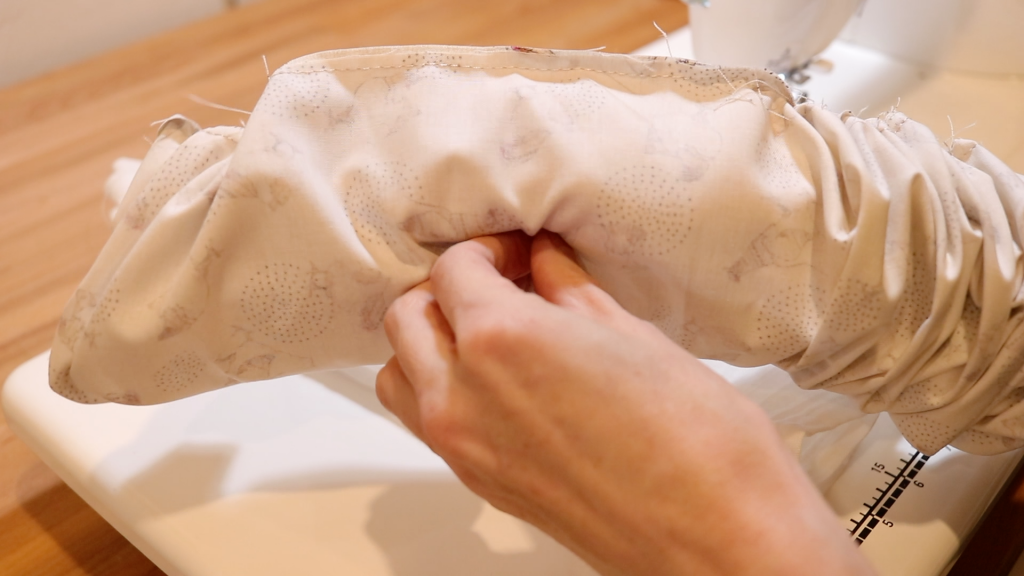
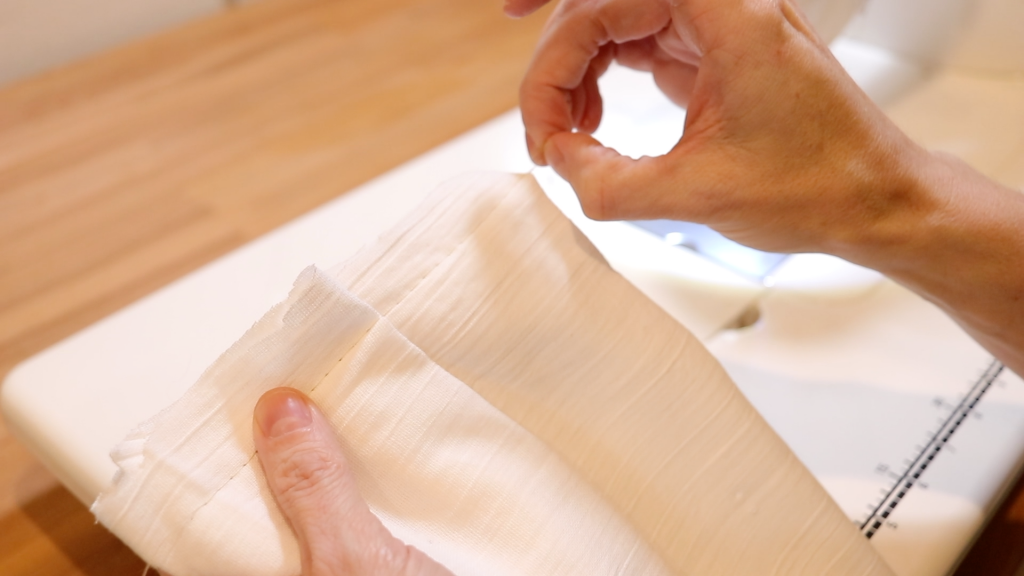
Step 13: Time to baste. So for this step, you’ll want to set your stitch length to 5.5 (or so). This will make sure your stitches are loose enough to be gathered together.
Make sure when you baste, you DON’T backstitch. This is really important. You’ll want to be able to easily pull the threads to “gather” your towel and this won’t be easy if you backstitch.
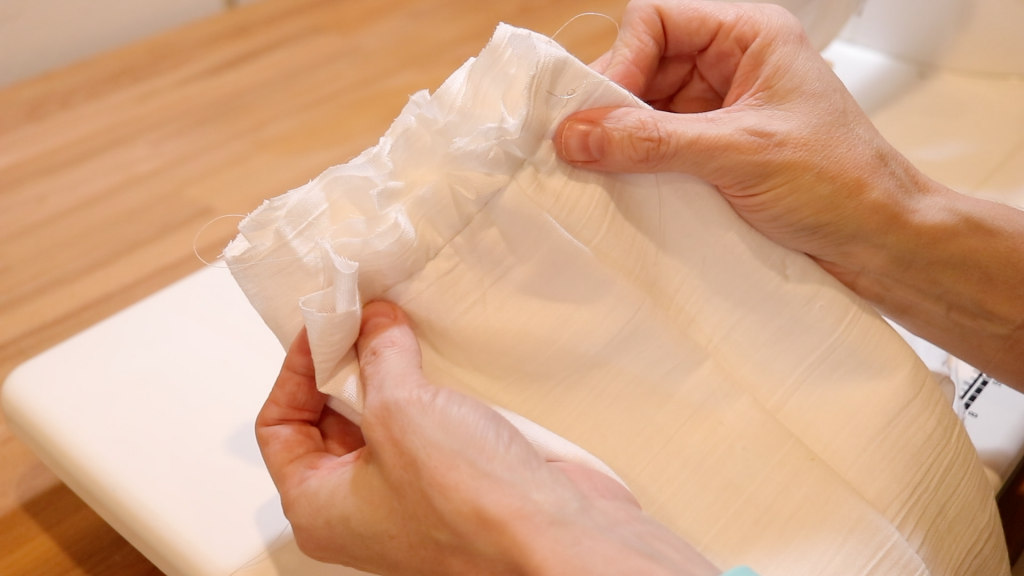
Step 14: Once you have basted both pieces of your towel (or both your towels), and gathered them, you’ll want to lay them on top of each other to make sure they are roughly the same width. Again, no need to be exact. Just close.
Topstitching Your Dish Towel Scarf
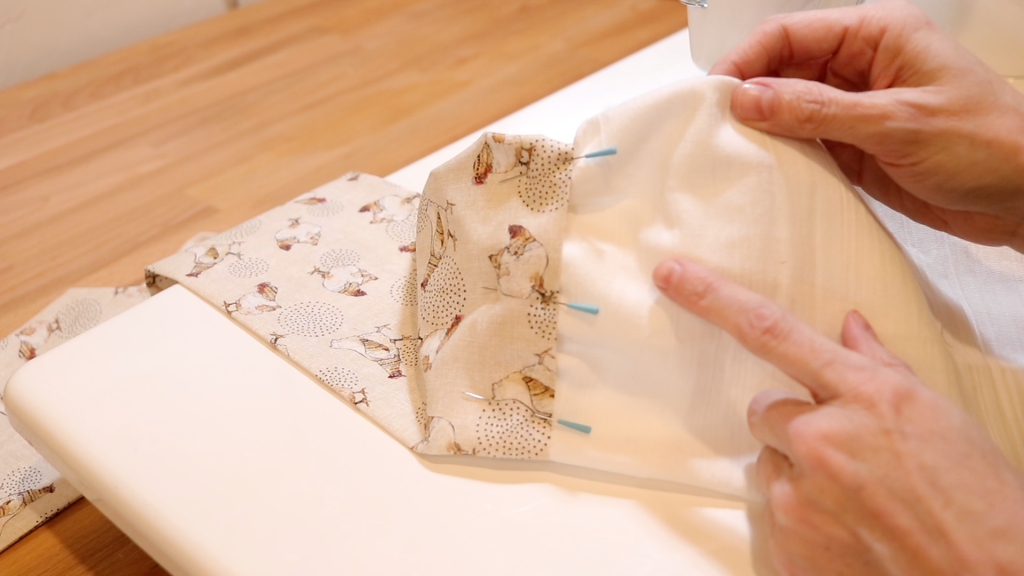
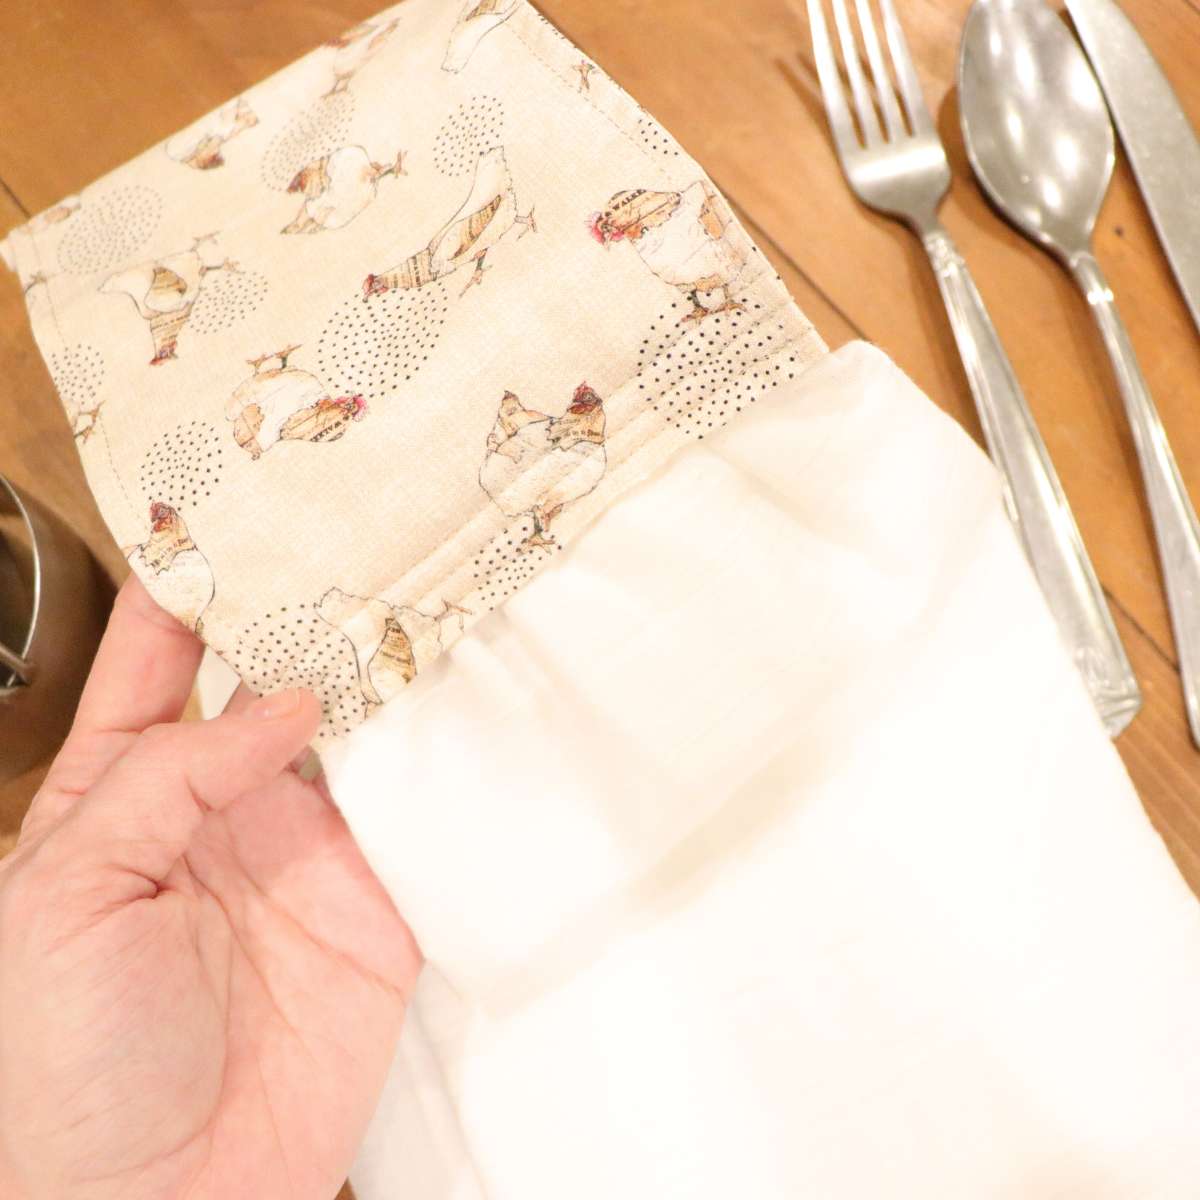
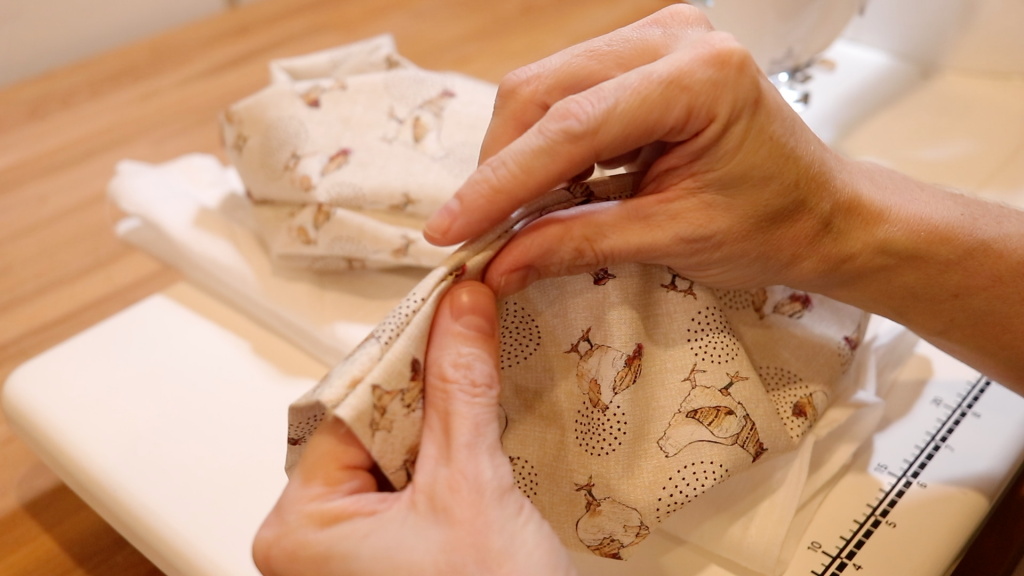
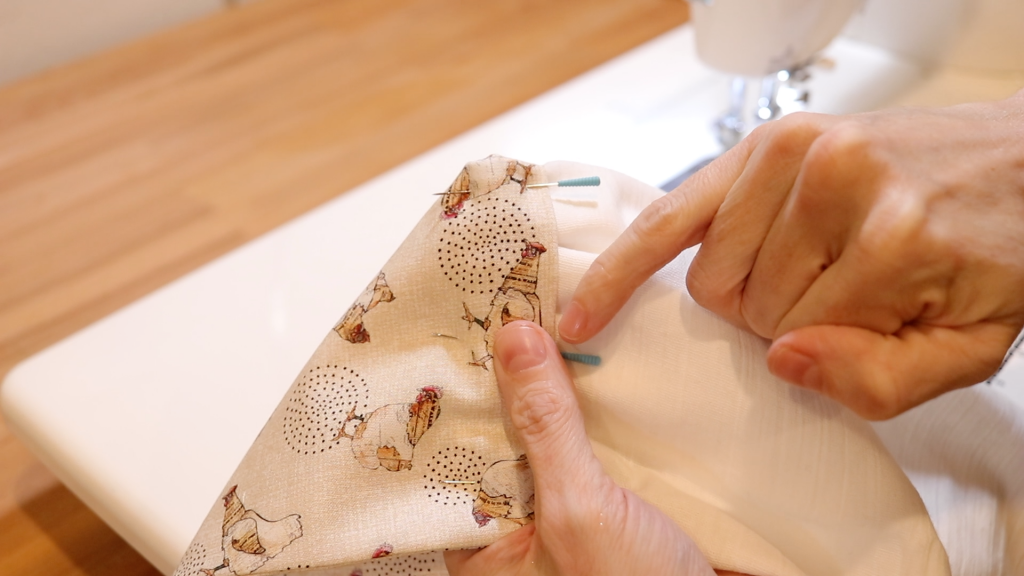
Step 15: Now open up one end of your fabric tube and insert your towel (raw edge) into it. I made sure mine was almost 1″ into the tube to ensure that it wouldn’t become weak and pulled out easily. Again, do what your comfortable with.
Pin in place making sure the gathered parts of your towel look evenly spaced.
Repeat with other towel on the other end of the scarf.
NOTE: You’ll want to be sure that the back of your towels are faced the same way on your kitchen scarf so that when you are wearing it, the folded area of the towels are facing your body, however, either way, will work.
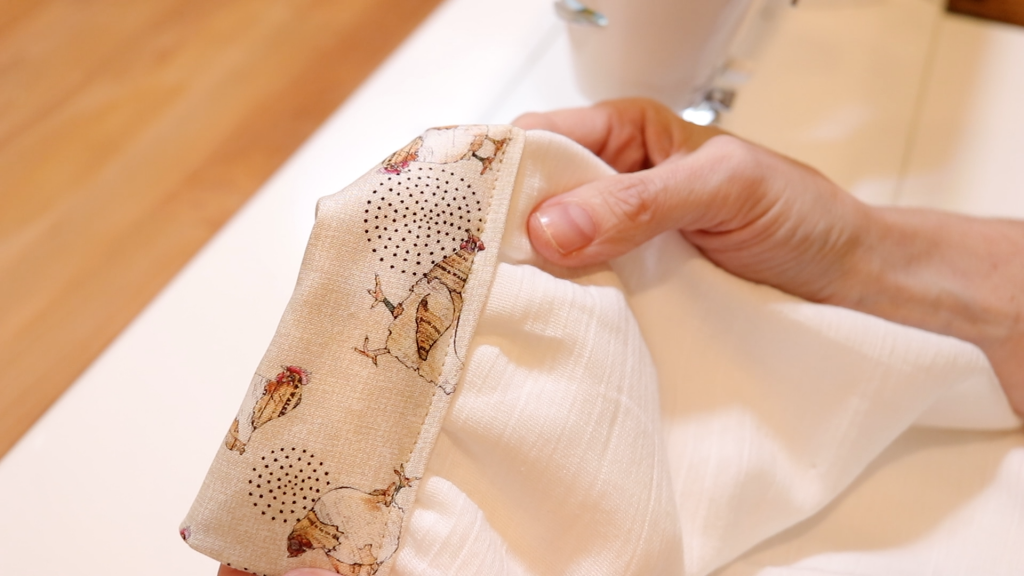
Step 16: If you have a machine that can sew decorative stitches, this would be a great project to use it on. I’d say that it will likely be easier on your machine if you are using thinner towels.
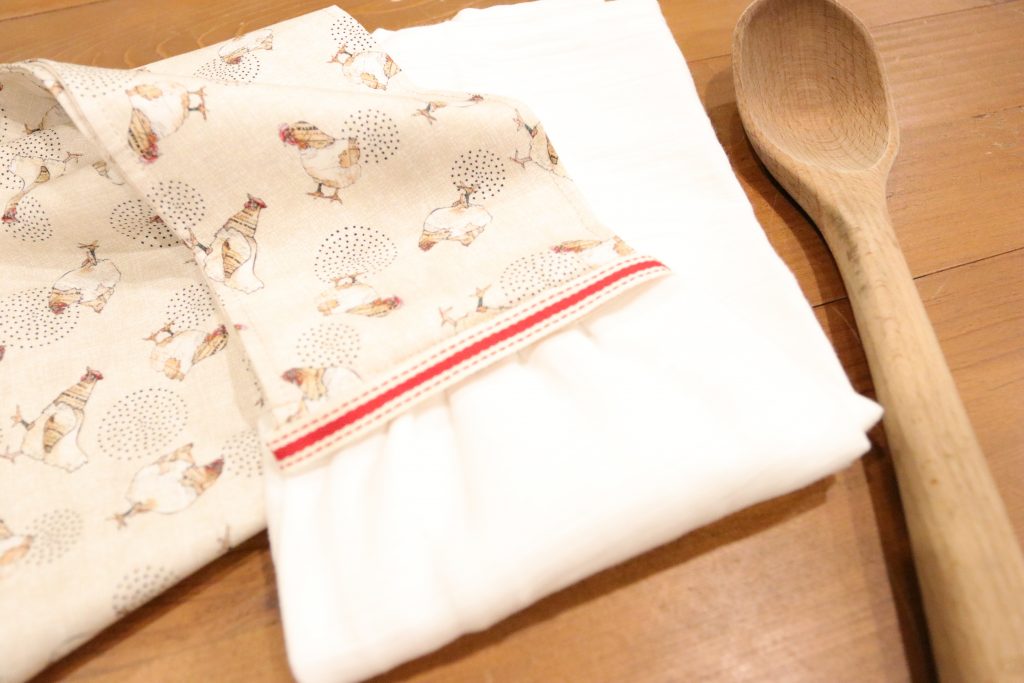
However, this will also depend on the make and model of your sewing machine and how it is capable of sewing layers. The machine I used for this tutorial is a straight stitch machine only. I ended up sewing (3) seams 1/4″ apart for some decorative flare to my kitchen scarf.
Step 17: Repeat this step for the other side.
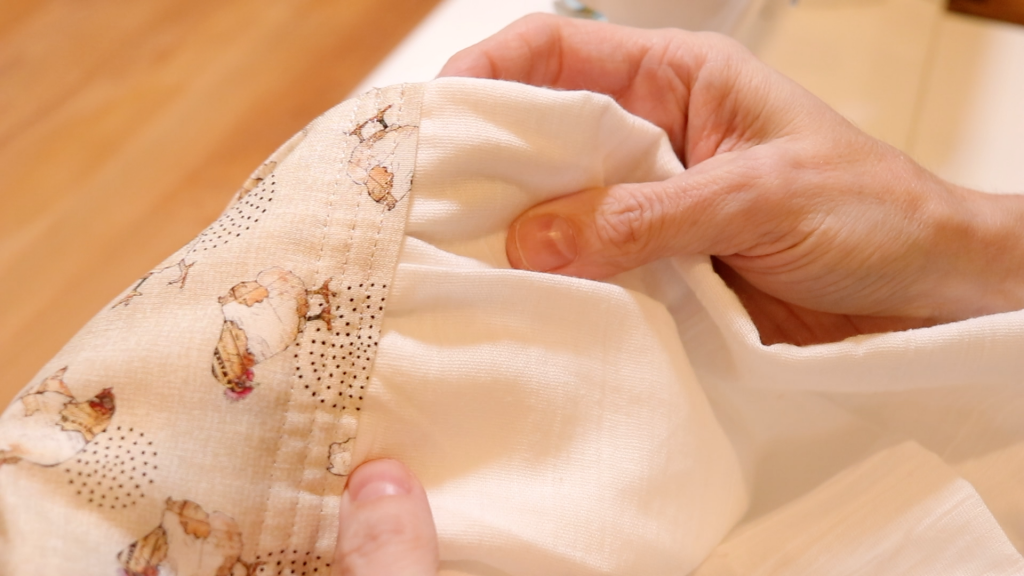
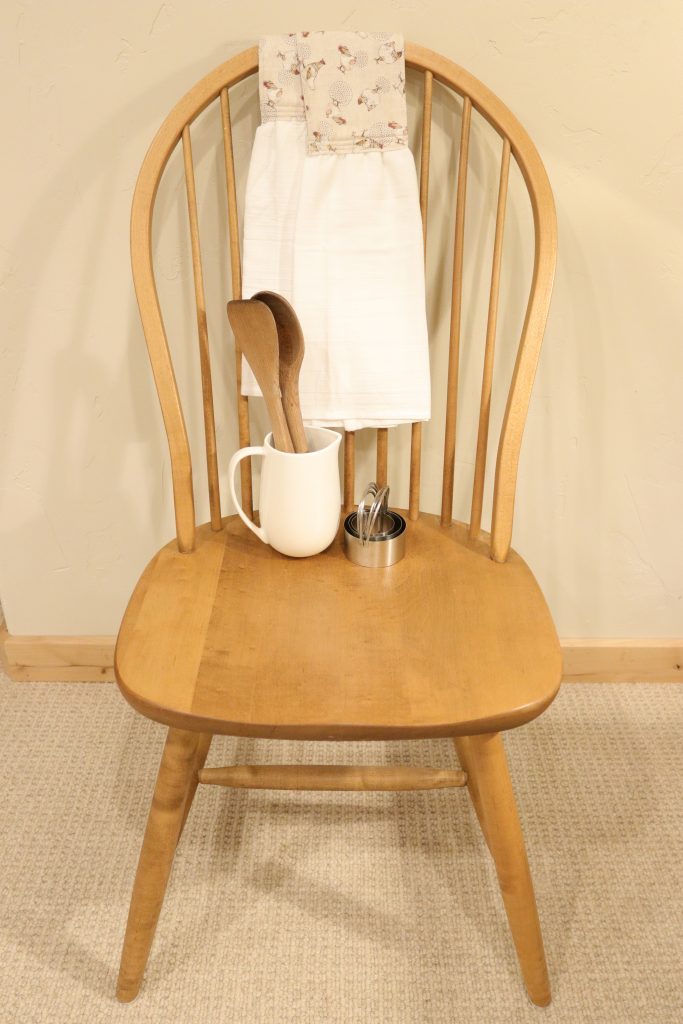
Step 18: Your kitchen scarf sewing project is now complete!
How To Make A Simple Kitchen Scarf
Learn how to sew this practical kitchen neck scarf. This simple sewing project is very beginner friendly and low cost. Kitchen scarves are the newest trend in a busy homestead kitchen.
Materials
- (1) new tea towel or kitchen hand towel of your choice
- Printed cotton fabric piece measuring 42 inches long by 10 inches wide.
- Ribbon for trim (optional)
- Thread (color choice is up to you based on the fabric used).
Tools
- Sewing machine
- Iron
- pins
- Scissors or rotary cutter
- Tape measure or acrylic ruler
- Cutting mat (if you are using a rotary cutter)
Instructions
- Wash and dry the fabric for your dish towel scarf (optional).
- Press your fabric and tea towel.
- Cut the cotton fabric for the top of your kitchen scarf 42 inches long by 10 inches wide.
- Fold the tea towel in half lengthwise (keeing the side seams intact).
- Using a pair of scissors, carefully cut up the folded edge of your towel. Set aside for later.
- Now take the cotton printed you selected and carefully fold the fabric on the 10 inch side 1/2 inch with wrong sides together and press.
- Repeat for the other 10 inch side.
- Once you have the short sides pressed, press lengthwise (42 inch side) with right sides together and pin.
- Using the seam allowance you've chosen (either 1/4 inch or 1/2 inch), sew up the long side you have pinned. Backstitch at the beginning and end of your line of stitching.
- Turn your fabric tube right side out.
- Press and set aside.
- Fold your tea towels so the seams are in the back. Be sure and fold both towel pieces the same to ensure consistency.
- Once your tea towel pieces are folded, its time to baste them. This will be sure they stay as folded when they are placed into the end of the fabric tube. To baste, begin by lengthening the stitch length on your machine to 5.5. Be sure the gathers in the fabric look as symetrical as possible and baste. Backstitching for this step isn't necessary.
- Repeat for the other tea towel piece. When completed, you should have two identical pieces of towel to use for your kitchen neck scarf.
- Take the end of your tea towel previously basted and place it into the tube of printed, pressed fabric. Tea towel should be in the tube of fabric at least 1/2 to 1 inch. Pin it into place. Keep in mind this is going to get alot of use in the kitchen so it needs to be durable.
- Set your stitch length back to the normal setting for your machine. Yes, I included this as a step since I still forget to do this from time to time.
- Now stitch the towel into place. I prefer to use two seperate seams for this on each side sewn 1/4 inch apart for extra support. But if one row of stitching is fine with you then that's ok too. Be sure and backstitch at the beginning and end of each line of stitching.
- Repeat for the other side.
- Optional: You may choose to add extra ribbon that is for decorative purposes only. It's up to you what your kitchen scarf looks like when it's done. you can also embroider a name on it if you are giving it as a gift. There are lots of ways to personalize it.
- You have now completed the kitchen neck scarf sewing project.
- Enjoy!
Notes
Seam Allowance:
Use either 1/4 inch or 1/2 inch seam allowance for this project.
Just be sure that you use the same seam allowance throughout the entire project.
Ribbon is optional and is strictly decorative.
I hope you all enjoyed this sewing tutorial today. Thanks for stopping by our handmade home. Until my next tutorial, happy sewing everyone.

More Sewing Tutorials
This playlist contains 14 sewing tutorials with FREE patterns, step by step instructions and more!