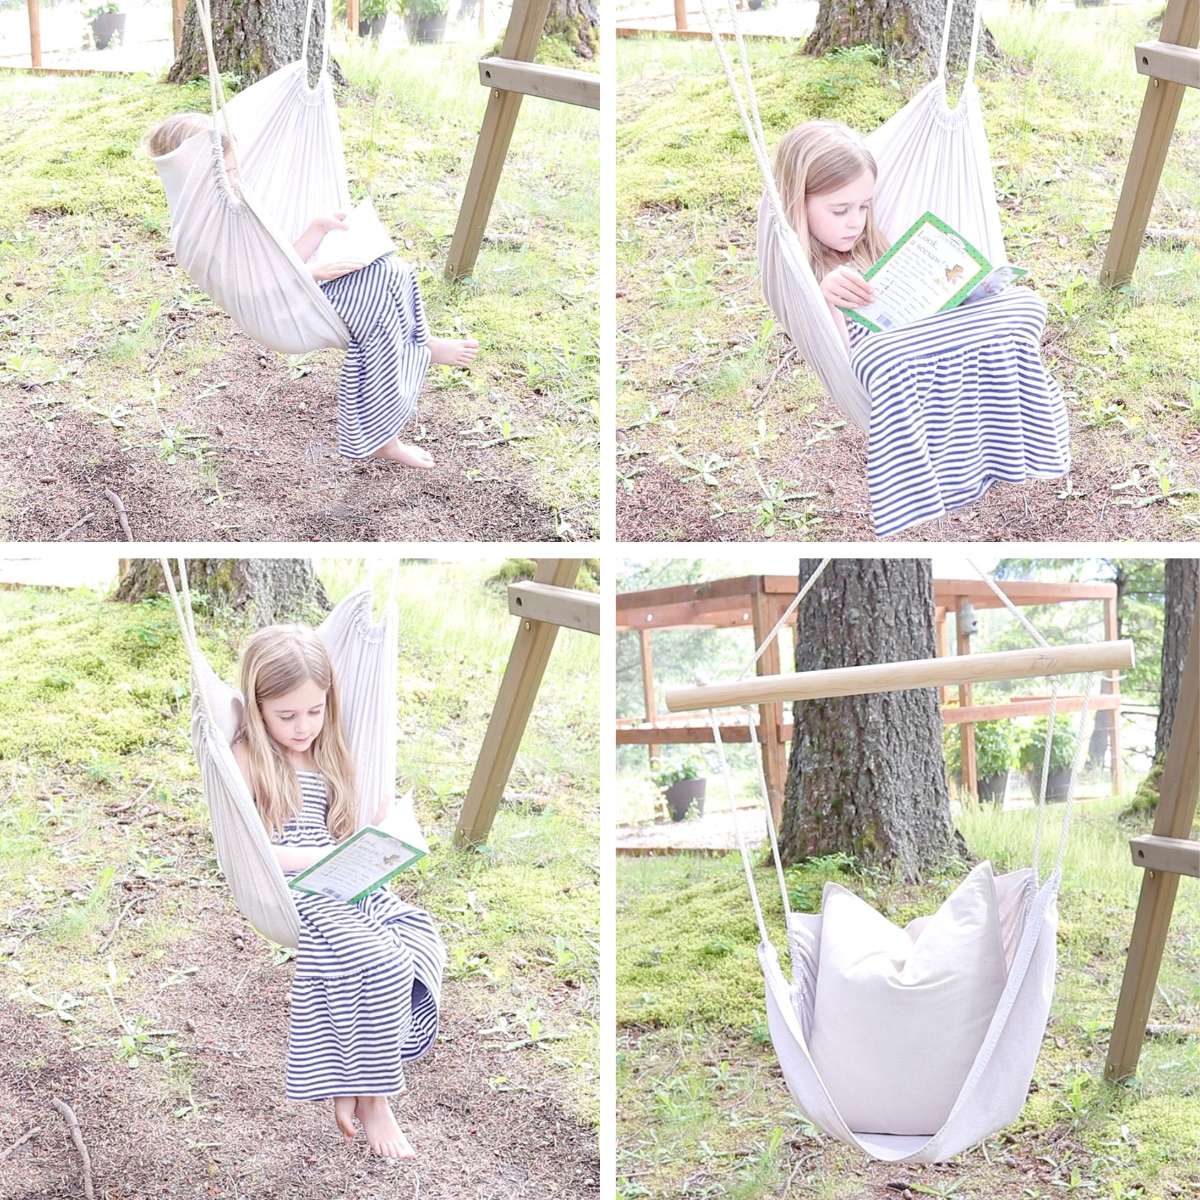
DIY Sky Chair
Learn how to make this simple DIY sky chair that you can hang indoors or outside!
This hammock chair is easy to make and even more fun to customize. Let me show you how!
DIY Hammock Chair Video Tutorial
Supplies
- Drop Cloth or Canvas Fabric-(1) drop cloth OR 2 yards of 10 oz. canvas material. The one I have linked here is the one I prefer for all my DIY projects. The one I used in the tutorial I picked up at the Home Depot (not my fave as it’s not 100% cotton).
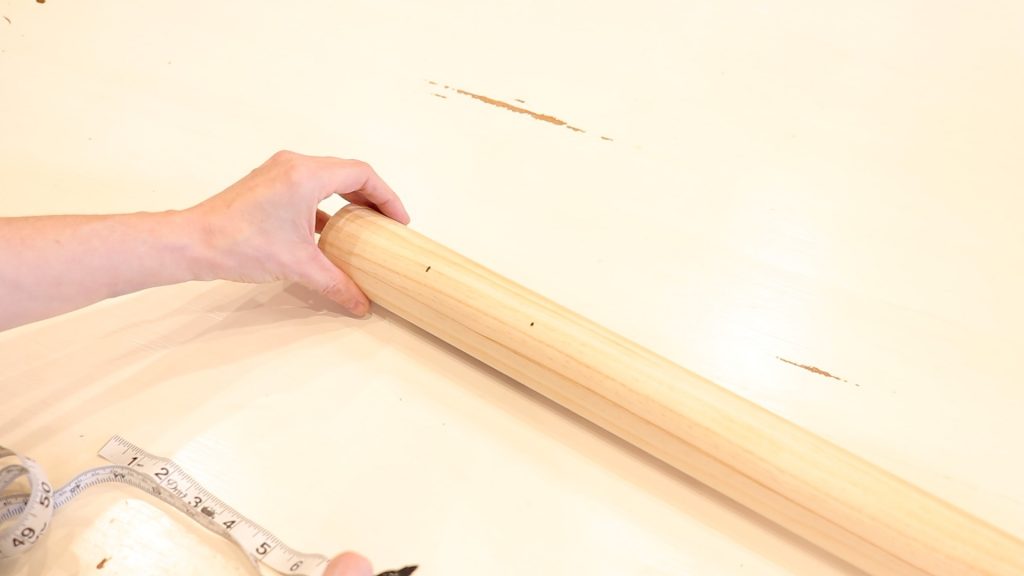
- Dowel Rod-(1) 36 inch length of 2 inch diameter wooden dowel rod. You can find this at your local hardware store and you usually purchase this by the foot. Alternatively, you can purchase a wooden curtain rod and put the end caps on for a more polished look.
- Nylon/Poly Rope-(1) 15 foot piece of 3/8″ nylon/poly blend rope. Again, you can usually find by the foot at your local hardware store. You can also use a more natural sisal rope as well.
- Fabric Paint (optional)-or fabric pens to decorate your chair. If you purchase 100% cotton drop cloth, you can also dye your drop cloth using RIT brand fabric dye.
- Sharpie– for marking. You can also use a washi tape or painters tape too. Use whatever you have on hand.
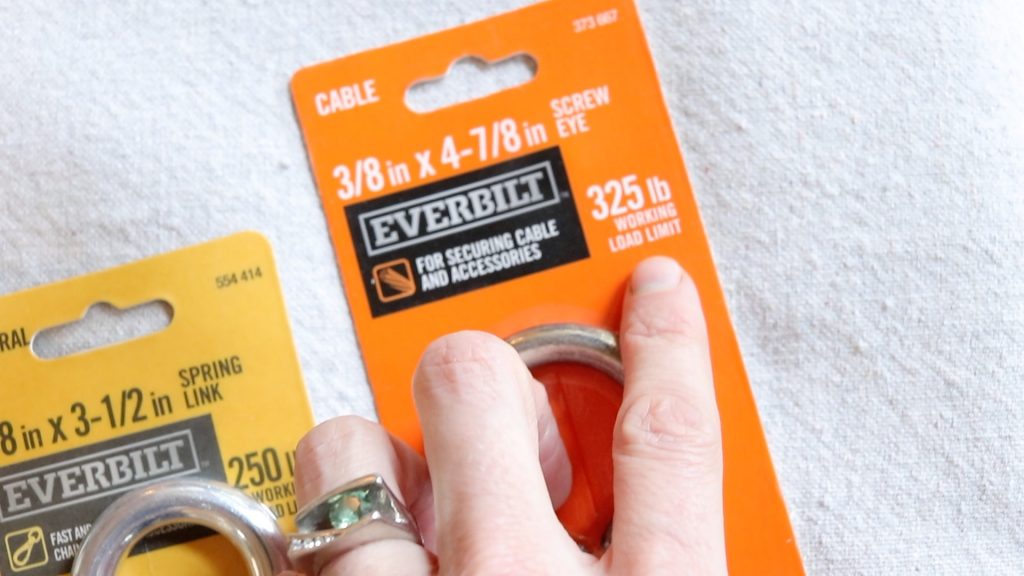
- Eye Bolt-(1) 3/8″ eye bolt. This bolt is what you’ll put into your ceiling wherever you choose to hang your chair.
- Link Snap-(1) 3/8″ link snap. This is so you can take your swing down to store it when not in use.
Disclaimer
Be sure and check the weight load of the eyebolt and link snap. It should state directly on the package the weight capacity and any hanging requirements. See picture below for example.
Tools
- Drill with coordinating drill bit.
You’ll need a drill with coordinating 3/8 inch drill bit. My husband recommended pre-drilling the holes with a smaller diameter drill bit first, but I honestly found after trial and error that it really didn’t make much difference.
OPTIONAL: you may use a lighter to melt the end of your rope for easy threading through your dowel rod and the drop cloth. You can also put a piece of tape on the end of your rope to keep from fraying as well.
- Sewing machine
- Serger sewing machine (optional)
- Sewing pins (optional)
- Iron
- Scissors or rotary cutter
- Ruler or tape measure
- Drill
- 3/8″ drill bit

Preparing The Canvas
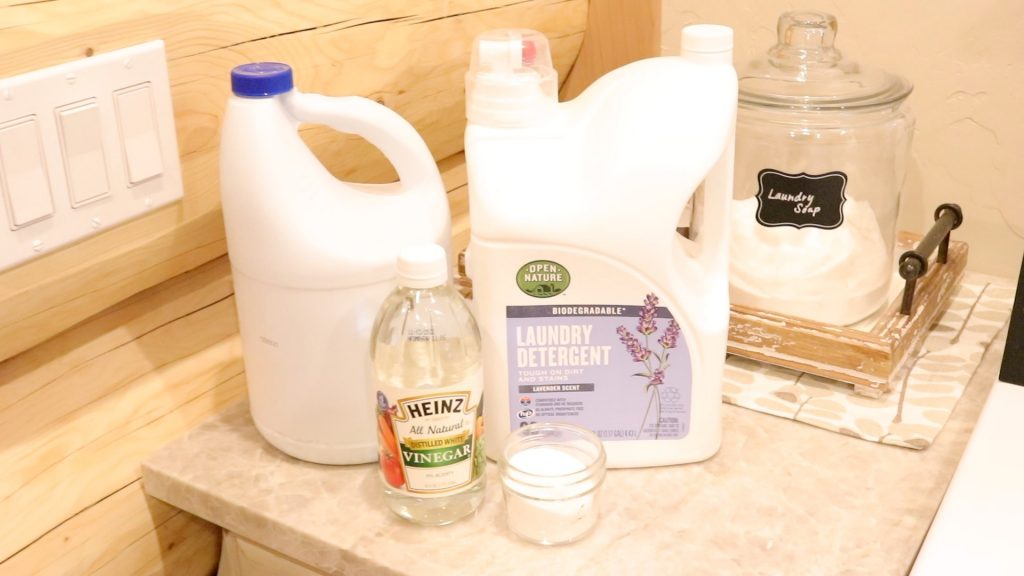
Start by washing and drying your drop cloth.
I usually wash in really hot water with detergent and bleach. If you don’t have bleach, add some vinegar to your wash load. This helps eliminate the smell that drop cloths can sometimes have.
Alternatively, you can also purchase canvas fabric by the yard at your local craft store.
I would still recommend washing, drying and ironing the fabric before beginning this sewing project.

This is why I wash my drop cloths before I use them. This is the water from the wash cycle of a brand new drop cloth. YUCK!
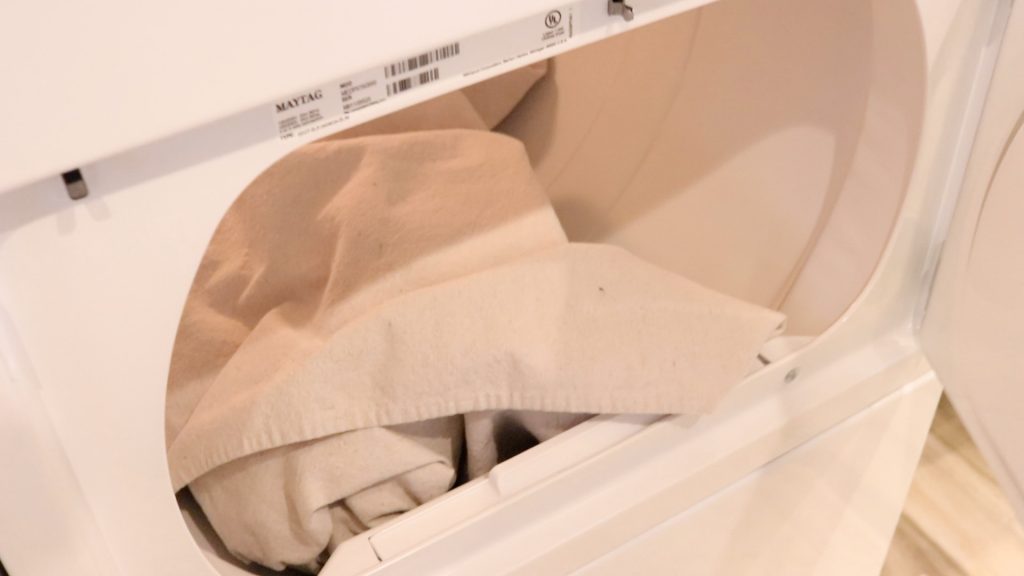
After you have washed your drop cloth material once (or twice), throw it into the dryer. Once it’s dry, it’s time to mark and cut.
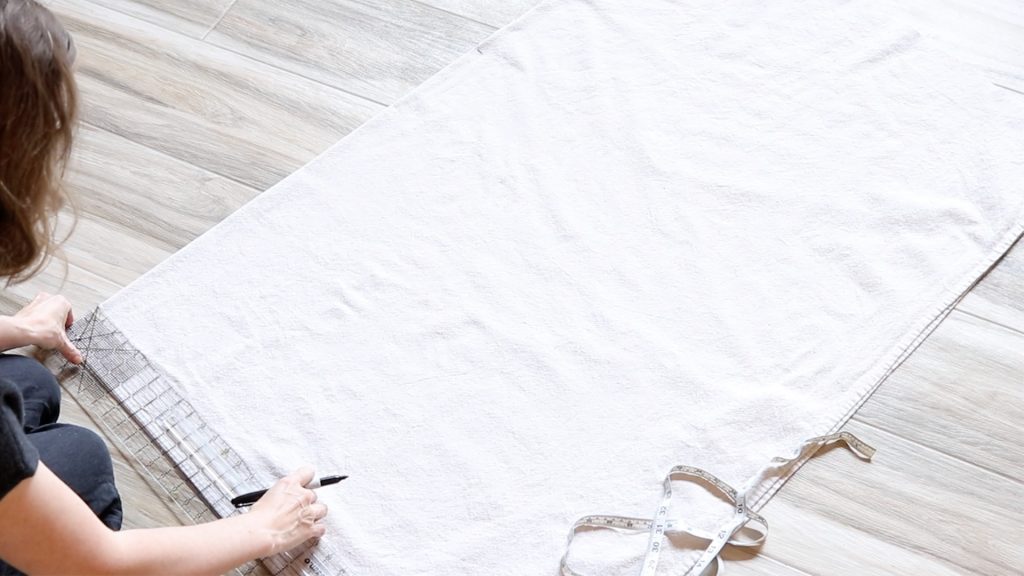
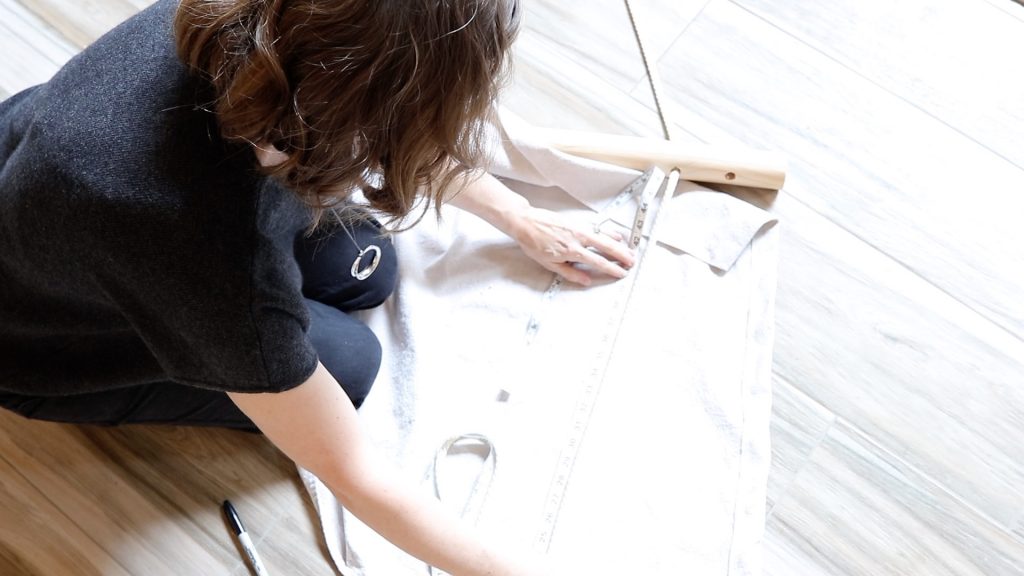
Marking The Fabric
To begin, fold your drop cloth in half LENGTHWISE.
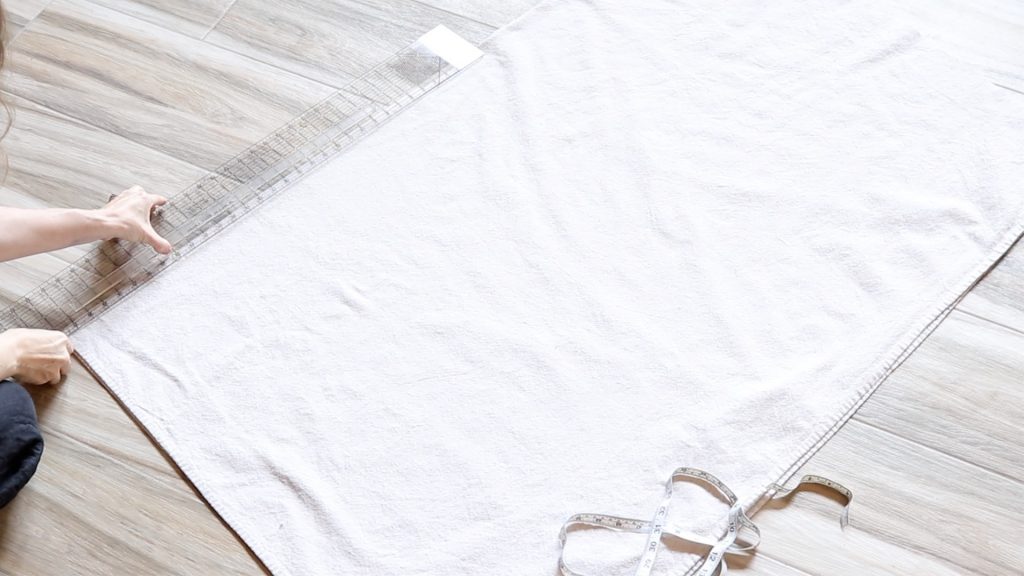
Keep the folded edge on your left hand side, measure up from the FOLDED edge 32 inches and make a mark using your sharpie marker.
From that 32 inch mark, measure out to the right 16 inches and make another mark.
Now using the bottom edge of your drop cloth, measure from the folded edge over 24 inches and make another mark.
You should now have (3) marks on your folded drop cloth material.
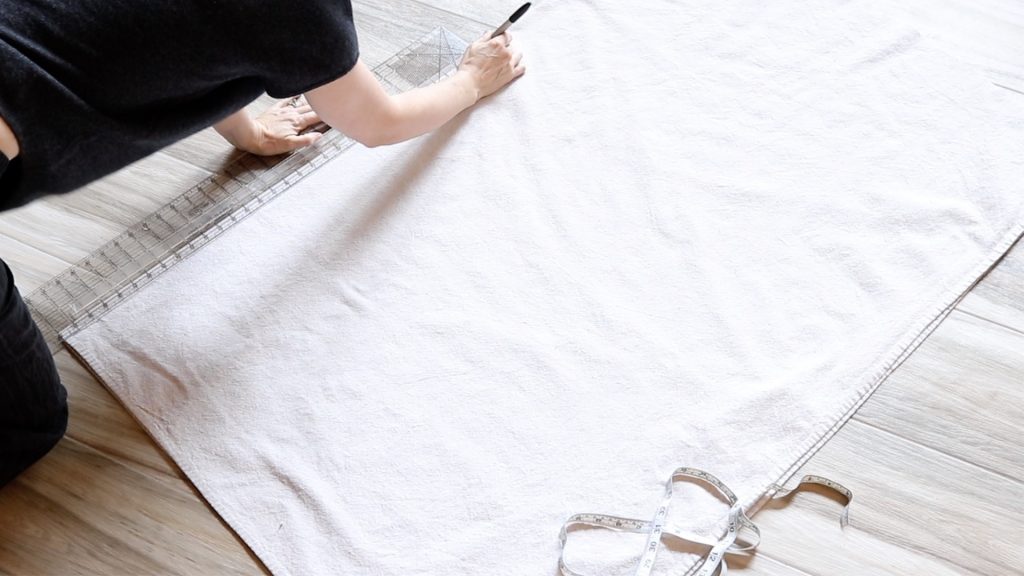
Now, let’s connect the dots (marks) we made.
Starting at the side seam mark at 32 inches, draw a straight line to connect it to the 16 inch dot that was to the right of the 32 inch marking.
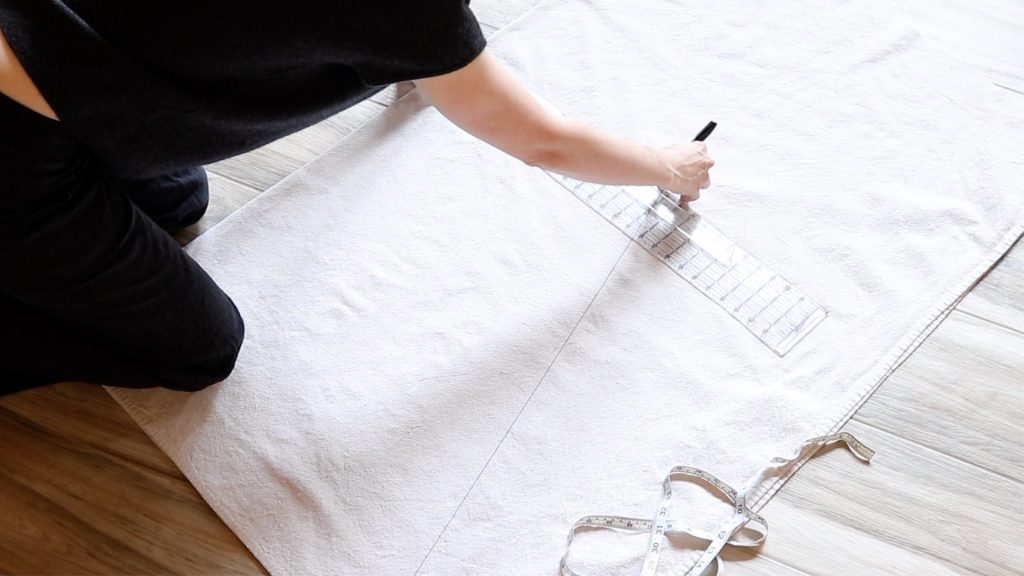
From the 16 inch mark, draw a line down to meet the 24 inch mark you made along the bottom edge.
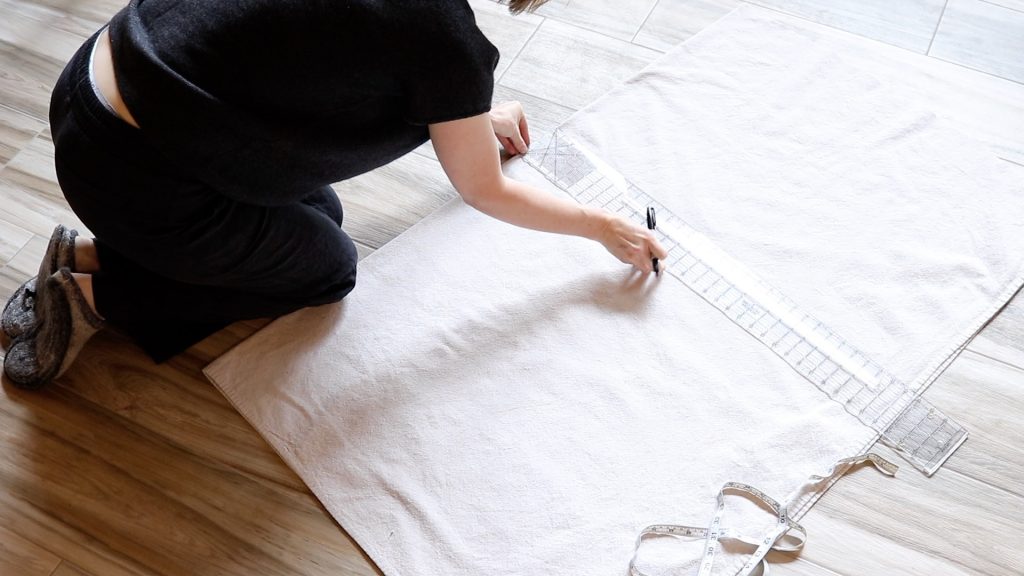
This is what your pattern should look like before you begin cutting.
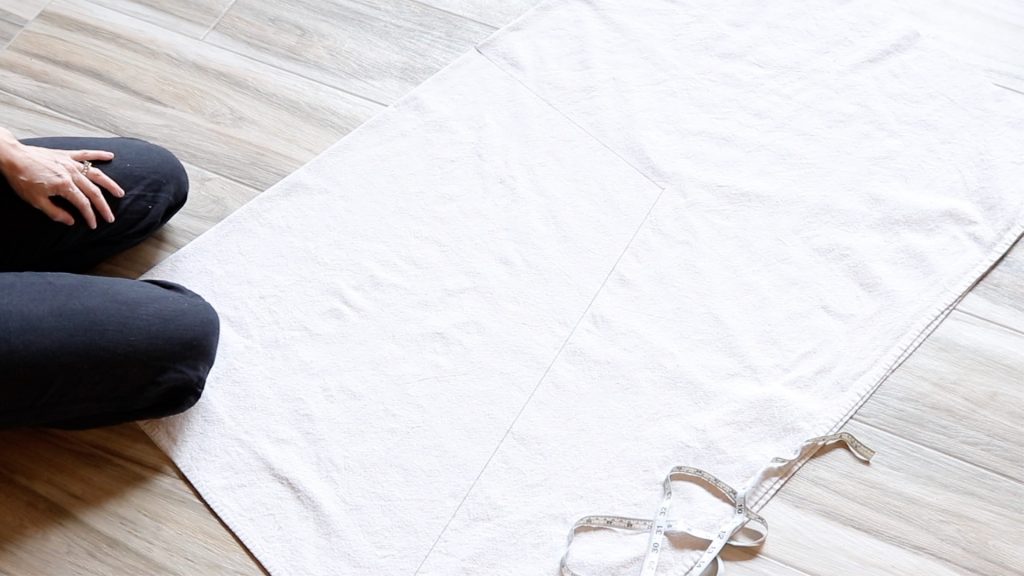
Now grab your scissors or rotary cutter and cut out the seat for your hanging chair.

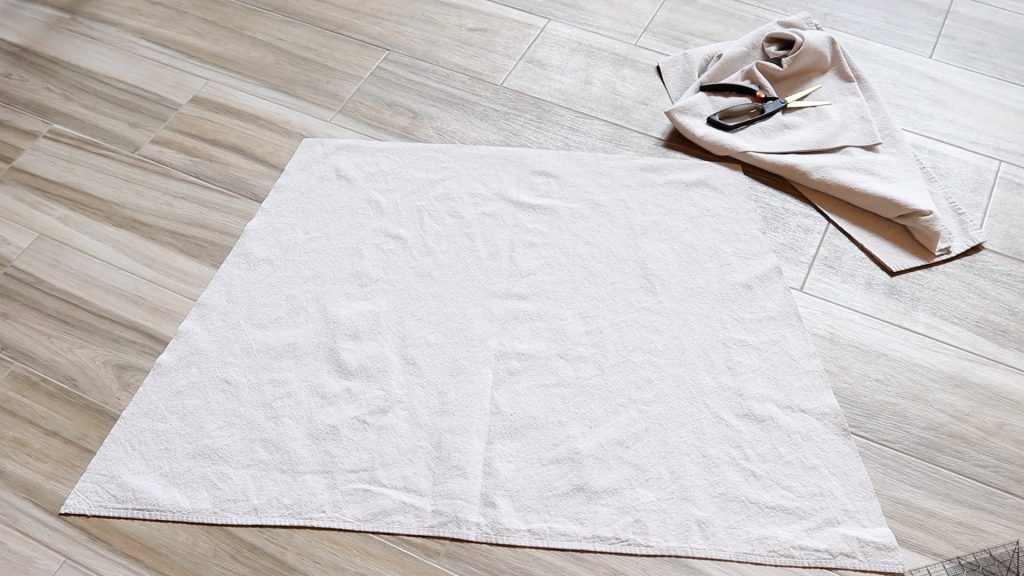
Before Sewing
There should be 3 raw edges of the fabric, and the longest part of the swing has a pre-finished edge from the drop cloth.
How To Sew
Use these steps if you are going to be using a serger sewing machine for your hammock chair. If not, you can skip this step in the tutorial.
- Serge the RAW edges of the fabric before you sew. I added this step as an option if you want a more polished look for your hammock chair. If you don’t have a serger, I will show you how you can achieve the same look and finish without it.
- If you do own a serger and want to do this step, serge the three raw edges of the drop cloth. You should have two long sides and the top to serge.
Sewing Without A Serger Sewing Machine
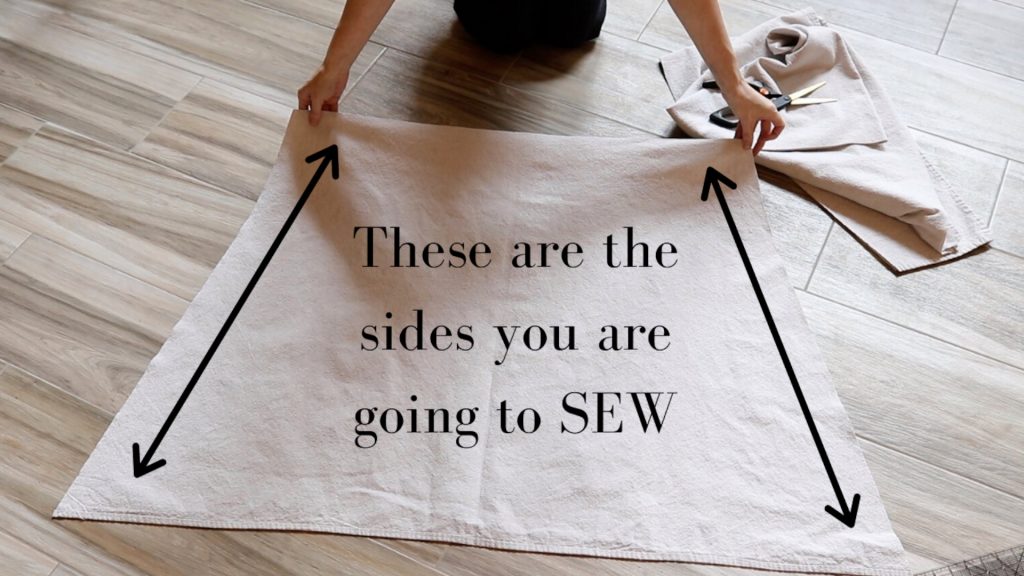
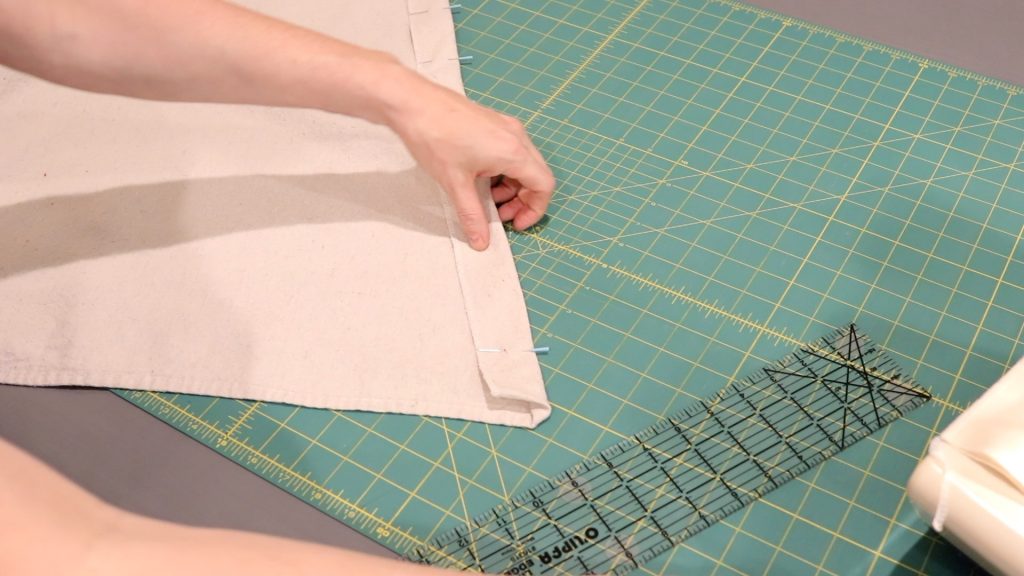
These are the sides that you are going to be sewing without a serger.
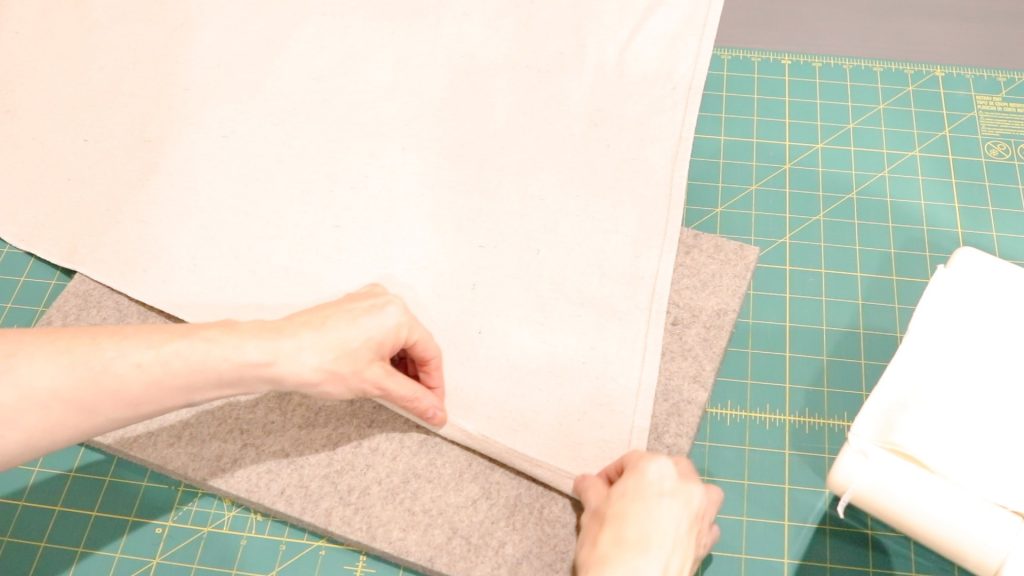
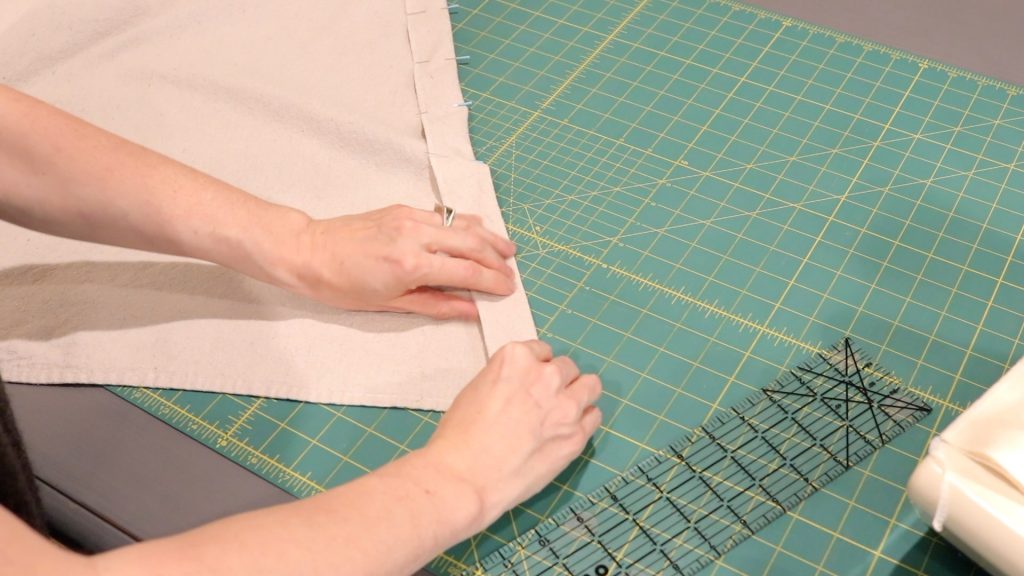
Begin along one of the sides of your sky chair. On your pressing surface or ironing board, fold the raw edge 1/4 inch and press the length of the side.
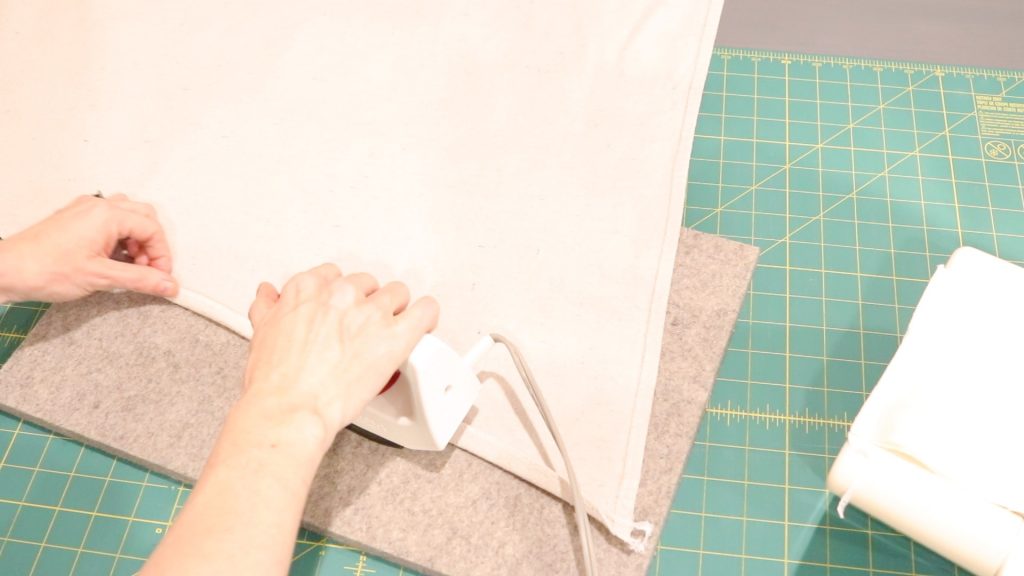
Once you have pressed up your raw edge 1/4 inch, go back and fold up that edge another 1 and half inches and press again. Now you have just enclosed that raw edge. When you stitch it down it will look nice and finished.
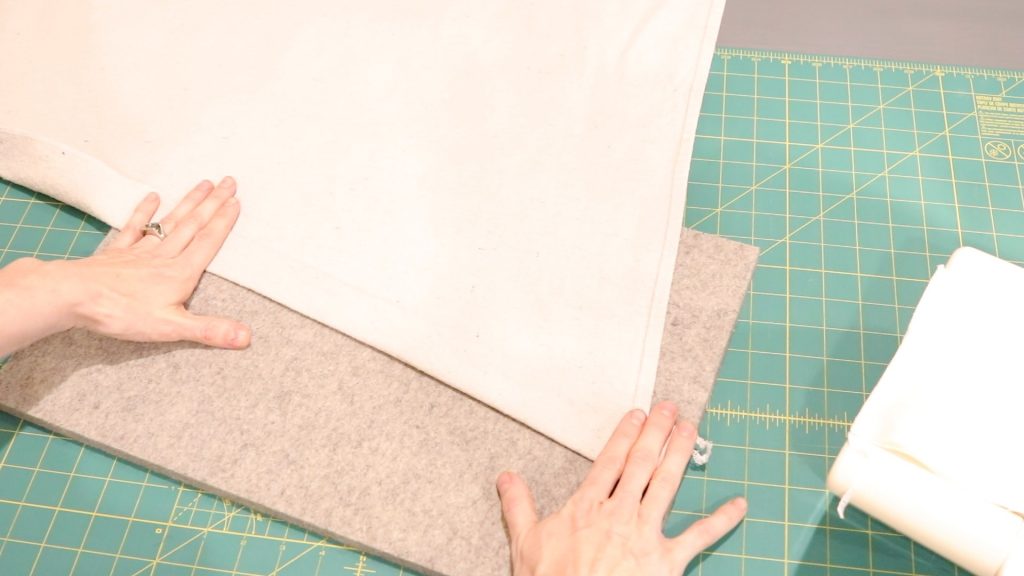
You can pin this down or just press to keep it flat. If you pin the fabric, it will also ensure that it doesn’t shift while sewing. But this step is optional.
Finishing The Corners
Now I’m going to show you how to finish the corners of the seat of the swing that you just folded.
You may have noticed that there’s some extra fabric, almost like a tail sticking out from the bottom after you’ve folded your edges over.
So let’s fix that now before we sew.
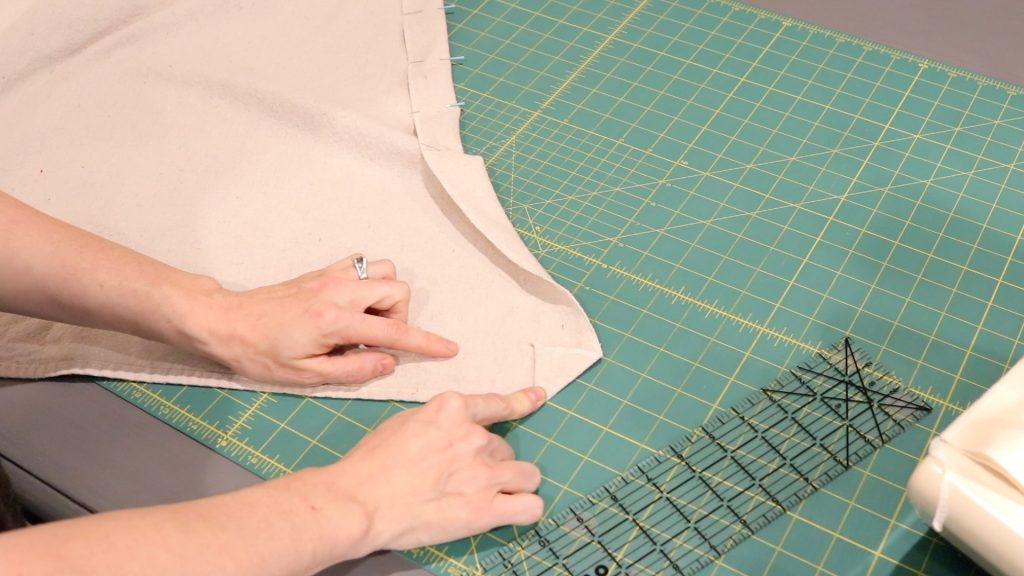
Begin by folding up that corner at a 90 degree angle. You can press with an iron or just finger pressing works too.
Now take that piece that you previously pressed at 1 and a half inches and fold that down and over the 90 degree corner you just tucked in.
This is what it should look like after it’s folded in and hidden.
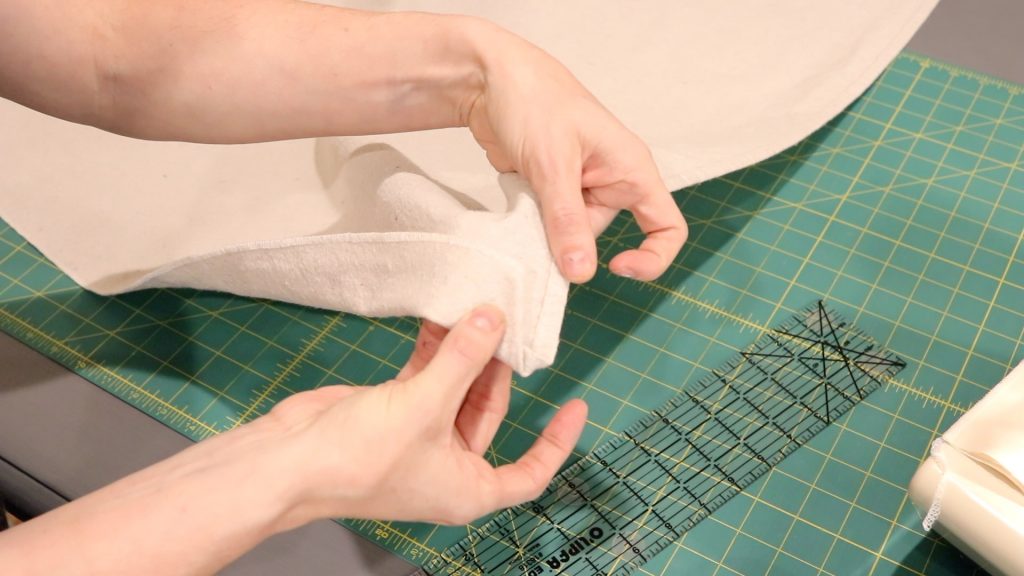
Folded And Pinned
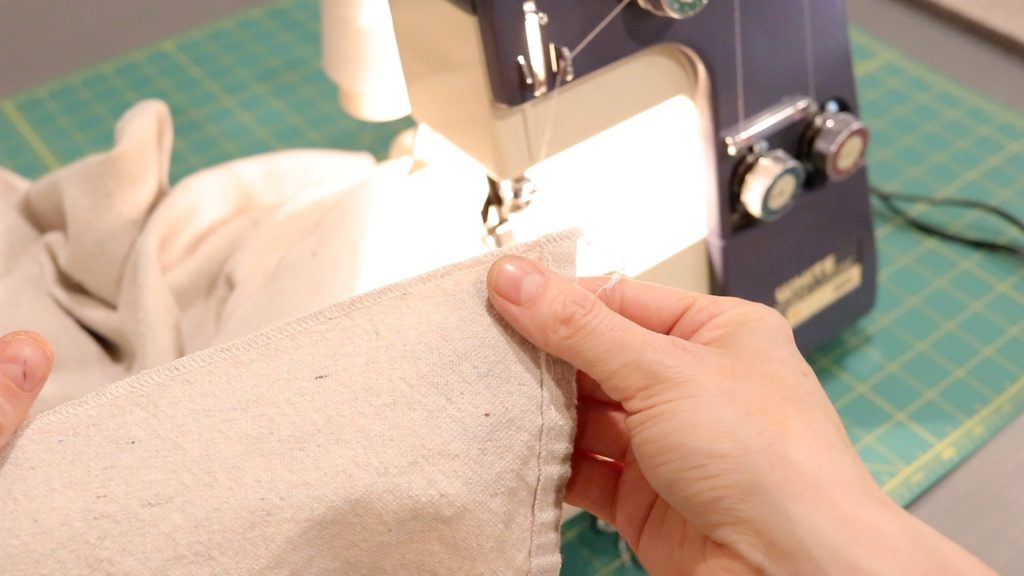
Sewing Your DIY Swing Chair
Once your sewing machine is threaded and ready to go, grab the canvas fabric seat that you have pressed (or serged) and is ready to be sewn.
This step isn’t technical, you just want to be sure that however you choose to sew this up, that you have enough room to pass that 3/8 inch rope through.
So don’t sew the seam too tight.
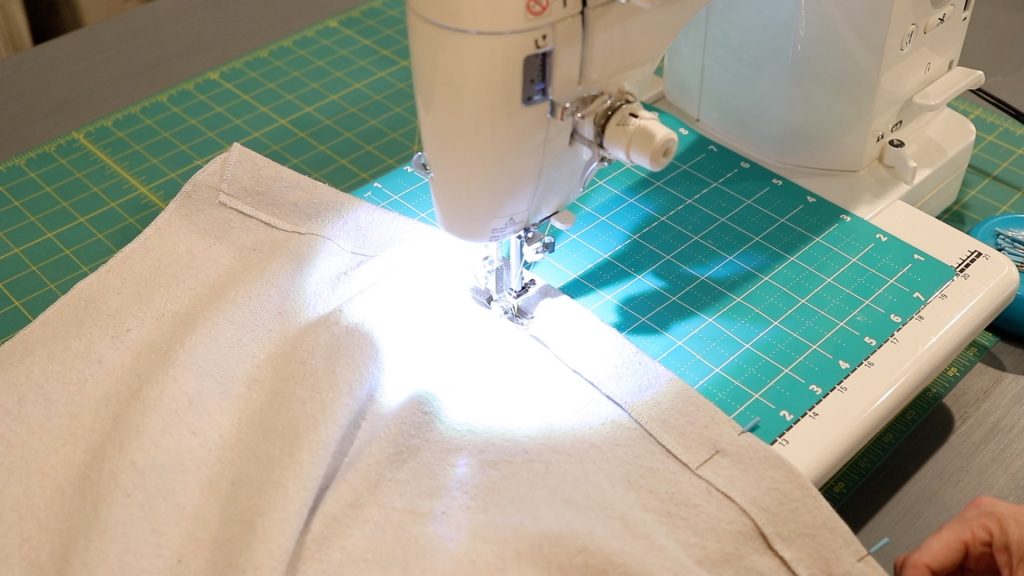
I used the edge of my presser foot as my guide.
Placing the edge of my presser foot so it lined up with the folded and pressed (or serged) edge.
Sew a straight stitch down the entire side. Make sure you backstitch at the beginning and the end of each row of stitching.
I chose to re-enforce this line of stitching by completing a second row of stitching 1/4 inch away from the first one. This step is optional.
Here’s what it will look like when you have done 2 lines of stitching.
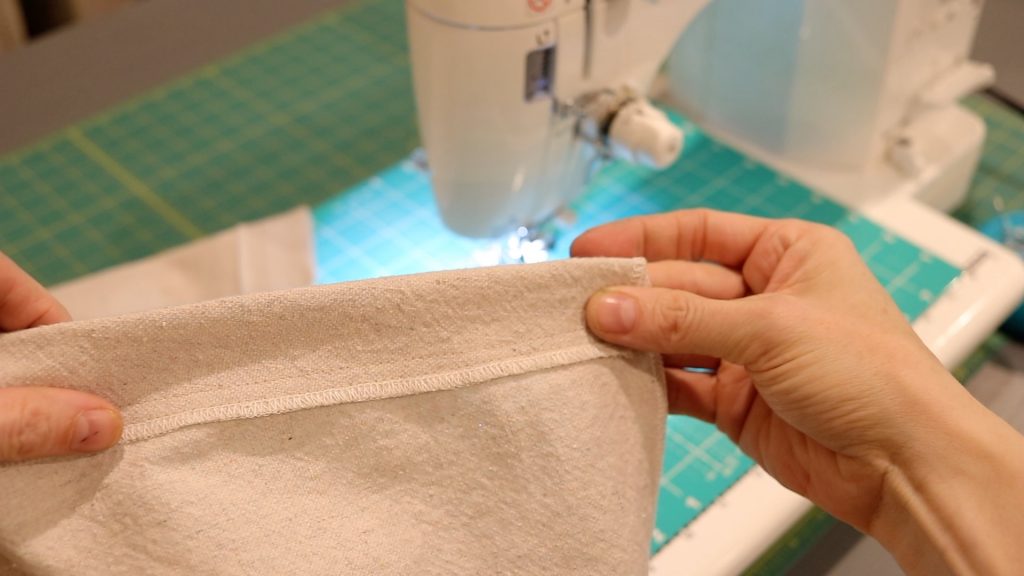
Notice my edge is serged. If you don’t have a serger, you’ll have a nice folded seam instead.
Both options look nice and work well for this project.
Repeat This Step
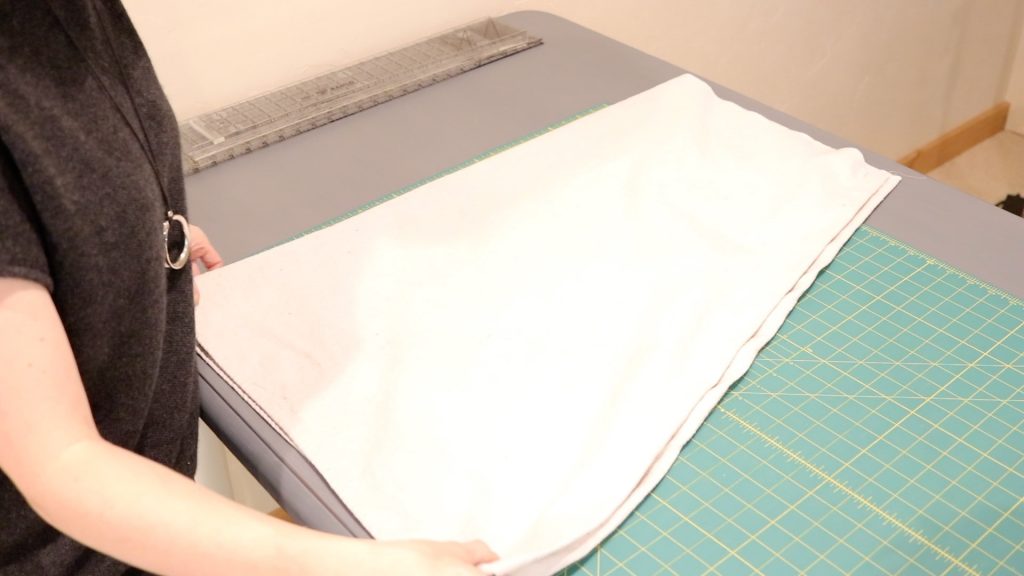
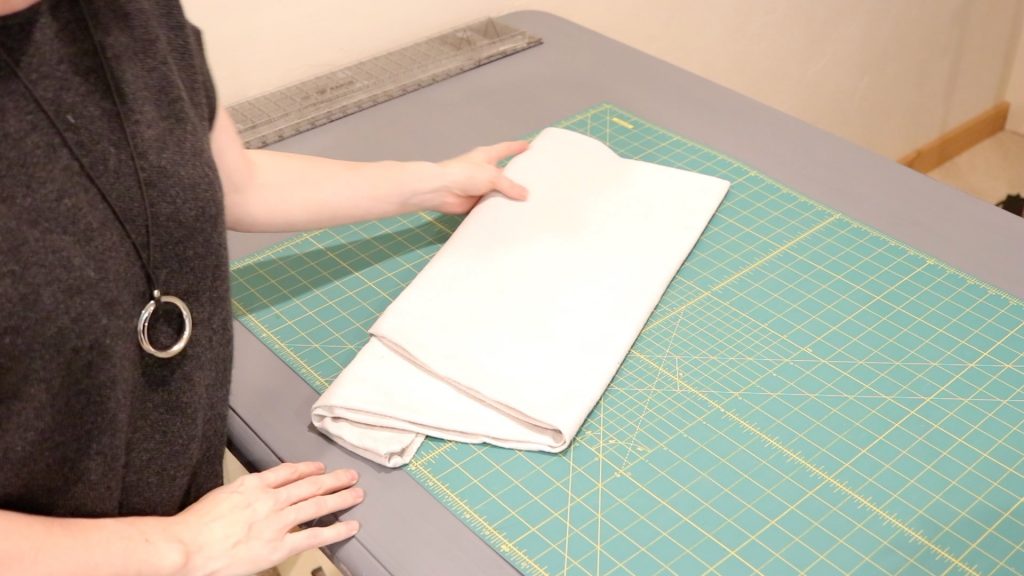
When you are finished you should have the seat for your hanging chair completed. Fold it up and set it aside for when we put it all together.
Prepping The Dowel Rod
Now it’s time to get that dowel rod prepped so we can put it all together.
So for this next part, you’ll need your drill, the 3/8 inch drill bit, your wooden dowel, a tape measure, and your sharpie marking pen.
We’ll start by marking the rod where we want to drill the holes.
With your dowel rod, your sharpie and a measuring tape, start on one end of your wooden dowel and place a mark 3 inches in from the end and 6inches in from the end.
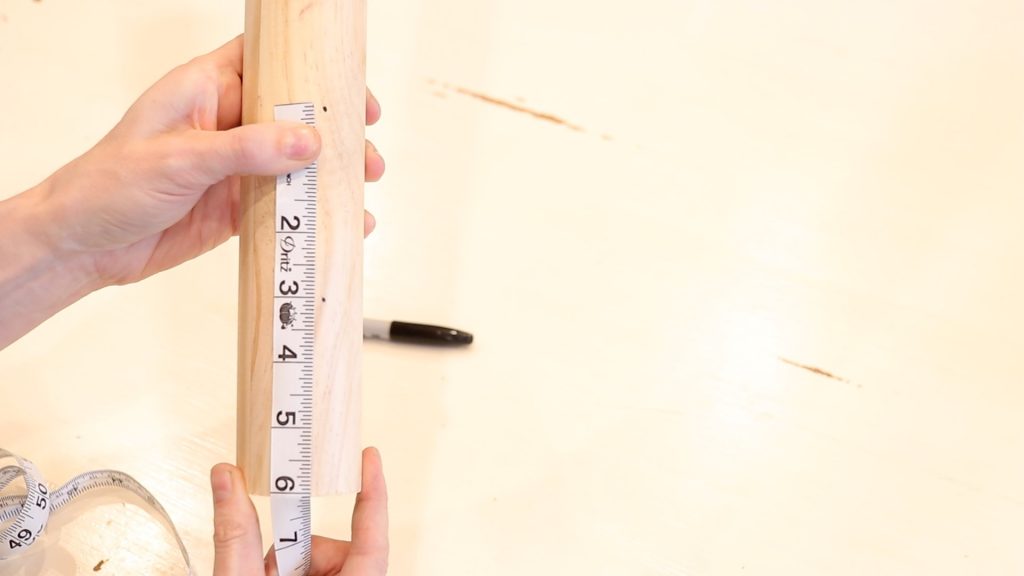
Repeat this step for the opposite side of the dowel rod.
When finished, you should have four marks visible on the top of your dowel.
Preparing To Drill
Next, grab your drill and the 3/8 inch drill bit.
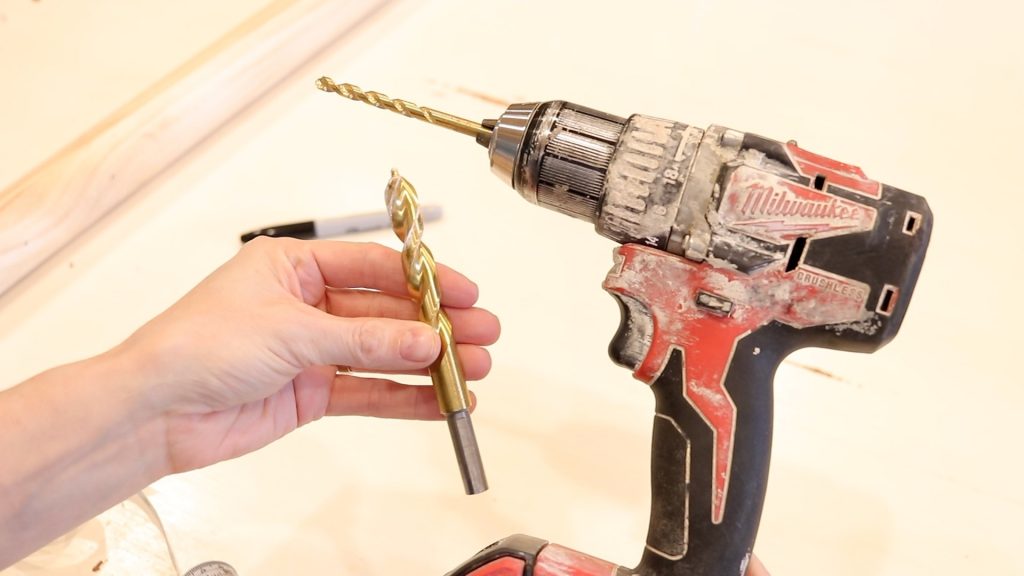
My husband recommended pre-drilling the holes with a smaller drill bit.
I personally don’t think it made much difference (I’ve done it both ways), so I’d say why add one extra step? But you can do whatever works best for you.
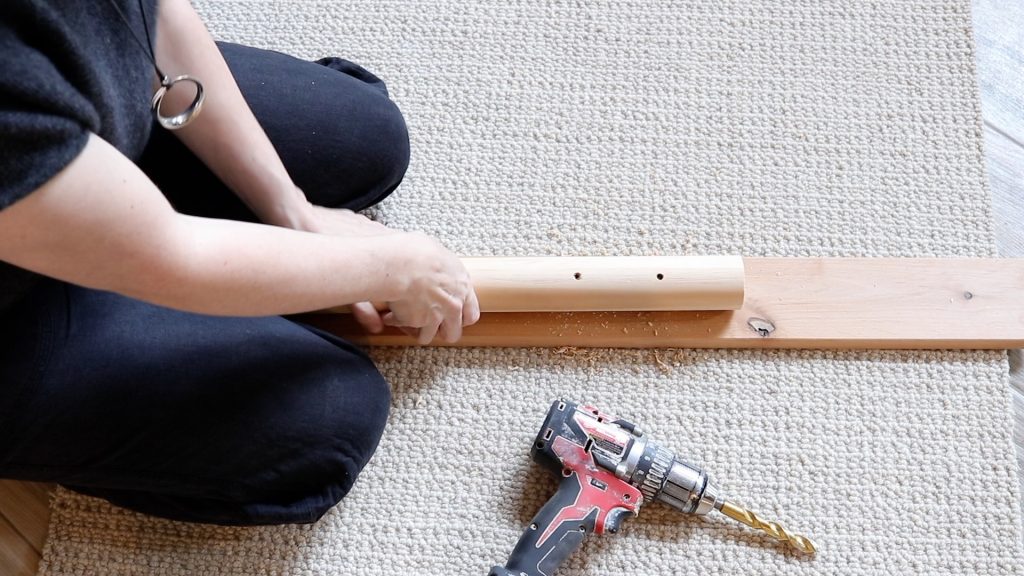
Make sure you have your dowel rod on another piece of wood.
I’d normally be doing this inside my husbands work shop on a saw horse, but the lighting in there wasn’t very good so I opted to do it in my house.
Notice that I have a piece of board under the dowel rod for the drill to go into. NOT the carpet or my new tile floor.
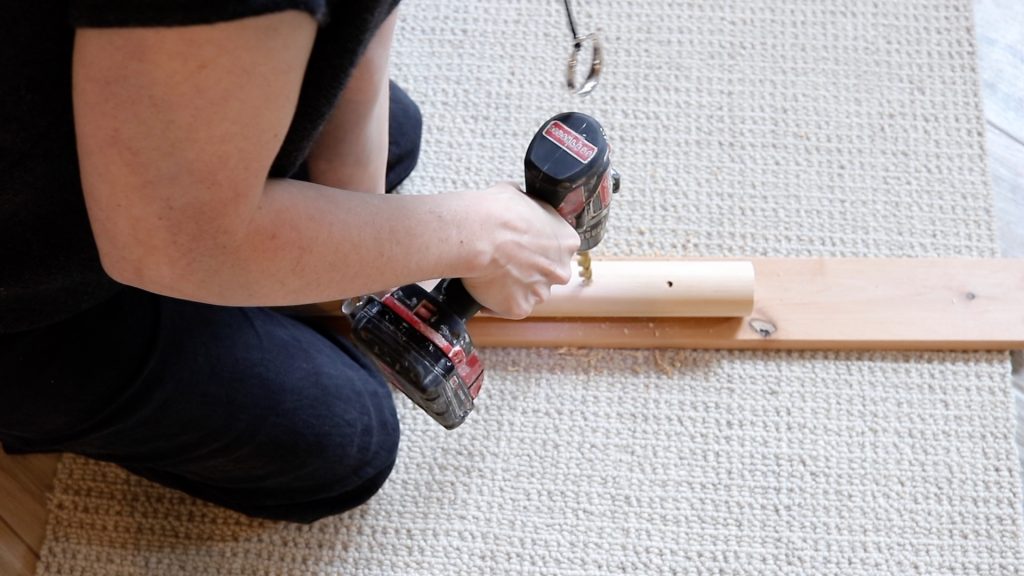
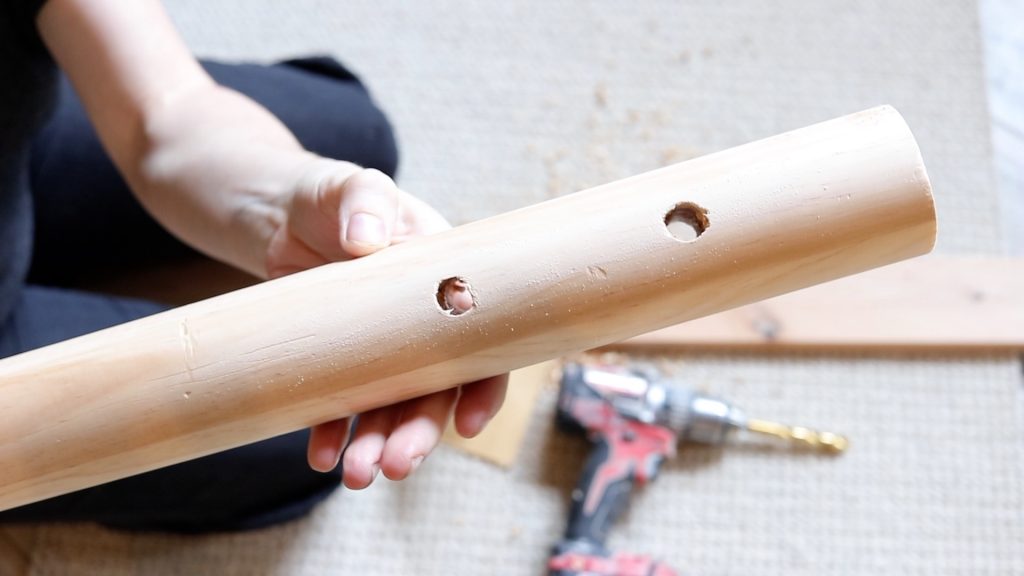
Drill all four marks on your wooden dowel making sure the holes are drilled all the way through each one.
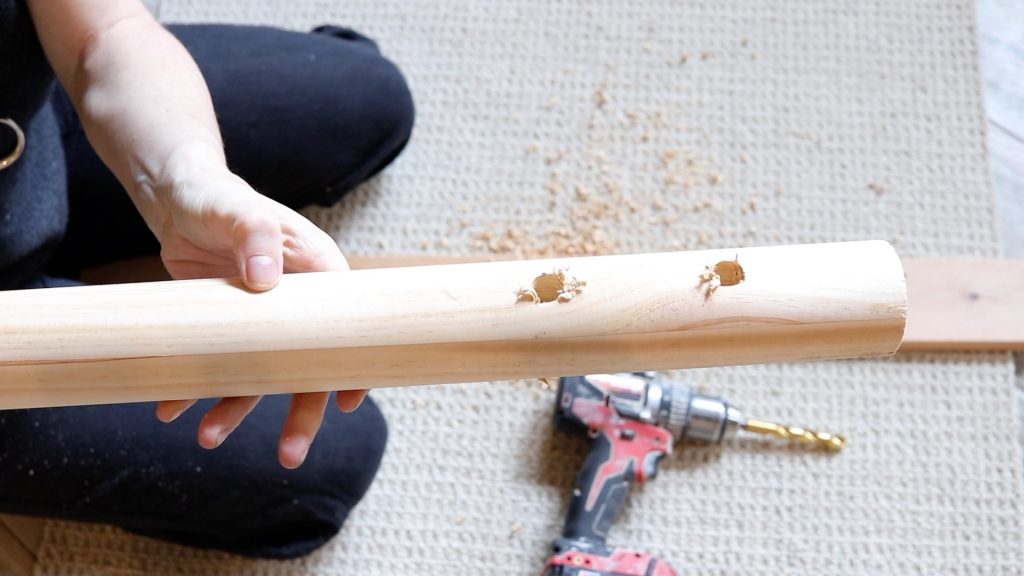
When you are finished drilling, the end of the dowel rod should look like this.
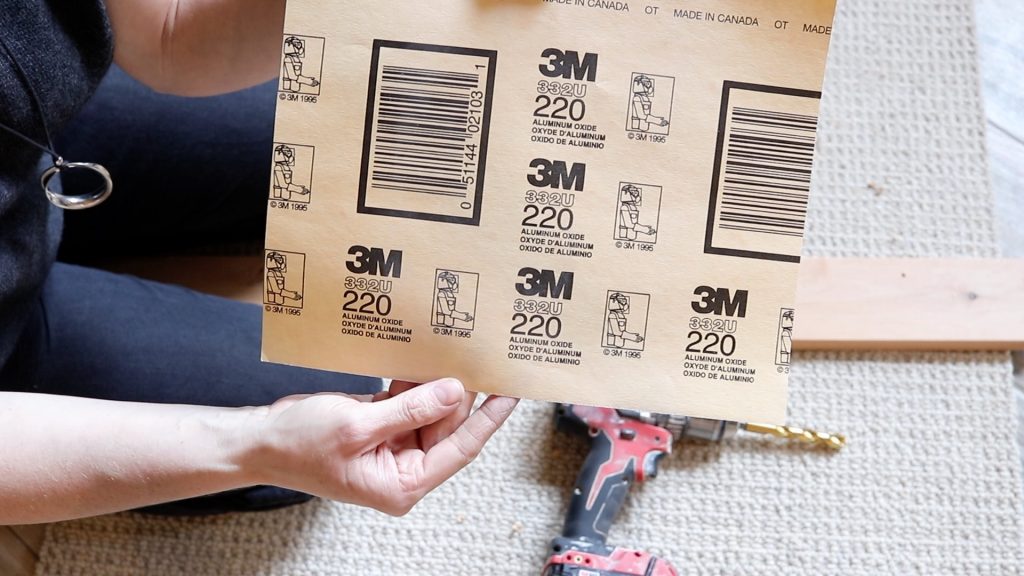
Sanding
Grab a sanding block or a piece of 220 grit sandpaper.
Fold or cut your paper into a small square and sand the top and underside of the dowel rod.
You want to be sure you have sanded off all the splintered pieces of wood. So it’s smooth to the touch.
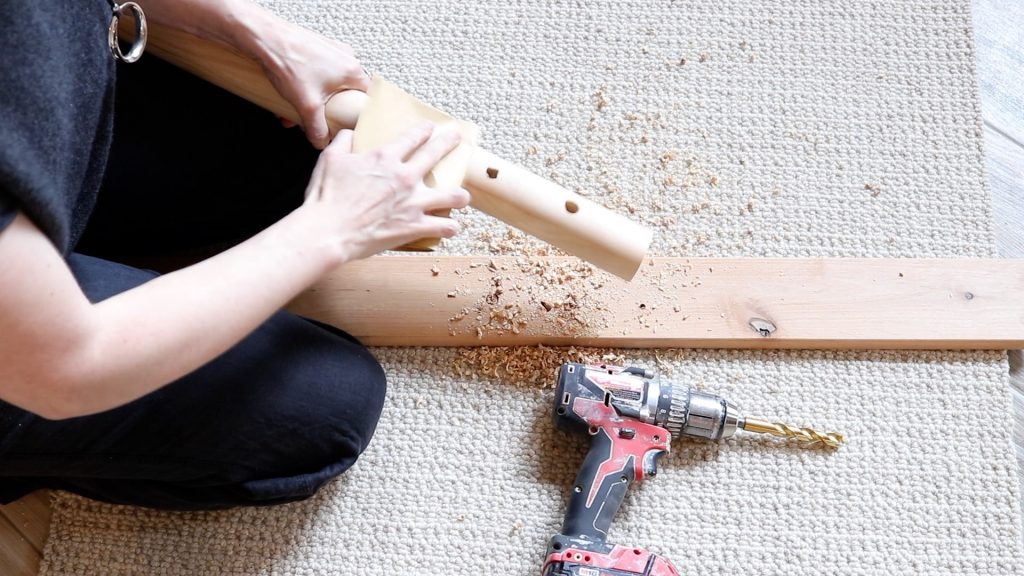
Nice and smooth. Good work.
Staining
This step is optional.
At this stage, you could stain your wooden dowel rod with a wood stain of your choice.
You could also paint the wooden dowel, it’s up to you.
Let it dry completely before moving on to the next step.
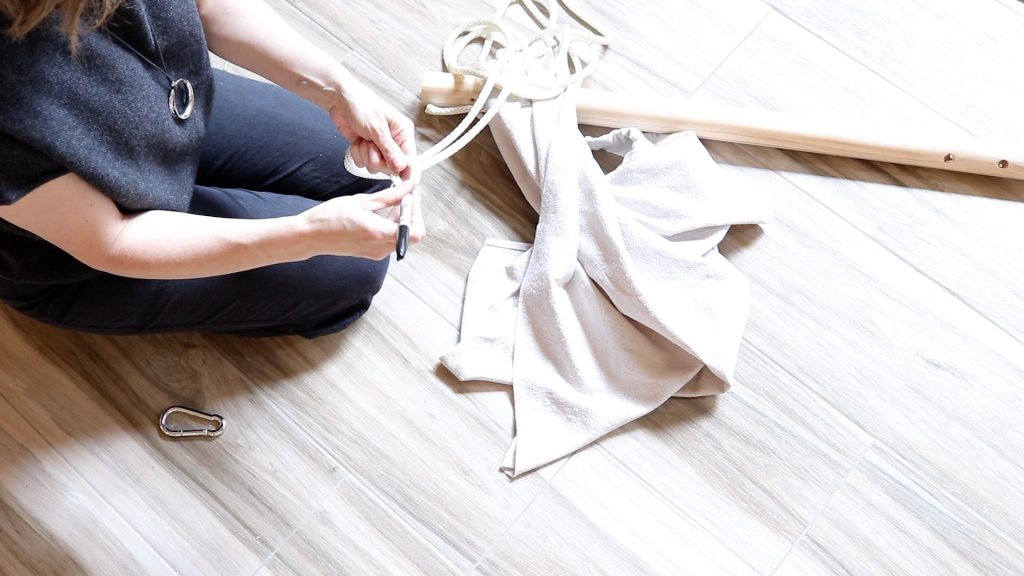
Supplies To Assemble DIY Sky Chair
For this step you will need:
- Chair canvas seat
- Rope
- Sharpie Marker
- Tape Measure
- Dowel Rod (pre-drilled)
- Link Snap
I personally would recommend watching the video for this step of the tutorial as this may be more confusing to explain. But I will try my best.
- Find the center of your rope by folding it in half. Mark the center with the sharpie so it’s easy to find.
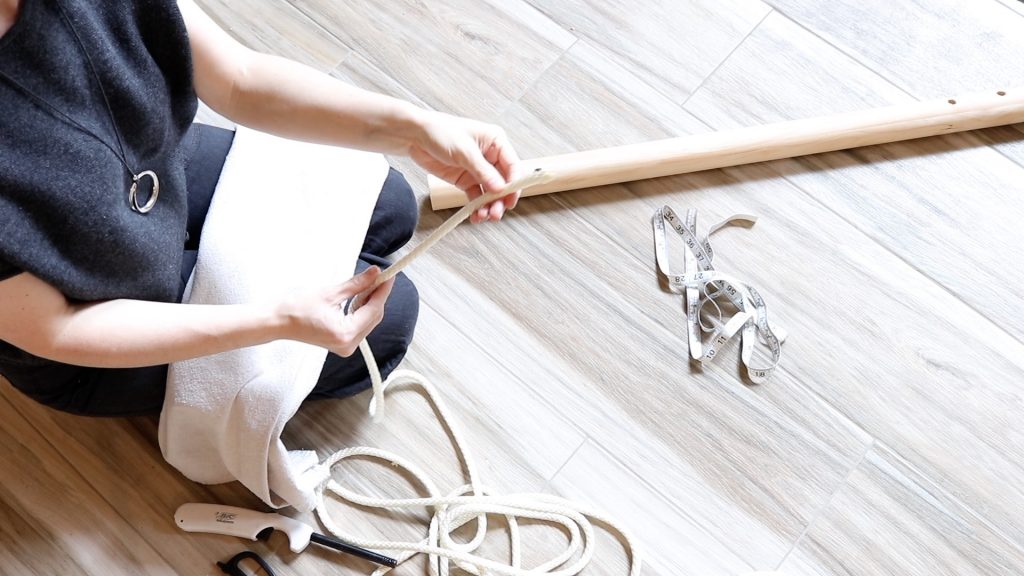
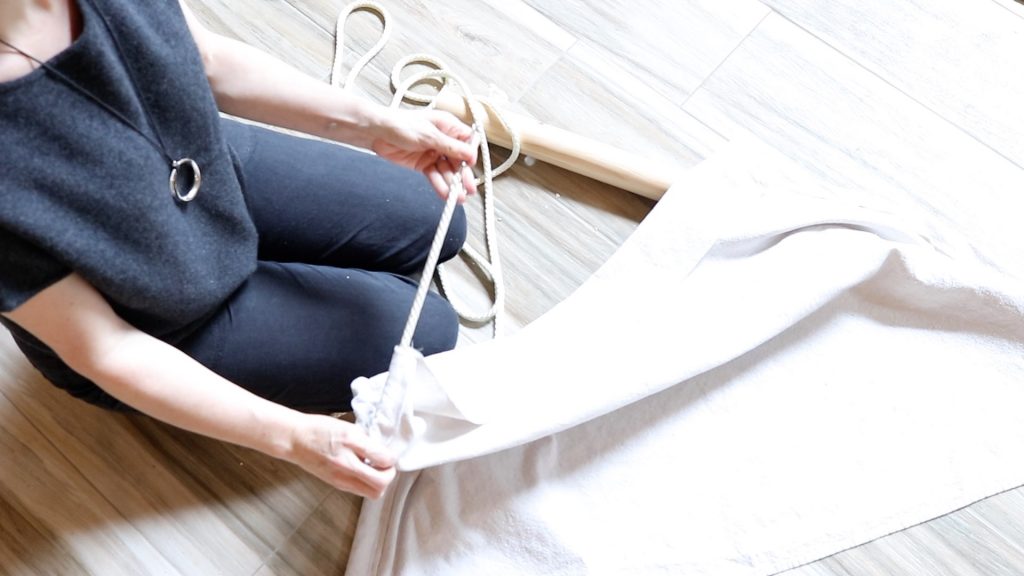
Start by feeding the rope up from the bottom to the top side of the dowel rod.
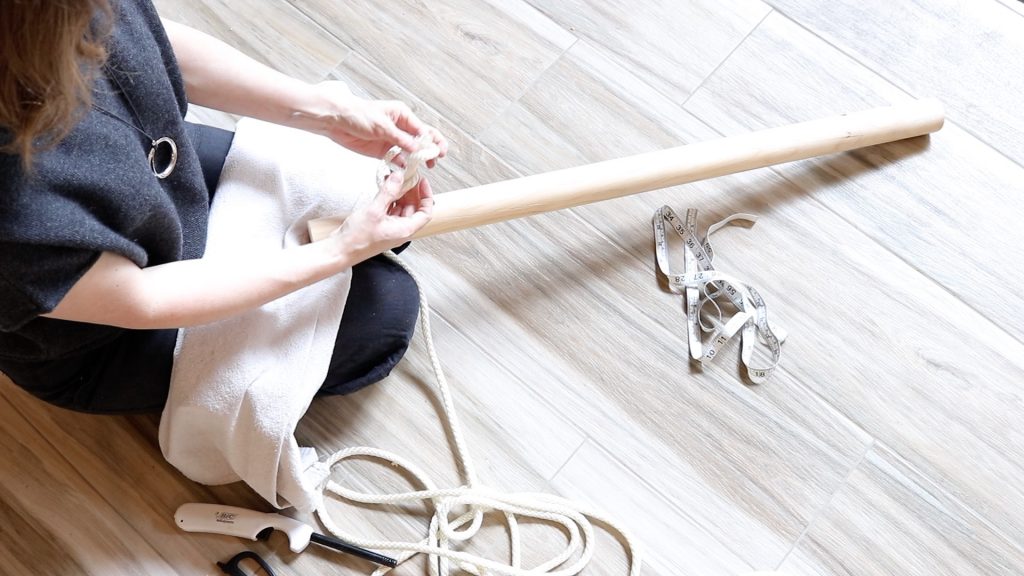
Tie a double knot on the top side of the dowel with your rope.
Leave the top just long enough to make a knot. You shouldn’t have a massive amount of excess rope here.
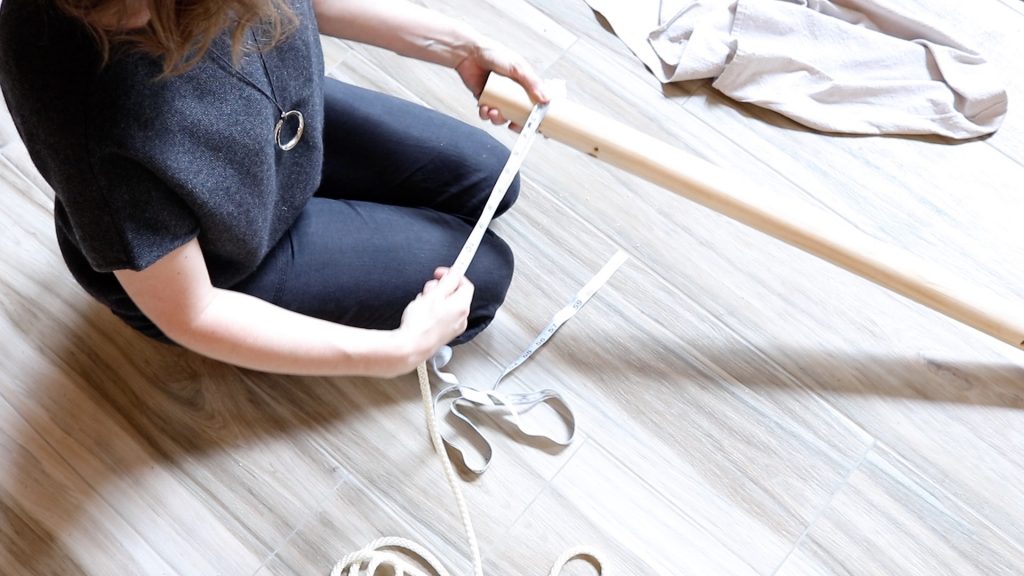
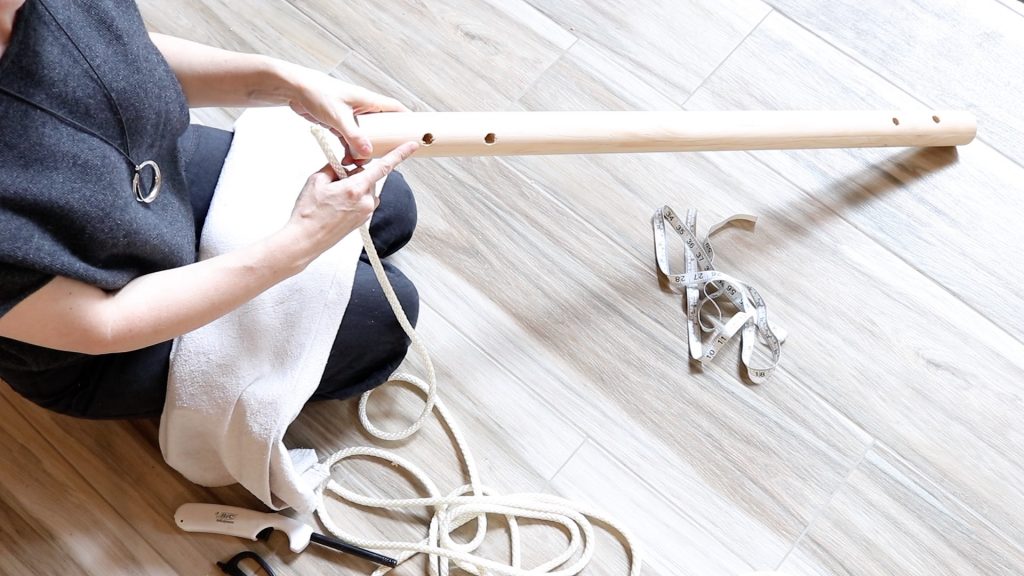
From the knot you just made, measure down the rope 40 inches and place a mark with your sharpie.
This is where we’re going to tie our next knot (but not quite yet).
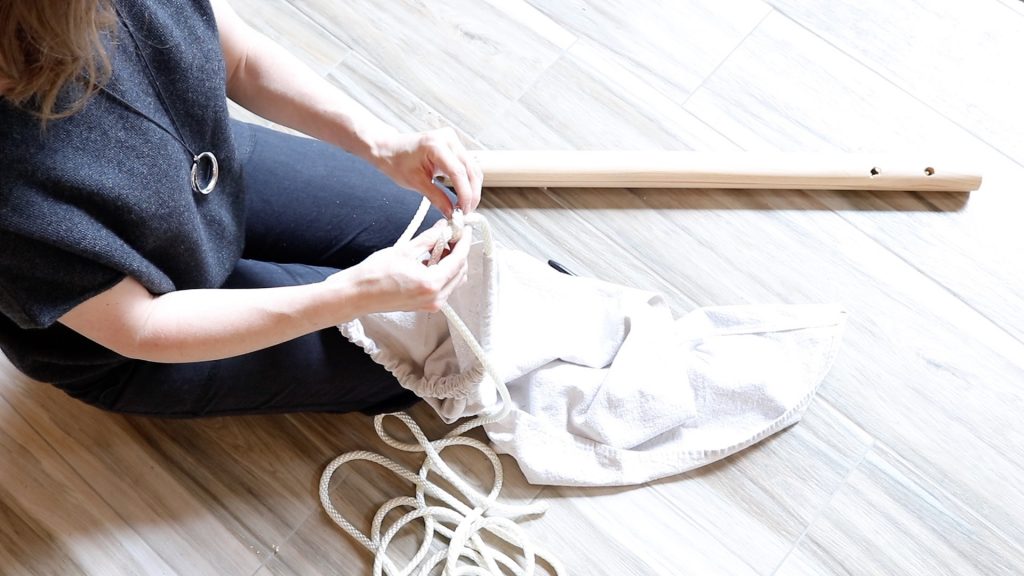
Starting at the bottom of the swing seat (widest end), feed the rope up through the channel you made with your sewing machine.
For this step I used this inexpensive tool called a BODKIN. If you don’t have one of these, you can also use a large safety pin or just the rope itself.
Push the rope all the way through this channel and out the top.
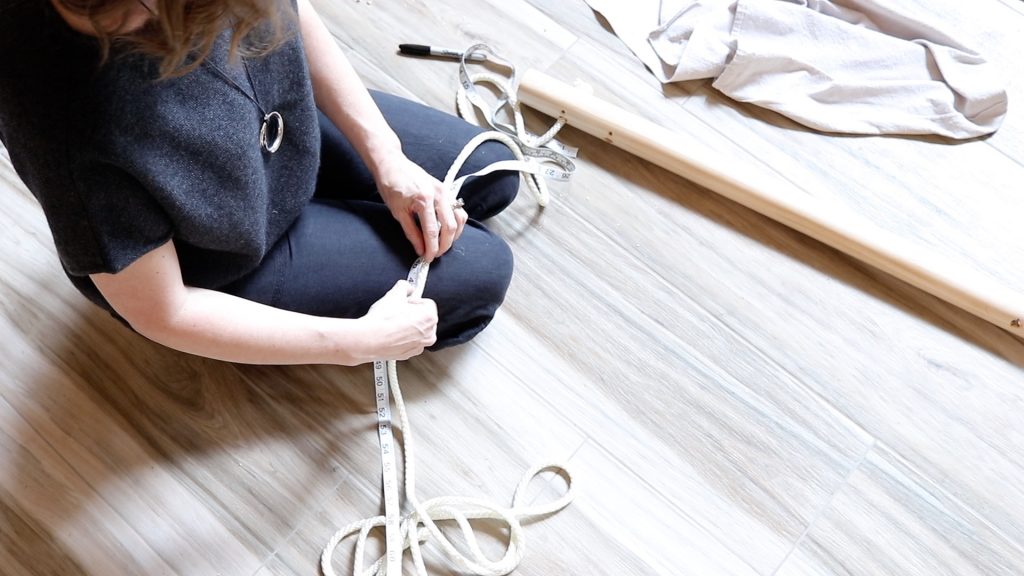
Once you’ve fed your rope all the way through, push the seat of your swing (the drop cloth) down until the mark you made at 40 inches is visible.
Tie a knot at the 40 inch mark on your rope.
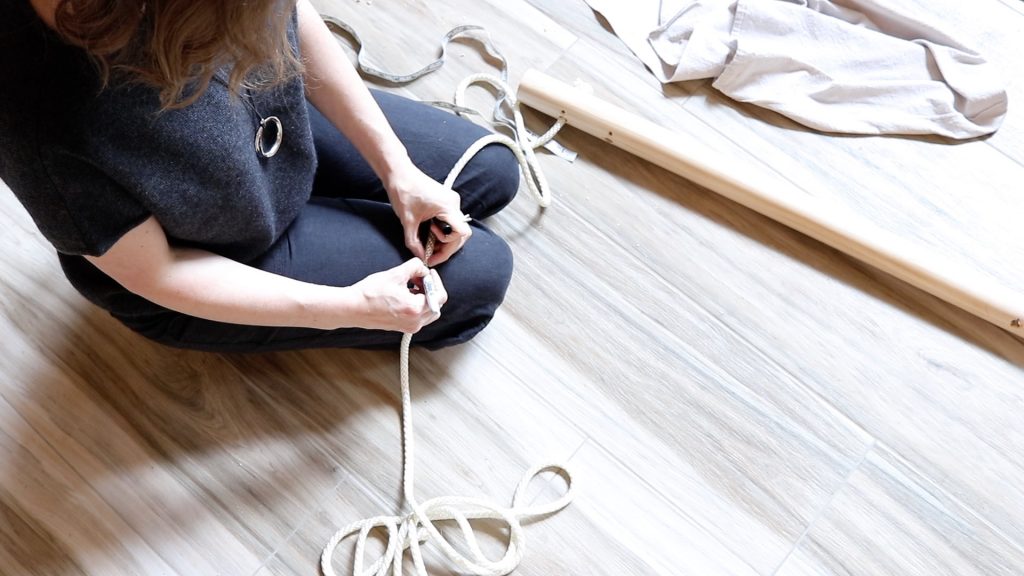
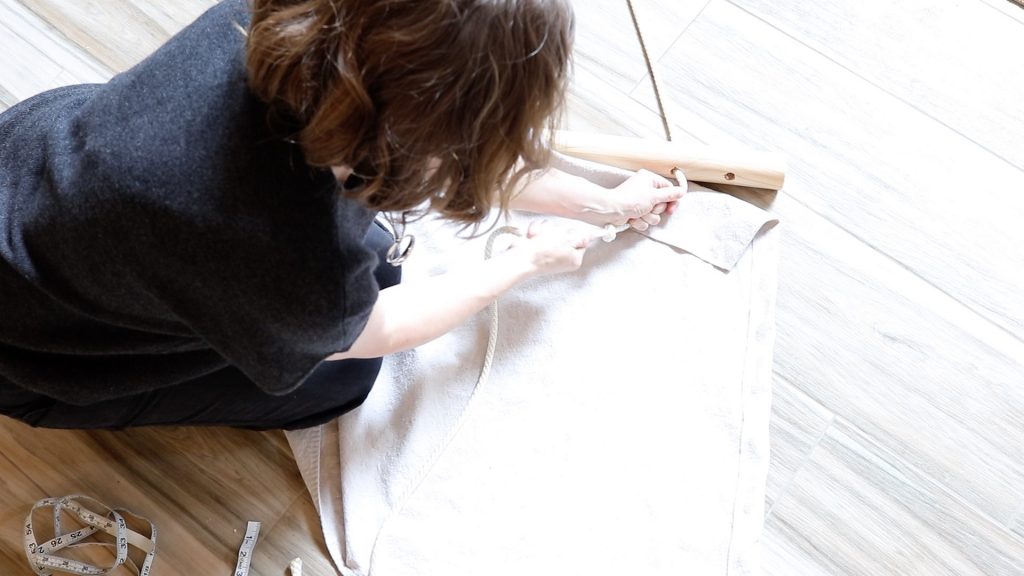
Now take the end of your rope and feed it up through the dowel rod from the bottom.
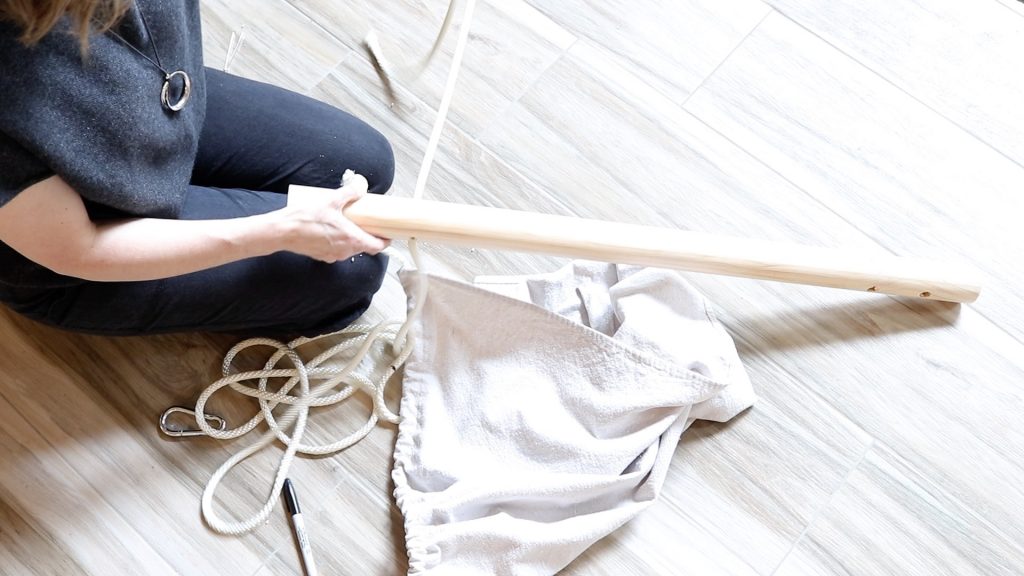
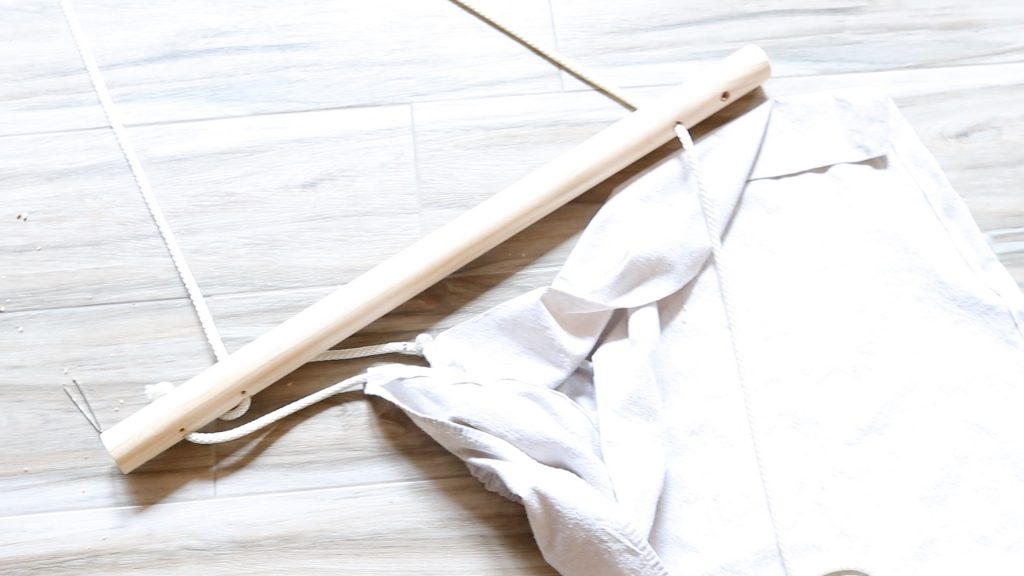
Almost Completed DIY Swing Chair
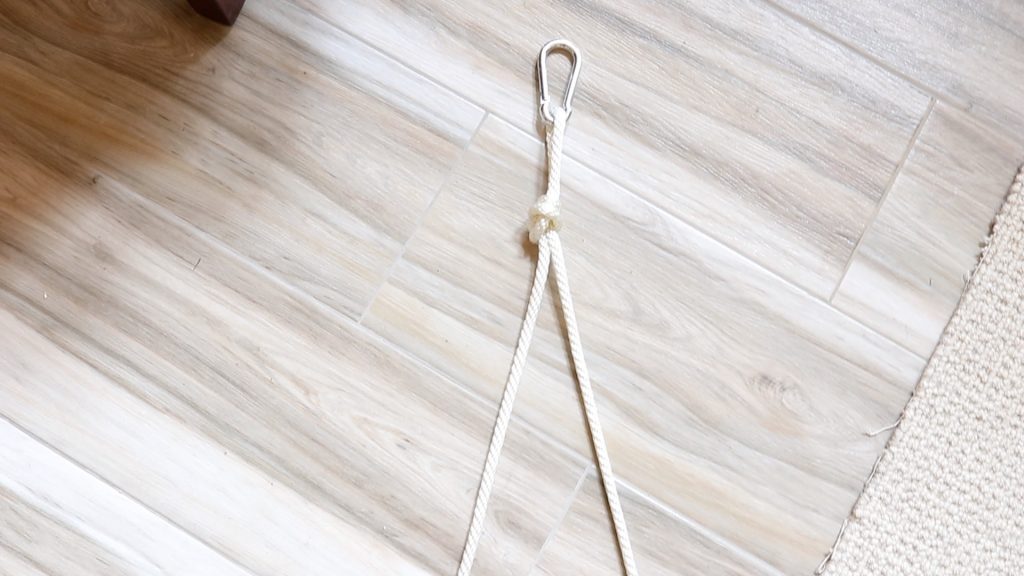
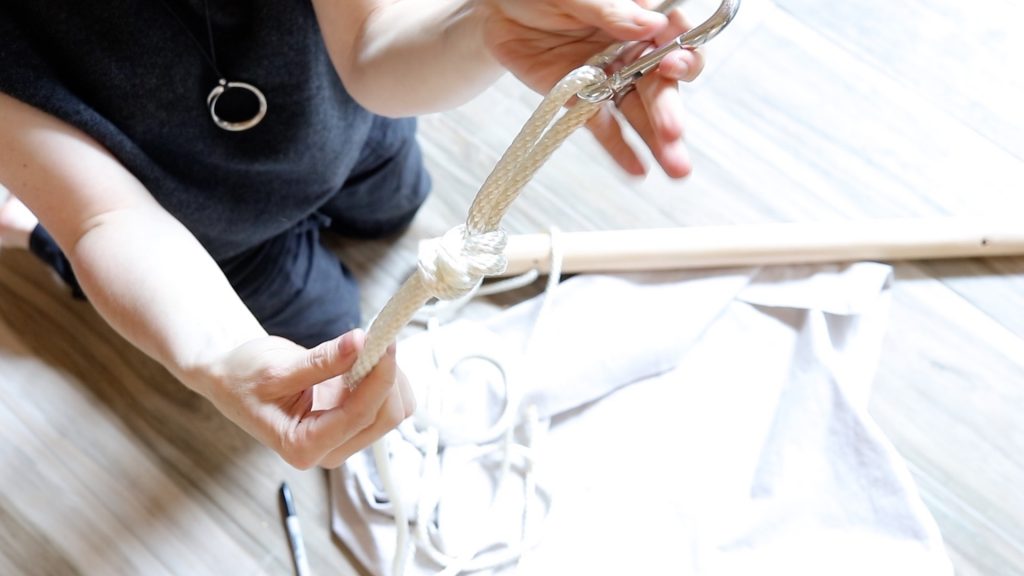
After you have fed the rope through, find the center mark on your rope and tie a knot leaving a 3 inch loop to hook the link snap through.
Heres a picture, hopefully this helps.
You can always refer to the video for this step if you are having trouble.
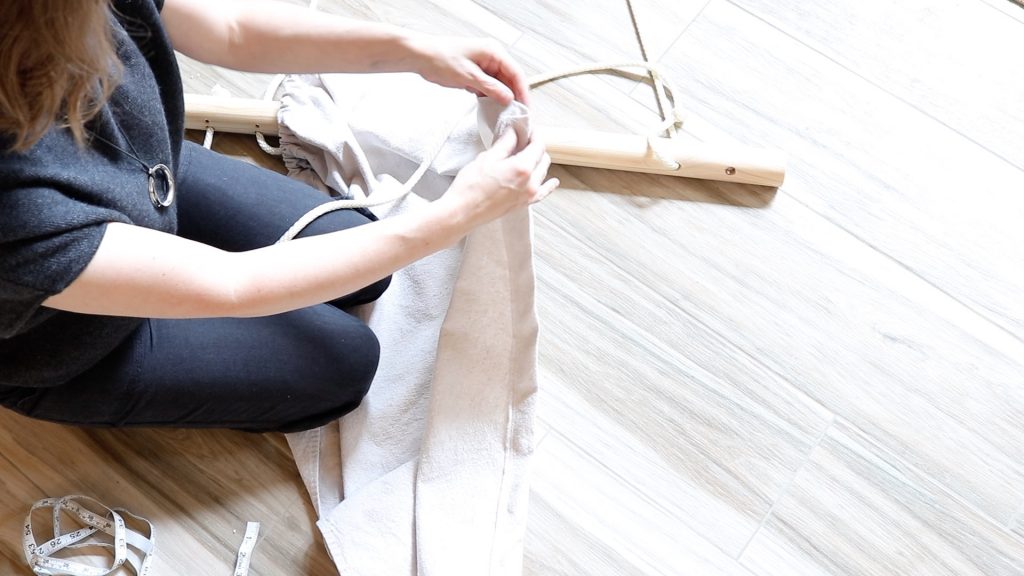
Now it’s time to feed the rope back through the dowel rod again.
This time however, you’re going to be going back down through the inside hole that you drilled (the one nearer to the center of the dowel).
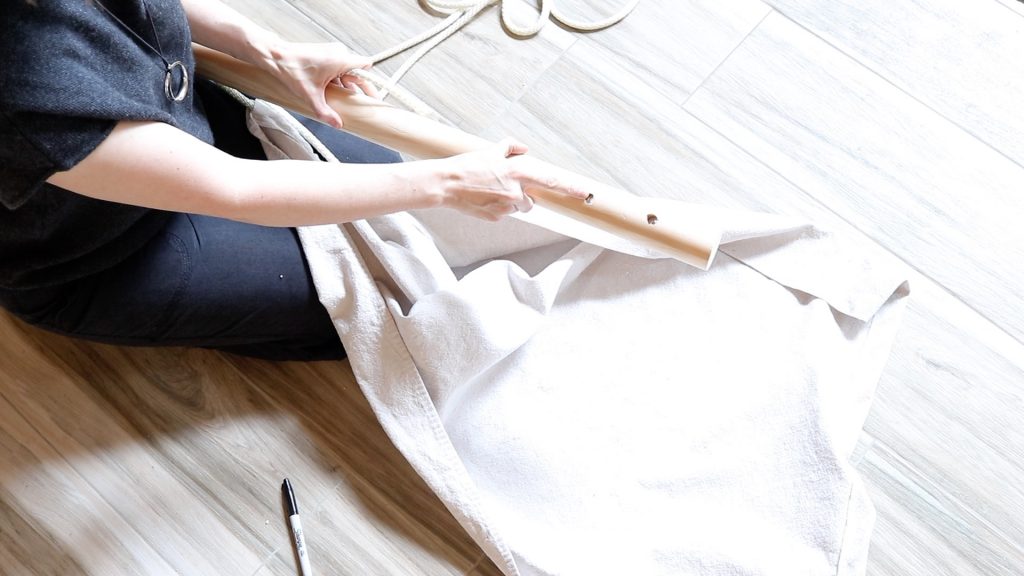
Once your rope is through the hole, lay your dowel rod on a flat surface and lay the rope flat on the ground as if you were going to hook it to the eye bolt.
Make sure you have the same amount of rope and that things look even. This will ensure that the swing hangs nice and straight.
- Now measure 40″ from the end of the rope and make a mark.
Tie a single knot where you made that mark.
Feed the end of that rope from the TOP of your hanging chair seat to the BOTTOM.
Securing The Rope
Take the end of your rope now and feed it up from the bottom of your wooden dowel to the top and secure with a double knot.
Completed DIY Hammock Chair
You have now completed your simple DIY hanging chair.
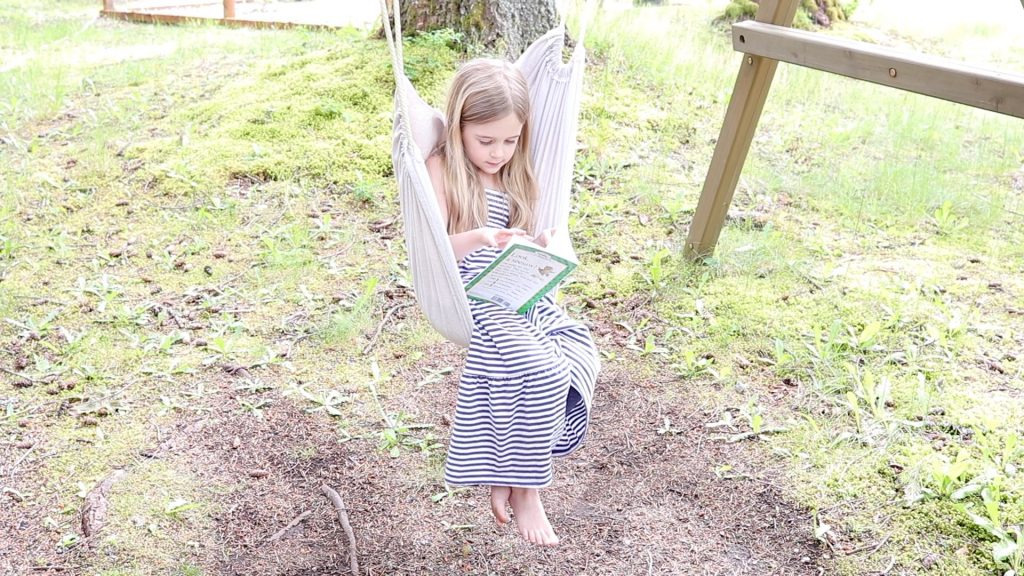
This was such a fun project to work on for my kids. I hope you enjoy making your own hammock chairs too.
Ideas For Hanging Sky Chairs
These chairs can be used indoors or outdoors. Here are some ideas of where they can be used.
- Reading Nook
- Porch (front or back)
- Kids Bedroom corner
- From a sturdy tree branch
- Treehouse
- Living room (for that Boho look)
These DIY swing chairs also make great sensory swings for little ones.
Customize
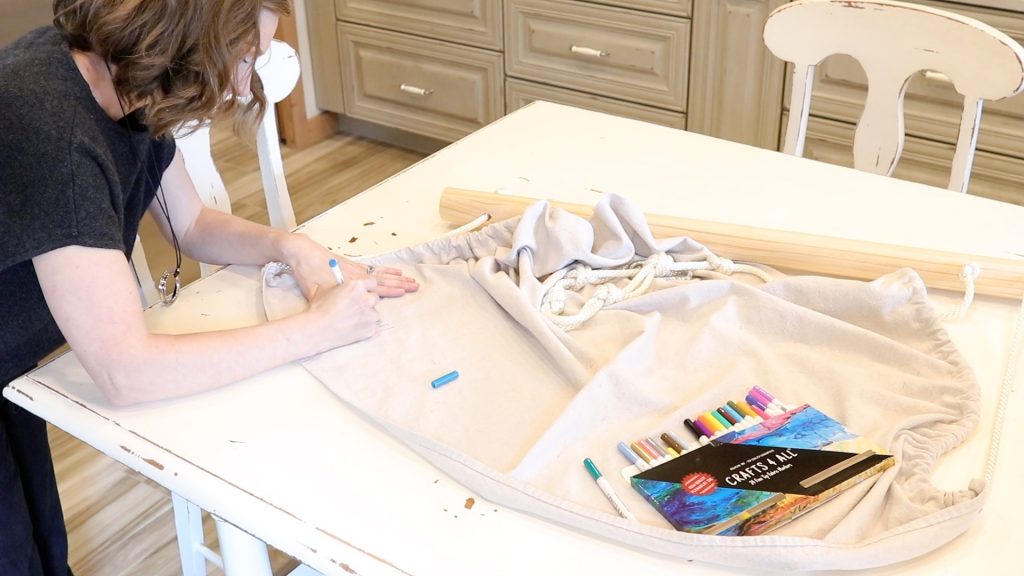
Use fabric pens or fabric paint to really personalize your chair.
Washing And Care Instructions
Because this chair is made from canvas fabric, it can be washed.
To wash your chair you will need to take it back apart.
The easy way to do that is to cut the rope, purchase new rope and re-tie it when you are done washing.
- You can also spray the canvas part of the chair with a bit of laundry soap, then spray the chair seat with a hose. Hang to air dry on a hot summer day.
- The best way to keep your seat looking nice is to take it down and store it in the winter time. This will keep it from being exposed to the harsh winter weather and keep the canvas from molding.
How To Hang A Hammock Chair
- Choose an are for your DIY sky chair that is safe.
- Select an eye bolt and snap that can support the weight of the chair and whoever will be sitting on it. I prefer to always go larger snaps with a larger weight capacity.
- Install the eye bolt in a support beam away from walls. Do NOT screw the eye bolt into drywall and expect it to hold.
- Thread a piece of rope through the eye bolt and hang on it to test it first.
Considerations
If you have made a DIY sky chair and are ready to hang it, there are some things to consider first.
- Where are you hanging your chair and can it support the weight of the chair with someone sitting in it?
- Is it safe where you are hanging it for whoever will be using it?
- Not safe for really young children without supervision. Use your judgement with this.
- Use the proper snap and eye bolt. These are weight rated (shown on the package above). Be sure and use one that will support the weight needed.
SHOP
- drop cloth (this is the one I prefer most).
- Sewing machine (my fave sewing machine)
- Grid sewing mat (optional for sewing extension table)
- Scissors or rotary cutter
- Iron
- wool pressing mat (or ironing board)
- Serger sewing machine (optional)
- Ruler
- Sewing pins (optional)
- Fabric paint pens (optional)
- Fabric paint (optional)
- Eye Bolt (1) 3/8 inch
- Link snap (1) 3/8 inch
- Nylon/Poly rope 15 feet of 3/8 inch diameter
- Dowel rod 36 inches long by 2 inch diameter (purchase by the foot at your local hardware store or Hobby Lobby)
- Drill
- 3/8 inch drill bit
- Sharpie or pen for marking
- Scissors
- 220 grit sand paper or sanding block
- Bodkin (to feed rope through the drop cloth-optional)
I hope you guys enjoyed making this fun project as much as I did. Thanks so much for joining me for another tutorial.