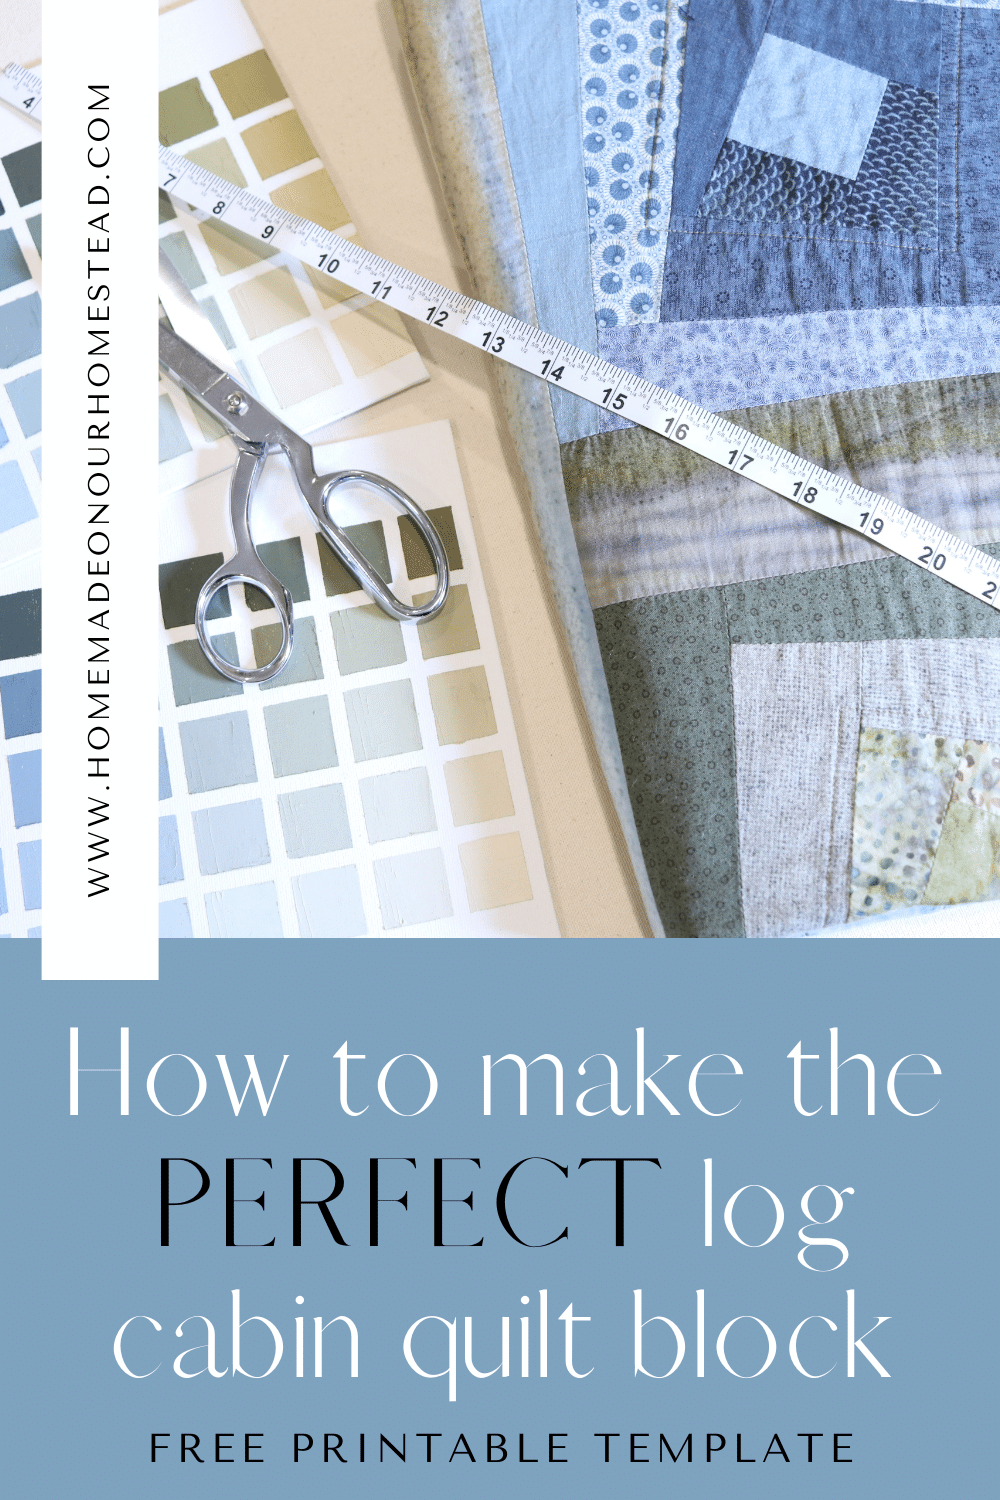
How To Make A Perfect Log Cabin Quilt Block
Learn how to make a perfect log cabin quilt block with this simple sew-along tutorial.
Making a quilt doesn’t have to be difficult, but it should be fun.
A log cabin quilt is a very traditional quilt made from a series of strip quilting blocks pieced together in a particular pattern.
A simple twist of the blocks and the basic quilt pattern can come out looking completely different.
It’s a pretty neat concept. One block, so many quilt options.
Some of these links are affiliate links. You can read my full disclosure HERE.
I love quilting. I love selecting the fabrics, figuring out where to place them on the block, and watching the pieces slowly come together to create something beautiful.
But let’s be honest, shall we? Making a quilt can seem very overwhelmingly intimidating. Especially as a beginner quilter/sewer.
We all want a finished quilt we love and can be proud of, right?
So let me walk you through how to make a log cabin quilt block so you have a quilt to love for years to come.
Why make a log cabin quilt?
Well, in my opinion, the log cabin quilt is one of the easiest quilts you can make as a beginner quilter or sewer. Speaking of structured quilt patterns of course.
Wonky block quilts, also called “quilt as you go quilts” are also easy and require no structure or pattern to complete-only your imagination.
So while the wonky quilt is very easy, I would say that the log cabin quilt is just as easy as it only requires being able to sew straight seams-no arcs or curved pieces.
What is a log cabin quilt?
The log cabin quilt is one of the most loved and easily recognizable quilt pattern designs.
Early log cabin blocks were pieced by hand using strips of fabric around a center square of fabric. The first log cabin quilts were most typically constructed with a red center square which symbolized the hearth of the home, while a yellow center square represented a welcoming light through a window.
A traditional log cabin quilt is constructed with one half of the block being made of a lighter fabric, while the opposite half is made with a dark fabric.
Log cabin quilts first made an appearance in the United States around 1860- during the time of the Civil War.
Is a log cabin quilt block good for a beginner?
Absolutely!
You are really only limited by your willingness to try. Log cabin quilts involve sewing straight seams only. So If you are comfortable with that and have a desire to learn, you can do it.
The log cabin quilt was the first quilt I ever made and I think it was a really good quilt to start with as a beginner.
Are there different variations of a log cabin quilt block?
The basics of block construction are the same.
Once you know how to piece this basic quilt block, you will find there are so many options for log cabin quilt layouts to construct different patterns that will create different looks using the same basic log cabin block.
How to construct the traditional quilt block step by step guide
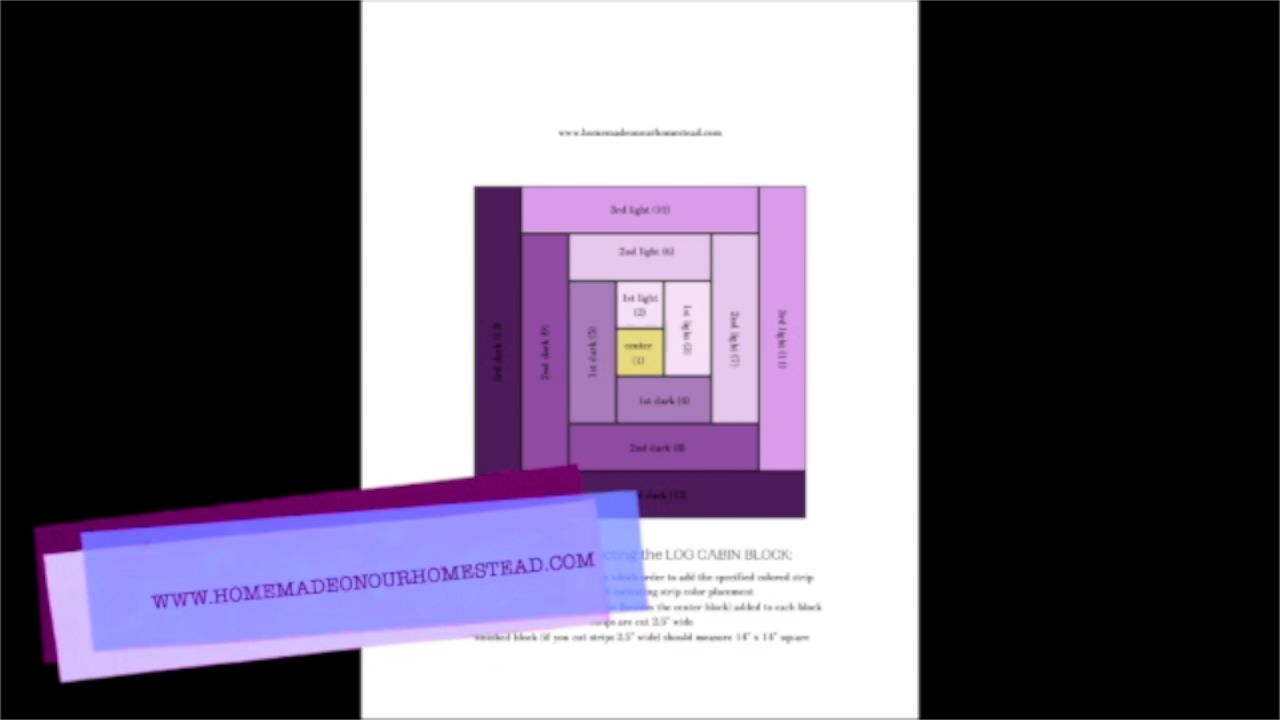
I created this cheat sheet to help you better visualize how the blocks are constructed. I have also included a few tips and tricks I’ve learned along the way to hopefully eliminate some anxiety about quilting and piecing blocks.

How to make a perfect log cabin quilt block video tutorial
Where do I begin when making a perfect log cabin quilt block?
- Start by selecting your fabrics. You’ll want to choose three lights colored fabrics and three dark fabrics. Your choice of fabrics is totally personal. Use fabrics that make you happy and spark joy.
- If you’ve never made a quilt block before, try making a block in the traditional size (14″ x 14″) to start with. This will help you grasp the basics of log cabin block construction. Once you have the basics down, it’s easy to start making more blocks in varying sizes.
- Remember to keep your seam allowance consistent throughout your block. The seam allowance should be 1/4″. If you choose to use a larger seam allowance, your finished block will be smaller than 14″ x 14″.
- Use a seam guide or a specialty 1/4″ piecing foot for your sewing machine.
Lay out the perfect log cabin quilt block
- I don’t recommend using a magnetic seam guide on a computerized machine. I have heard that doing this can result in the timing of your machine being messed up. If this happens, you’ll need to take it to a repair shop to be fixed which could be expensive. This may be different from the information you have heard. I seem to get mixed information about this myself, so go with whatever works for you and what you’re comfortable with. It’s your machine.
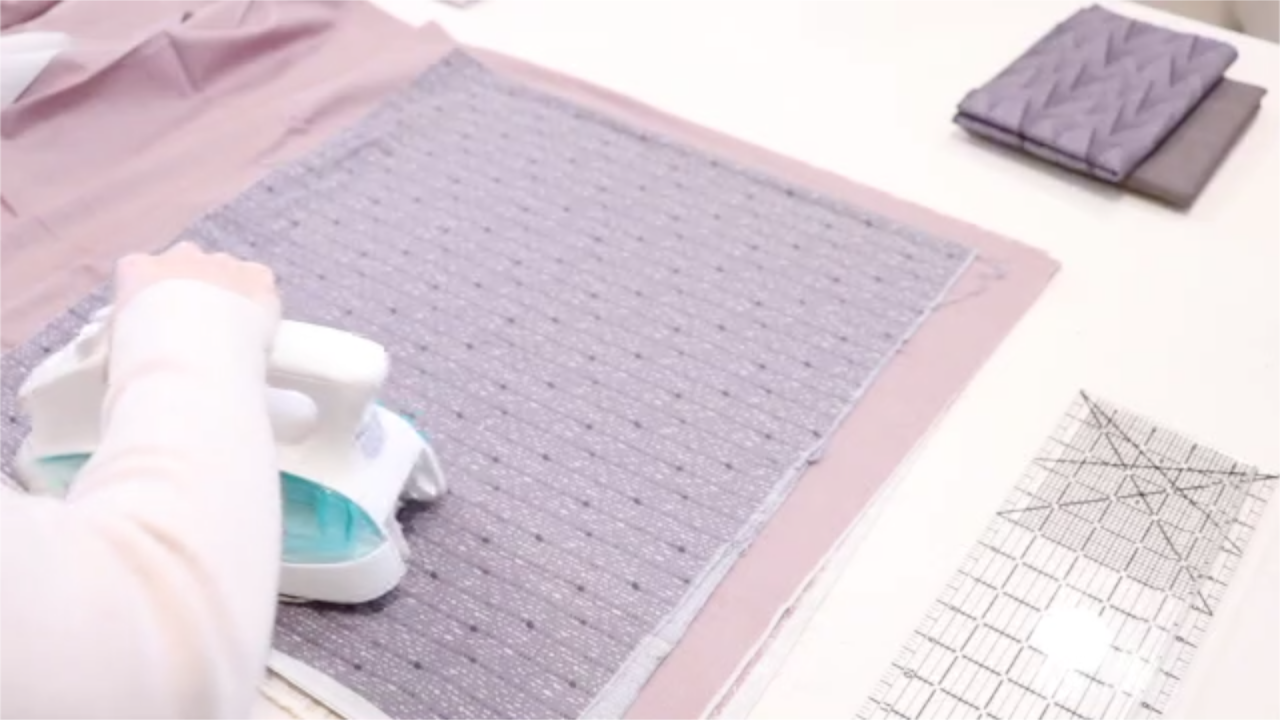
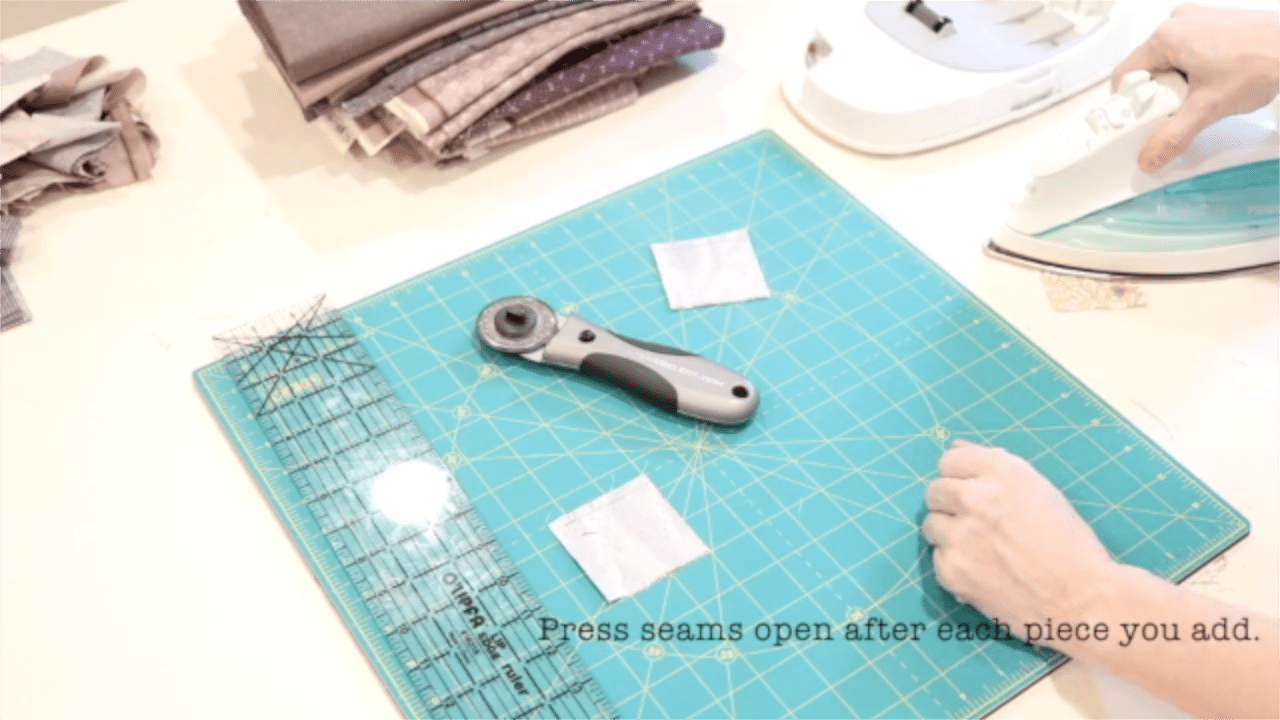
- Try pressing your block without steam. Steam can stretch your fabric which may distort the shape of your block.
- Press your seams open after the addition of each new strip of fabric. This will ensure that everything stays consistent.
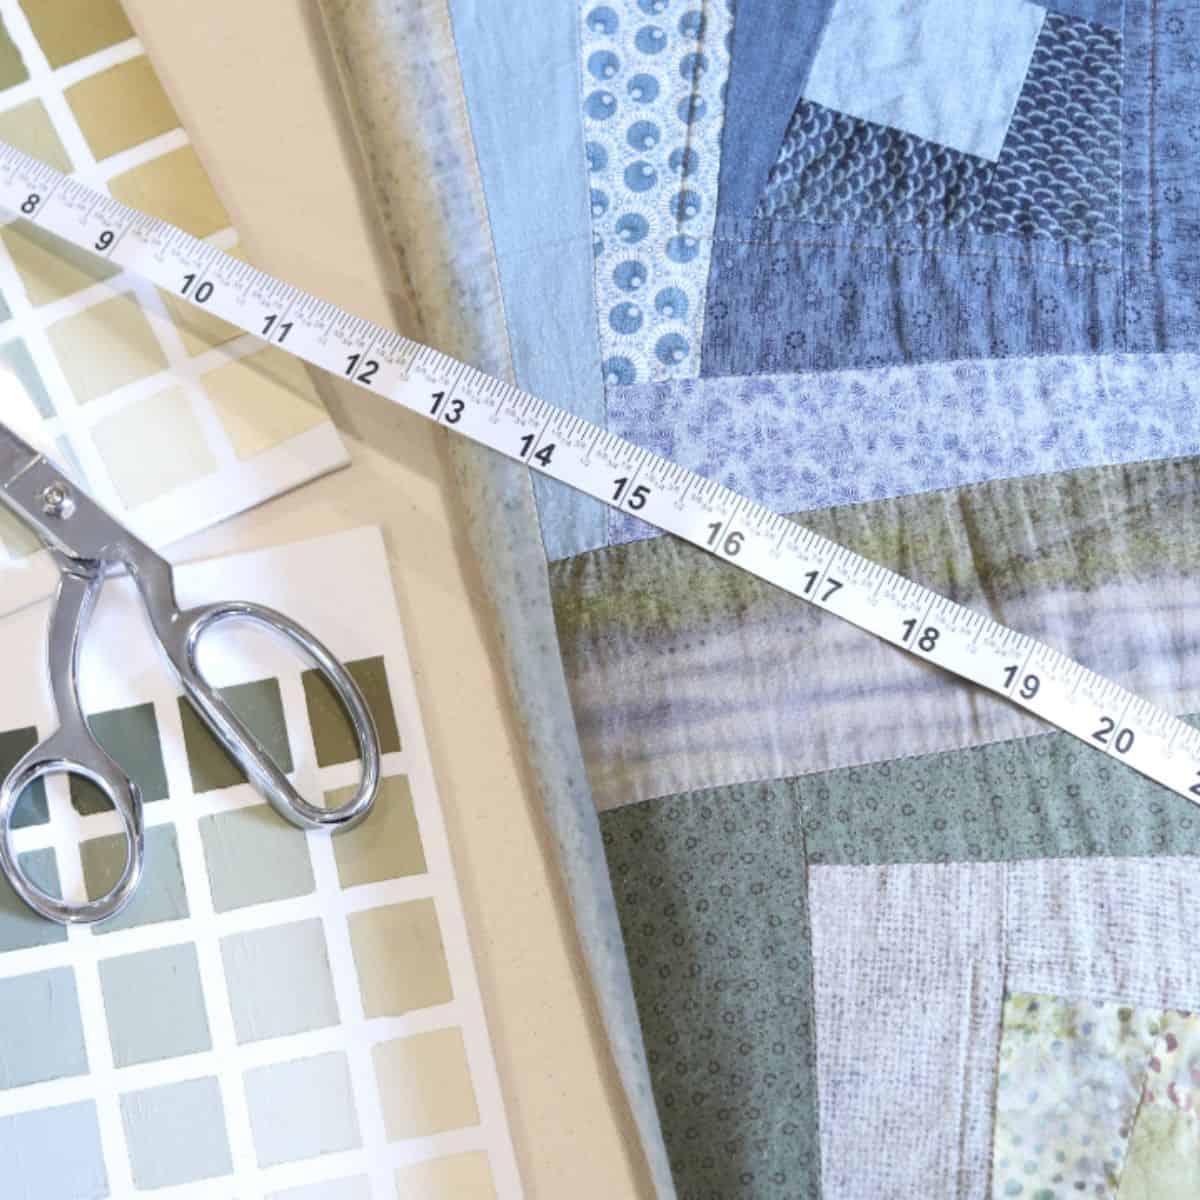
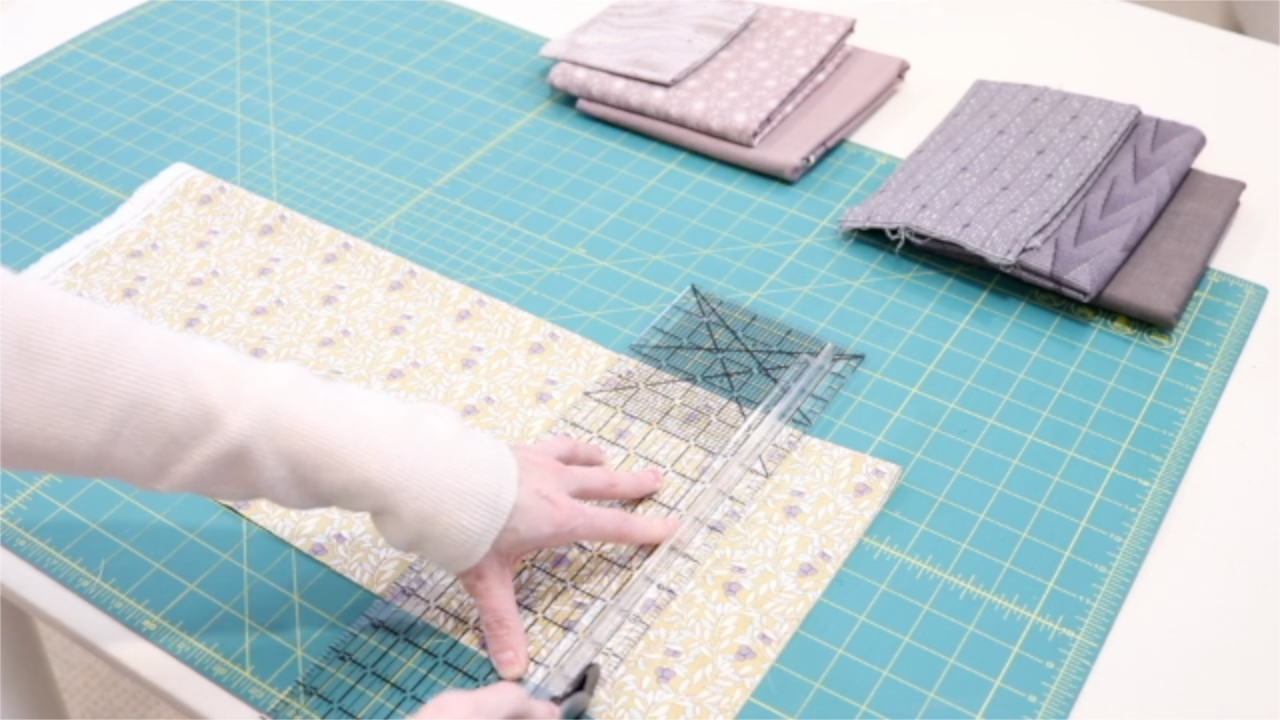
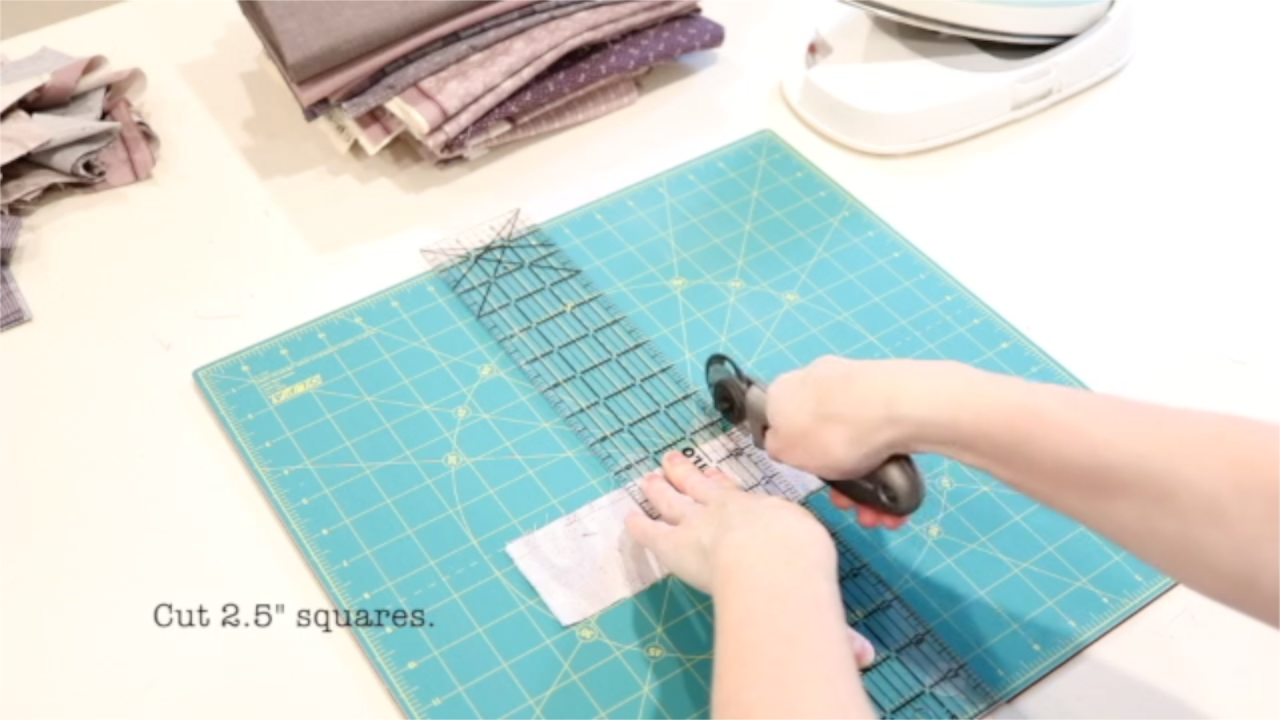
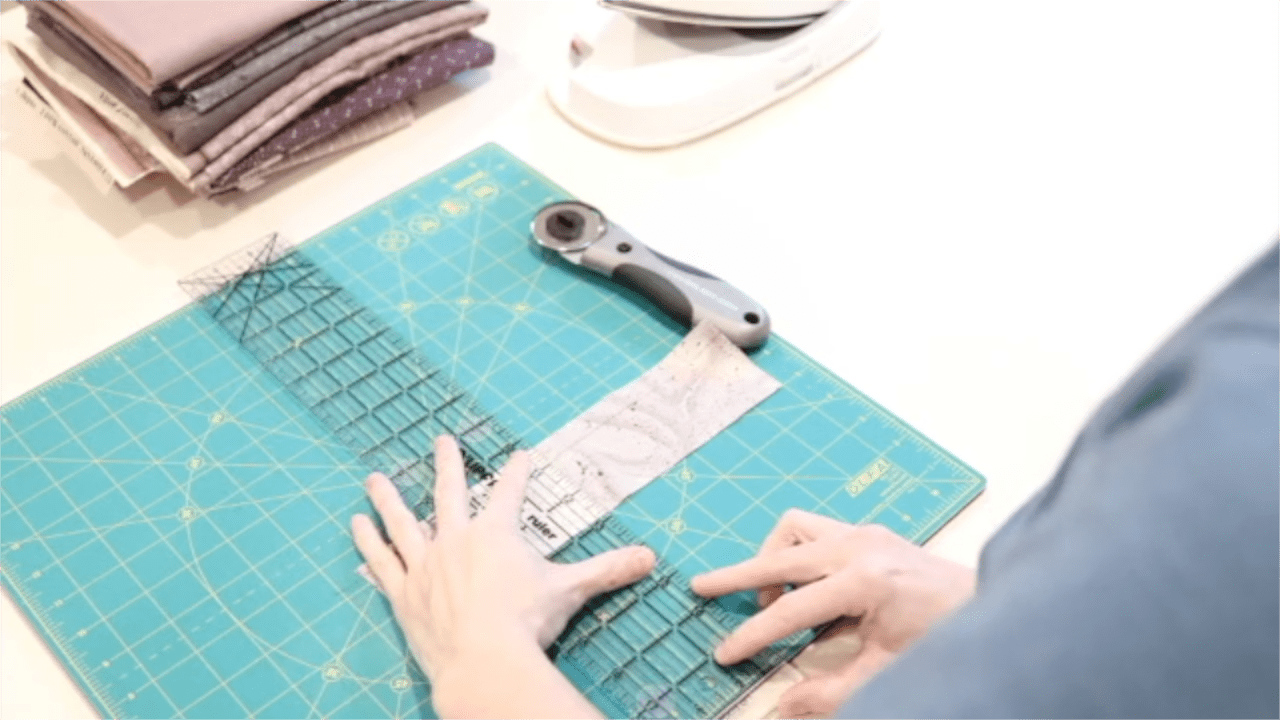
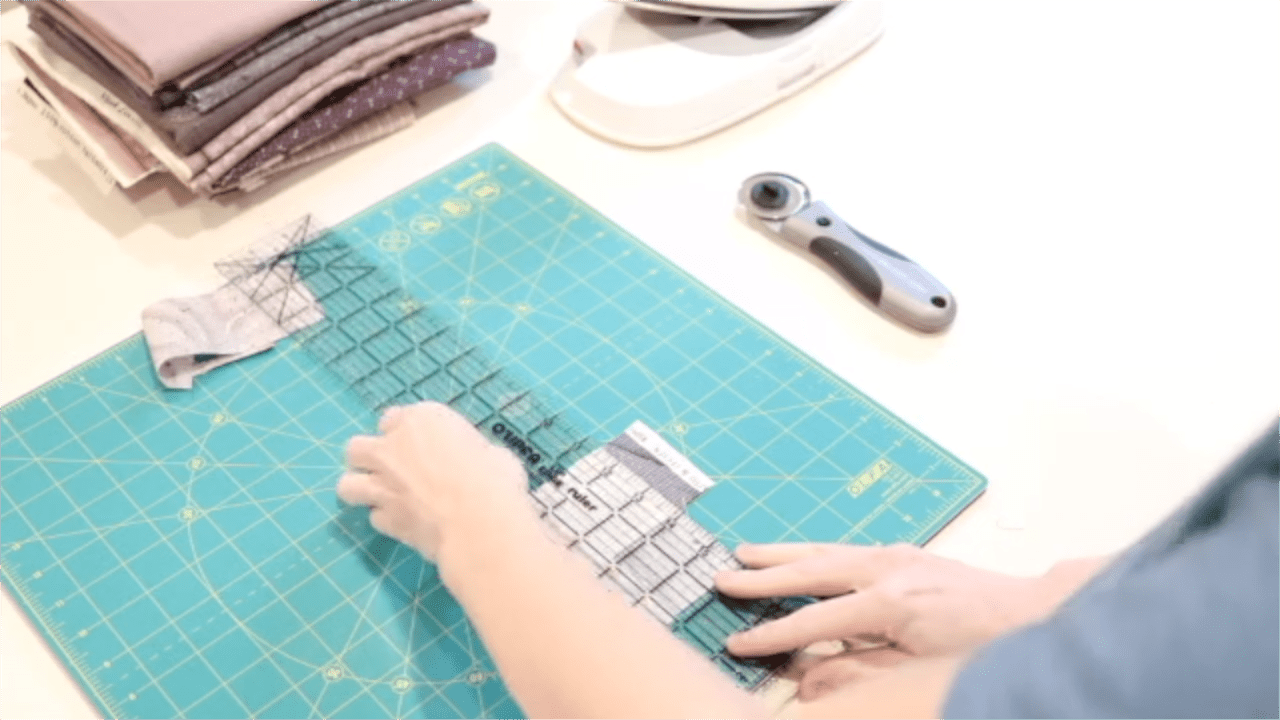
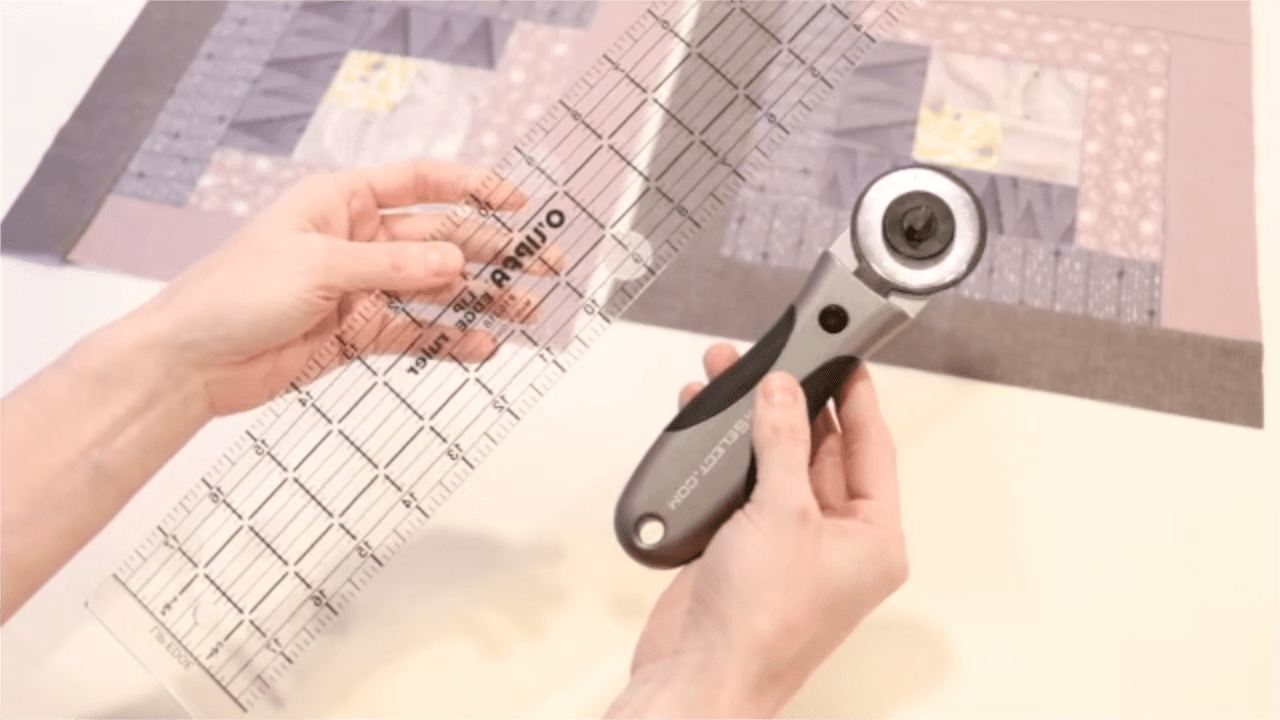
- I prefer to use a rotary cutter and ruler instead of scissors and a tape measure. This will keep your strips even from top to bottom. But you can use whatever you are the most comfortable with.
- Have fun! Sewing and quilting are meant to be relaxing and enjoyable. It’s an opportunity to be creative by playing around with gorgeous fabric and textures. Think of these instructions more like a starting point.
- Remember if you are new to block construction and quilting that progress over perfection is key.
Quilting tools and supplies to make a quilt block
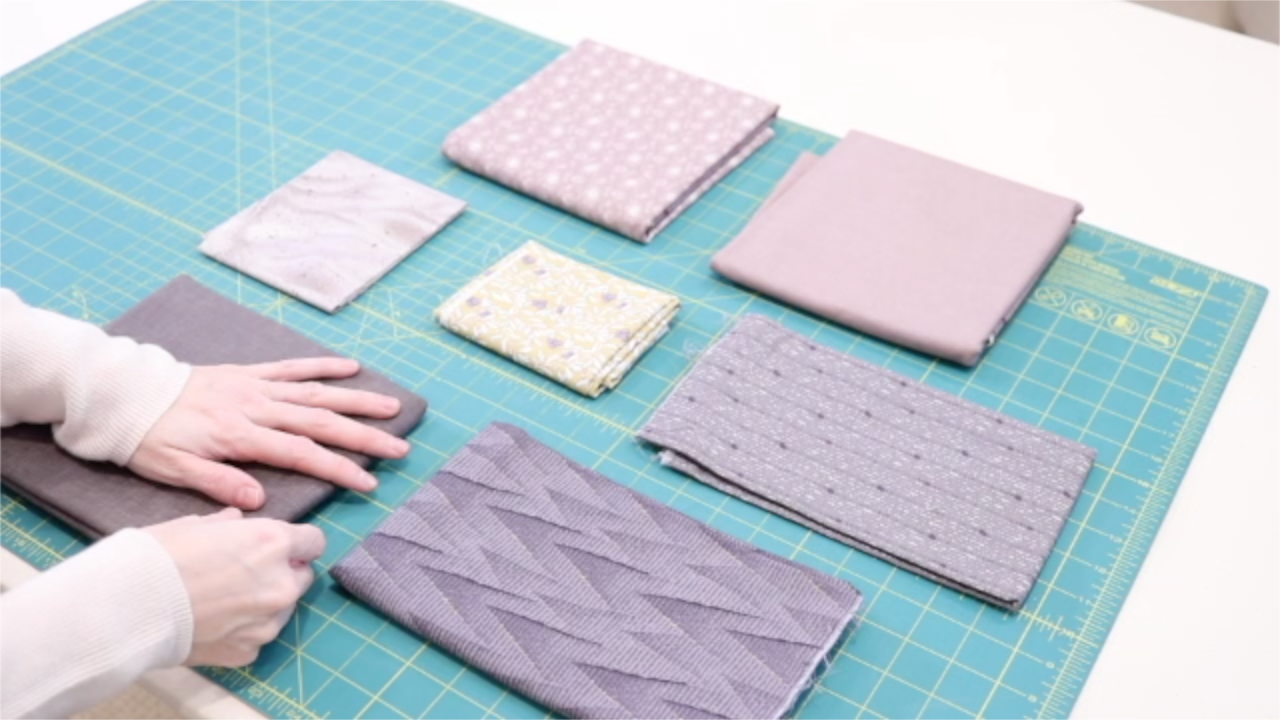
To get started making a log cabin quilt block you’ll need to start by selecting your fabrics.
You’ll need a fabric for the center block, three varying shades of light fabric, and three shades of darker fabric.
Each finished block will measure 14″ x 14″ square. Most quilts are typically made up of 100% cotton fabrics. They wash and wear well with frequent use and they get softer with age.
Quilting cotton comes in a beautiful array of prints from modern, traditional, civil war prints and colors (some of my personal favorites)- the possibilities are endless.
Can you use flannel fabric to make a quilt block?
Yes.
Flannel fabric is also another great option for constructing quilt blocks. I have heard some people say that flannel can be more challenging to work with as a beginner sewer/quilter.
If you know another sewer or quilter, ask them their opinion on the matter. I personally found sewing with quilting cotton easier, but if you’re up for it and that’s a preferred fabric choice for you then I’d say go for it.
Another thing I will say about flannel fabric though is it does seem to have a little bit more grip to it. Simply put, when the fabrics are laying on top of each other, they tend to stick together far more easily than cotton fabrics do.
This could work for you, or against you. But again, you’ll never know unless you try it.
Quilting tools every beginner needs
- Sewing machine (this is the machine I use)
- Sewing machine (perfect for beginner sewers)
- Rotating cutting mat
- Large cutting mat (I used both for this tutorial)
- Sewing pins (optional)
- Magnetic pin bracelet or Magnetic pin cushion (optional)
- Magnetic seam guide (this is optional but super helpful in keeping seams accurate and even)
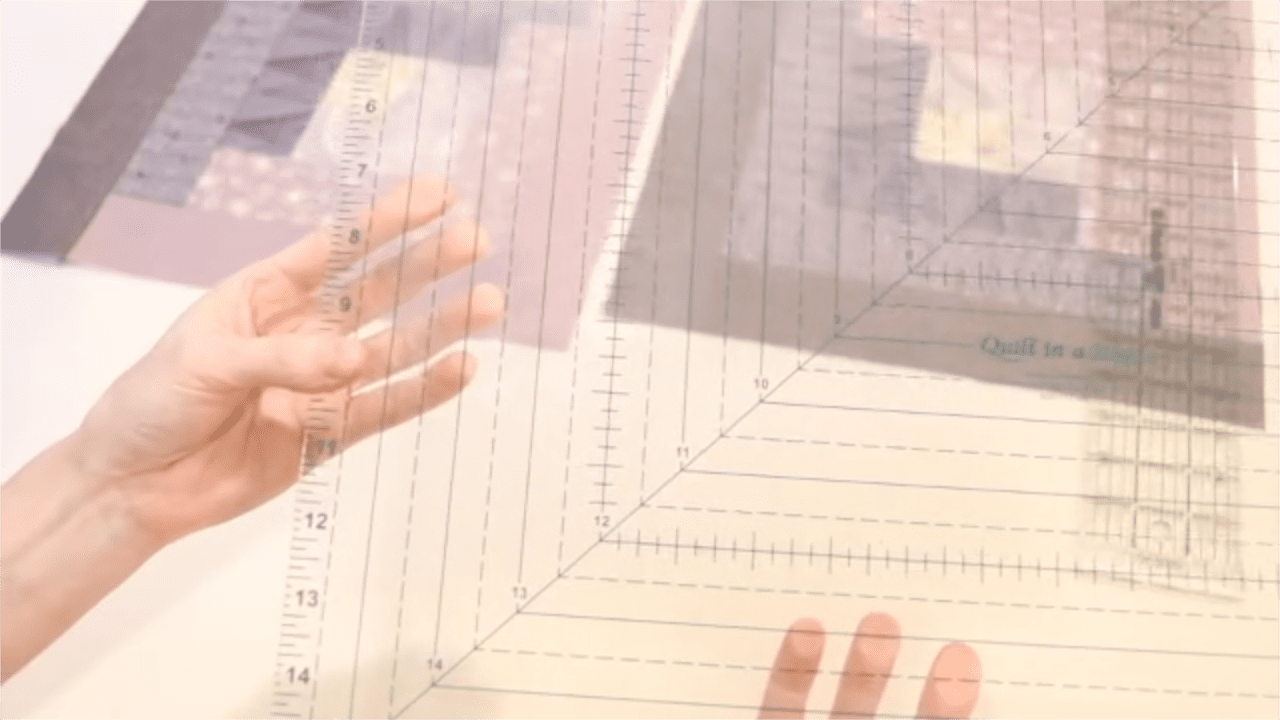
- Square-up ruler (this is something that is nice, but as a beginner, it isn’t necessary unless you strive for perfection).
- Strip ruler (if you really get into quilt making, this ruler is a game-changer and massive time saver) WARNING: it isn’t the cheapest ruler though. But still awesome.
- The BEST resource book for making log cabin quilts (optional)
These are the specific items I used in the tutorial, but feel free to use whatever works best for you and your sewing ability.
The resource book is an optional item but is really helpful when making your first log cabin quilt. If you don’t want to purchase the book, see if you can check it out from your local library.
How to make a perfect log cabin quilt block
Washing and ironing fabrics before quilting. Is this necessary?
- Start by washing and pressing your fabrics before you begin cutting. Washing is optional and you’ll find that there are varying opinions on whether this is necessary. If you are comfortable not washing your fabrics, just do a quick press for more accurate cutting.
- I personally always wash and iron all my fabrics before they land on my cutting or pressing table. Some (not all) fabrics will shrink after being washed. Therefore, I always prefer to have any potential shrinkage happen before I spend hours creating something. It’s a shame to work so hard on a beautiful quilt, piece of clothing, or bag only to have it look distorted after it’s been washed. Trust me, I learned this the hard way.
- Also, some fabric colors will tend to bleed. This is not true for all fabric brands and or colors but some. Never wash light fabrics like white or cream with heavily saturated colors like reds and blues. Wash these separately to ensure the colors don’t run. This is just another reason that pre-washing is so important
How to prepare and cut fabric for quilting
- Using your rotary cutter and ruler, cut strips from each of your fabrics 2.5″ wide. Below is a wonderful resource that has all the specific information you’ll need including fabric requirements and how many strips you’ll need for each fabric depending on the quilt size you’re looking to make.
A great resource for making log cabin blocks
THE BEST RESOURCE BOOK FOR MAKING A LOG CABIN QUILT
How many strips of fabric do I need for a basic log cabin quilt block?
- For this particular video tutorial I did, I cut (1) strip of my CENTER fabric, (2) strips of my FIRST LIGHT, (2) of my FIRST DARK, (2) from my SECOND LIGHT and SECOND DARK, (3) strips from the THIRD LIGHT and THIRD DARK and (3) from the THIRD LIGHT and THIRD DARK. This is to get you started. I made (4) full-size log cabin blocks measuring 14″ x 14.”
You can always cut more if you decide that you need an extra strip of a particular color.
- Once you have all your strips cut, let’s lay your fabrics out next to your machine in the order in which you’ll use them in your log cabin block.
How to assemble a log cabin block
Again, if this gets confusing for you, print out the FREE resource guide I created for this particular quilt block. It will show you step by step which strip of fabric to add and when.
Working from LEFT to RIGHT:
- Start with your center fabric.
2. FIRST LIGHT then your FIRST DARK.
3. SECOND LIGHT then SECOND DARK.
4. THIRD LIGHT then THIRD DARK.
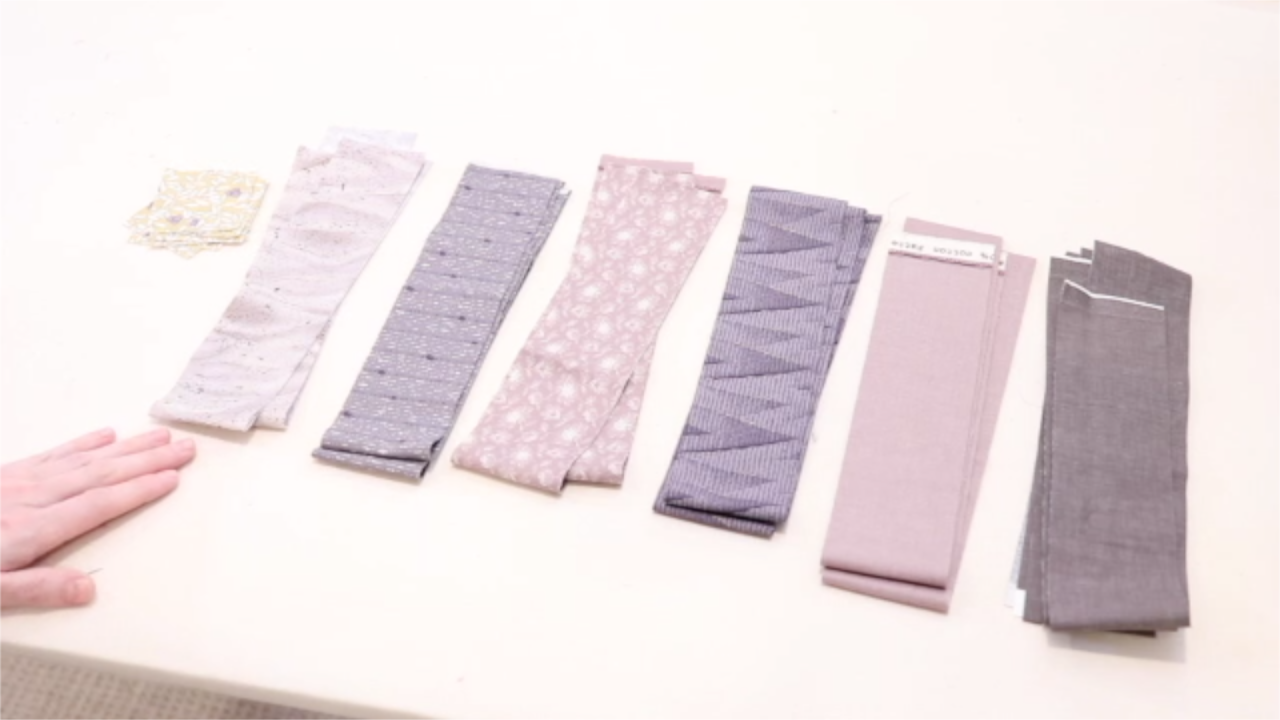
Place these in order (as listed above) from left to right. You’ll add each different colored strip TWO TIMES in the specified order. When you look at the log cabin block, you’ll notice that you have light-colored fabrics on one side and dark fabrics on the other.
Your fabrics are now ready so it’s time to start our block construction. If you have any difficulty putting your blocks together, refer to the cheat sheet pdf (above) or the video.
How to sew a perfect log cabin block
- Thread your machine with either a contrasting or coordinating thread.
This thread is used for piecing your blocks so it technically won’t be seen. However, I still prefer to use a coordinating thread. But use whatever you are comfortable with and prefer will work just fine for piecing your quilt blocks.
TIP: Turn your iron on high heat WITHOUT STEAM. This will make sure you aren’t stretching your fabrics when pressing.
Quilt block construction
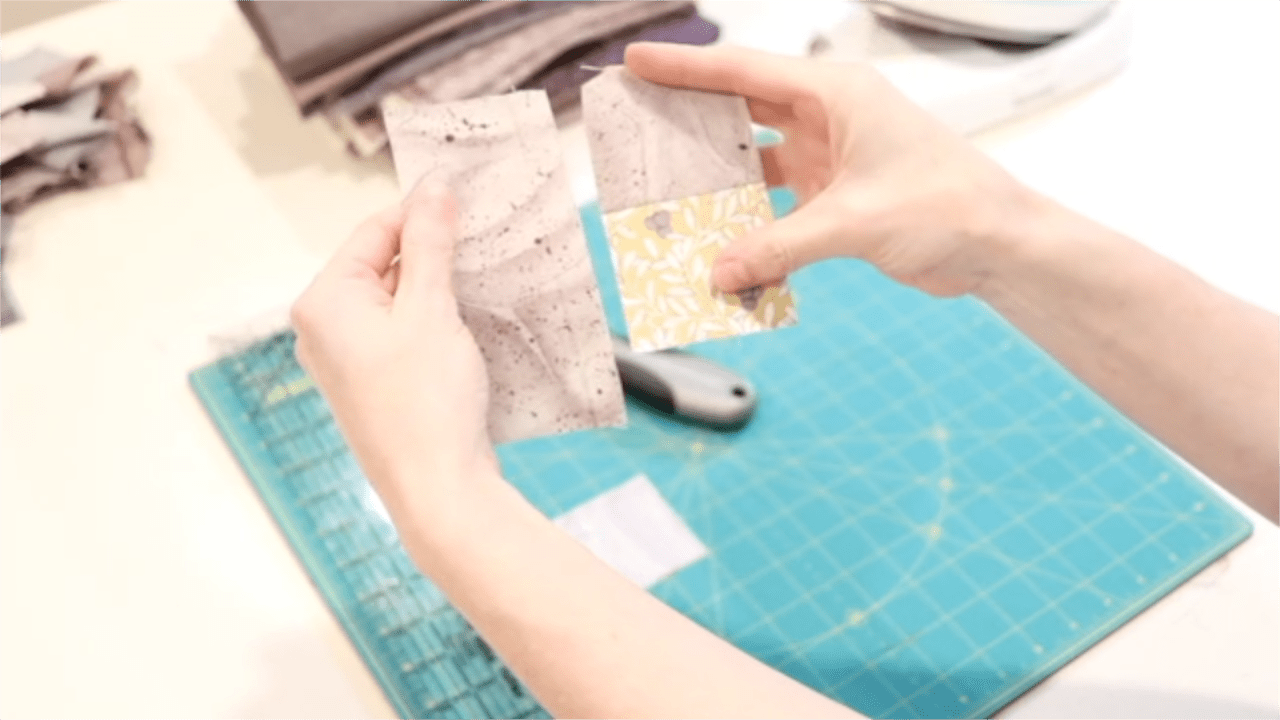
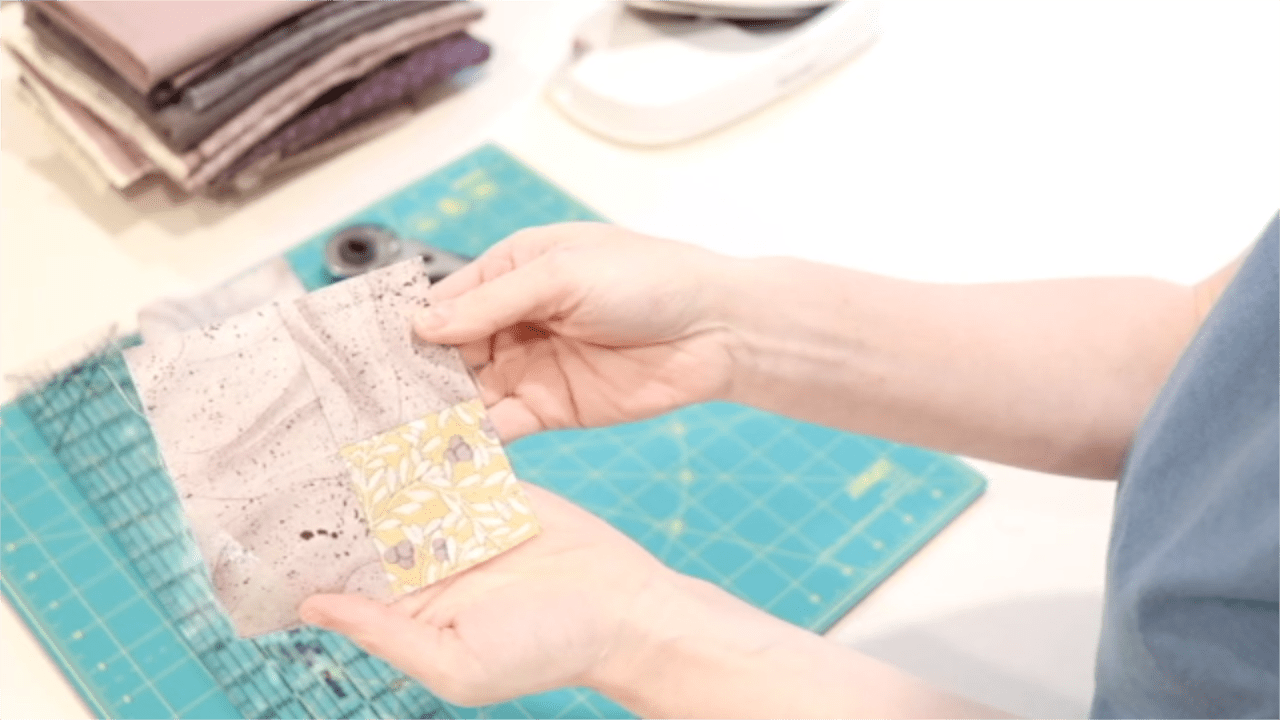
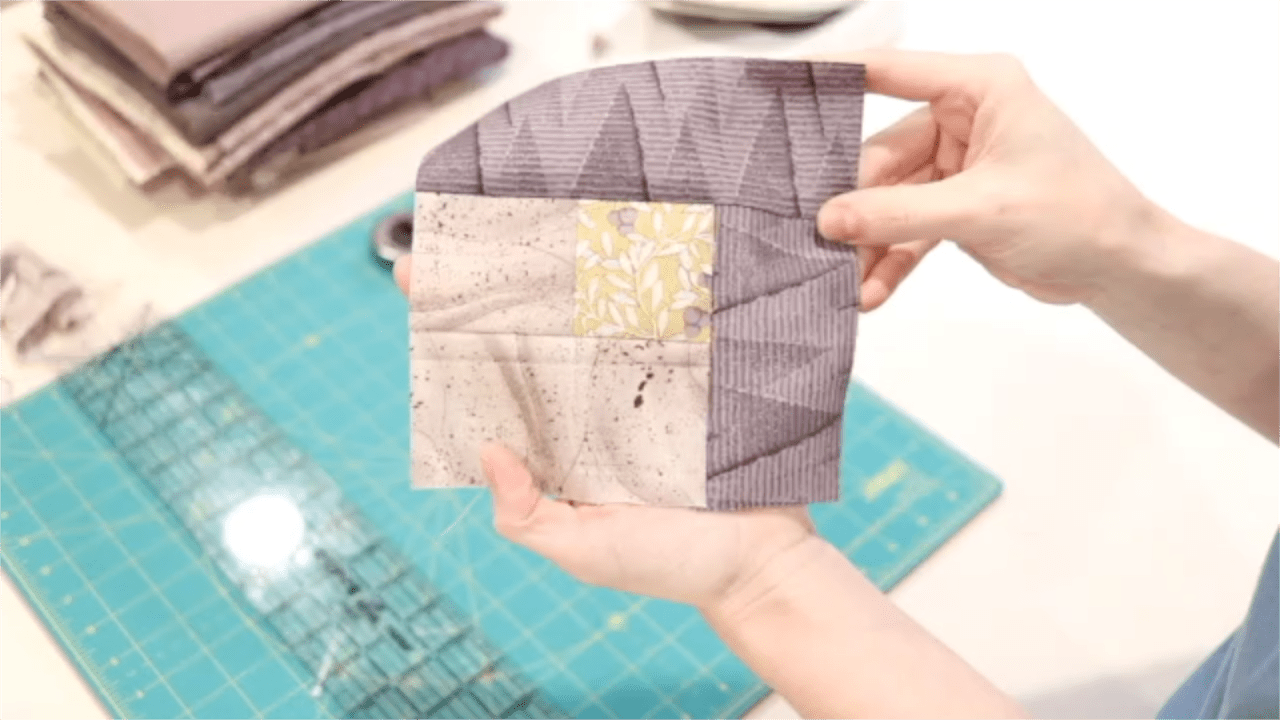
Start with a strip of your center fabric and a first light fabric RST (right sides together). This just means that the printed or “pretty” sides of your fabric are facing together. Using that 1/4″ seam allowance, stitch your two strips together.
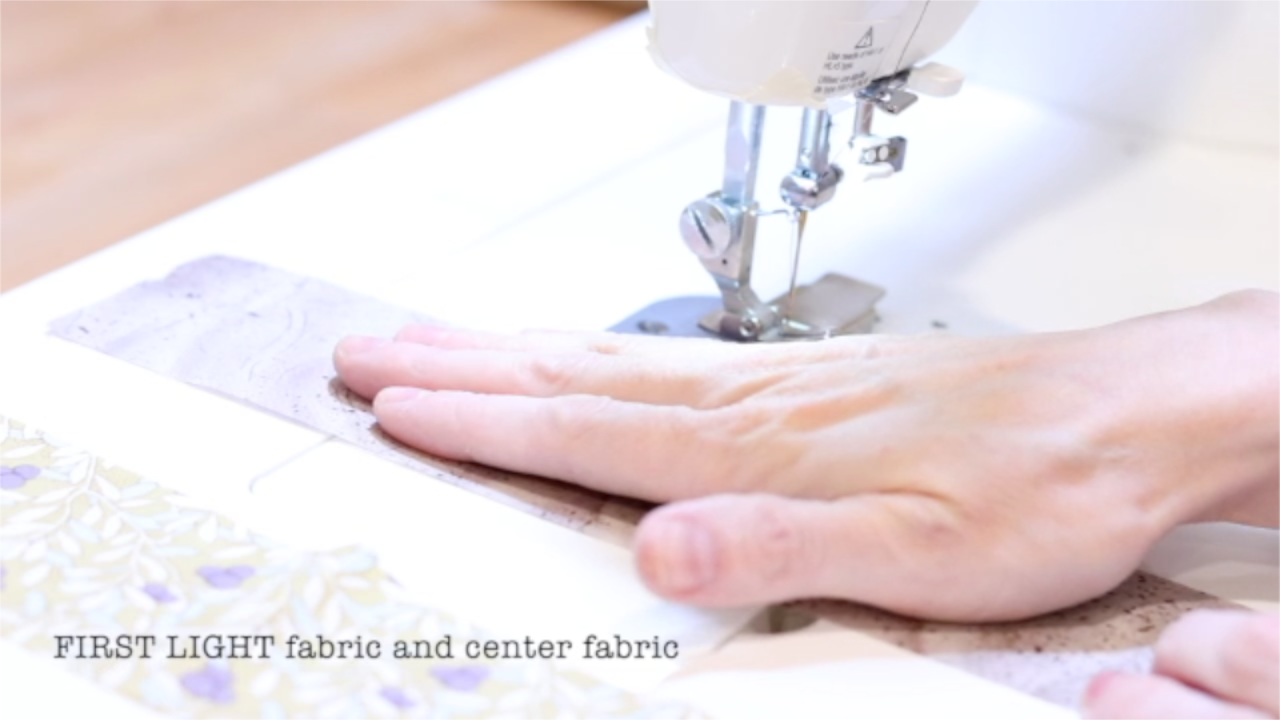
Here’s what the start of your block should look like.
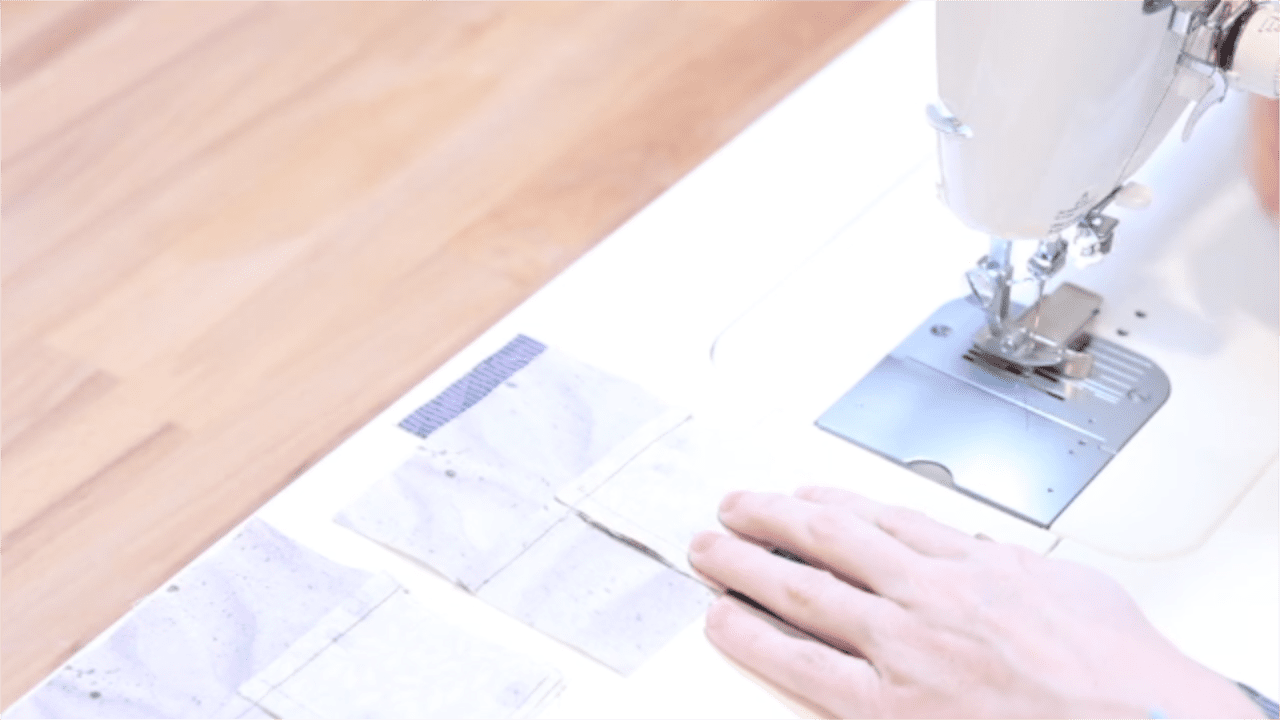
Cut the two strips you previously stitched together into 2.5″ pieces.
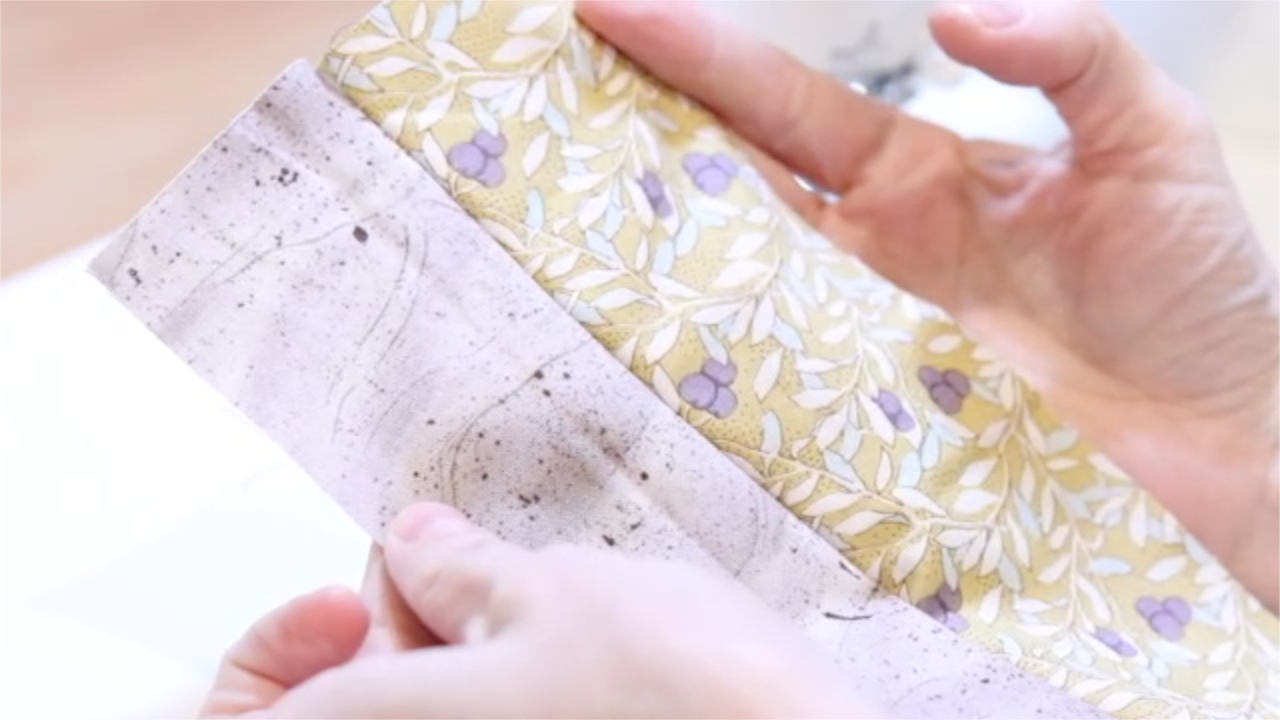
Press
Press the seam open (from the front or back). This is a really important step in assuring accuracy. You should now have your center square attached to a square of your FIRST LIGHT fabric.
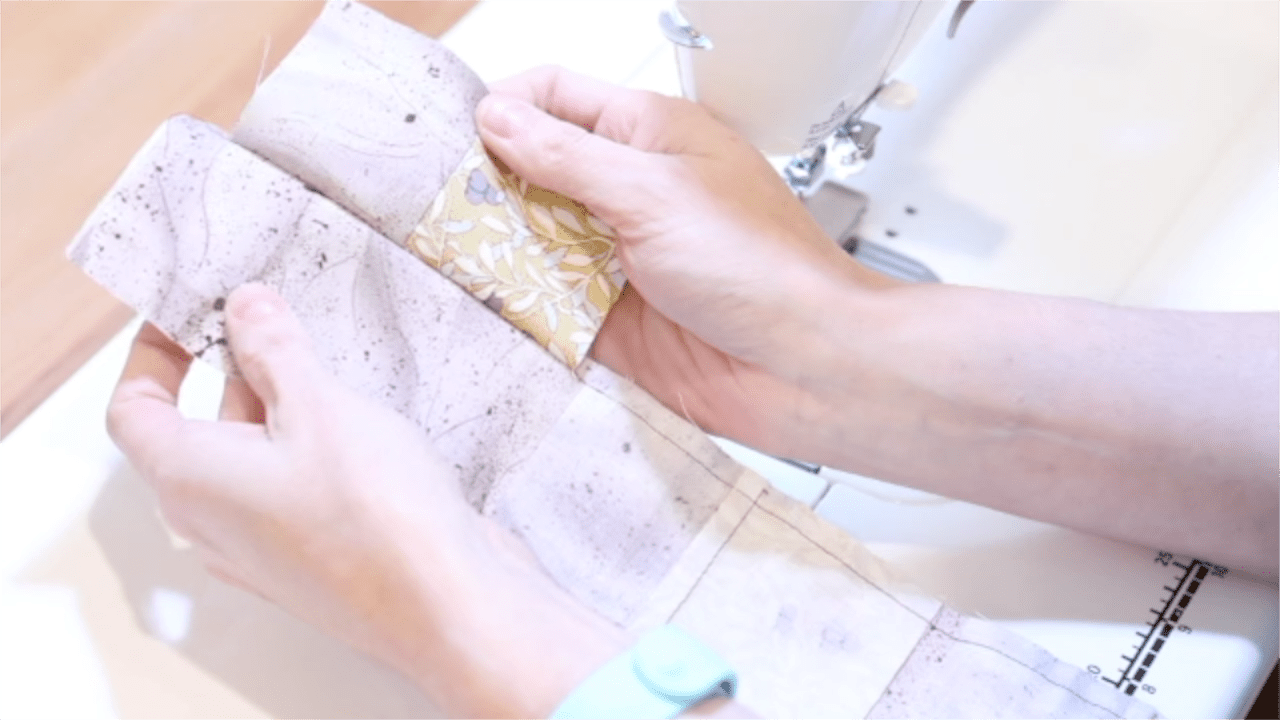
Grab the second strip of your FIRST LIGHT fabric and stitch the “block” (center fabric and the first piece of FIRST LIGHT fabric) together RST. The best way to do this is by placing the last color strip added is going to be RST and at the top of the next strip, you’re adding.
Once you have this second strip of FIRST LIGHT fabric added, head back over to your cutting mat, trim, and press.
Add the first strip of your FIRST DARK FABRIC
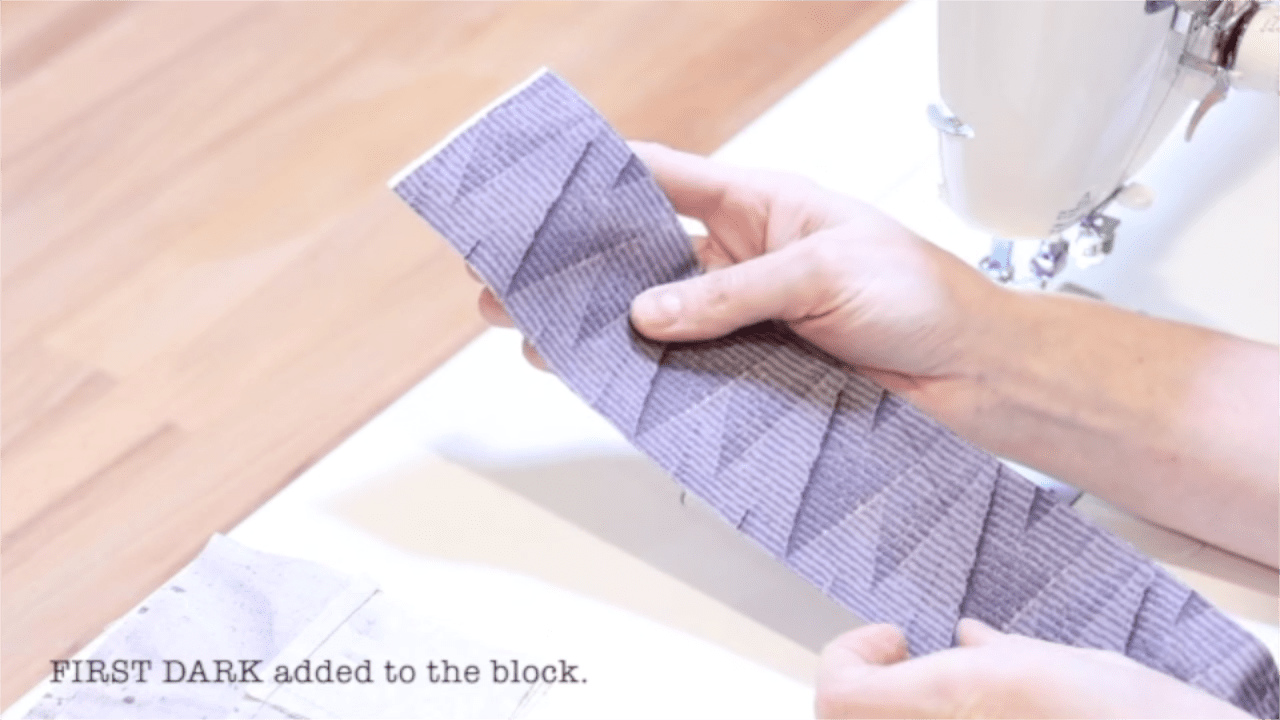
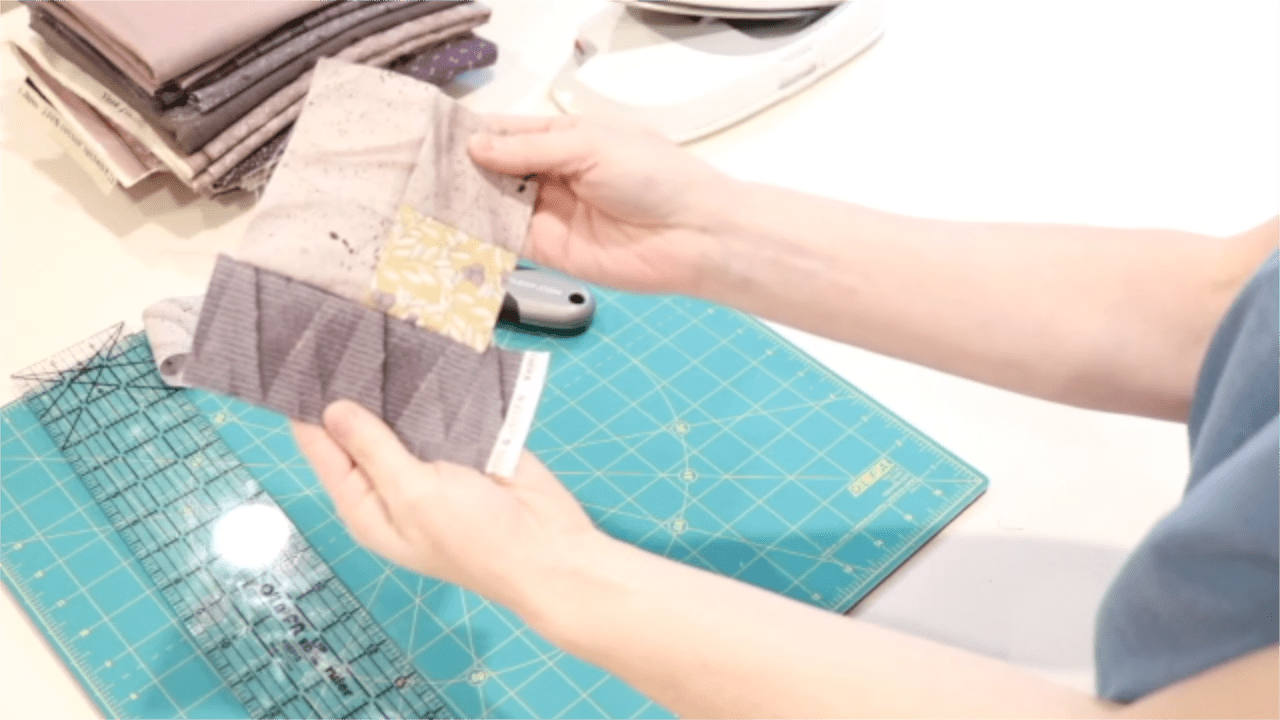
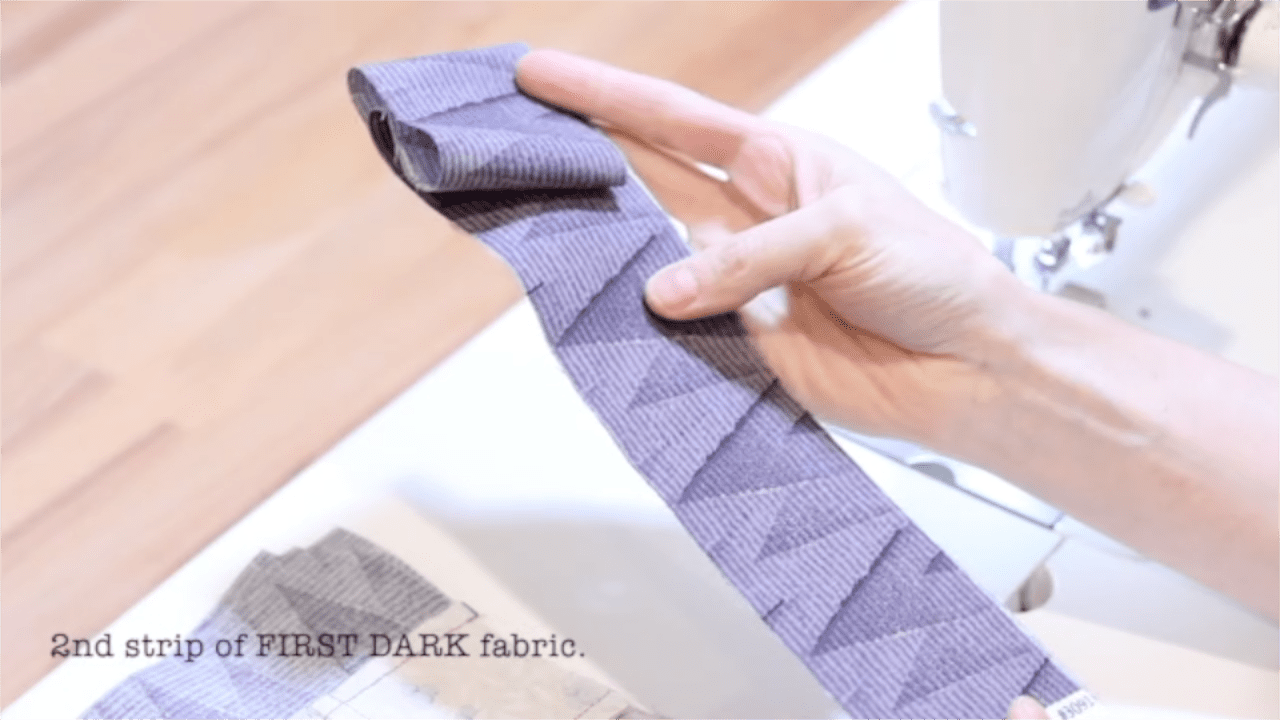

You’ll start to notice as you construct your log cabin block that the dark fabrics will be on one side, and the light fabrics will be on the opposite side. This is how you can easily tell if you have put your blocks together correctly.
Add the FIRST STRIP of your SECOND LIGHT fabric
Now let’s add the first strip of your SECOND LIGHT fabric to the log cabin block.
I’m guessing by now you have started to see a pattern with this block construction.
- Sew a strip of fabric
- Trim
- Press
- Repeat
Log cabin blocks are one of the easiest blocks to tackle when beginning your quilt-making journey in my opinion.
You will continue this process until you have used each one of the varying color strips 2 times in the block.
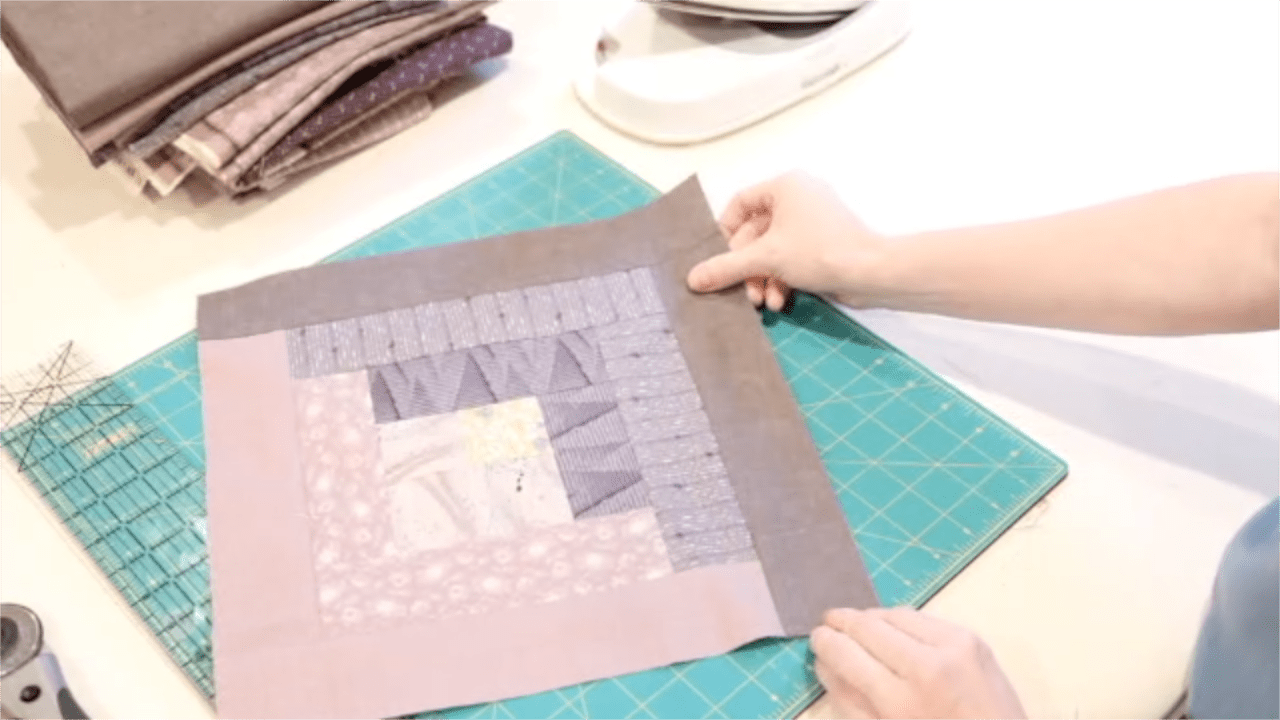
What are the finished log cabin quilt block measurements?
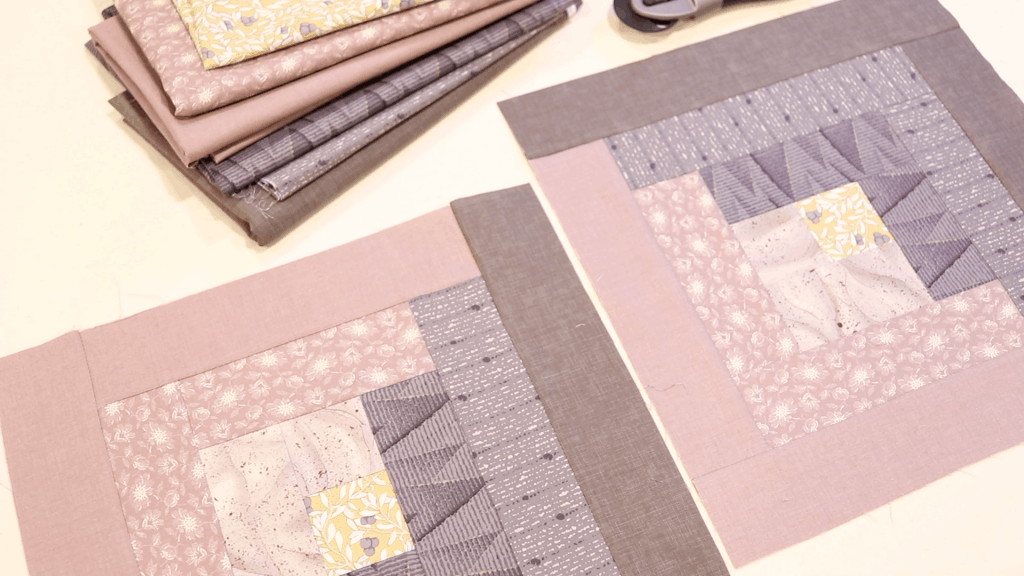
When your block is complete it should measure 14″ x14″ square.
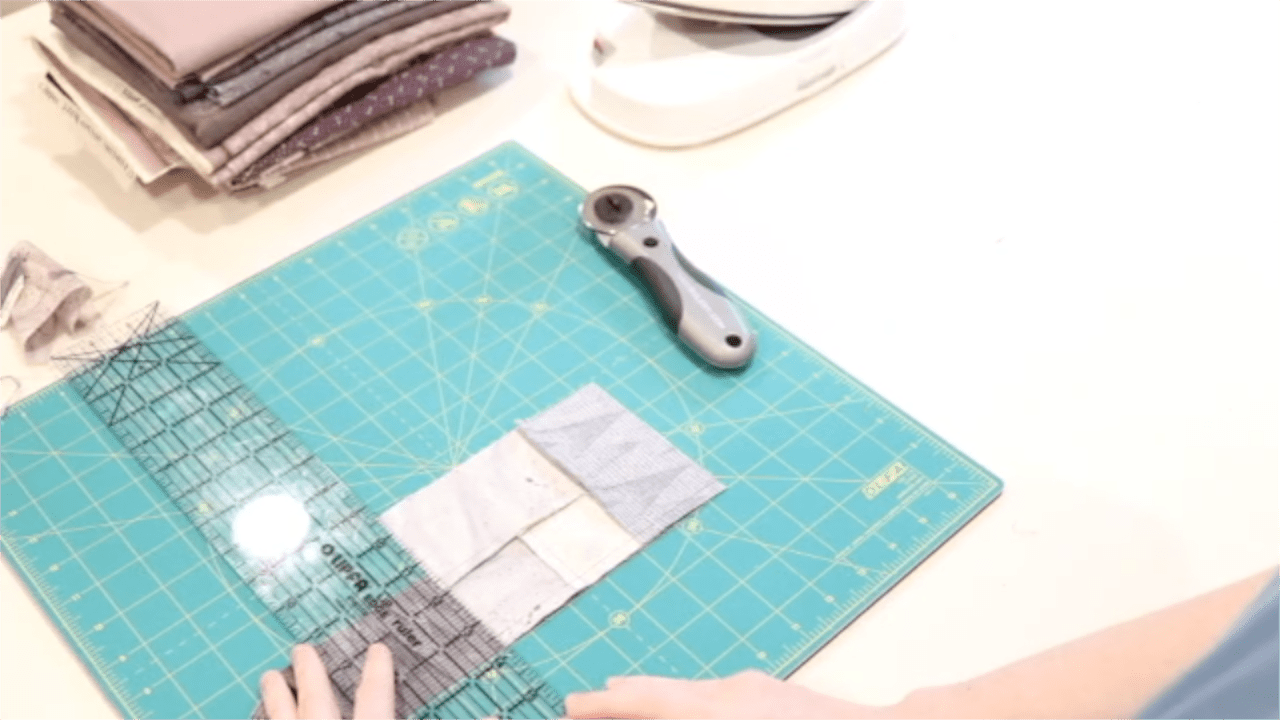
Typically when you are working on log cabin blocks, you’ll use a square-up ruler to make sure your blocks are staying square and straight throughout the process to ensure accuracy. When just starting out, if you use a cutting mat and rotary cutter-I think it is sufficient.
Ask a professional quilter and I’m sure they’ll scream in utter horror at the thought of NOT using a square-up ruler.
But I’m not a professional and I want to keep this fun and as simple as possible.
What are the best tools for making quilt blocks?
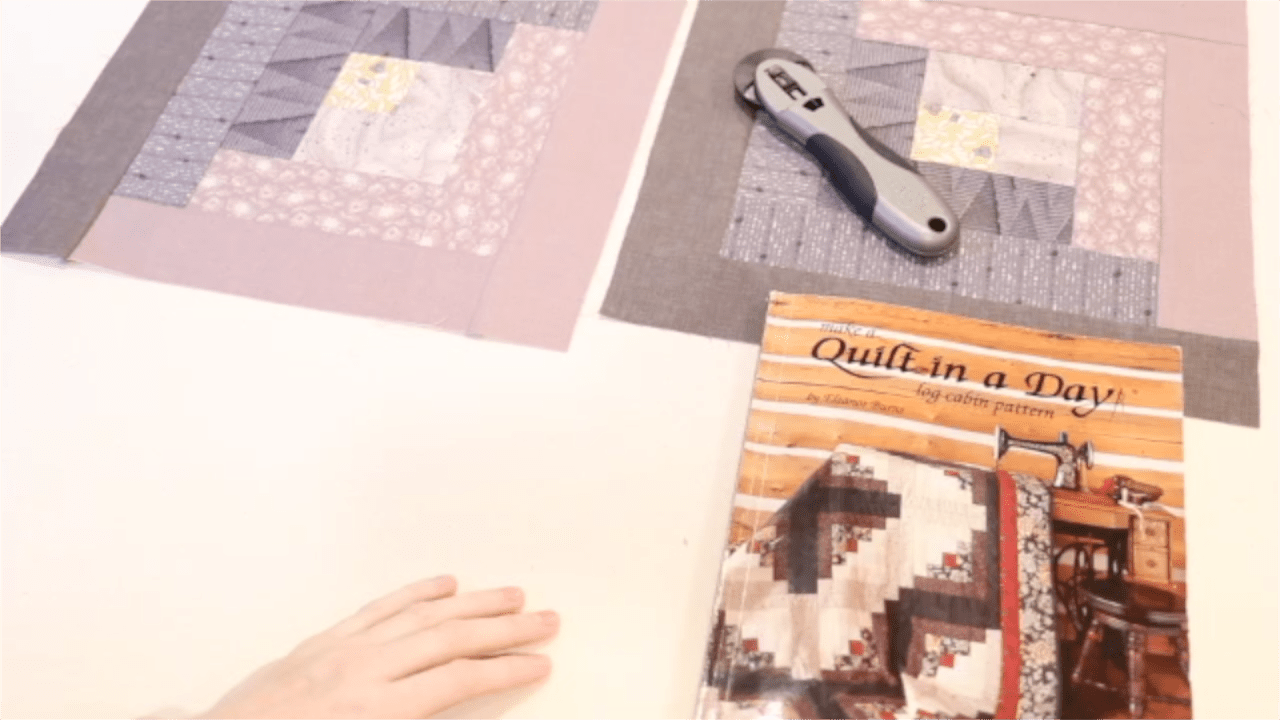
This book is an amazing resource for anyone, but especially those just starting out.
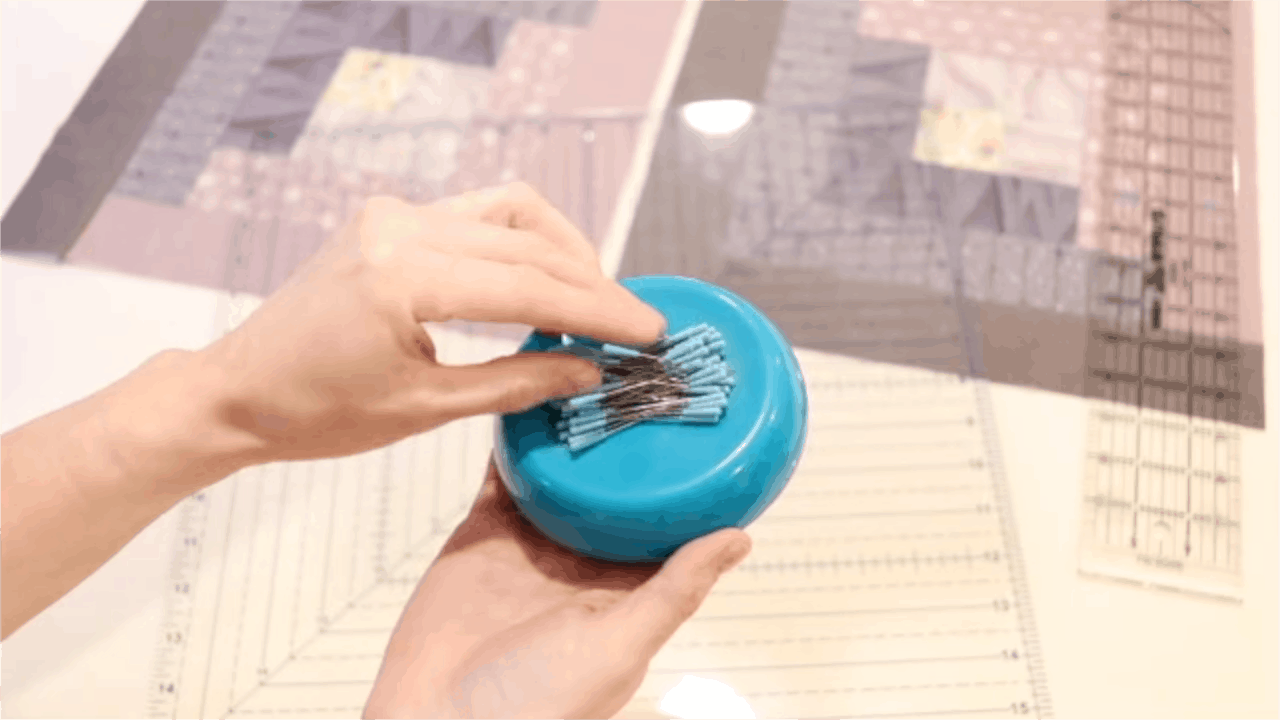
- My favorite magnetic pin cushion
- The BEST sewing pins (if you accidentally iron over them they don’t melt!)
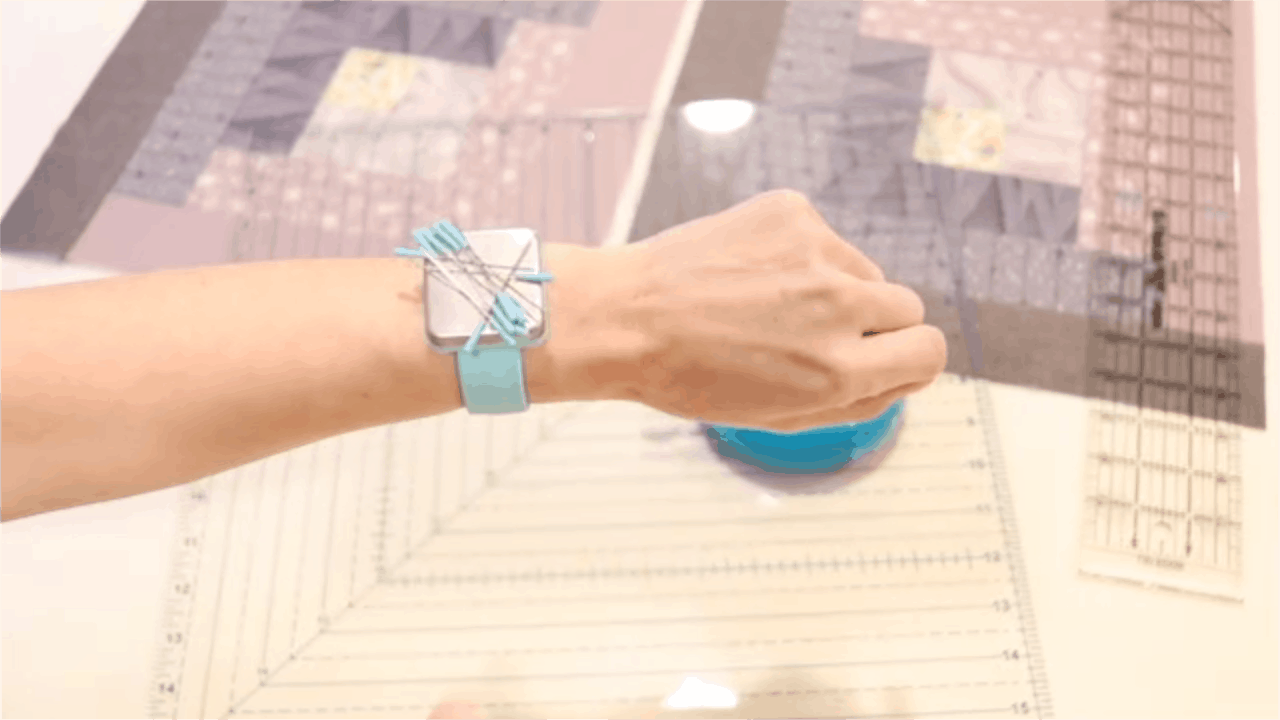
These bracelets will fit most wrist sizes. These have snap bracelet-style wrist bands so they are super comfortable to wear as well.
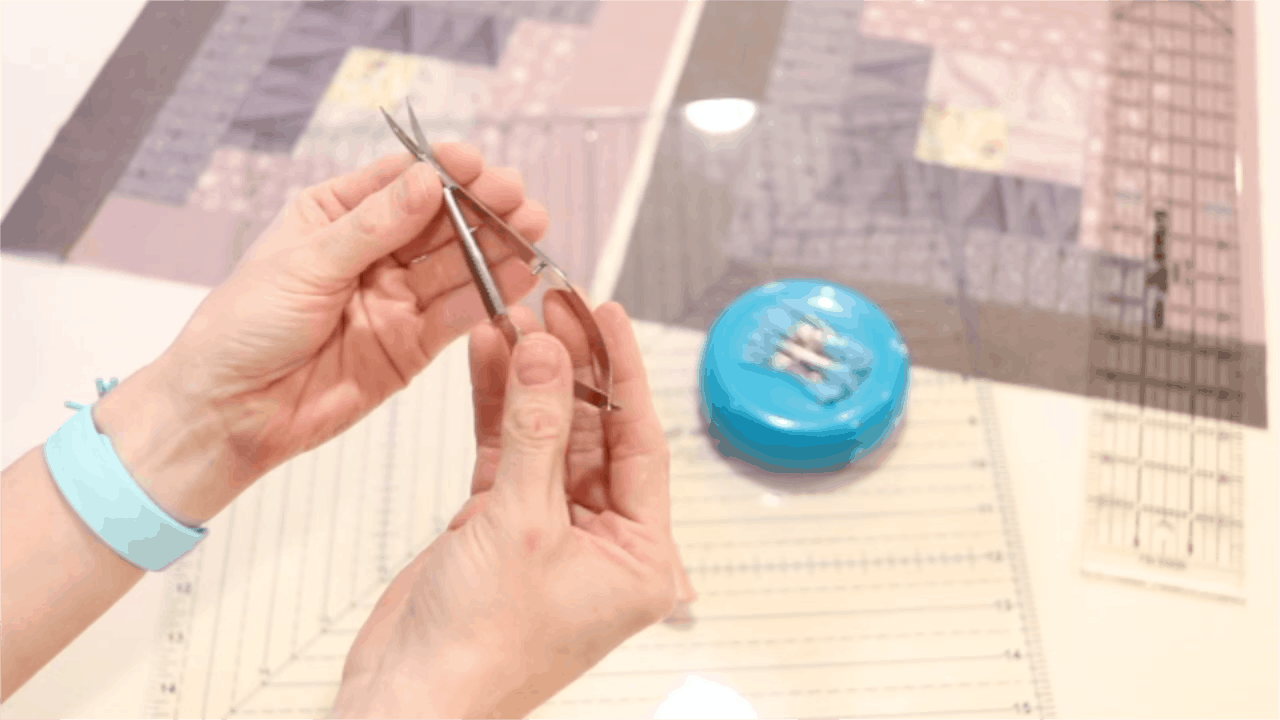
- Havel thread snips. LOVE!
Well, that’s how simple it is to construct a log cabin quilt block. I hope you guys enjoyed this tutorial and will give these blocks a shot.
Have you tries making your own log cabin quilt block?
How did your first quilt block turn out?
Did you make your own quilt blocks using this tutorial? How did it go? Did you find the process pretty easy? Let me know in the comments.
Until next time my sewing friends,

More sewing tutorials from the homestead
Be sure and check out all my sewing and quilting-related tutorials over on my YouTube channel!