Quilted Coasters
Make these adorable quilted coasters with this easy-to-follow sewing tutorial.
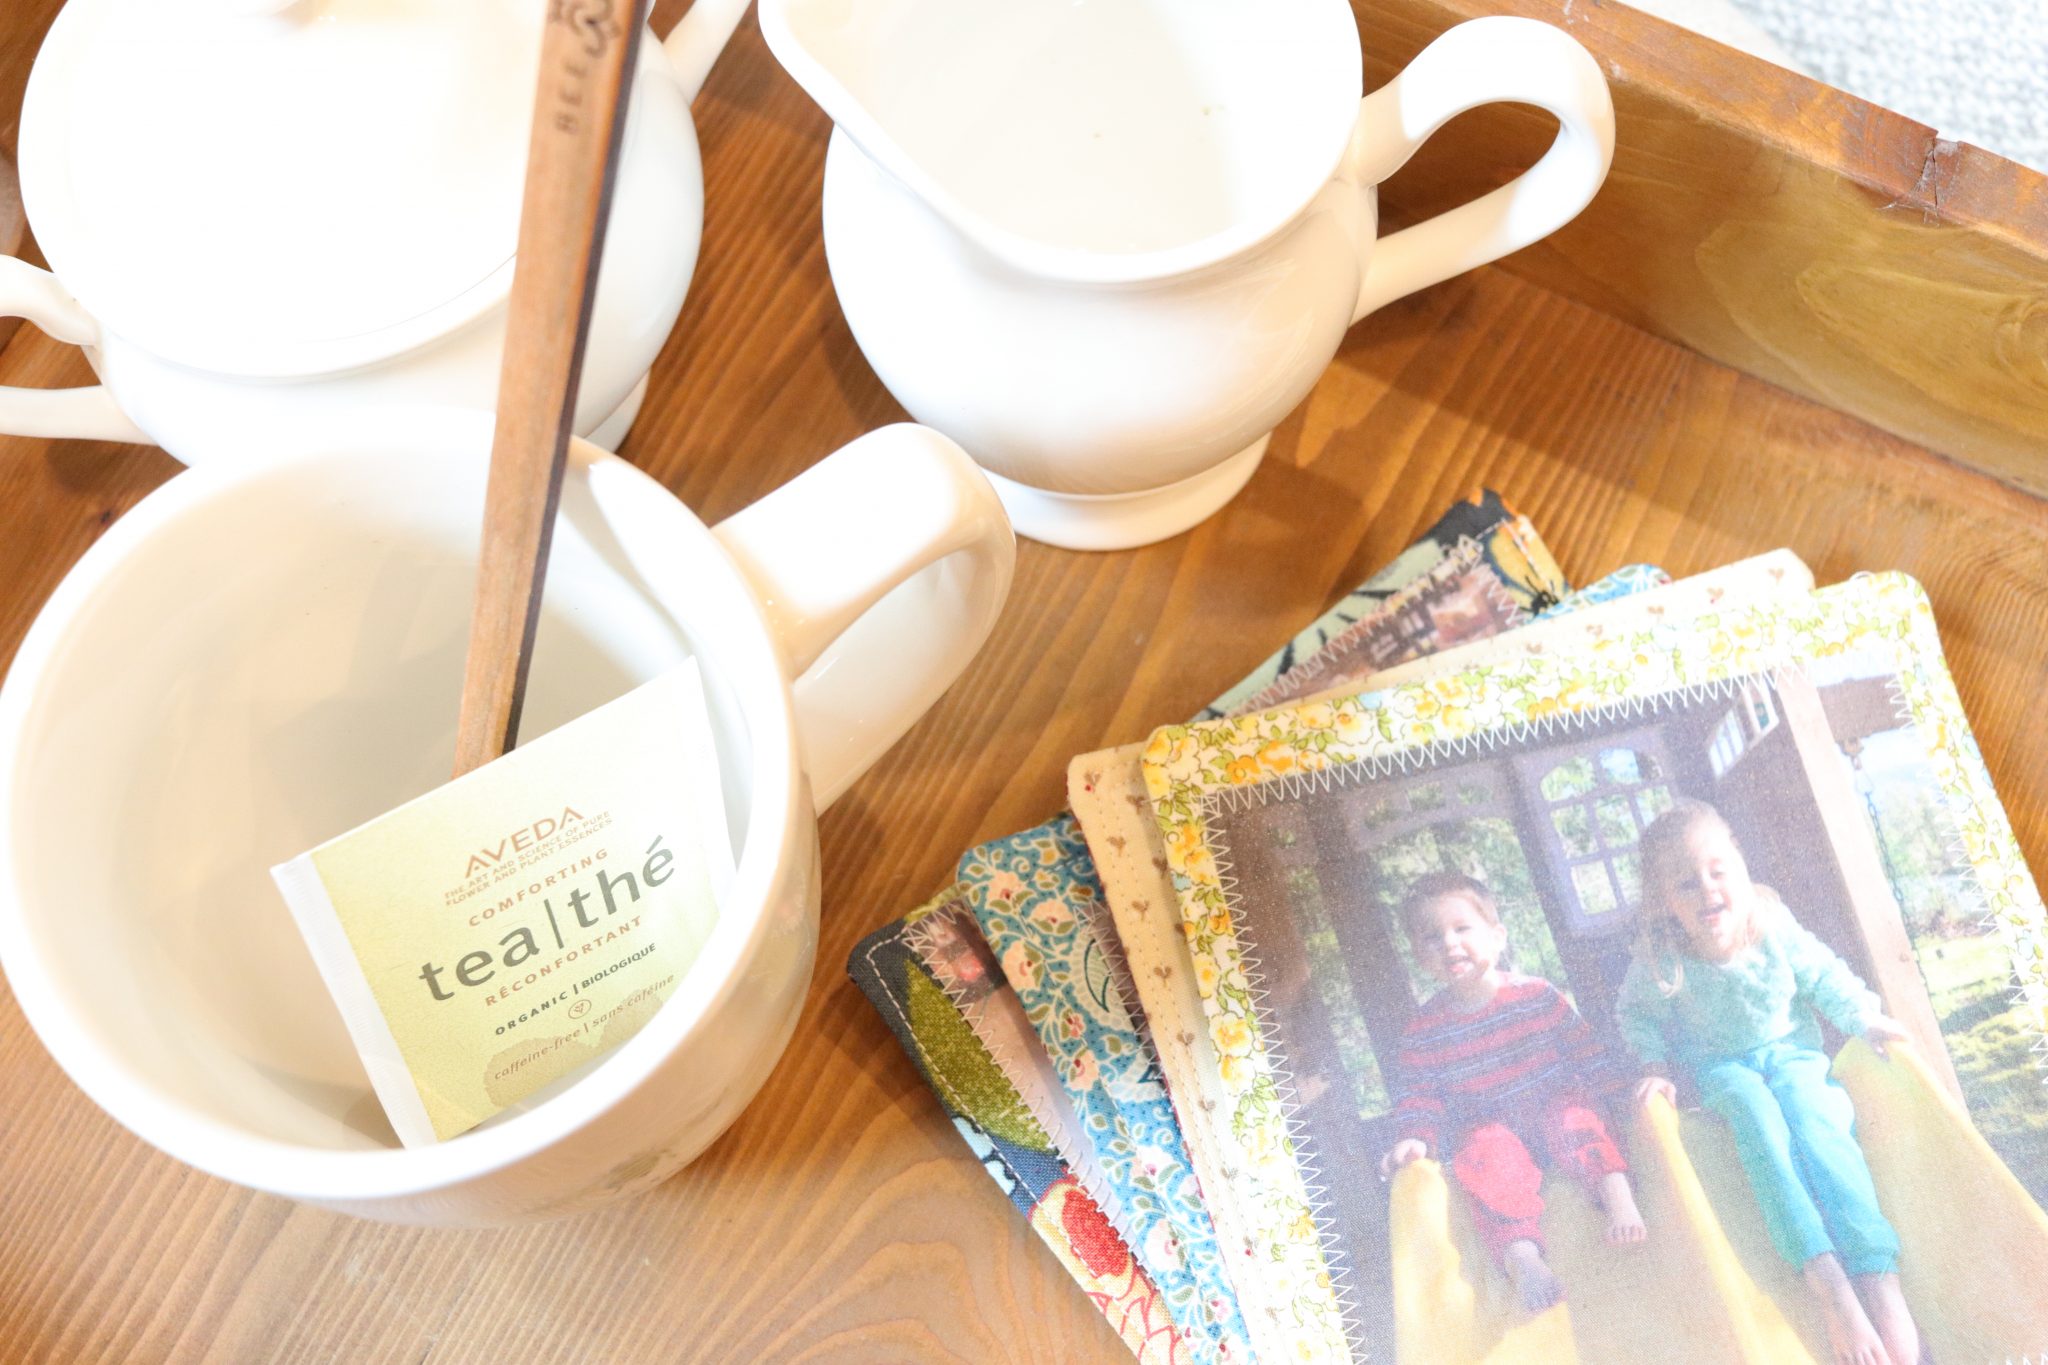
These quilted fabric coasters can be made any size with any fabric you choose. They make a great personalized gift for all the people you love for any holiday or occasion.

Some of these links are affiliate links. You can read my full disclosure HERE.
Supplies
- Fabric
- Thread
- Printable fabric sheets
- Fabric gel and paint brush
Tools
- Sewing machine
- Iron and pressing surface
- Ruler or tape measure
- Cutting mat
- Scissors or rotary cutter
Cutting the fabric
- Cut 6″ x 6″ squares of fabric (one from the fabric your picture will be attached to and one for the back of your coaster. I always opt for a coordinating print). You’ll need (2) squares of fabric for each coaster you make.
**** Print your photos 4 inches by 4 inches for this sized coaster ****
2. Next cut 5″ x 5″ squares of fabric (one from the fabric your picture will be attached to and one for the back of your coaster. I always opt for a coordinating print). You’ll need (2) squares of fabric for each coaster you make.
*****Print your photos 3″ x 3″ for this sized coaster.