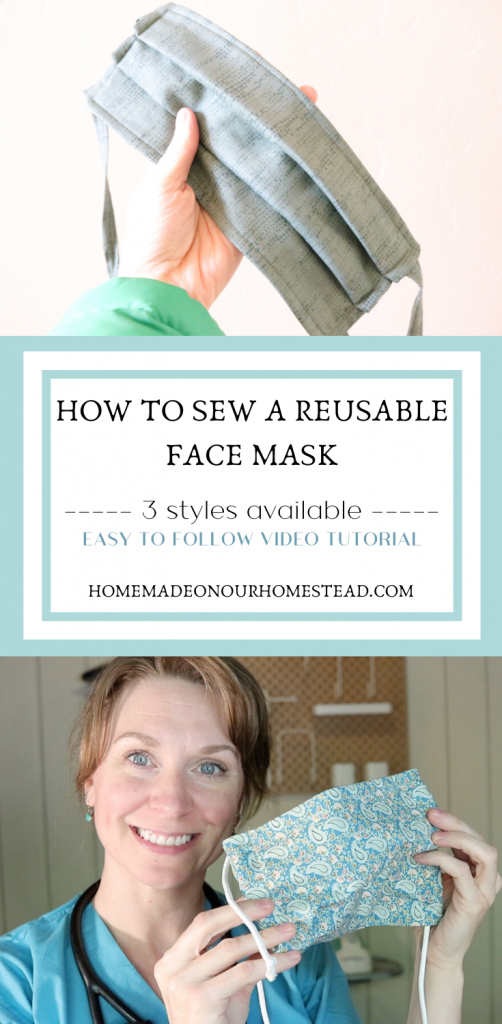
HOW TO MAKE A SIMPLE FACE MASK
Learn how to make a simple face mask with easy to follow tutorial.
Why this face mask?
There are a couple reasons as to why this face mask is the best one to make if you are in need of mask.
- It’s simple and perfect for beginners. To make these masks you’ll only need to know how to sew a straight seam. No curved corners or difficult filter pockets. This pattern is FREE and straight forward.
- This face mask is equipped with a simple filter pocket if you’d like the added protection.
- Simple to tie. No elastic required.
- Made from 100% cotton fabric so it’s breathable, comfortable and durable.
Hospitals, clinics and long term care facilities are relying on crafters and sewers to help with the nationwide shortage of PPE equipment.
Today I’m going to show you how to sew a simple reusable face mask with filter pocket. I have included a FREE sewing pattern template for you to make things as easy as possible. This pattern is the easiest sewing pattern out there for a DIY face mask. Great for batch sewing for hospitals because the pattern is so simple to construct. Let’s gather the supplies and I’ll show you how.
Video tutorial for how to make a simple face mask
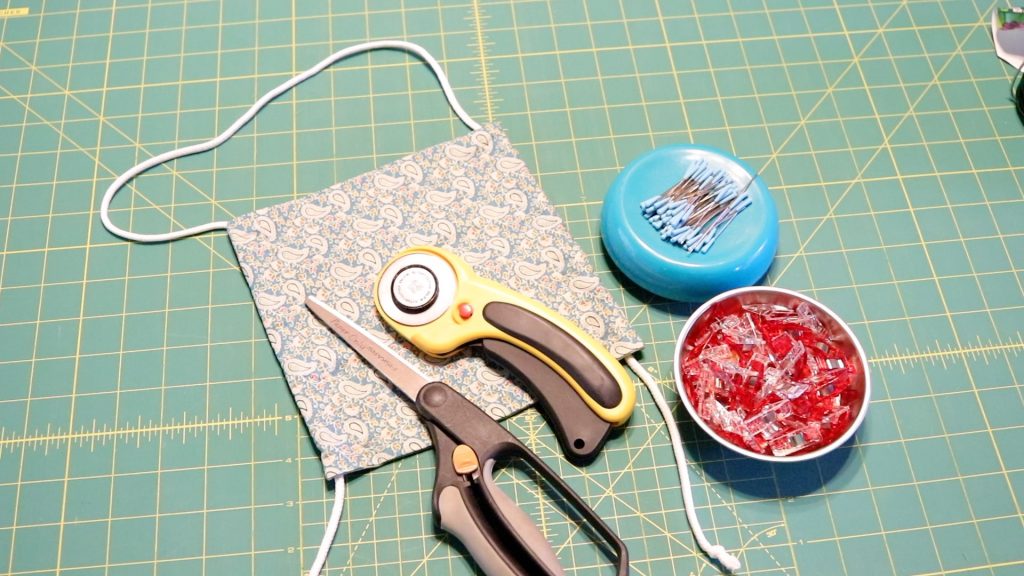
Supplies you’ll need to sew these DIY face masks:
- sewing machine
- scissors or rotary cutter
- cutting mat
- 100 % cotton fabric
- iron
- sewing pins of sewing clips
- Pin cushion. This one is by far my favorite-it’s magnetic!
- cording material (I used 3/16th inch synthetic cording). Any tie material will work (shoelaces, drawstring cording, jersey knit cording and paracord are just a few of the ones Ive heard of being used).
- metal for nose piece (pipe cleaner, metal sandwich bag ties, gardening wire (thin) just to name a few options.
- small pliers (you’ll use these to bend the end of the wire in).
Face mask sewing pattern-click “download” for your pdf
This is a FREE pattern template for those who hate having to measure and cut rectangles of fabric.
Simple face mask pattern is made to fit on (1) piece of 8×10″ printer paper to avoid confusion and frustration when cutting out your face mask pattern.
Step 1:
- Cut out your paper pattern.
Before we begin our mask cutting and assembly, turn you iron on.
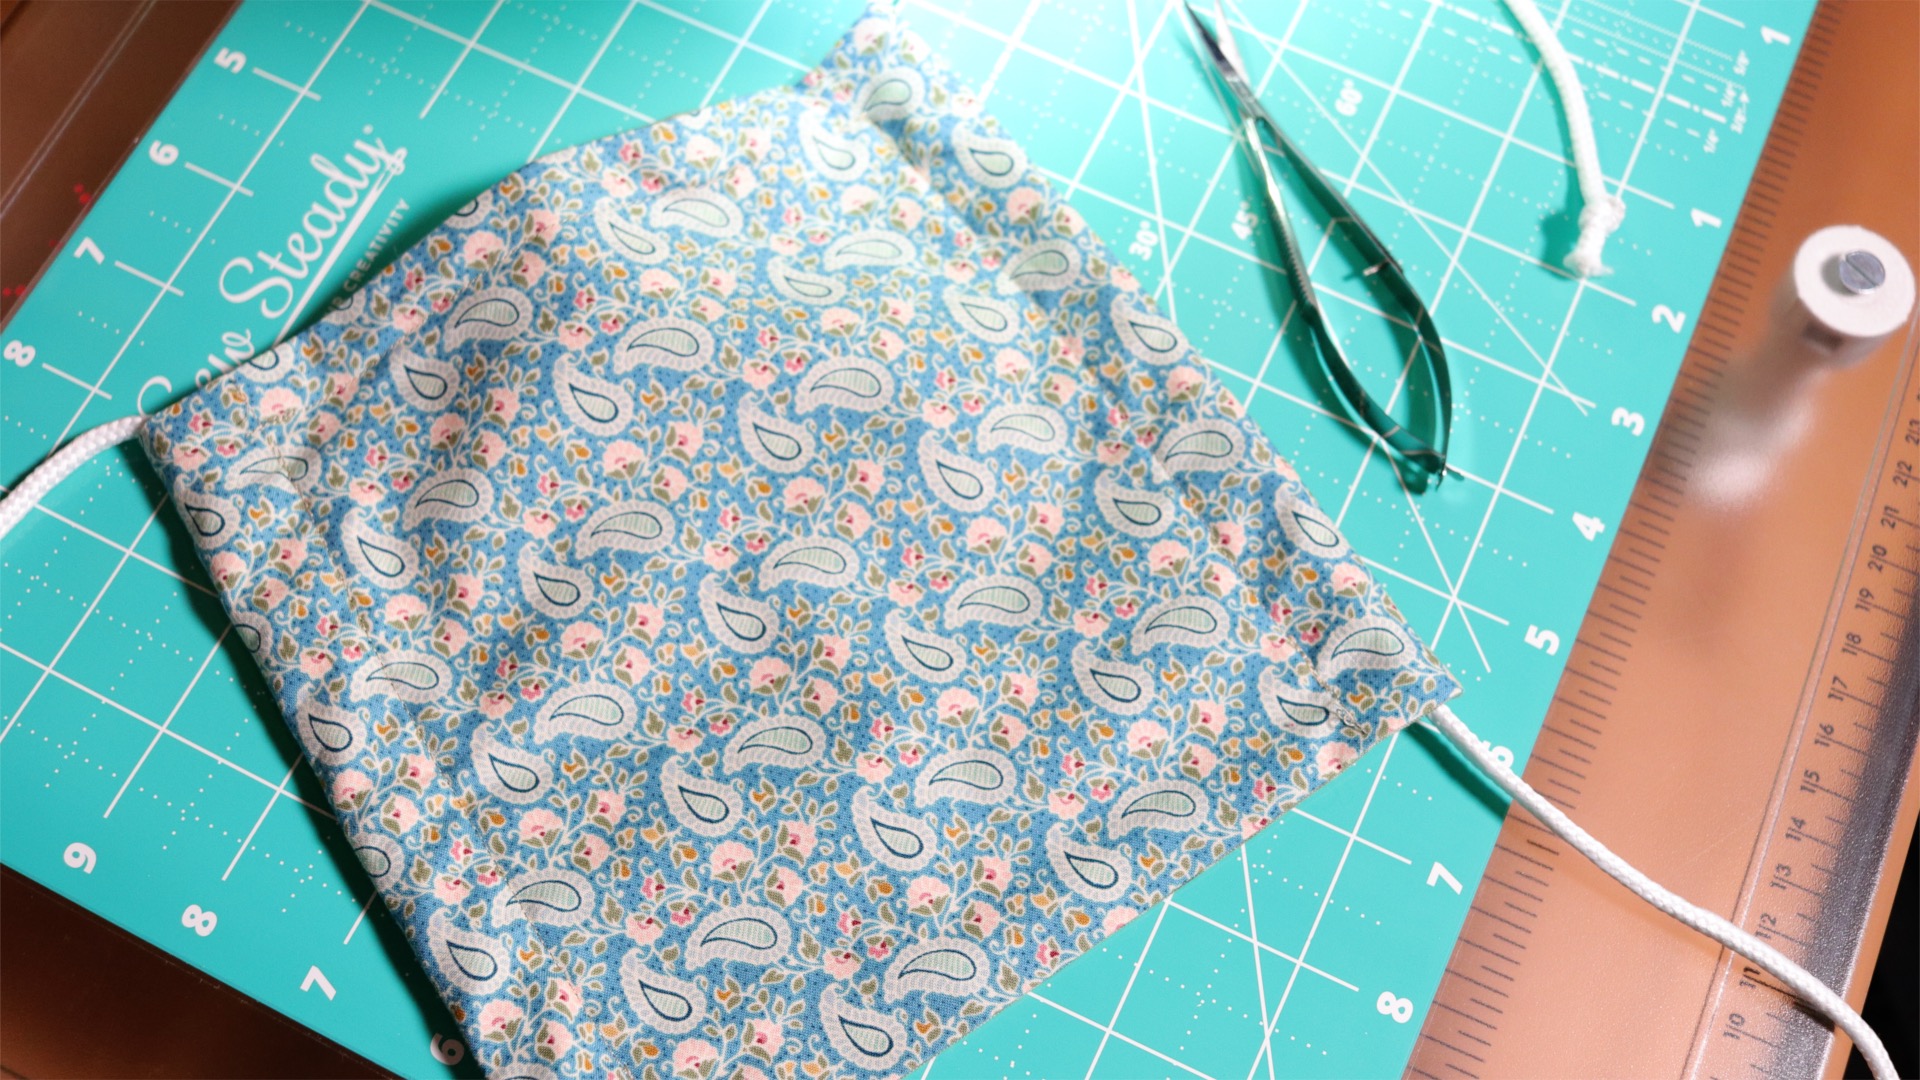
Cut your cording (whatever you have decided to use for this), 50″-60″ in length. This allows flexibility with fit later.
If you are donating these to hospitals, leaving the cord extra long will allow virtually anyone to be able to wear the mask. Once you have cut your cording to length, tie a knot at each end. This will prevent the cord from unraveling with frequent washing and excessive use.
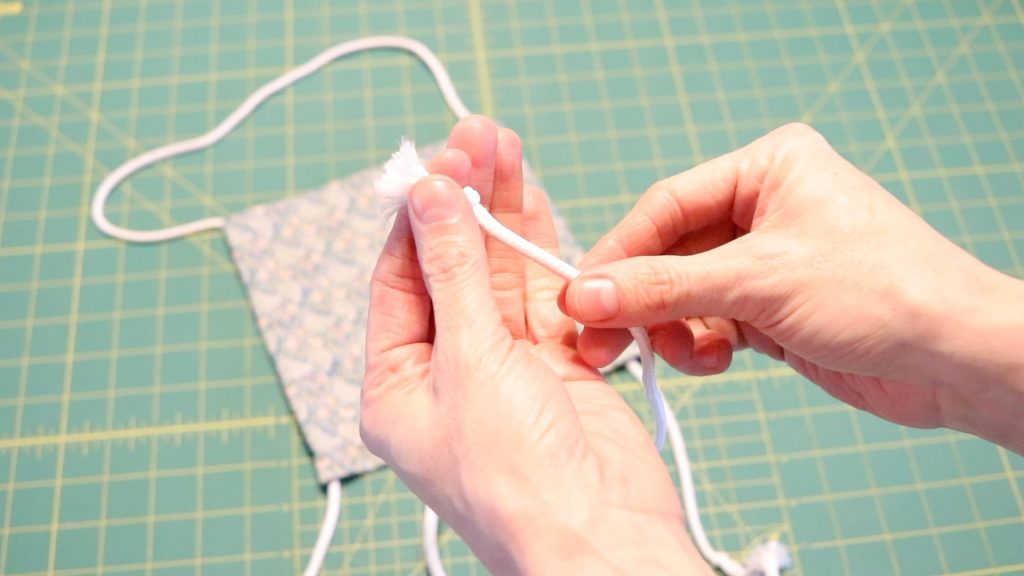
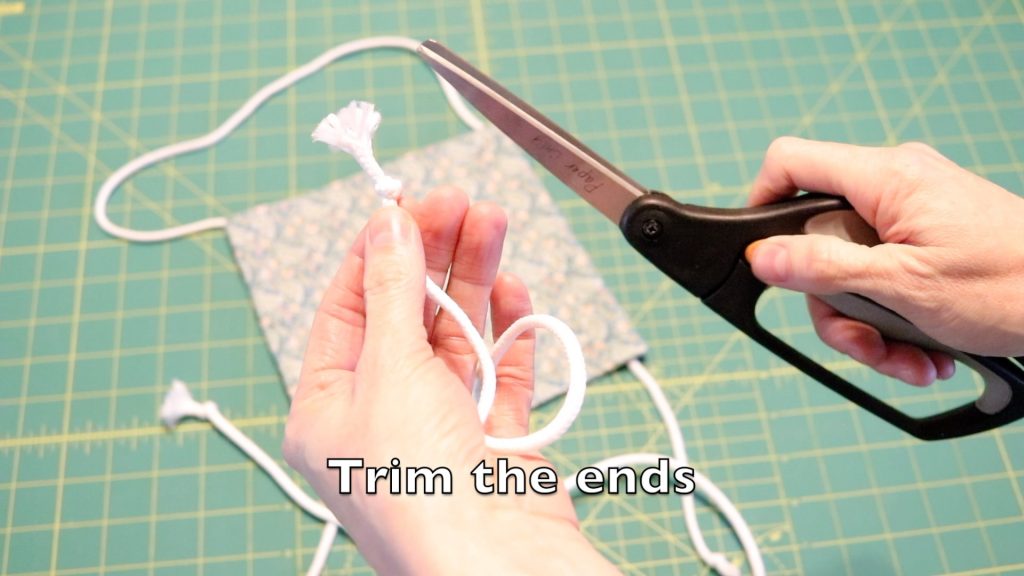
- Once you have the knots tied on each end of the cord, you can use a lighter to melt the ends if you’re using a synthetic material. This step isn’t necessary. If you are going to do this, take caution that the plastic will be HOT and have the potential to cause burns unless you let it cool fully first.
- Set your piece of prepared cording off to the side until we are ready for mask assembly.
Prepare fabric for face masks:
- Make sure BEFORE you begin cutting your fabric, that you wash, dry and press your quilting cotton. This will just ensure that any shrinkage in the material happens before you sew. Depending on the cotton fabric, it make shrink substantially after you sew and wash it if it wasn’t pre-washed. This is a very important step.
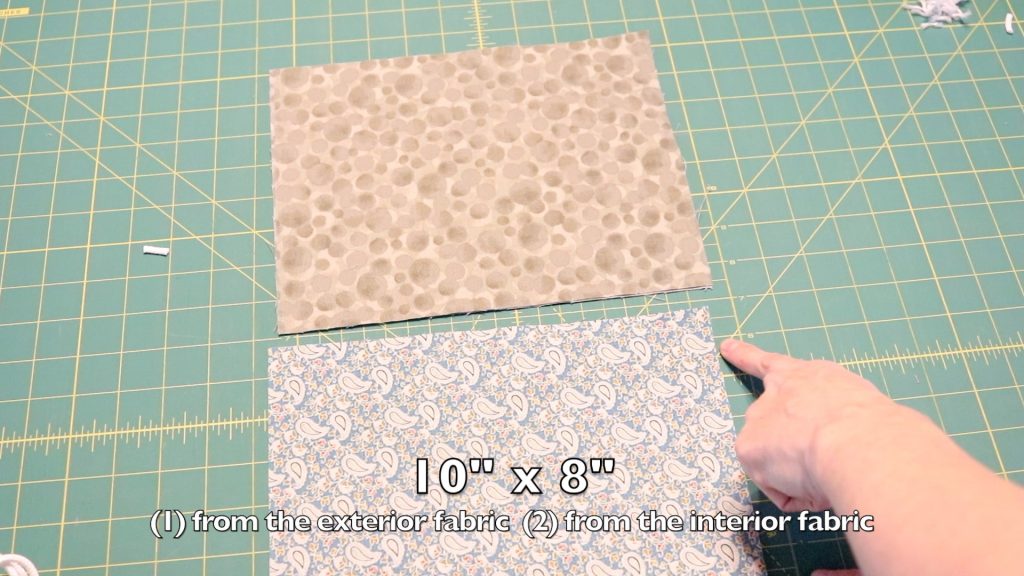
- Cut (1) piece of fabric 10″ x 8″ from your EXTERIOR FABRIC.
- Cut (2) pieces of fabric 10″ x 8″ from your INTERIOR FABRIC.
- I prefer to use a rotary cutter and cutting mat for this part. This ensures that all the pieces are the exact same size which will make for more consistent mask sizes. However, scissors will also work just fine. Use whatever you have on hand.
Begin assembly of simple face masks:
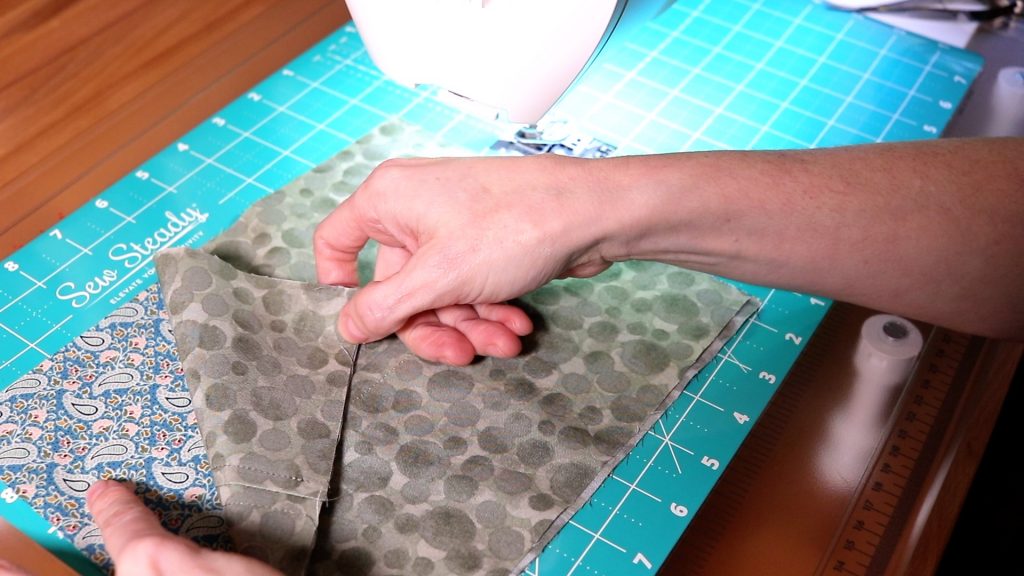
- Start by taking your (2) INTERIOR FABRIC pieces and lay them RST (right sides together-this just means the pretty side of the fabric facing the other pretty side of the fabric). See picture below.
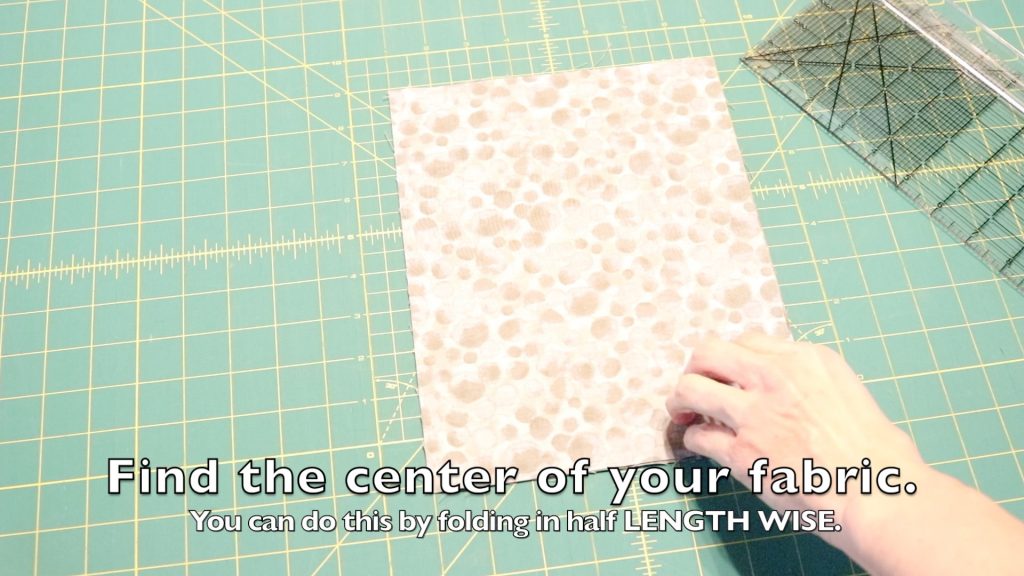
- Find the center of your fabric. You can do the by folding in half LENGTHWISE and giving it a quick finger press to create a pressed seam.
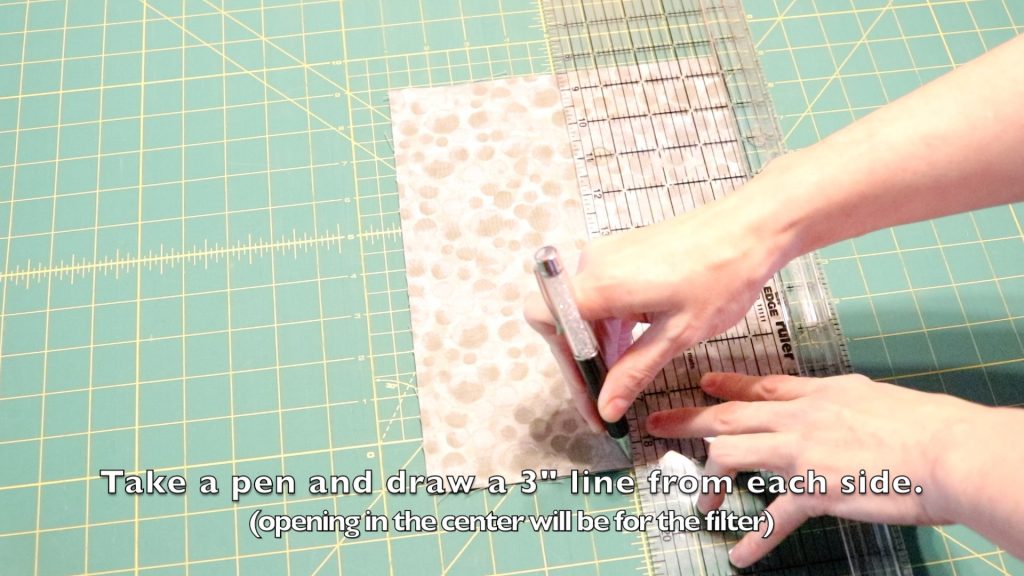
- Lay your ruler on the center of your fabric lengthwise. Mark a 3 inch line from the top towards the center and then from the bottom to the center. There will be a gap in the middle that isn’t sewn. This will be where you can insert any type of filter material you desire.
- Once you have marked your fabric, it’s time to begin sewing.
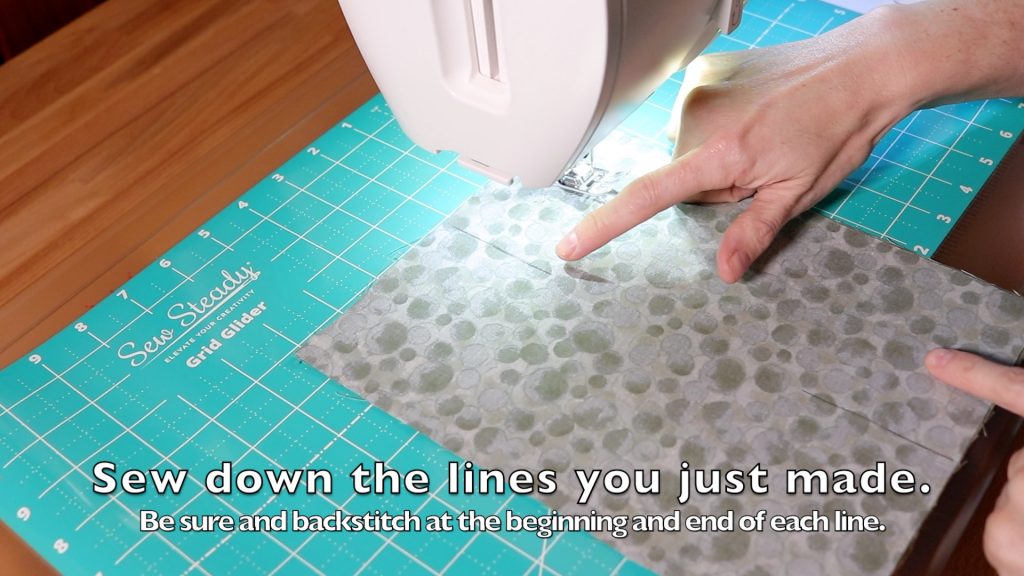
- Be sure you back stitch at the beginning and end of each line of stitching. Once you are finished with this step, it’s time to begin pressing.
Cont.
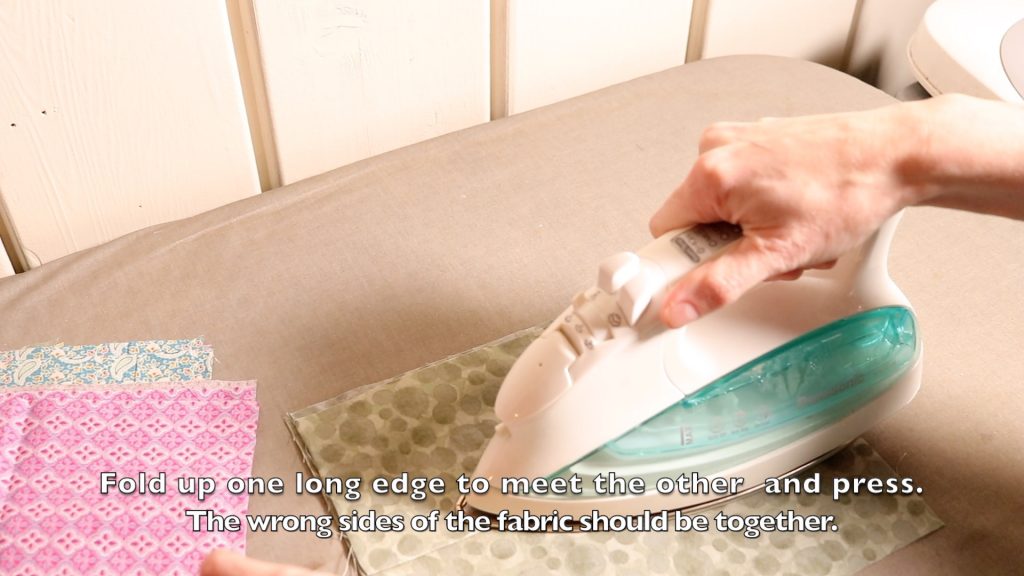
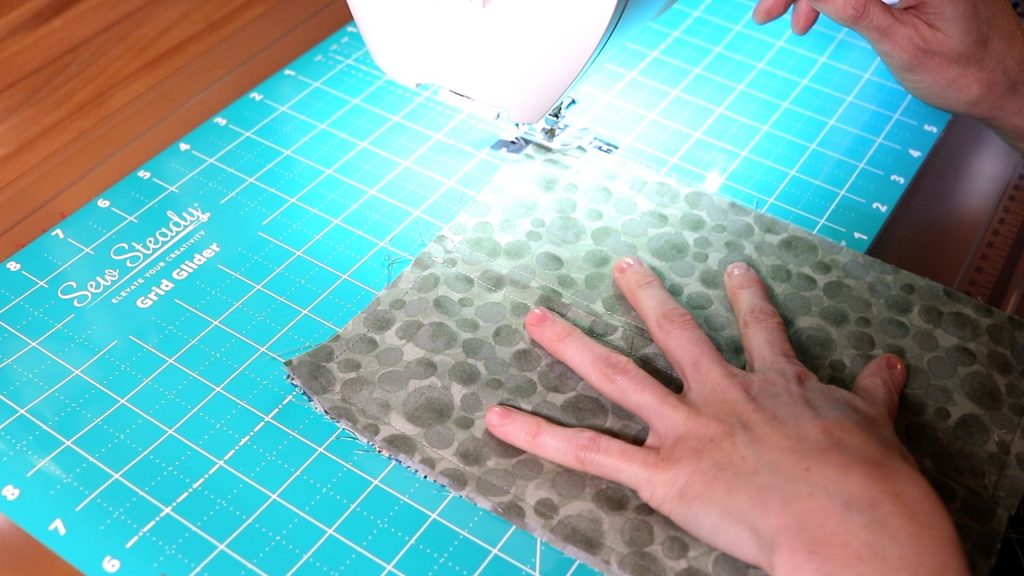
- Fold up one of the long edges of your fabric. The long edge should meet the other long edge. Press lightly.
- Flip your fabric over and repeat the above step for the other long edge.
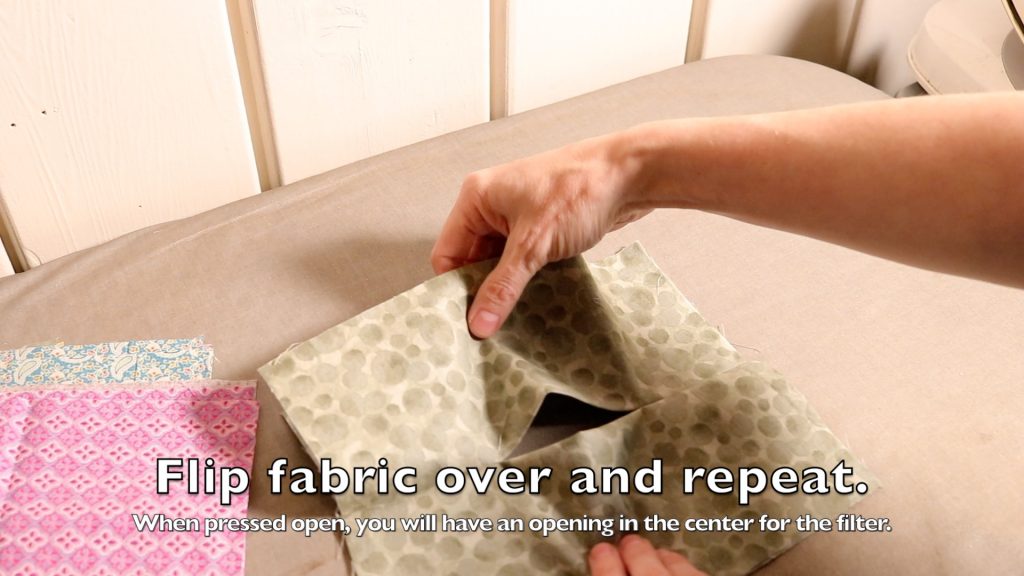
So now you should have the WST (wrong sides together) with your fabric rectangle.
The opening or “filter pocket” should be in the center.
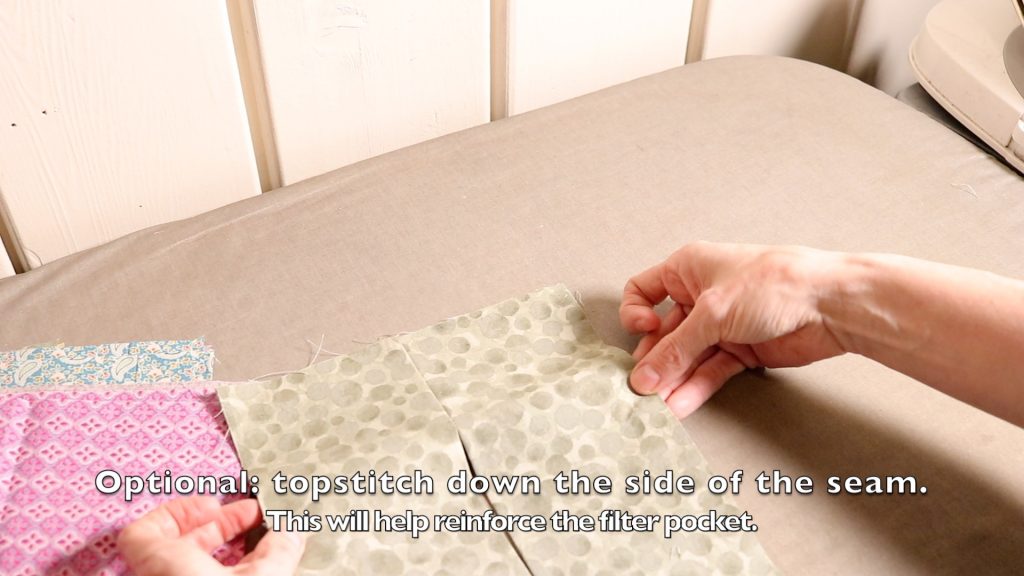
- I prefer to topstitch 1/4″ seam down the side of the center seam. This step is optional but will help keep the fabric laying more flat with repeated uses and washing.
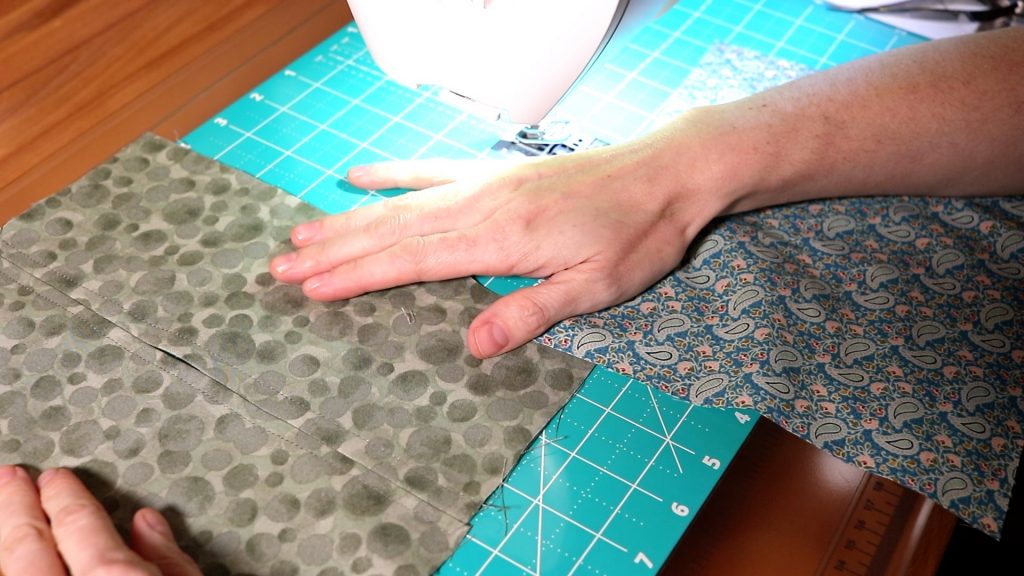
- Next, lay your filter pocket onto of the right side (pretty side) of your EXTERIOR fabric.
- Pinning and or clipping your fabric together at this point is optional and based on your comfort level for sewing. I placed 2 pins in these pieces. Just to keep some shift from happening while sewing. Once pin on each side of the seam. Again, this is OPTIONAL.
- Using a 1/2″ seam allowance, sew around the perimeter of your rectangle of fabric. You do not need to leave an opening for turning because we will turn the mask through the filter pocket slit in the center. Be sure and backstitch at the beginning and end of your sewing lines.

- CAREFULLY clip the all 4 corners. This will eliminate some of the bulk in those areas and will allow your mask to lay more flat. Be sure NOT to clip through the stitching lines you have just sewn. If you do, this will create hole in each corner. If you aren’t comfortable doing this, you don’t have to.
Turn your face mask RSO (right sides out):
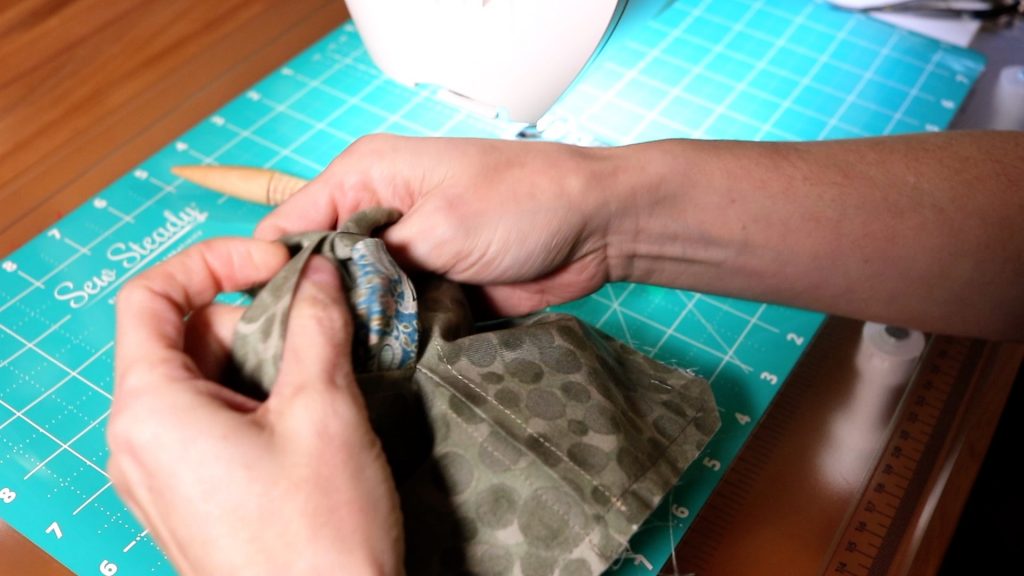
- Carefully pull your mask through the filter pocket opening. Use any sort of tool you have on hand to do this. This is the TOOL I prefer. It’s actually 4 tools in 1. Love it!!
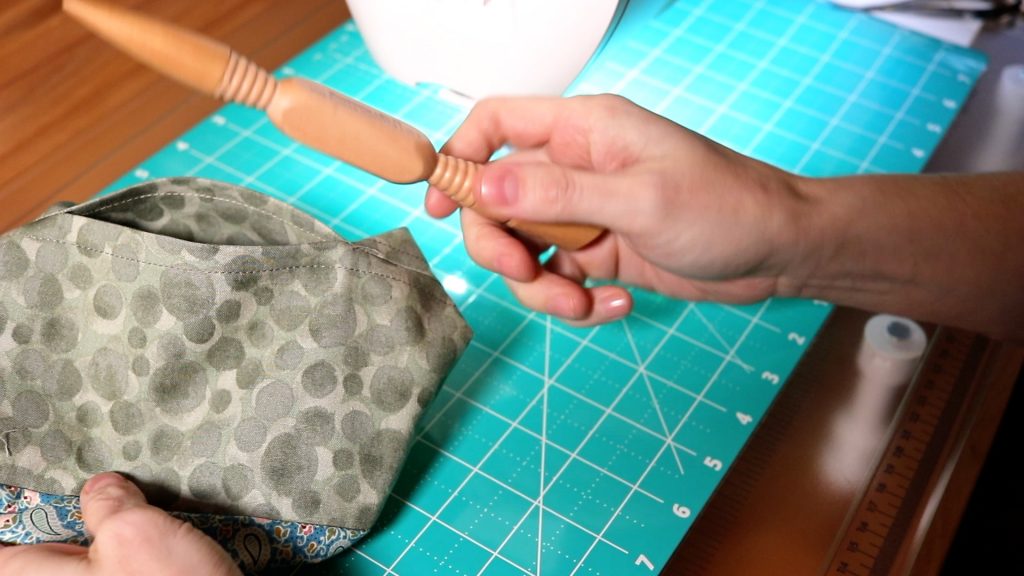
- Using a pencil (eraser end) or your multi-tool, push each one of the corners out. Be careful not to force it, as you don’t want to rip through your fabric.
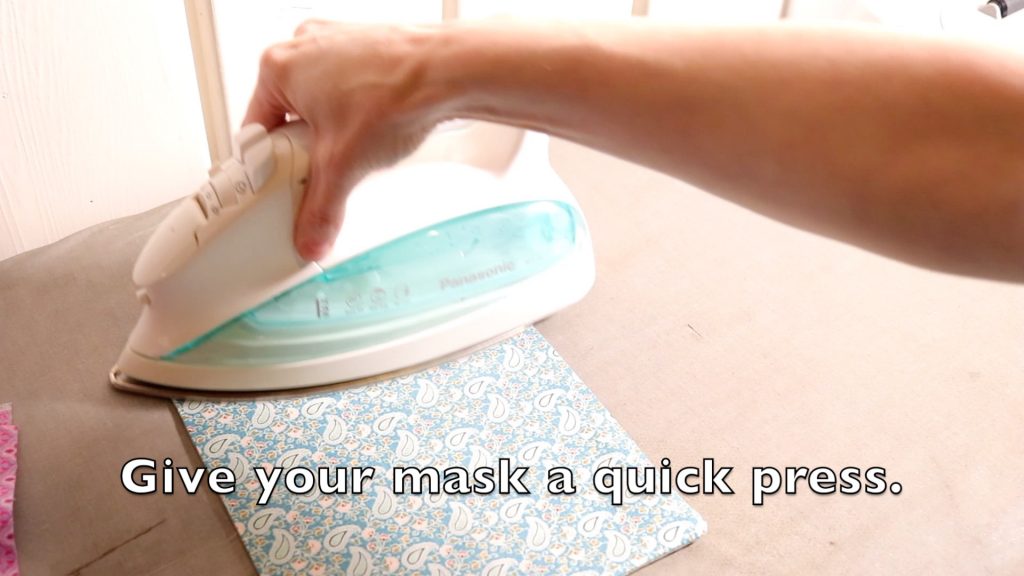
Press again!
- Once you have pushed all your corners out, head back to your ironing board and give your mask a good press so everything lays nice and flat.
- After pressing, flip your mask so the INTERIOR fabric is facing up.
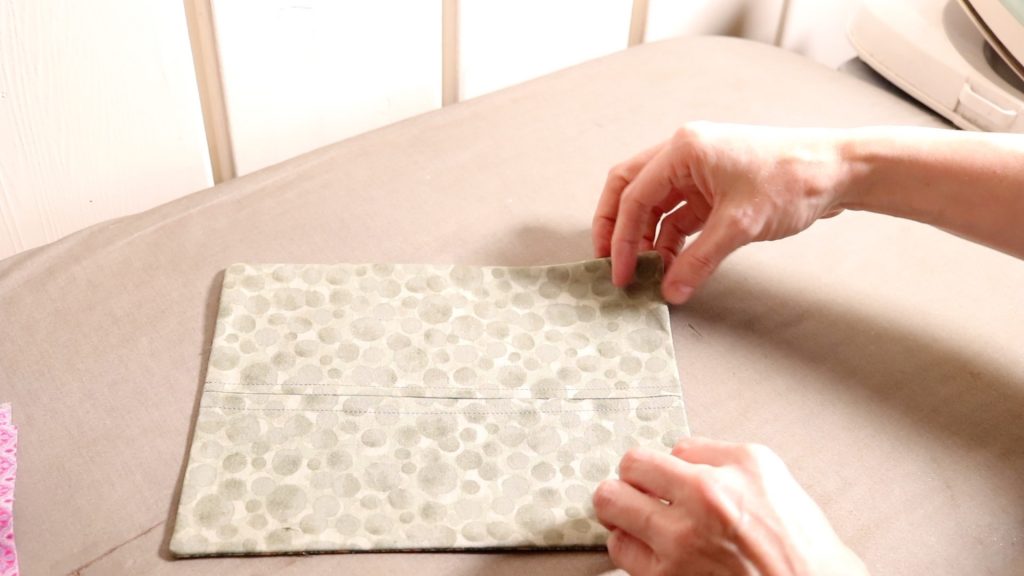
- Grab on to the 8″ sides of your mask and fold in 3/4″ and press.
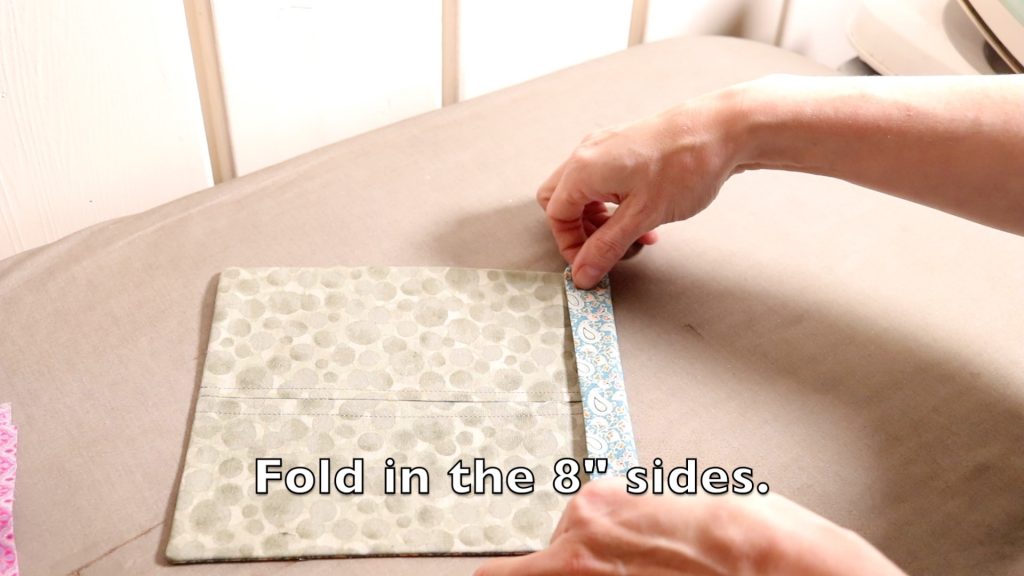
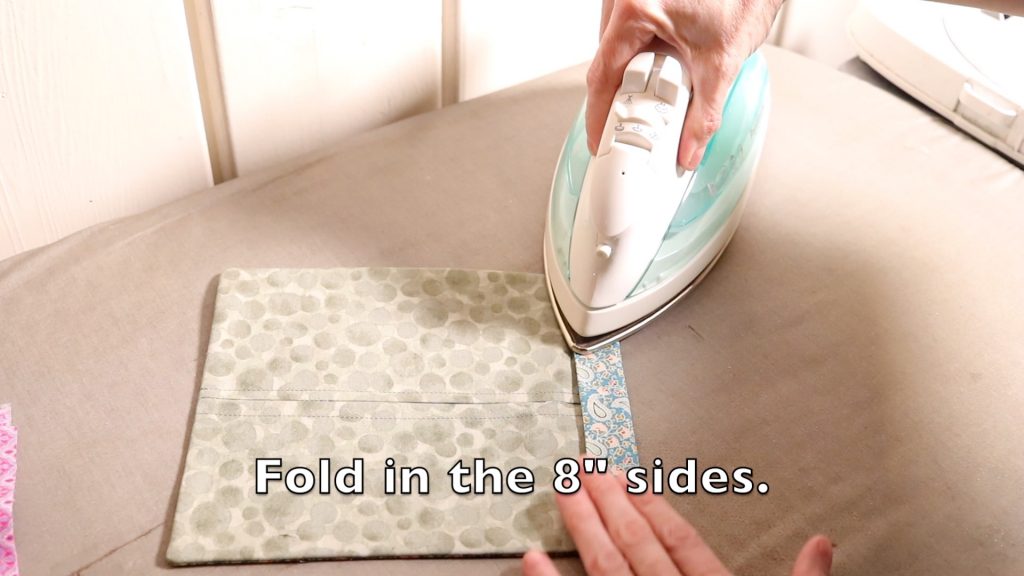
- Repeat for the other 8″ side.
- Both 8″ sides should now be pressed in towards the center 3/4″.
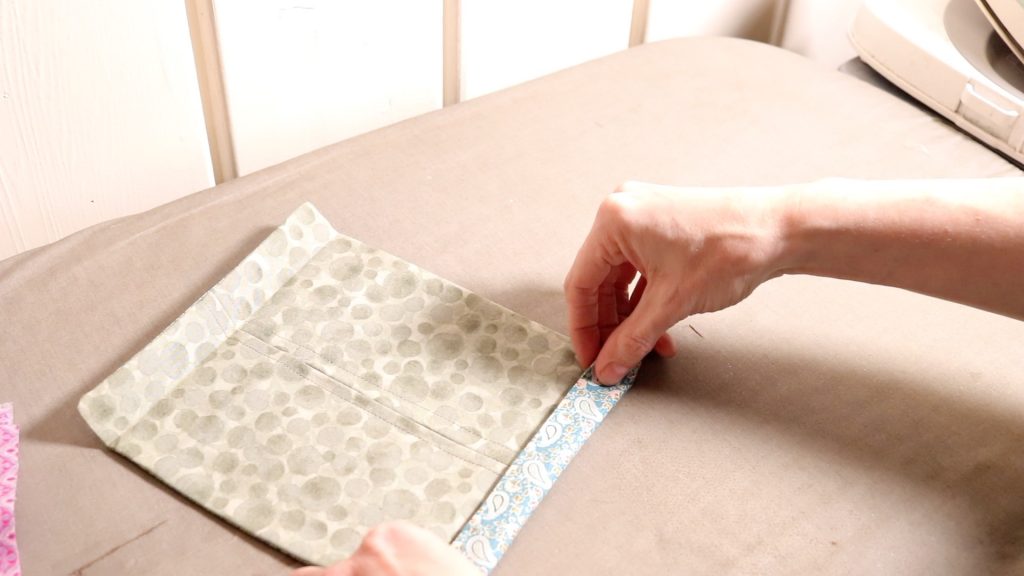
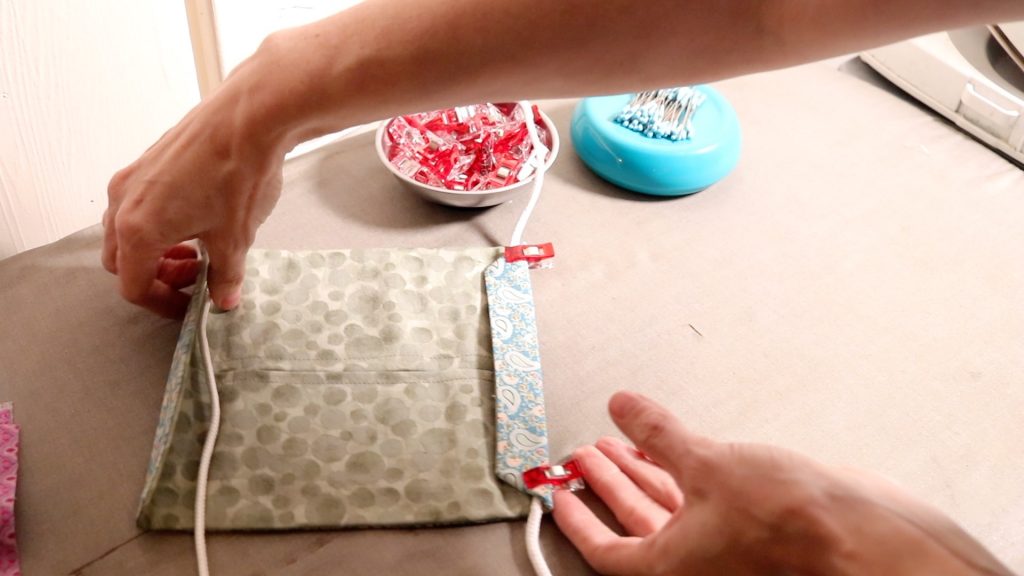
Time to grab your cording or tie material.
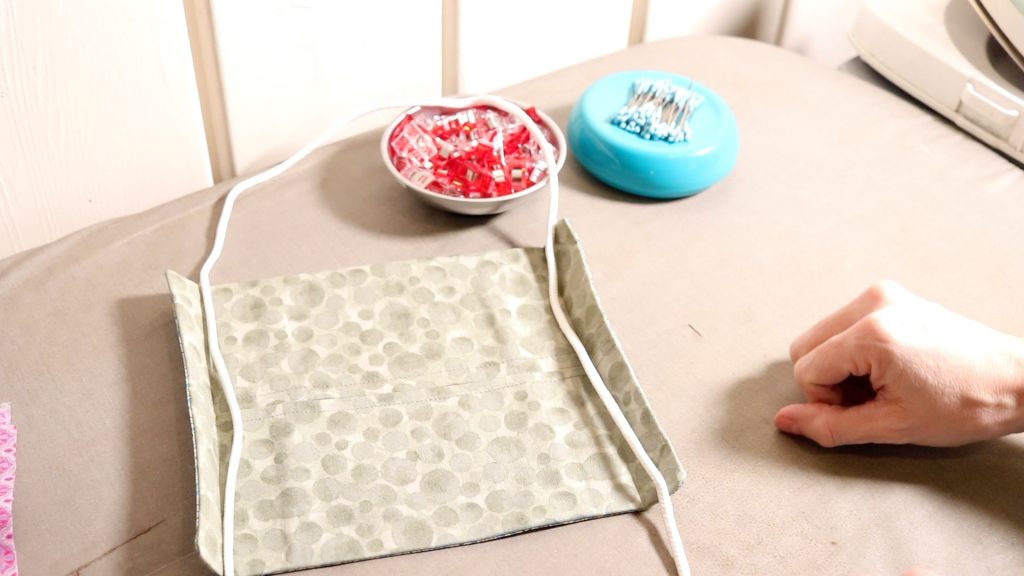
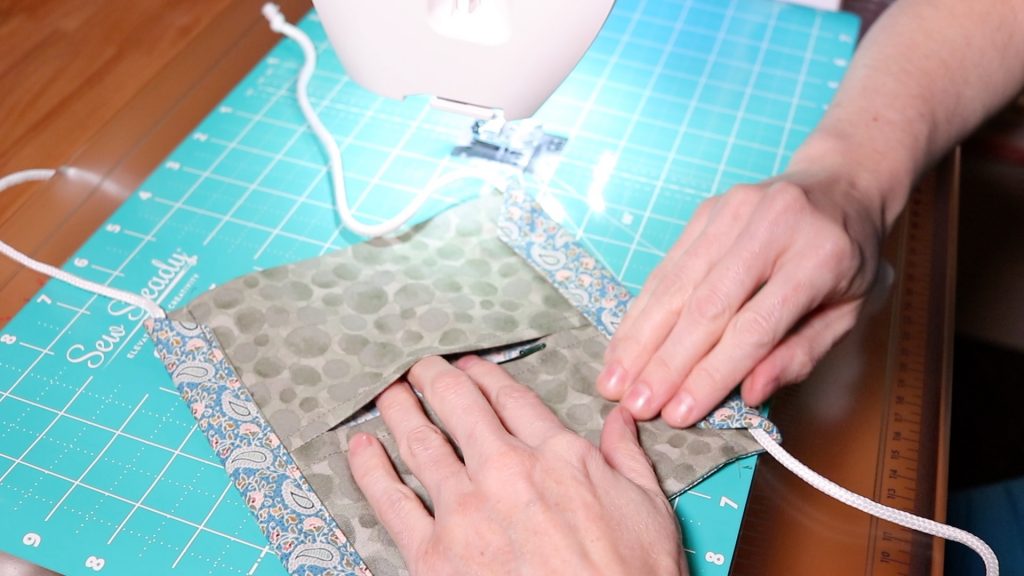
- Be sure that you create a “U” shape with your cording material and lay onto your mask. You should have a loop at the top and the two separate ends on the other side.
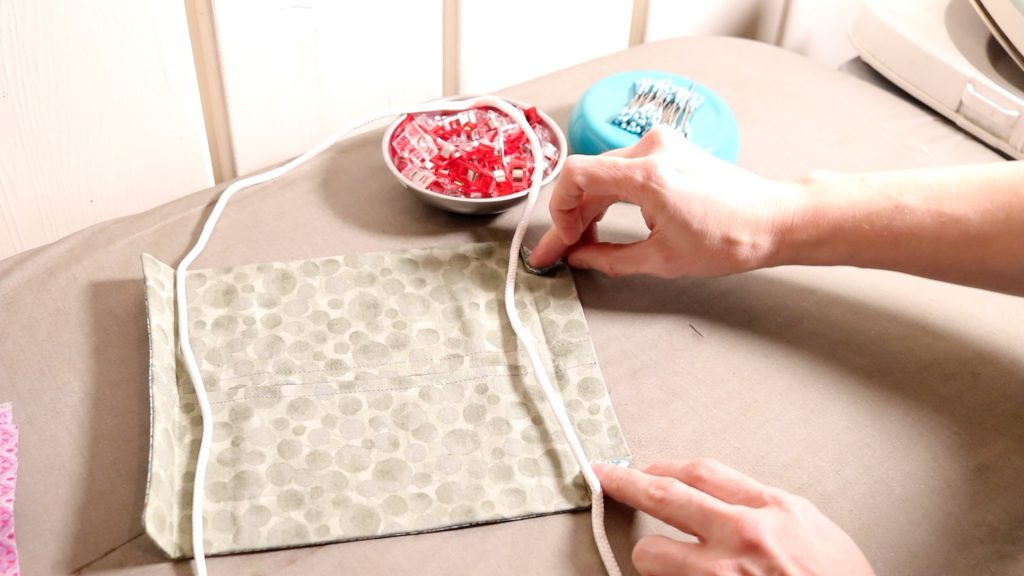
- With your sewing clips or pins handy, fold in the corner at a 45 degree angle until it meets that ironed seam you created when you folded your mask in 3/4 ” and pressed.
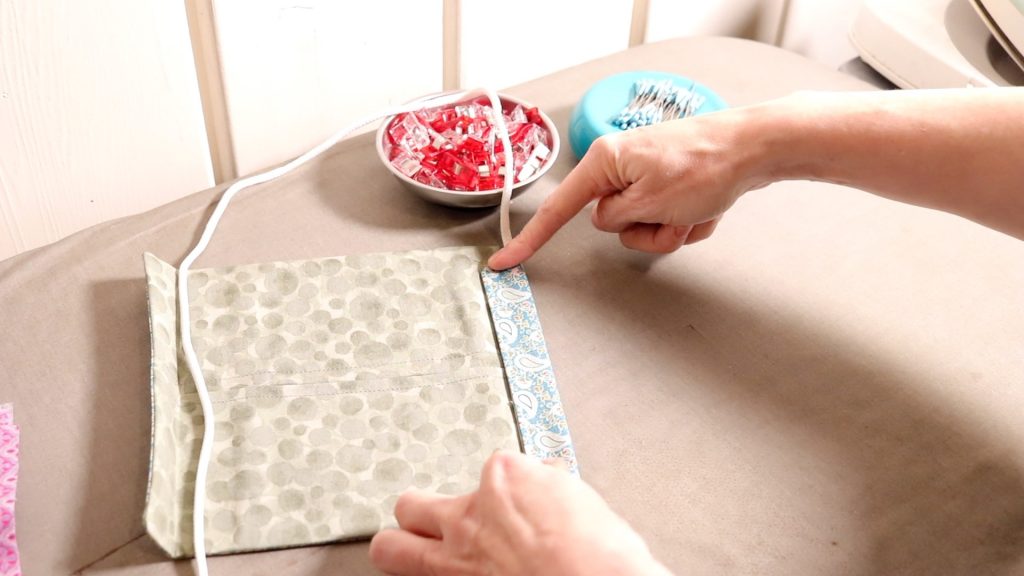
- Now that the corners are folded in, fold the fabric back to the original ironed seam you created. Clip or pin in place. Doing it this way just creates less bulk. You can skip the step and just fold over. It’s up to you. I prefer the cleaner look this gives me.
- Repeat for the other side.
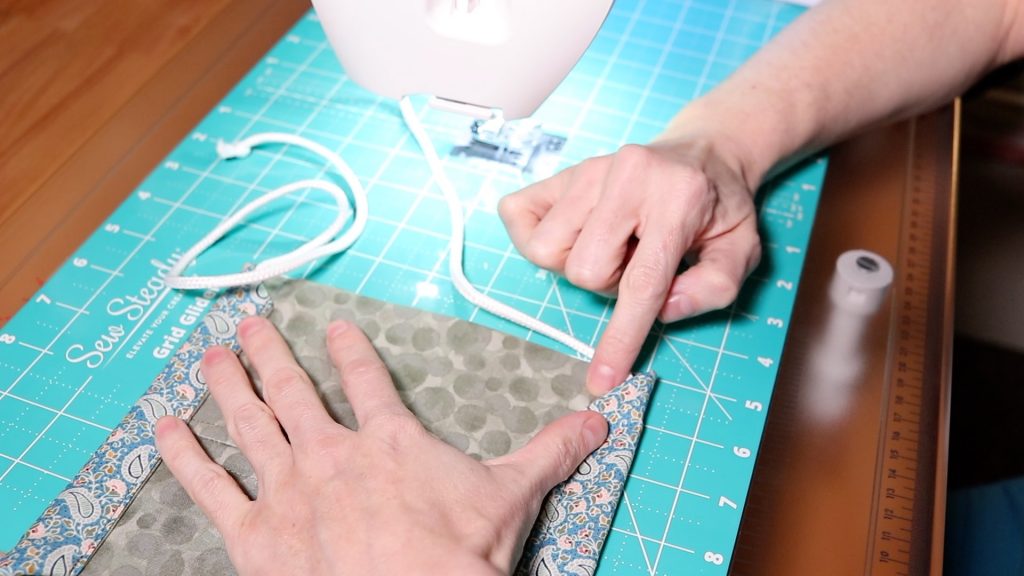
Time to do some more sewing, you’re almost done!
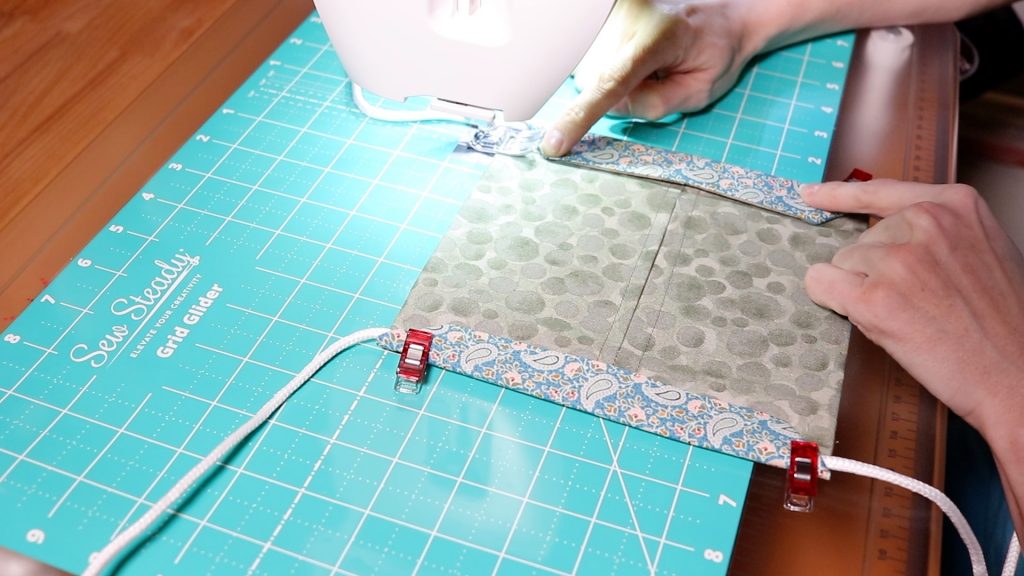
- Using that edge of fabric as your guide, stitch a nice seam from the top to the bottom. Backstitch at the beginning and the end.
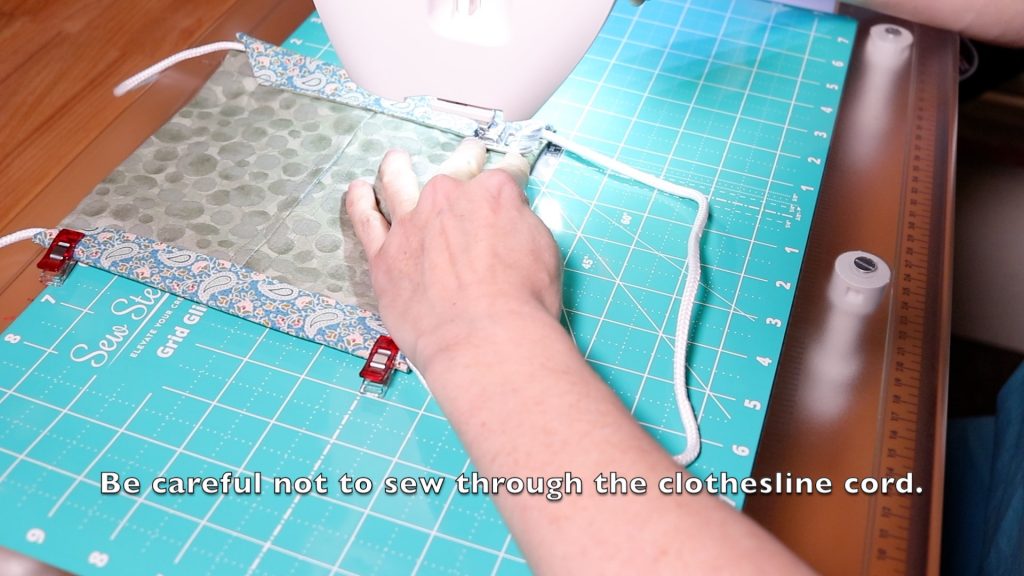
- Be sure NOT to sew through the cording while your sewing. If you do, you won’t be able to tighten your mask properly.
- Repeat for the other side.
Nose wire for your face mask. Do you need it?
This step really is optional. Most people prefer the added fit that a nose wire provides for a face mask. Instead of using garden wire, try pipe cleaners. They are easier to source, less expensive and more comfortable.
This post has been updated and now that face mask sewing items are more available, I’d source other options then those from the gardening section. At the time of the original post, there wasn’t a lot of items available.
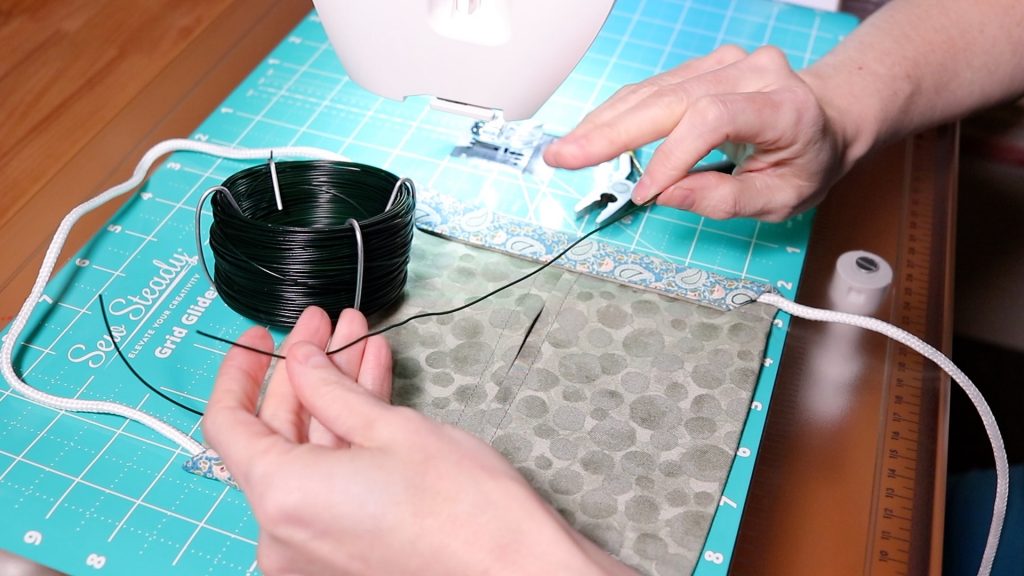
- Cut a piece of wire OR pipe cleaner 6-7″ long. I did 7″ but if your mask is a smaller size, you’ll need a smaller piece of wire.
- Bend in each sharp end of the wire twice in on itself and crimp down. This is helping to eliminate sharp ends that could poke through your fabric.
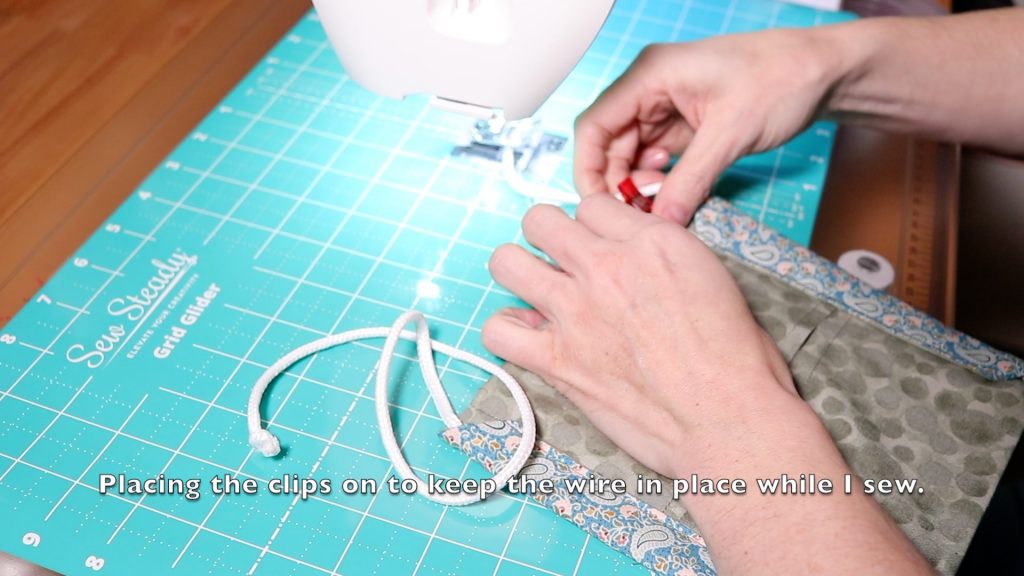
- Then, take your mask and insert the wire up through the filter pocket and to the TOP of your mask. The TOP will be the side of the mask that has the TWO ends of the tie, NOT THE LOOP END.

- Once that wire is up to the top of your mask and in place, you’re going to CAREFULLY sew a close seam to that wire leaving a 1″ opening on each side for the wire to be removed to be replaced or removed for washing.
Congratulations! You have now just completed your simple reusable face mask with a filter pocket.
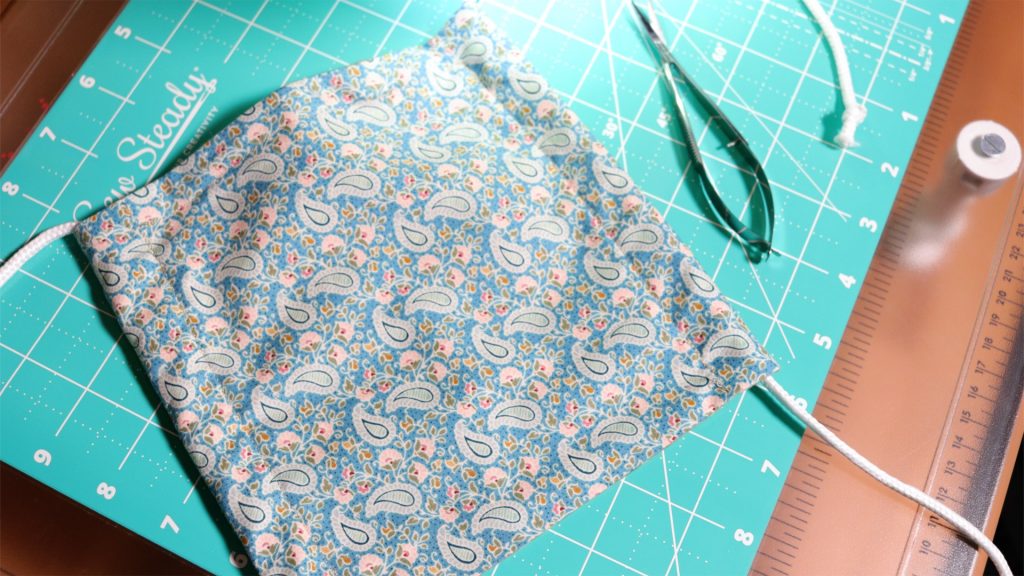
You have now just completed this easy and reusable face mask. I have also uploaded a video for this mask answering some frequently asked questions (filters, how to ensure proper fit, how to make a childs pattern etc). You can watch that video here:
Pin it for later:
Thank you so much to all of you who are helping out our front line workers.
The gift of your time and materials is greatly appreciated-we COULDN’T do this without YOU.
-Brie RN
I have 3 other patterns fo face masks if you feel like this one isn’t the best fit for you or your loved ones. Feel free to check those out as well.
Shop this post
- Sewing machine
- Rotary cutter
- Scissors
- Cutting Mat
- Ruler
- Sewing Clips
- Sewing pins with magnetic pin cushion
- Sew Steady Gridded Sewing Mat
- Havel snip scissors
- Alex Anderson 4 in 1 sewing tool
- Iron
- Wool pressing mat
 Subscribe to my channel
please do a video showing how to put the mask on. I am giving so many away and could include your video. thanks. It’s by far the best pattern.
Here ya go Beth. Sorry about that. https://www.youtube.com/watch?v=lUrGc_-UWkE
Hey Beth, were you able to find the Q&A where I demonstrated how to put the mask on to adjust and provide the best fit? Let mw know if you still need help and id be glad to email it to you. _Brie
Hi Susan, that’s weird, I apologize for that. I’m happy to send them to you via email. Send me a message at [email protected] and I’ll send them to you 🙂
Hi Susan, Did you get this figured out? If not, I can sent them to you via email. When I click the link it opens up the printed instructions and pattern piece needed to make this. Please let me know if I can send them to you.