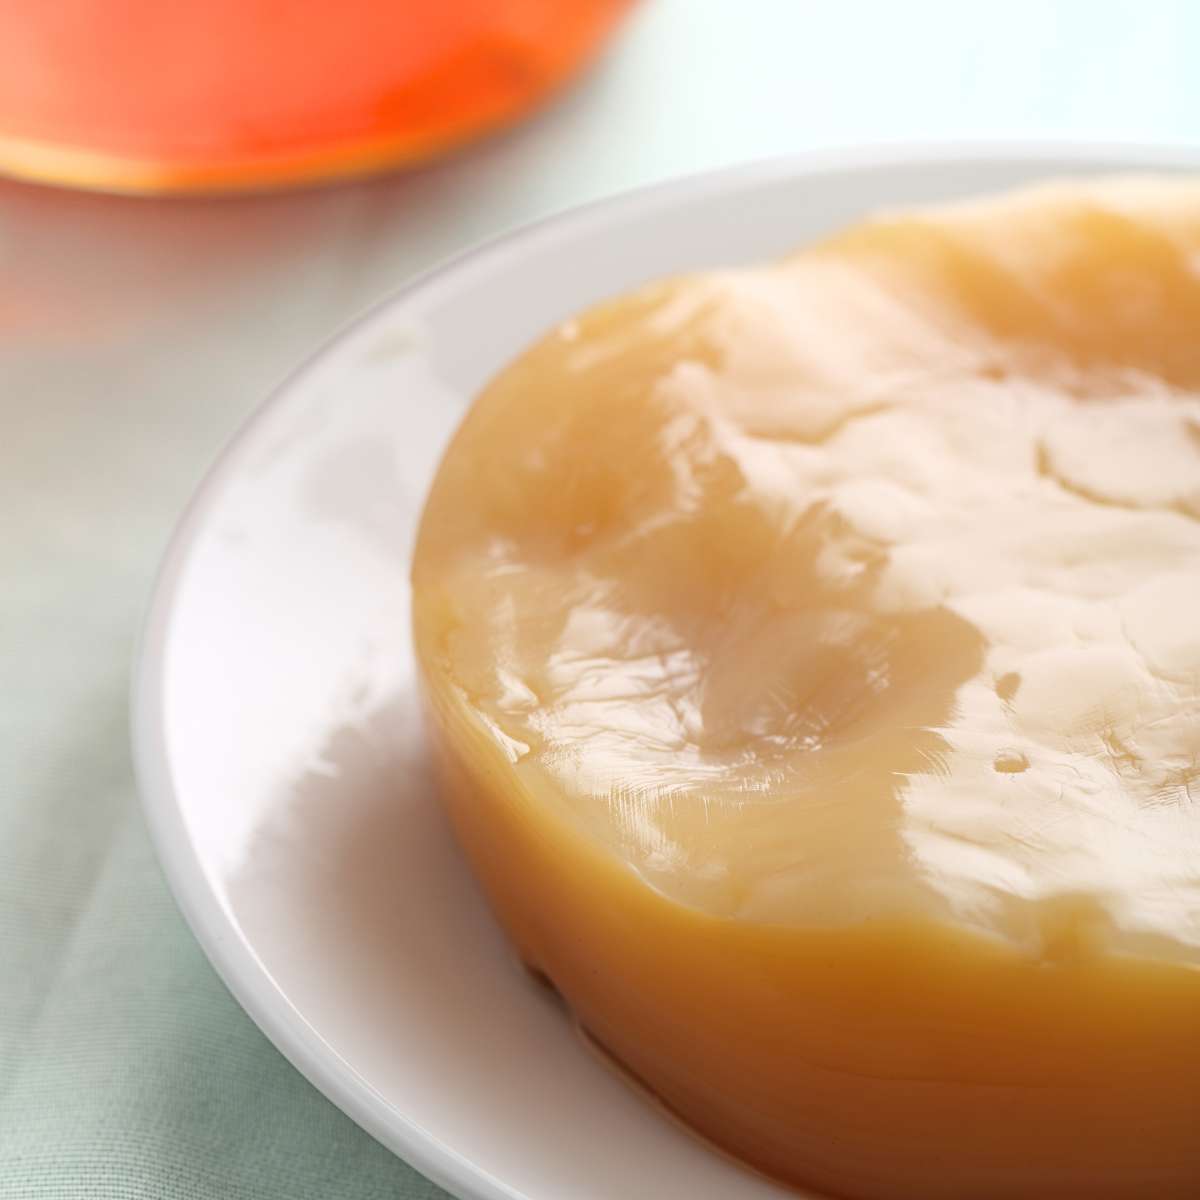
How To Make A Scoby From Scratch
Learn how to make a Scoby from scratch to get started making your own kombucha at home.
Some of these links are affiliate links. You can read my full disclosure HERE.
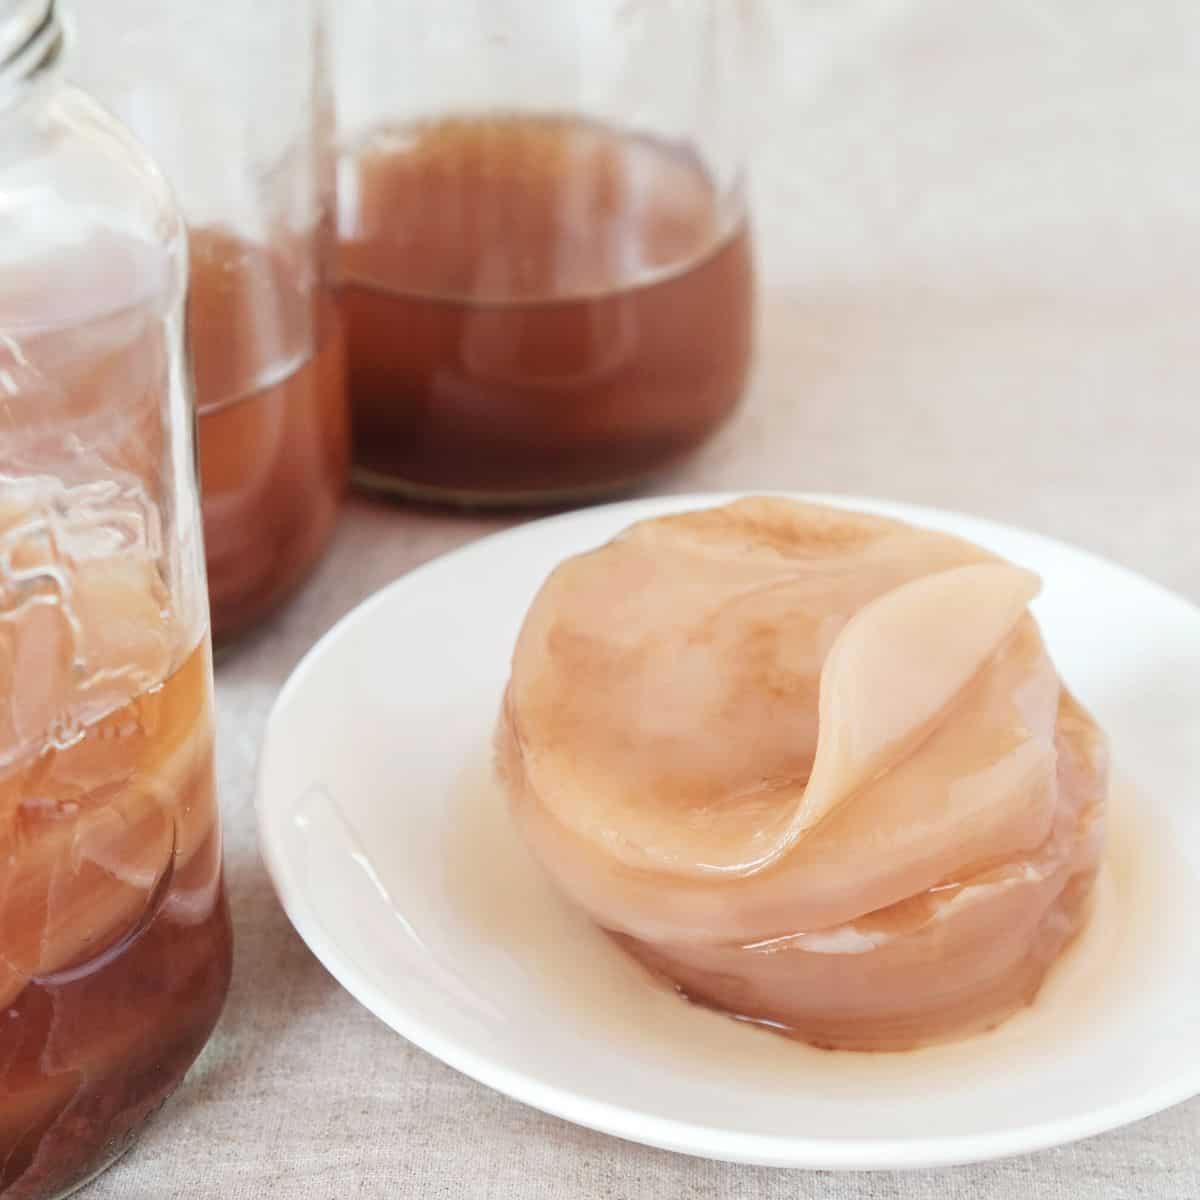
Making your own kombucha at home starts with a SCOBY. Without a SCOBY, you can’t brew kombucha. So today I’m going to share the simple process of how to make your own SCOBY from scratch, as well as a couple other easy alternatives.
How to Make A SCOBY From Scratch Video
If you are more of a visual learner and prefer video content, I made a How to make a scoby from scratch video too!
I also have an entire kombucha playlist on my YouTube channel.
What Is A SCOBY?
SCOBY stands for Symbiotic Culture Of Bacteria and Yeast.
Just like sourdough bread and yogurt need a mother culture to begin producing beneficial bacteria, so does kombucha. A mother culture or “SCOBY” is needed to begin the process of fermentation for this health-filled, bubbly beverage. Without it, you can’t make kombucha at home.
Is A SCOBY A Mushroom?
So you may have heard someone refer to a SCOBY as a mushroom. But is it really a mushroom? Let’s take a look.
The many names for a SCOBY have accumulated through its existence. Most of the names have come from where the culture originated, how it looks, or historical terms that reflect the beliefs and benefits of the SCOBY itself.
A SCOBY mushroom, therefore, isn’t a “mushroom” at all. It is the English term that was given to the tea fungus because of how it looks. It closely resembles a mushroom in texture and the fact that it seems to grow from nothing.
Ingredients
- Store-bought RAW kombucha-RAW kombucha is essential for success.
Synergy Kombucha is my favorite brand to use for starting a SCOBY. However, you can use any brand of raw kombucha that you like. Raw kombucha is the only kombucha that will produce a scoby. That is key.
Ingredients To Brew Kombucha
I’ve added a list of what you’ll need to brew kombucha at home as well so you can plan ahead. That way once you have your SCOBY, you can start a batch of booch right away.
- Black or Green Tea
- Organic Cane Sugar
- Filtered Water-also important as much tap water contains chlorine and fluoride that don’t support growth
- SCOBY
SCOBY Supplies
- Clean glass jar
- Cloth cover. Do not use cheesecloth.
Kombucha Supplies
- One gallon jar for brewing or continuous brew vessel
- Wooden Spoon
- Cloth Cover
If you don’t want to purchase a cloth cover, you can also make your own kombucha cloth cover.
How to Make a SCOBY From Scratch
Step 1
Purchase a bottle of RAW kombucha from the store. Any brand or flavor will work.
Step 2
Clean a jar you’d like to use to grow your scoby. The diameter of the jar you use will determine the diameter of the SCOBY you grow. I’d recommend at least 4 to 5 inches.
Into the clean jar, pour 1/2 the bottle of store-bought kombucha.
Save the rest of the bottle as starter liquid for when you begin making your own Kombucha. Secure the lid and place it in the fridge until you need it.
Step 3
Cover with a clean cloth.
A piece of an old shirt, washcloth, napkin, or paper towel will work and secure with a rubberband.
I don’t recommend cheesecloth as the weave of the fabric is not tight enough and allows bugs and fruit flies to get in.
Step 4
Place in a warm spot (not hot) to grow for 7 to 10 days. Optimal temperature being 65- 75 degrees Fahrenheit.
Do not place in direct sunlight as this can cause mold to grow and kill the good bacteria that make the SCOBY grow.
Step 5
Watch for 7 to 10 days until you have a formed scoby on the top of your brew. Once you have a s SCOBY you can start making your own kombucha.
Feel free to scroll to the bottom of this post and print a copy of the how-to for later.
How to Make Kombucha without a SCOBY
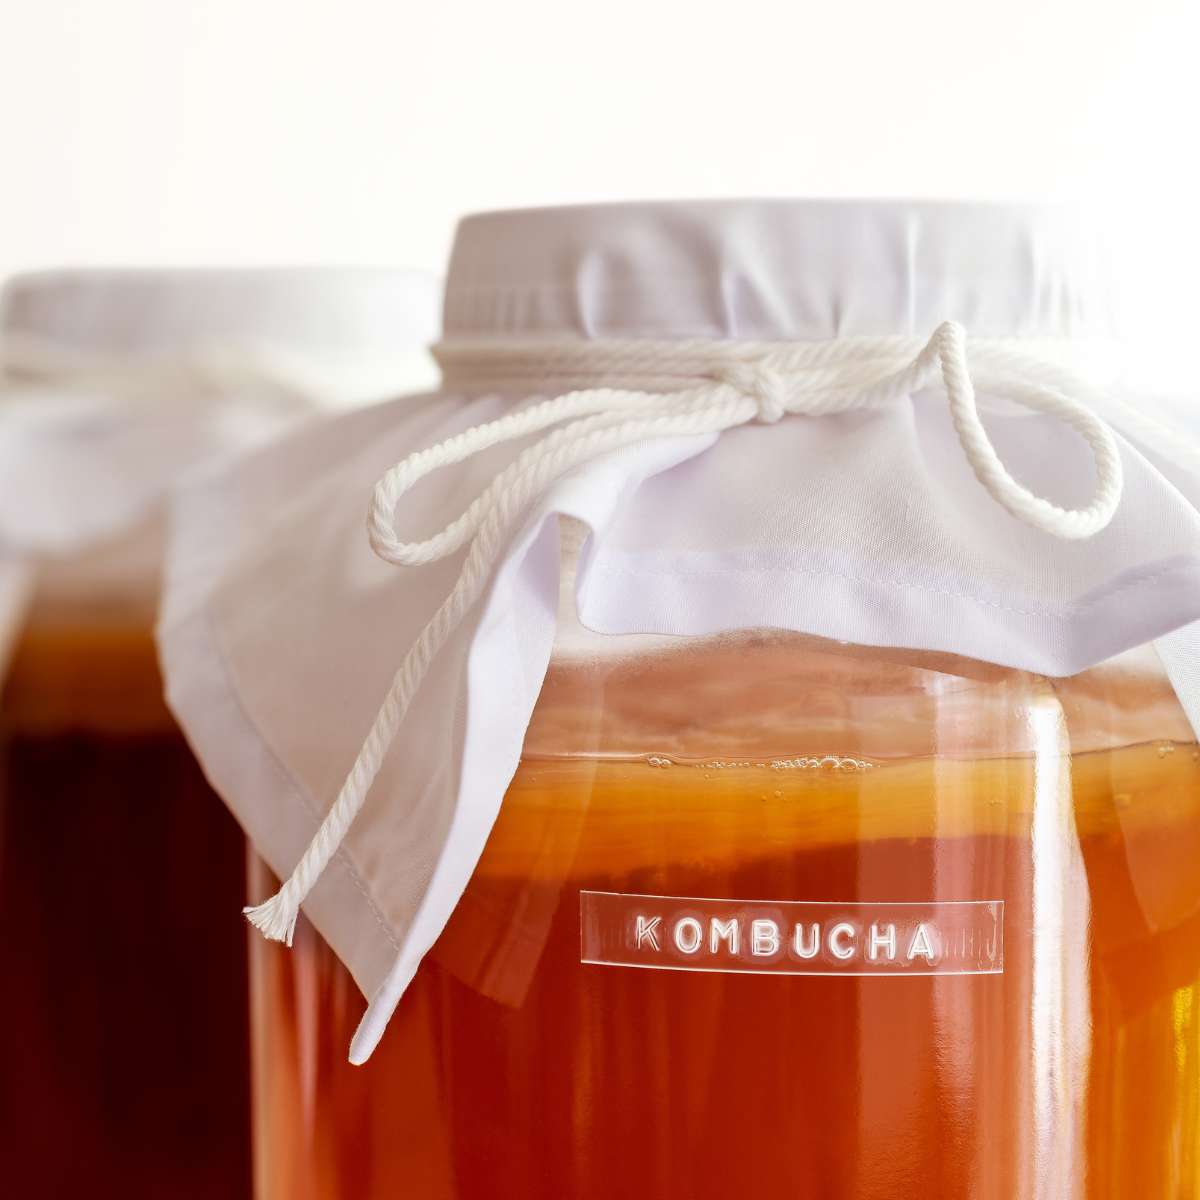
It is possible to begin brewing kombucha at home without a SCOBY. Let me cover how to do that in case you’re looking to jump right in. While I can’t promise it will be successful, it’s worth trying.
The batch recipe I’m sharing below will yield 1 gallon of homemade Kombucha. Adjust the recipe according to your own needs.
Step 1
Purchase a bottle of RAW Kombucha from the store. Any bottle, brand, or flavor will work, it just needs to be RAW kombucha.
Step 2
Bring to a boil 1 gallon of filtered water.
Step 3
Remove the boiling water from the heat and add 8 tea bags to the water to steep. You can use green or black tea for this. Allow to steep for 5 minutes.
Step 4
Remove the tea bags from the water and add 1 cup of sugar. This can be white sugar or organic cane sugar. Stir until dissolved.
Step 5
Allow the tea to cool until it is at room temperature. This step is very important. Pouring your bottled kombucha into a liquid that is too hot can kill the bacteria that will make your SCOBY and brew your booch.
Step 6
Once the mixture is fully cooled, pour your tea into your brewing jar of choice. Add your bottle of store-bought kombucha to the tea mixture.
Step 7
Cover with a tightly woven cloth, secure with a rubber band, and place in a warm spot in your home at 65 to 75 degrees Fahrenheit for 7-10 days.
Step 8
After 7 to 10 days, you should have a SCOBY that has formed on the top of your kombucha. There should not be any signs of mold. It should be a clear/cloudy whitish color.
Step 9
Remove the SCOBY and your kombucha is ready to drink!
Second Fermentation
If you prefer your kombucha to be really bubbly, this comes from doing a second ferment. I will have a full post on that step in the process, as there is also a lot involved with kombucha brewing and second ferments.
Enjoy!
Alternative Methods
If you don’t have access to store-bought, raw kombucha, you can still successfully brew your own kombucha at home.
- Buy a kombucha scoby already formed.
- Purchase a powdered SCOBY starter culture.
- Get a SCOBY from a friend or family member that is already making their own brew.
Purchasing a SCOBY that’s already made or a starter culture is more expensive than buying a bottle of raw kombucha at the store. As long as you take care of it, you’ll never need to buy another one.
Tips and Tricks
When it comes to making a SCOBY from scratch or brewing your own kombucha or kefir at home, there are some tips that may help you along.
- What works for someone’s brewing practices, may not work for yours.
When it comes to brewing your own kombucha, there are a lot of factors that come into play. Things like temperature, humidity, type and brand of ingredients used, brewing vessel and storage can all play a part in how things grow.
Yes, even small things can make a big impact. I would encourage you to keep trying until you find what works for you, your climate, and your brewing schedule. Not everyone will have success the first time, and that’s perfectly normal.
- Purchase a good resource.

I can’t stress this enough. In all of my kombucha brewing videos, I have literally made the same recommendation and will continue to do so.
I have been brewing my own kombucha very successfully for over 15 years now. I know what works for me and what doesn’t for where I live. Part of that success has come from troubleshooting and trying different things. This is where resources come into play.
Resources
Don’t get me wrong, I love having the Internet at my fingertips and being able to look things up in a snap. However, my go-to is still in book form.
- Check out books from the library.
It is not essential that you purchase books. Try your local library for books on Kombucha and other ferments. Thumb through a few of them and see which one you prefer. Then, later on, if you decide you want to purchase one, you will know which one(s) you liked.
Other Options
- Try growing a SCOBY in different areas of your home and see what produces the best and quickest result.
Some people prefer to place kombucha in a cupboard where it is more temperature-controlled and dark.
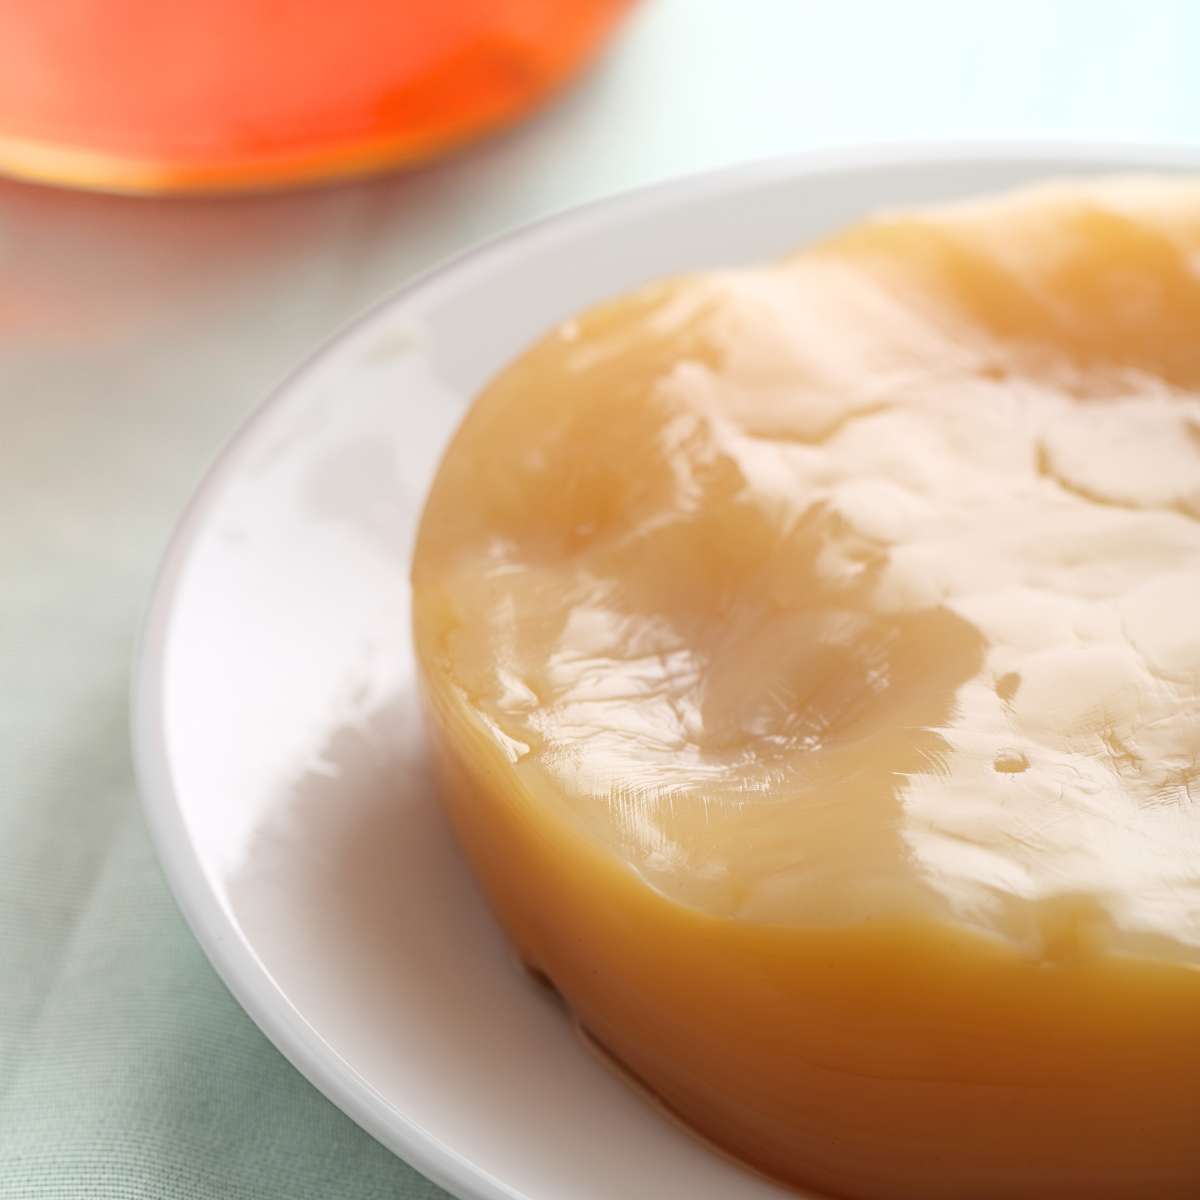
Others prefer right on the kitchen counter. Some say their laundry rooms work well. Again, this is what works for you. But how will you know what works if you don’t try?
For me, the cupboard method didn’t work. Not because it didn’t produce a good result, but because it did. But that whole notion that “out of sight out of mind” came into play. I stuck it in the cabinet and then completely forgot about it.
Placing it in a cabinet and then forgetting about it isn’t an issue while growing a scoby, but when it comes to starting your kombucha? Yeah, you don’t want to just forget about it. It’s so easy to over-ferment it.
Over-fermenting isn’t a total lost cause though. You can use the over-fermented brew to make salad dressing, add to chicken feed for a gut health boost for your birds, and so many other things. Of course, that’s a post for another day.
Shortcuts
Looking to start making your own Kombucha even faster? Consider purchasing a SCOBY online.
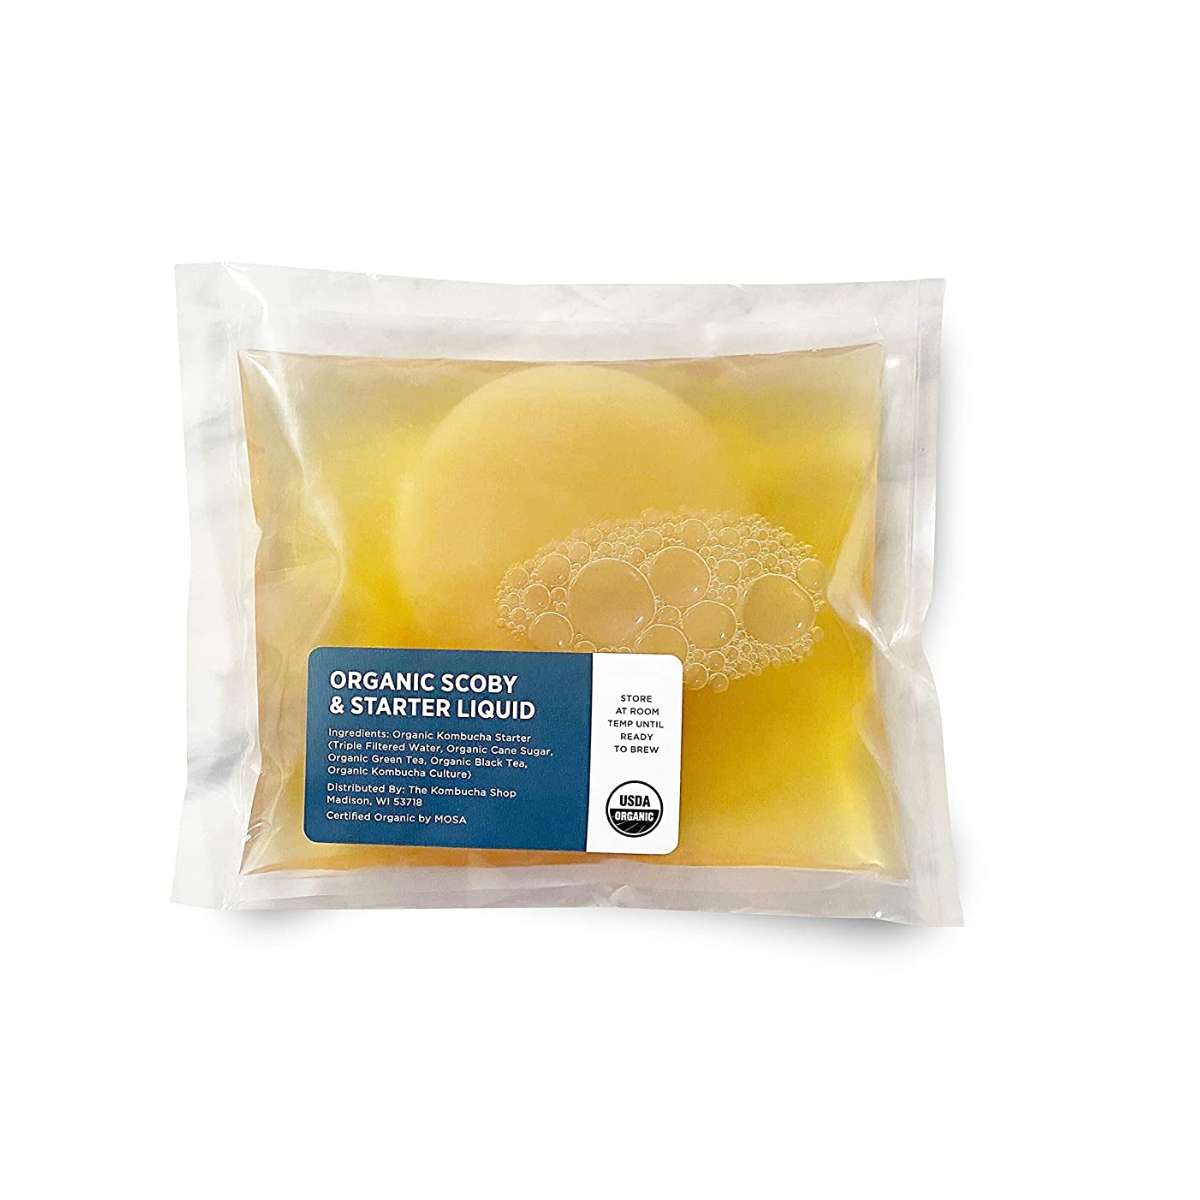
Can’t find a SCOBY? Try buying a starter culture powder.
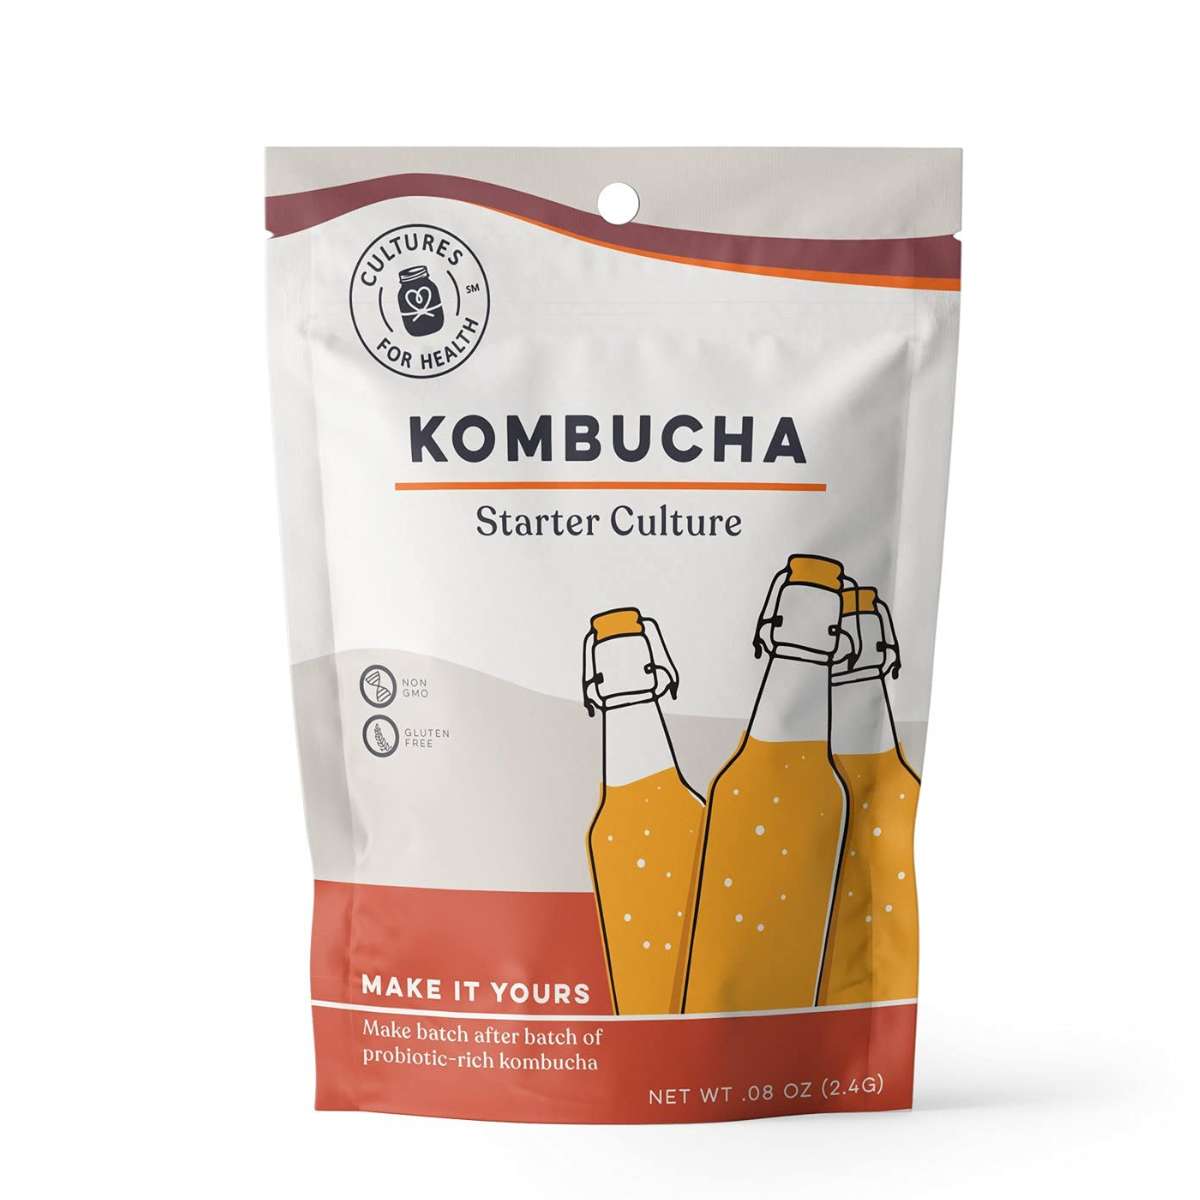
While both methods can help you achieve the same result, I have found that with shipping time it really isn’t much faster. Waiting 6 to 7 days for a culture to arrive instead of just waiting that many days for your own to form, doesn’t seem to save much time in the long run.
How To Store
With each batch of kombucha you brew, a new SCOBY will form. Over time, you will get quite the collection of SCOBYs if you don’t use them for other recipes or gift them to friends.
I like to store my SCOBYs in a “SCOBY hotel.”
A SCOBY hotel is a place where you put your SCOBYS to rest. After you brew a batch of kombucha, you can place your scoby into a brewing jar that is filled with kombucha or sweet tea mixture. This will keep your SCOBYs fed and happy.
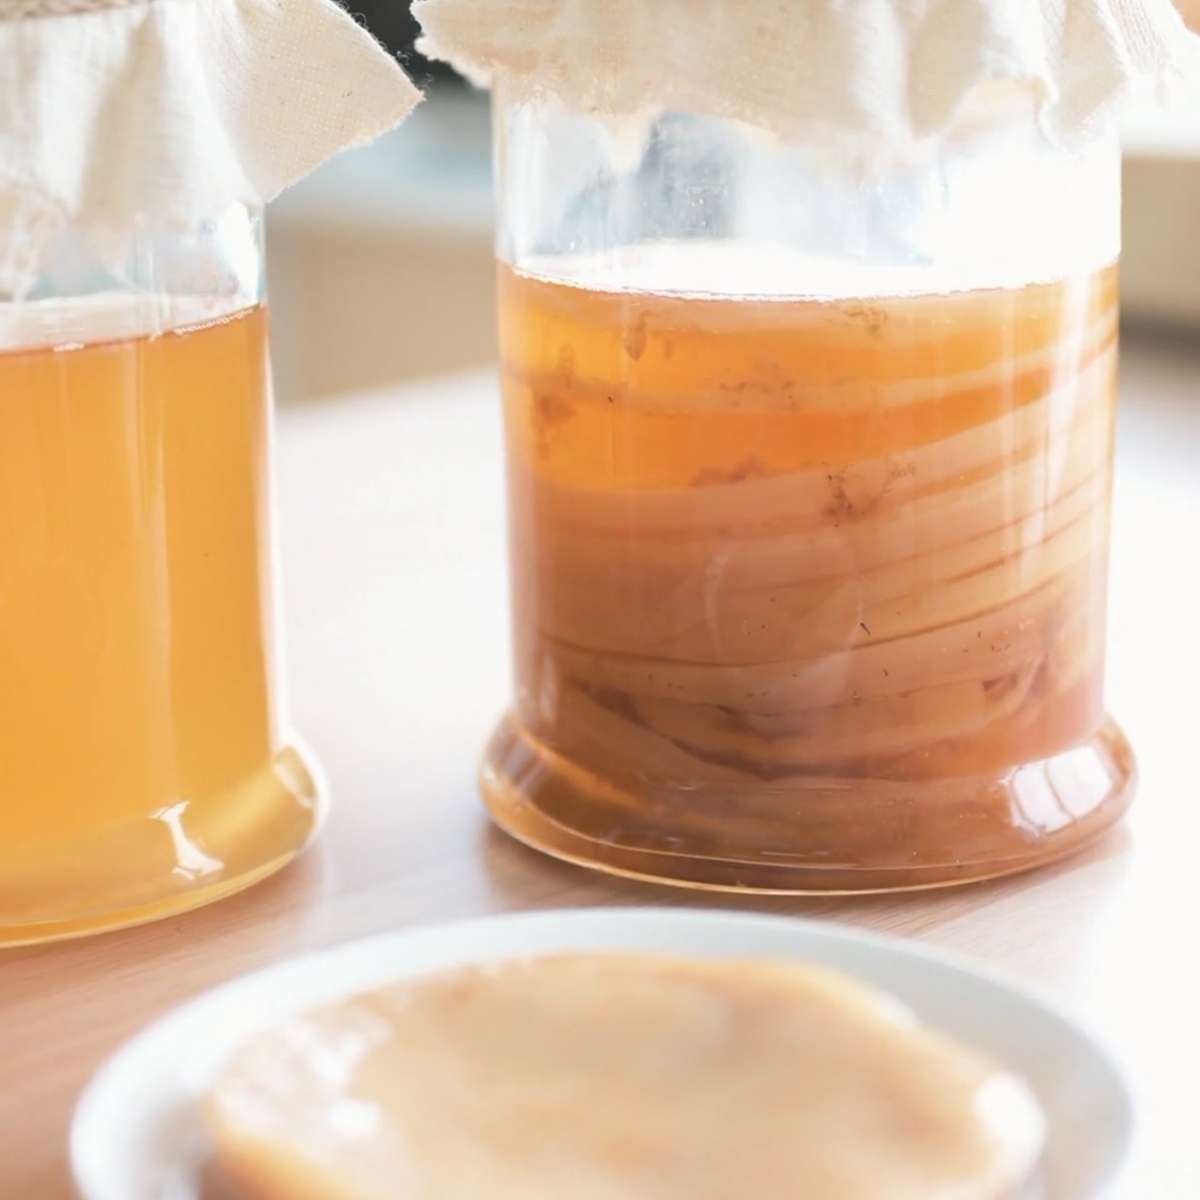
You can easily store kombucha SCOBYS in a SCOBY hotel for 30 to 90 days without having to do anything special. The time they can store will vary depending on the location and temperature in your house.
- Do not store your scoby hotel in the fridge.
If you don’t have time to deal with your SCOBY once you’ve started it, just leave it alone in the starter liquid. Doing so will just keep it growing. You’ll slowly notice the SCOBY getting much thicker. Remove it from the liquid when you have the time to brew. Easy as that.
Scobys are great because they really don’t require much attention. I think this is why so many people prefer kombucha to water kefir. Although, I have noticed that kefir is starting to take off as well. However, I have found that my kefir requires more maintenance as it ferments faster and the kefir grains multiply quickly.
Frequently Asked Questions
When it comes to making a kombucha scoby from scratch or brewing your own kombucha at home, there are always variables, therefore a ton of questions.
As in most of my kombucha videos, I have a book that I highly recommend to people wanting to make booch at home.

It will answer all your questions about SCOBYs and brewing kombucha, it provides recipes and so much more. It truly is the best, most comprehensive resource for kombucha that I have found.
If you don’t want to purchase the book, consider checking it out at the library, or check your local thrift store for a used copy.
What to Do with SCOBYS After Brewing Kombucha
With each new batch of kombucha you brew, a new SCOBY will have formed. You only need one SCOBY to make your kombucha.
I remove the extra SCOBY and add it to a jar with my other ones. This is my SCOBY hotel.
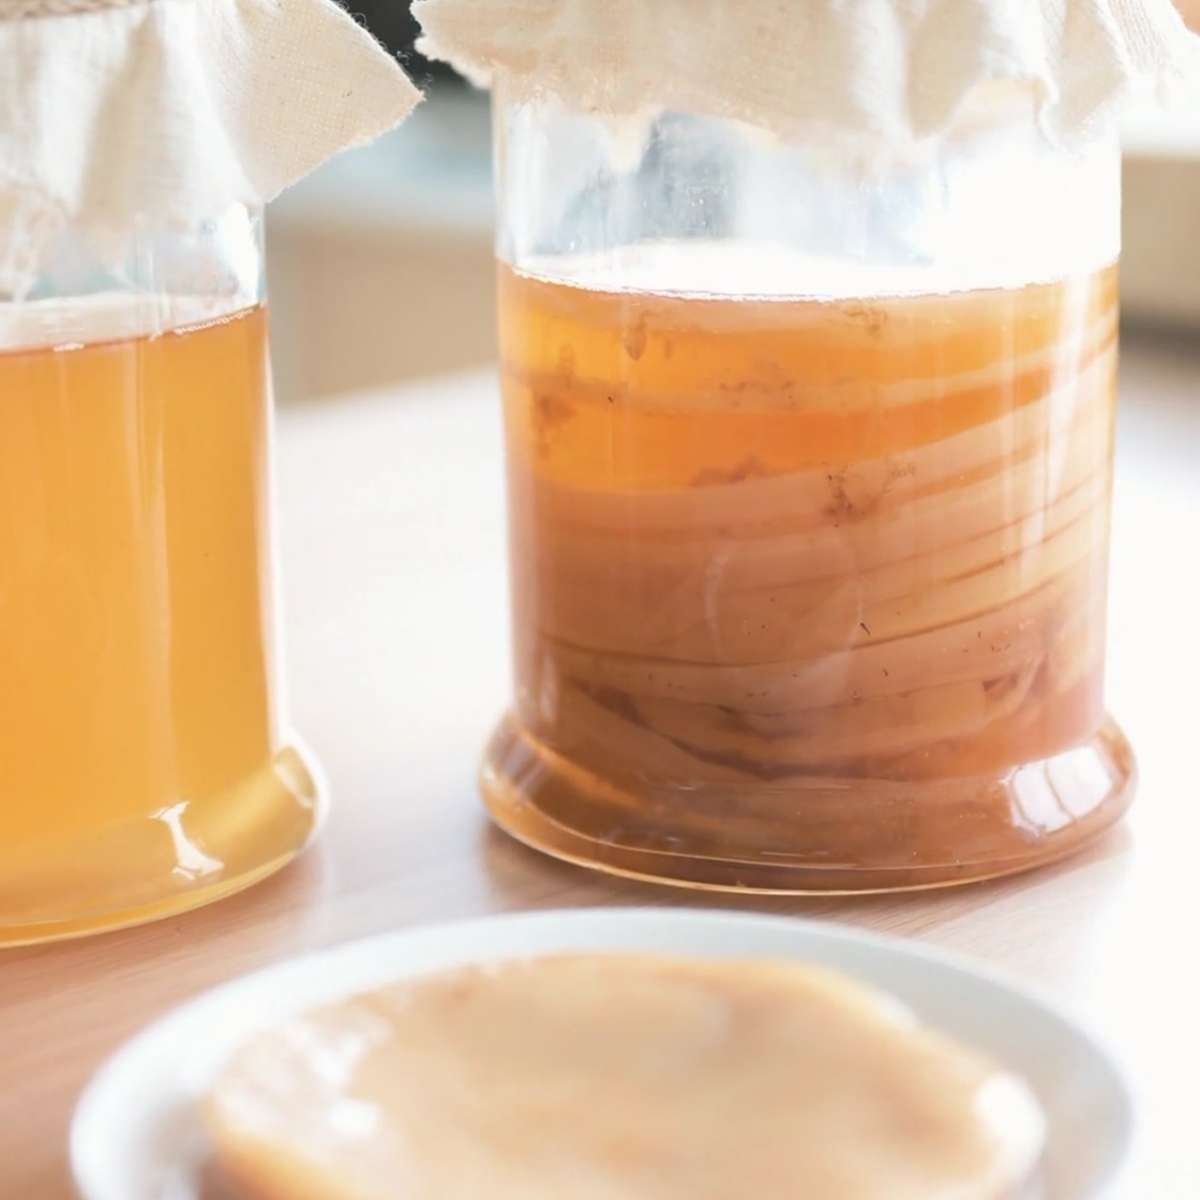
I keep all my extra SCOBYS to use for other things such as face masks, hair masks, dog treats, chicken treats, etc.
There are so many uses for your SCOBY that it seems wasteful just to toss them.
If you aren’t interested in using them, be sure and add them to your compost pile. They add loads of beneficial bacteria.
You can also gift them to friends and family that may be interested in brewing their own kombucha at home.
Dietary Considerations
Kombucha does contain sugar. Sugar is used to feed the bacteria which will then begin fermentation. The exact amount of sugar may vary from batch to batch. This is because different juices and concentrates used to flavor your brew will contain different amounts of sugar.
Because of the natural process of fermentation, kombucha also contains trace amounts of alcohol. Just like the sugars I mentioned above, the amounts of alcohol will vary depending on how long you allow your brew to ferment.
Other Probiotic Beverages
Want more fermented beverages? Check out my post on How to Make Water Kefir.
Shop
- Brewing Jar
- Wooden Spoon
- Tea (any tea you prefer)
- Organic Cane Sugar
- Filtered Water
- Kombucha cloth covers
- Store-bought RAW kombucha
- Kombucha Book (optional) but that absolute best book on everything kombucha
If you don’t have access to raw store-bought kombucha, try out a formed SCOBY, or a powdered starter culture.
The starter culture will form into a normal scoby after your kombucha has finished.
How to make a SCOBY from scratch really is just that simple. I hope you will give this a try so you and your family can start enjoying all the wonderful health benefits of this delicious fermented beverage. It’s one of our absolute favorites.
Here’s to your gut-health! Enjoy!!
-Brie
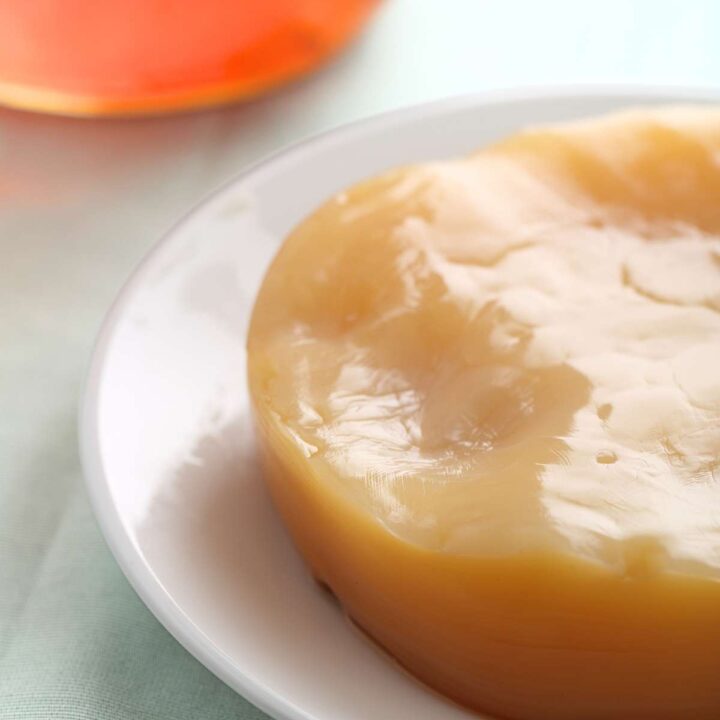
How To Make A Kombucha Scoby From Scratch
Learn how-to make a scoby from scratch so you can start brewing your own kombucha at home. Simple, fast and you'll never need to buy store-bought kombucha again!
Ingredients
- 1 bottle RAW kombucha with mother (GT's Synergy or any other brand of raw kombucha in any flavor)
- 1 cup organic sugar
- 8 organic tea bags (black or green tea or blend of both)
- 1 gallon filtered water
Instructions
- Bring 1 gallon filtered water to a slight boil.
- Remove from heat.
- Add tea bags to water and allow to steep around 5 minutes.
- After the tea has steeped, remove tea bags from water.
- Add sugar and stir to mix. Mix until fully disolved.
- Allow mixture to cool to room temperature. This step is very important-don't rush.
- Once your tea has cooled to room temperature, add 1-3 cups of store-bought kombucha to your tea. You can add the entire bottle if you like.
- Carefully pour sweet tea and kombucha mixture into a brewing vessel of your choice.
- Cover with tighly woven cloth and secure 7-10 days until you see a scoby formed on the top.
- Remove scoby and begin brewing another batch of kombucha tea.
- Enjoy!
Notes
- It is really important to use filtered water when making a SCOBY and brewing kombucha at home. Using tap water that contains fluorides can inhibit SCOBY growth.
- Be sure sweet mixture is room temperature BEFORE add raw kombucha. If the tea mixture is too hot, it can kill the mother scoby bacteria that is needed to produce a SCOBY.
Nutrition Information:
Yield: 8 Serving Size: 16 ouncesAmount Per Serving: Calories: 101Total Fat: 0gSaturated Fat: 0gTrans Fat: 0gUnsaturated Fat: 0gCholesterol: 0mgSodium: 21mgCarbohydrates: 26gFiber: 0gSugar: 25gProtein: 0g
Find this post helpful?
Share it on Pinterest
Water Kefir Soda Recipe
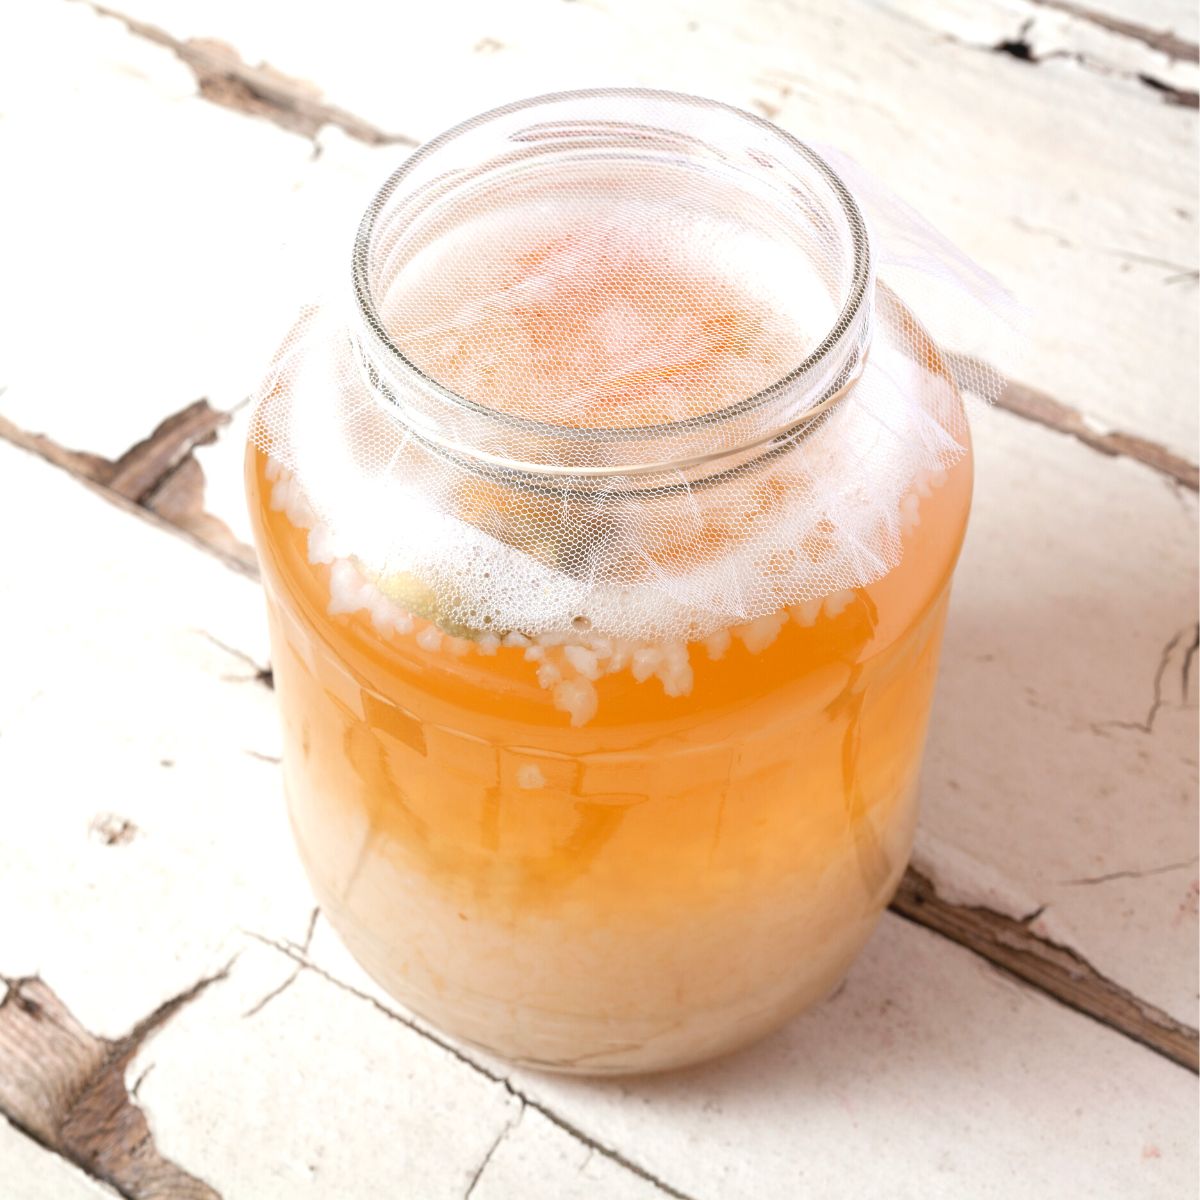
Homemade Water Kefir & Benefits
Interested in trying other gut-healthy probiotic filled drinks? Try making your own water kefir soda! Similar to kombucha but brews even faster.
Photo Credit: Homemade On Our Homestead

